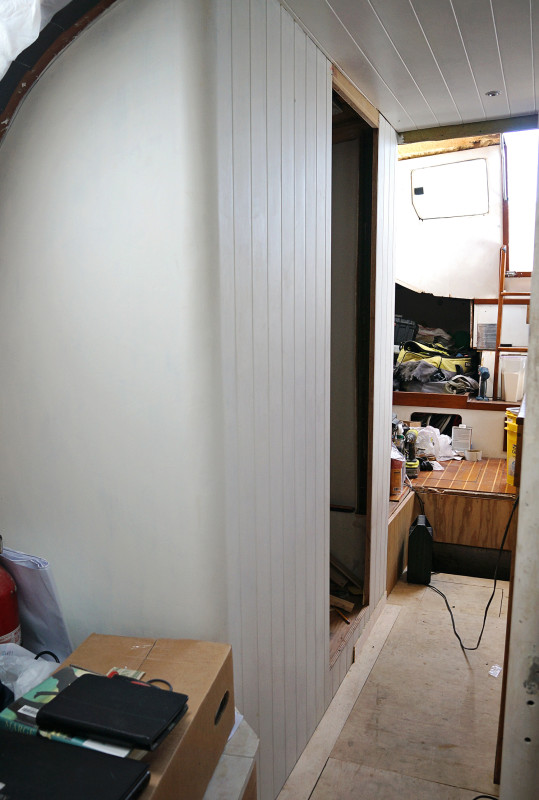
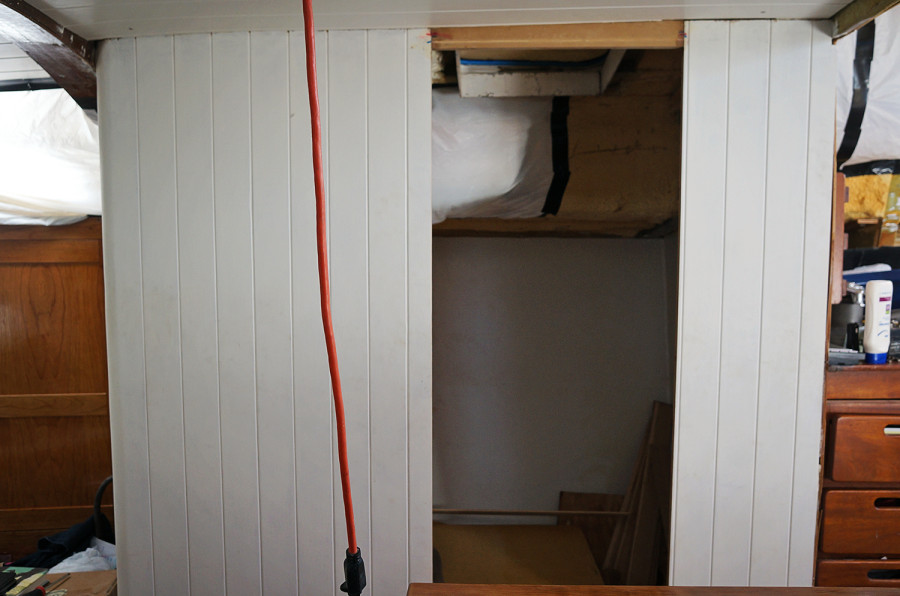
Just one last quick project before my parents come to sweep us off for a week of fun and relaxing in Fort Lauderdale (which I have been looking forward to for a long, long time). Â Now that the area for the shower has been installed, epoxied, and painted, it’s time to close that area up with a bulkhead. Â The only area in the whole boat that will be able to close itself off. Â Future guests, be warned, that’s the only privacy you’ll get. It’s also the only area in the boat that is keeping a wall from the original boat. Â It’s the one thing we’re keeping from ‘Daze Off’ other than a few screws that are in reusable condition.
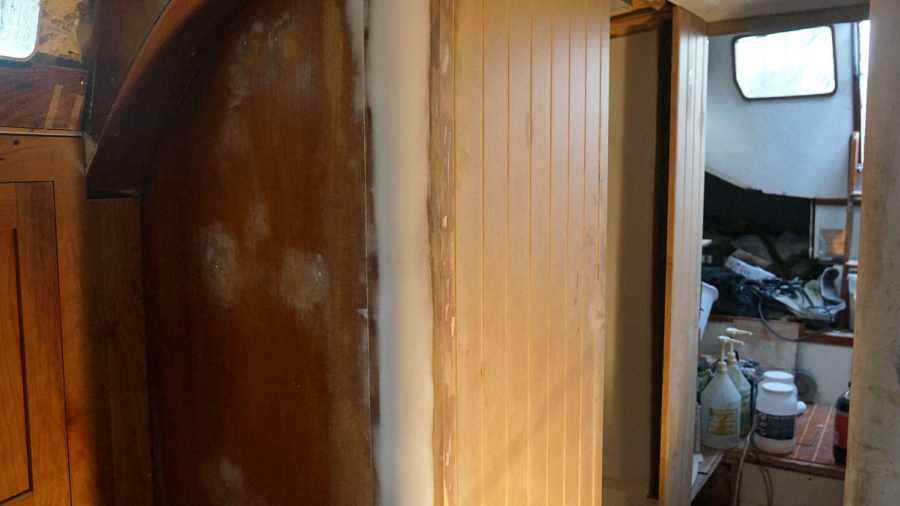
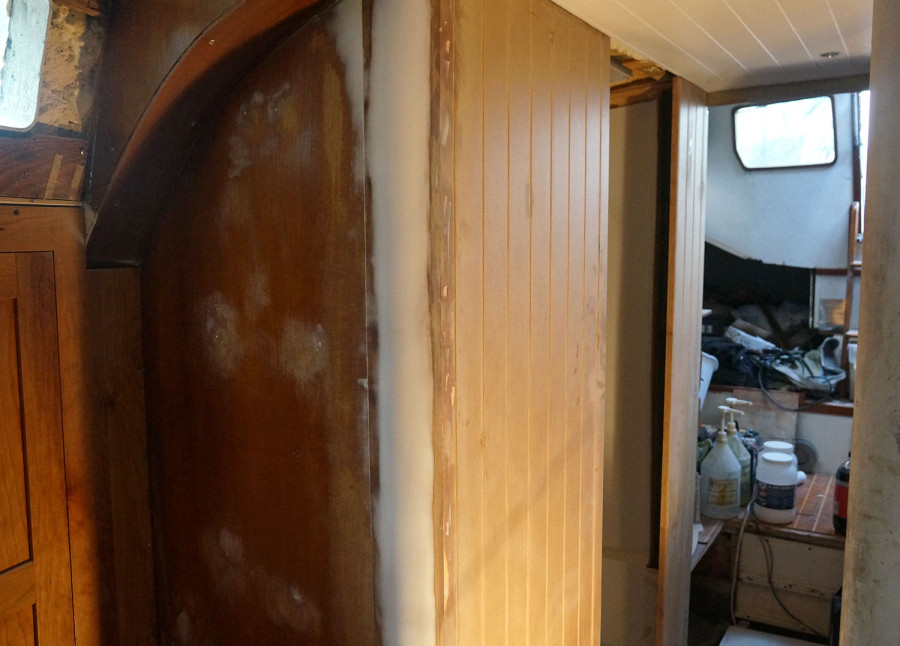
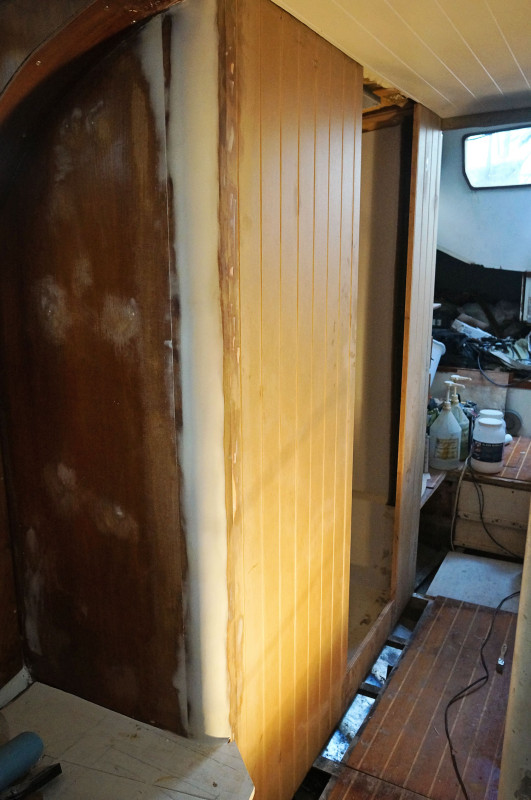
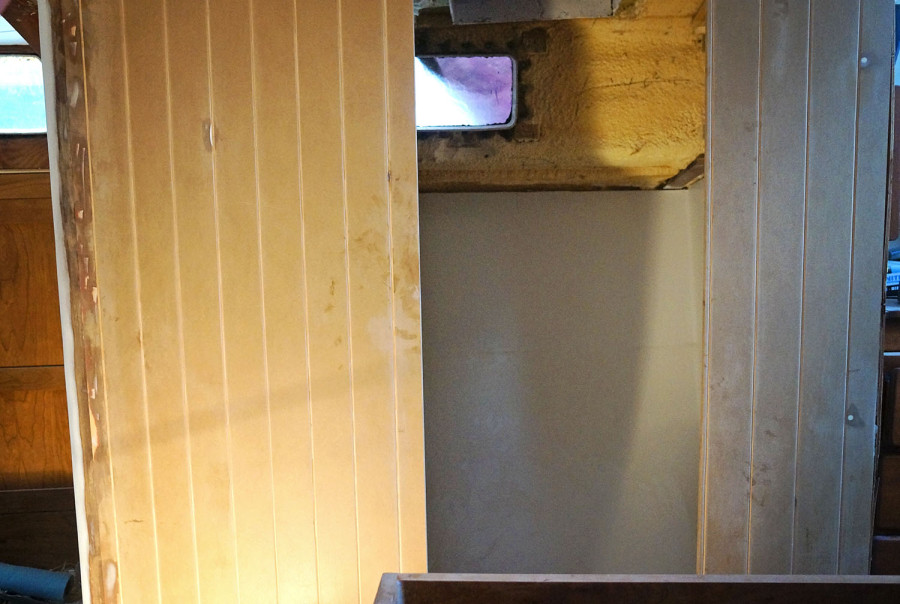
The entire wall for the head isn’t staying, we hadn’t just removed it and set it aside until a later time where we could put it back up. Â It’s only the back wall and the corner, which still needed a little work done to it even though it is staying. Â For the new portion of the wall running down the hallway fore and aft we used a 3/4″ MDO plywood. Â Like most of the others walls in the boat, we routed our v-grooves into the wood, except in this area they’re running vertical instead of horizontal. Once this was done and we had the board cut down to size, we attached it to the existing wall by using epoxy with a light sprinkling of colloidal silica mixed in. Â Using a few sets of strategically placed clamps, we let it sit and cure overnight.
Getting the entire wall up was a few day process because of the need for the epoxy to cure and harden. Â After the first and largest portion of the wall was in we added the smaller portion closer to the aft end of the boat. Â Another night of letting that cure and we were ready to add the much smaller pieces of plywood that will go above and below the door (which will be made much later, out of cherry hardwood and plywood). Â During the time these other areas were curing though, Matt had the daunting task of trying to add filler, using the glass bubbles this time, to not only fill the seam of where the existing wall and new wall matched up, but to also perfectly round the corner. Â There had been a few small divots that would become extremely noticeable once the wood went from dark brown to white. Â Over a few days of sanding and filling though, he was able to get a very smooth and even surface.
Using some of the leftover filler we also filled in a very noticeable mistake made with the router, and also the screw holes so they would not be visible (or even accessible) once the wall was painted. Â Two coats of primer later and it was looking pretty good if I say so myself.*
I can not say how good it feels to be back in the world of projects where there is a visible difference at the end of every day. Â Having a new wall up in the boat is definitely a visible difference. Â I can’t wait to start building up the interior now! Â But that will have to wait until we get back from our vacation.

