
Wednesday September 23, 2015
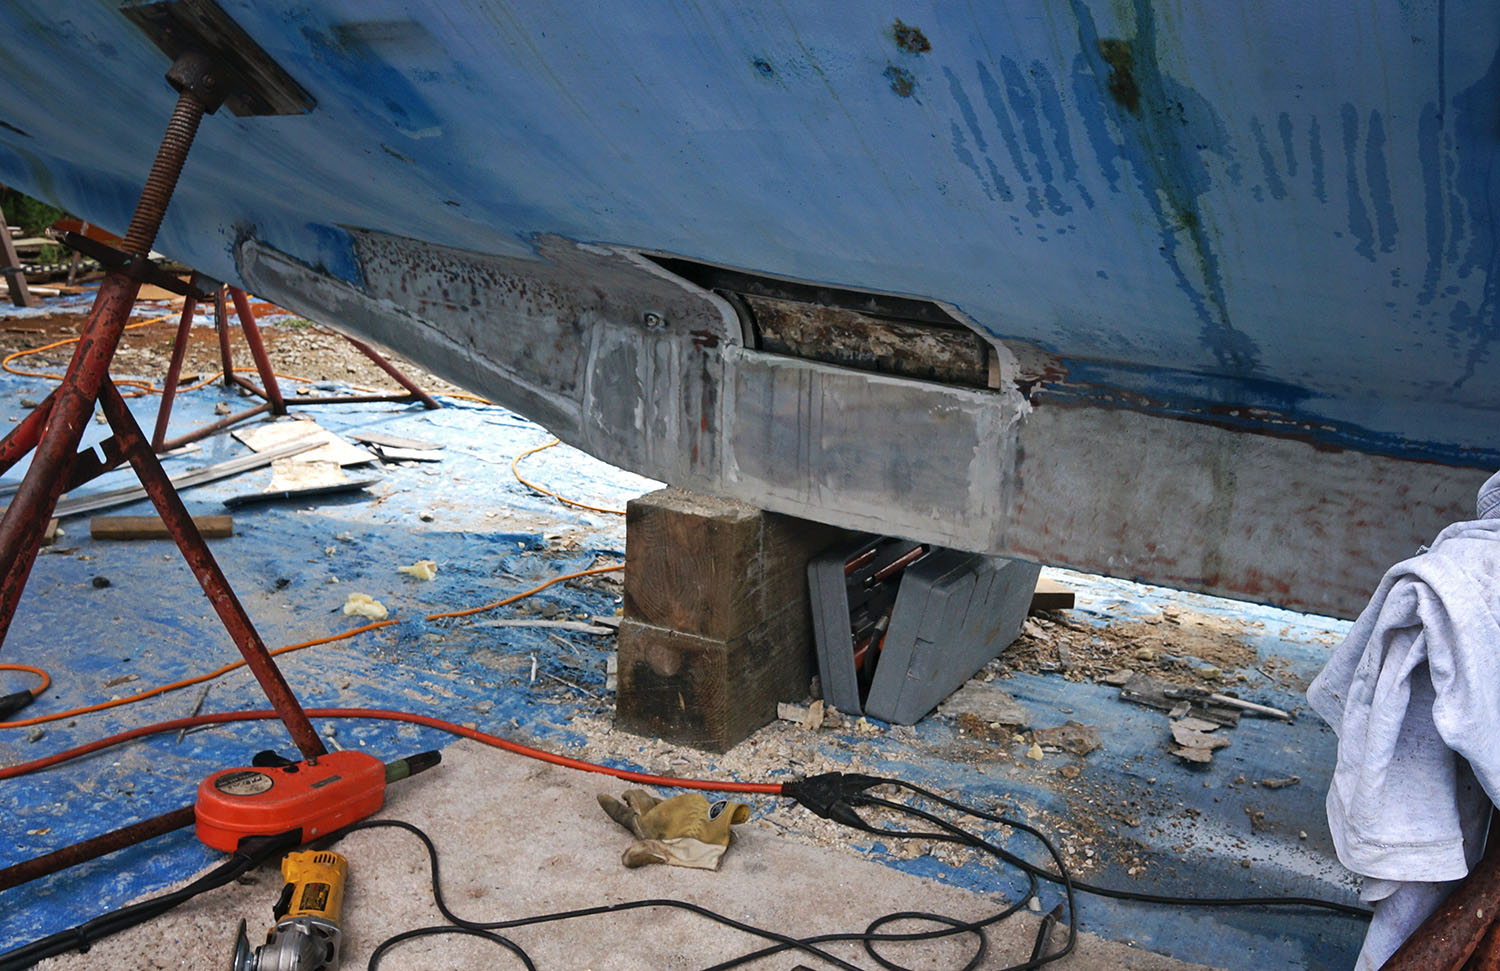
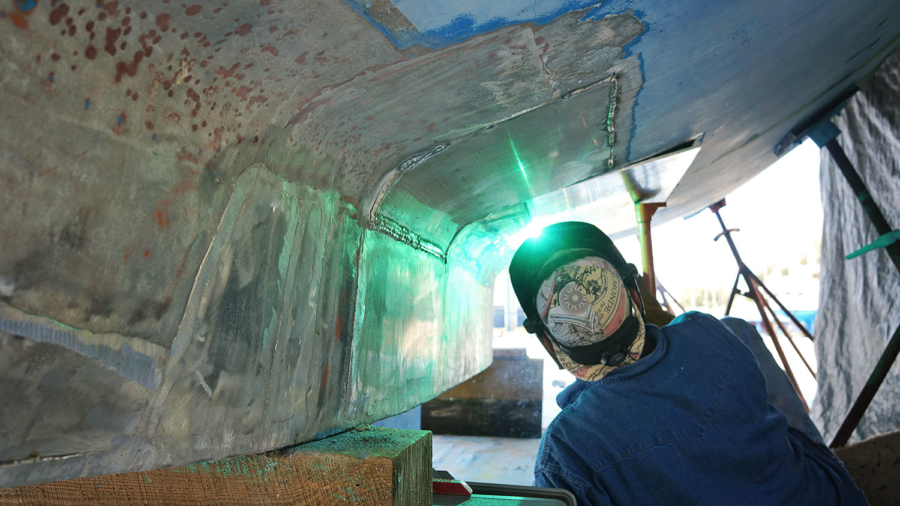
It’s finished, it’s finally finished!! Â The main areas of welding to the floor areas of the head and the galley are now complete. Â Aside from a few humps in the beginning where it took a little time to properly shape the new panel on the front of the keel that wrapped around both sides; and having a hard time removing some of the corroded aluminum from the side of the keel because of the lead in our keel directly behind it (an issue that was quickly fixed with the help of an air chisel), things have been moving swiftly along the past few weeks.
Since I can’t comment much more on the welding job because I’m trying to figure out Why is Sheet Metal Thickness Measured In Gauge and Not Inches? as answering some questions we’ve been getting on this process.
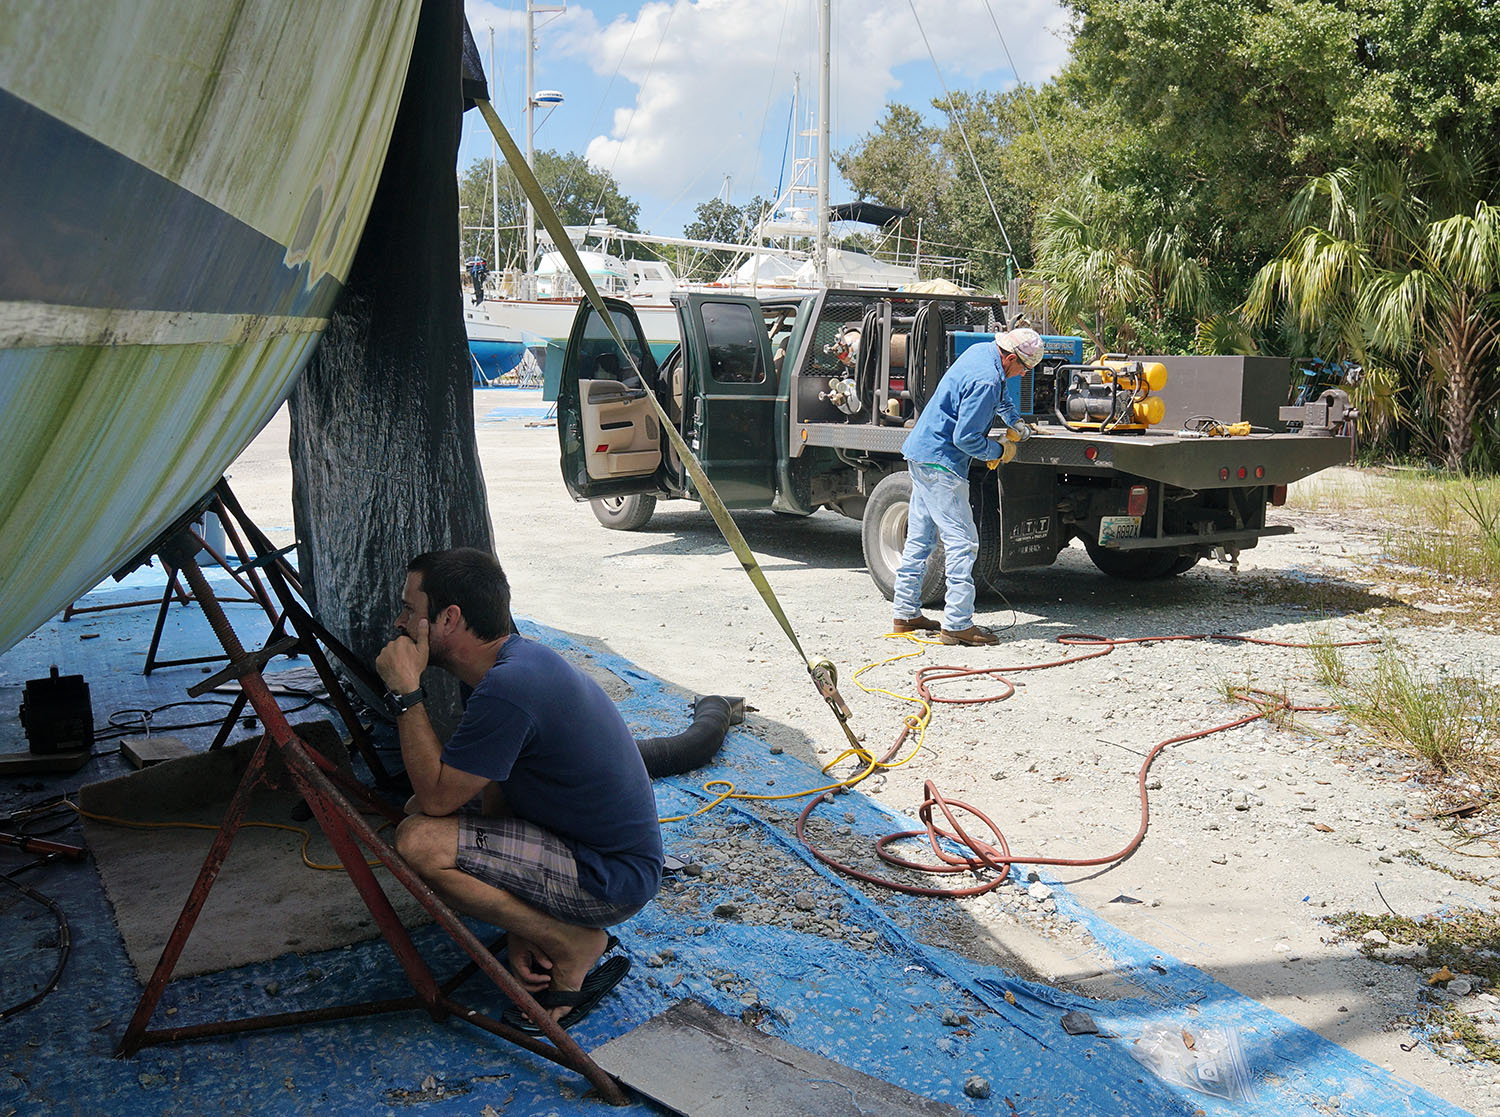
One popular question we get is ‘Why don’t you take a few classes and do this yourself instead of paying someone an hourly rate to do it for you?’. The simple answer is because of the location of the welding.  As Matt likes to tell the people in the work yard who ask us this question, If it were all areas above the waterline or on the deck that required welding, sure we’d probably take the courses and learn to do it ourselves.  It would probably be a handy still to have.  But because all of the areas we are concerned about are under the waterline it is imperative they are done right.  As far as our beginner skill level for carpentry and whatnot on the interior, it’s fine if we mess up a little bit here and there.  If an angle isn’t at 90° or if we need to add extra trim because we over-cut a board, it’s not going to kill us. But if there are mistakes in the strength of the hull or keeping it water tight…well, that’s a bit of a different story.
‘What kind of aluminum are you using for the replacement panels?’ Â When we had our ultrasound done back in June it was estimated that the original panels were 1/4″ thick where there was no corrosion and we’re following that thickness with new 1/4″ 5086 aluminum. Â (For someone who had asked, no we are not using airplane metal as that is not made for corrosion resistance).
‘Is this more work/welding than you were anticipating?’ Â Yes, absolutely. Â Nothing we can’t take on, but more than we were *hoping* was necessary when we first started. Â If you remember back to when we were debating on if this boat was worth the time and money needed to fix it up, welding was the big thing stalling us from diving right in. Â The problem being that most of the issues are not visible just by first glances on the outside. Â Some of the corrosion areas we were not even aware of until we began ripping apart the interior.
I don’t know if it had been mentioned in any previous posts, but our original intention had been to have the boat brought to Hinkley Boat Yard in Stuart to have the welding done. Â At the same hourly rate we were finding everywhere else, it seemed only logical that we put our boat in the hands of people who work on boats just like ours day in and day out, and are used to all the odd shapes and curves. Visit Website to find such people who would help you cater to your boats by supplying the right materials. With all their fancy equipment and large crew, they’d be able to expertly diagnose the areas to be replaced and have the new panels installed in a flash. Â Luckily this is not what we did, because at that time we weren’t aware of the areas in the head and galley that needed to be replaced. Â We would have spent all that money to have it hauled there and back only to have more work done anyway. Â Going the slow and steady route has actually paid off.
‘How much is this going to cost you?’ Â Uh….we’re not quite quoting figures on the boat work just yet. Â But don’t worry, we are keeping a tally and once everything is finished we’ll have a nice little page dedicated to what this refit cost us. Â But hey, look at all the scrap metal we’re collecting. Â We could probably turn it in for $5. Â 🙂
So there you have it. Â I wish I had more information or more to say on the process itself, but as I mentioned in our Stage 1 post, I usually wander off and play on my computer while any work is being done since I’m of no use or help to it.
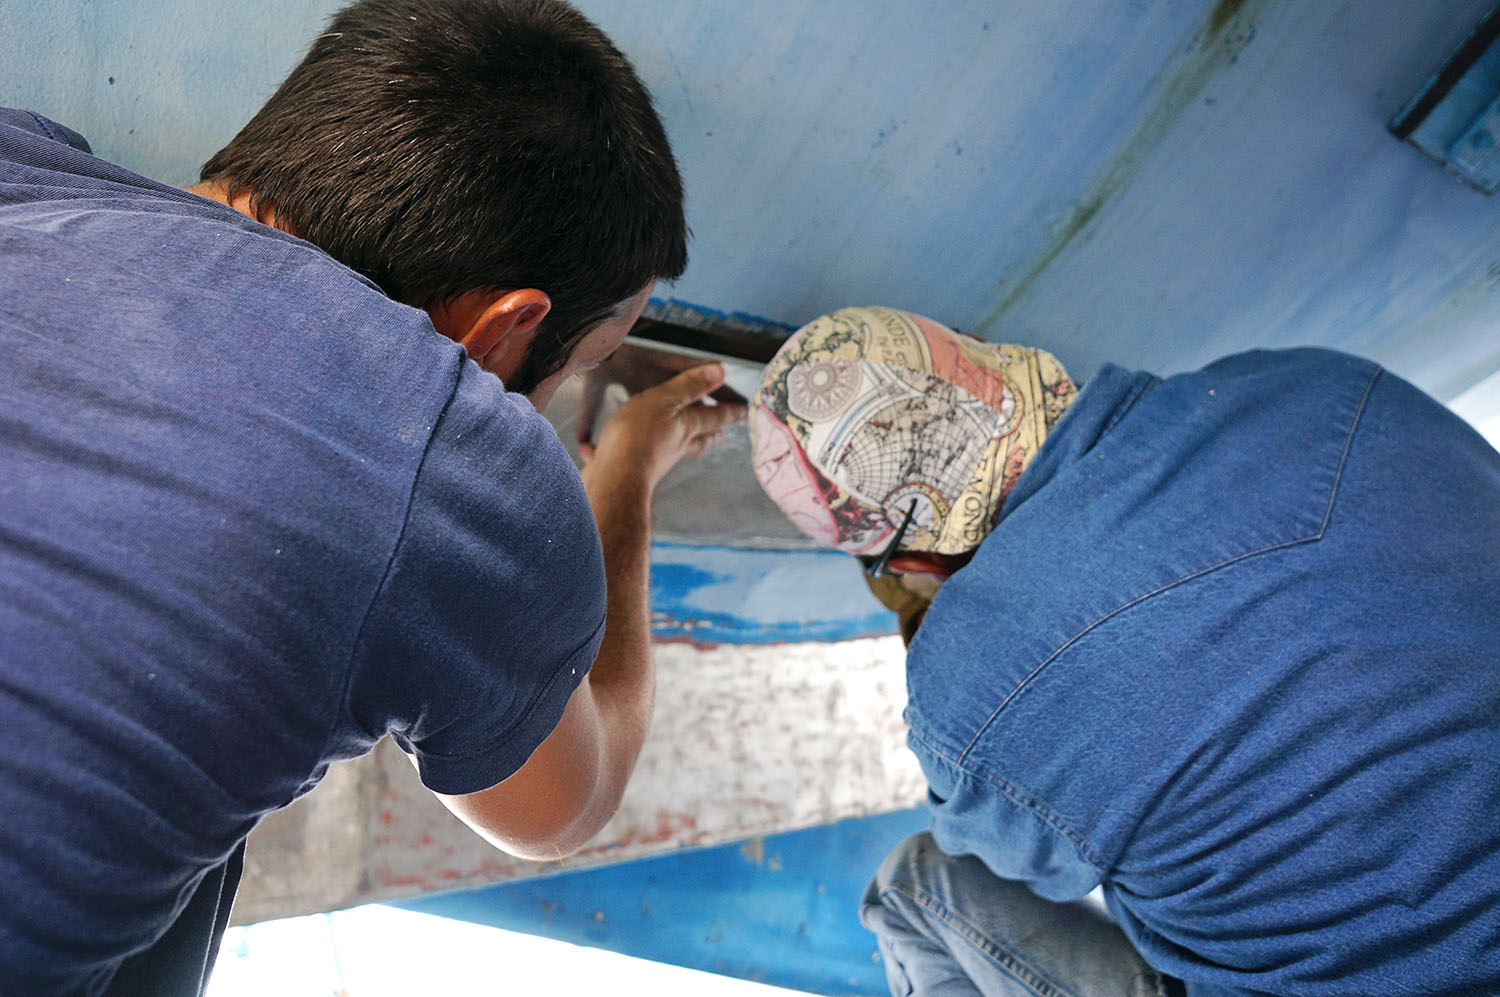
There are still just a few more very small areas to be taken care of, but we’re going to give ourselves and our welder a much needed break from focusing on them right now. Â All I know is with the floor areas of the galley and head replaced with shiny new plates we can begin work on those areas and keep up hope that we’ll actually finish the interior of this boat one day! Â Next project on the list is building our own box for our refrigerator. Â Stay tuned as I’m sure it will be a fun lengthy process.
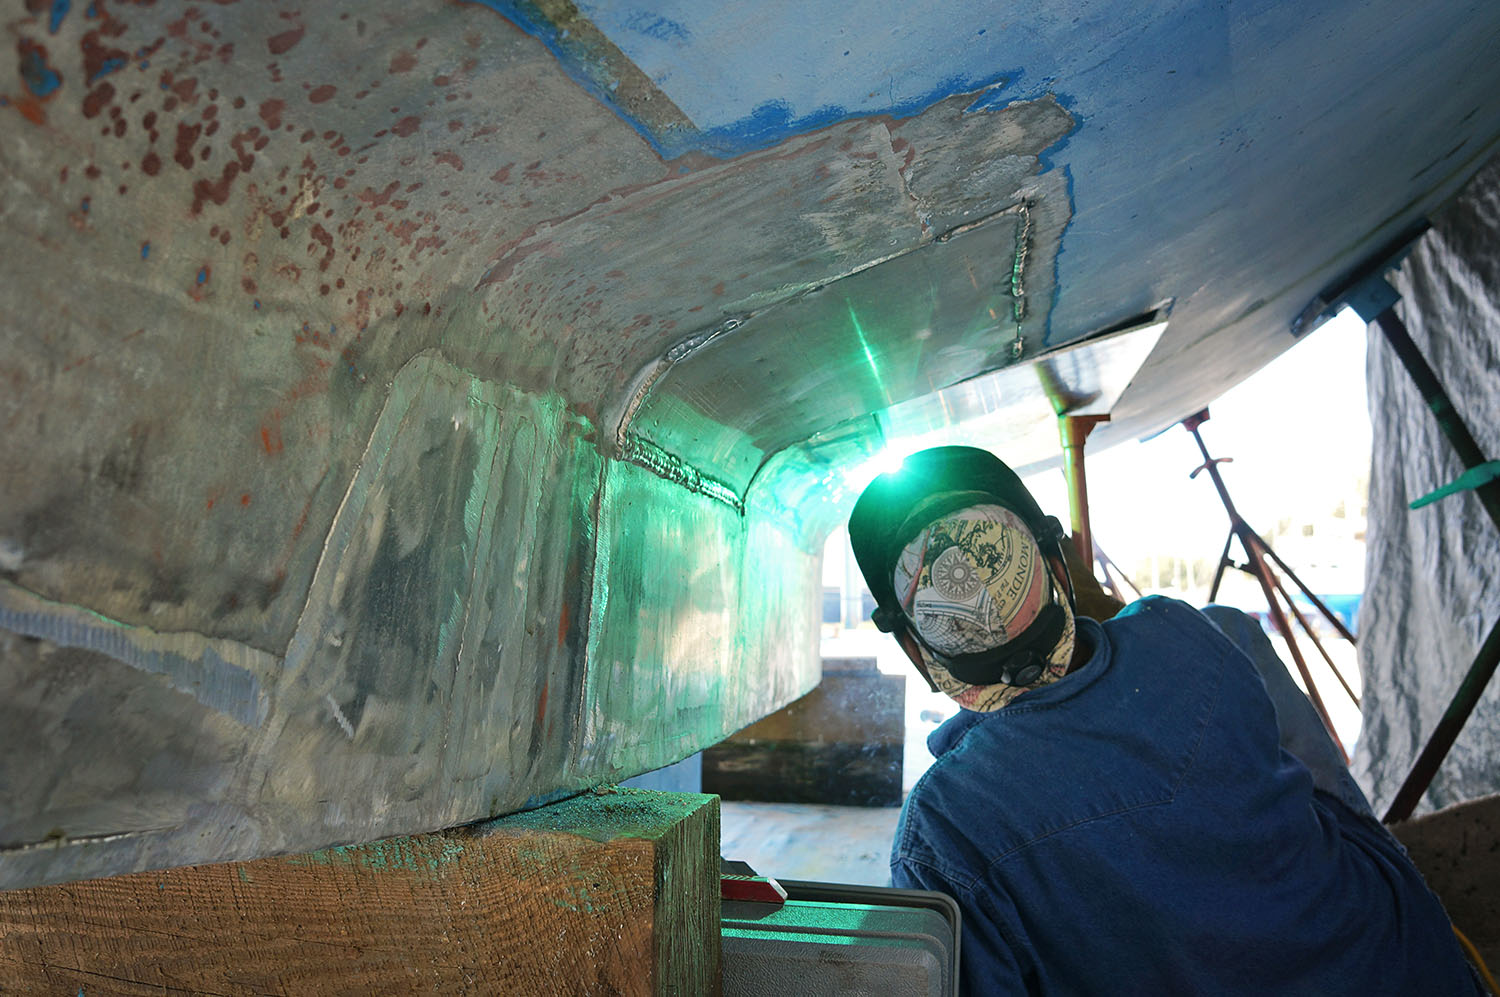
**Don’t worry, we never looked at the welding in progress. Â For the one photo that shows it I looked away and held the camera out in front of me while I took the shot.

I notice you are getting a lot of Facebook pingback in your comments. That’s a shame. People should take the time to read what you are writing, and actually experience a piece of your life which you are offering for free here. Oh well, people are people.
Hey! The boat is coming along wonderfully! Keep plugging away!
I’m sure that since you have all this time where you can’t be helping with the welding, you are becoming a real pro on that guitar, and have mastered several secondary languages. (yes, I’m poking fun. I haven’t done those things either)
If one of those cats had been a male, I might have helped you out.
I still might drop a few beers on the patio for you two some weekend, and you will likely be gone before I get this Kumquat tree grafted.
It will be great to see when you are back on the water!
I wish I could be practicing my guitar! There’s no room to keep it on the boat right now so it sits in storage. 🙁
Priorities. You can always learn guitar and languages later. Has anyone asked for the cats?
Welding classes would not qualify you to weld aluminum on a boat, It burns through very easily and is a hard metal to weld, it takes a lot of experience. Whoever asks you to take classes have no idea. Rock on you two are doing a great job…
Peggy, In my experience, Aluminum is the easiest metal to weld, with a torch, and the simplest metal to weld by current (arc). Stainless Steel being the most difficult in sheet form. On the other hand if you want to weld plastics, HIPS is the most difficult, and PVC the easiest. Of course I may be talking out of my rear because I am a licensed A & P mechanic, and boats aren’t airplanes, are they.
Oh hell, what’s the difference. Why should anyone who lives on a metal boat have any need to know how to weld?
I think that everything posted was very reasonable. However, think
on this, what if you added a little information? I ain’t saying your content is not solid.,
however what if you added a post title that grabbed a person’s attention?
I mean Stage 2 of Welding our Aluminum Boat
| Matt & Jessica’s Sailing Page is kinda vanilla.
You ought to glance at Yahoo’s front page and watch how they create post headlines to grab
viewers to open the links. You might add a related video or a picture or two
to get people excited about everything’ve written. Just my opinion, it would bring your posts a little bit
more interesting.
Thank you for your insight on looking into Google for a more attention grabbing headline, but this post was never really meant to attract viewers on an informative basis on how to weld or much information on welding itself. As stated in the post, we hired someone to do all the work for us and stood back while he, well, worked. Since we do have a loyal readership though, this post was designated to address a few of the questions we receive about our welding process.
Hey, great share….
I must say you people are doing a great job.Though I am not a pro welder I also love getting indulged in Welding projects. Your post is quite engaging.
Thanks for sharing this post and keep sharing this sort of interesting stuff.
Cheers!!
Welding classes would not qualify you to weld aluminum on a watercraft, It consumes effectively and is a hard metal to weld, it takes a considerable measure of involvement. Whoever requests that you take classes have no clue. Shake on both of you are completing an extraordinary activity.
Thanks for this post and it seems very interesting I myself am a welder and I love reading blogs about welding and the related works done. I think, now I can go for this type of projects. Keep posting this type of work.
Looks amazing. Very interesting to see welding your aluminum boat. Thanks for sharing your experience with us.