sunset in boat yard

Random Happenings in the Boat Yard

Wednesday November 4, 2015

sunset in boat yard

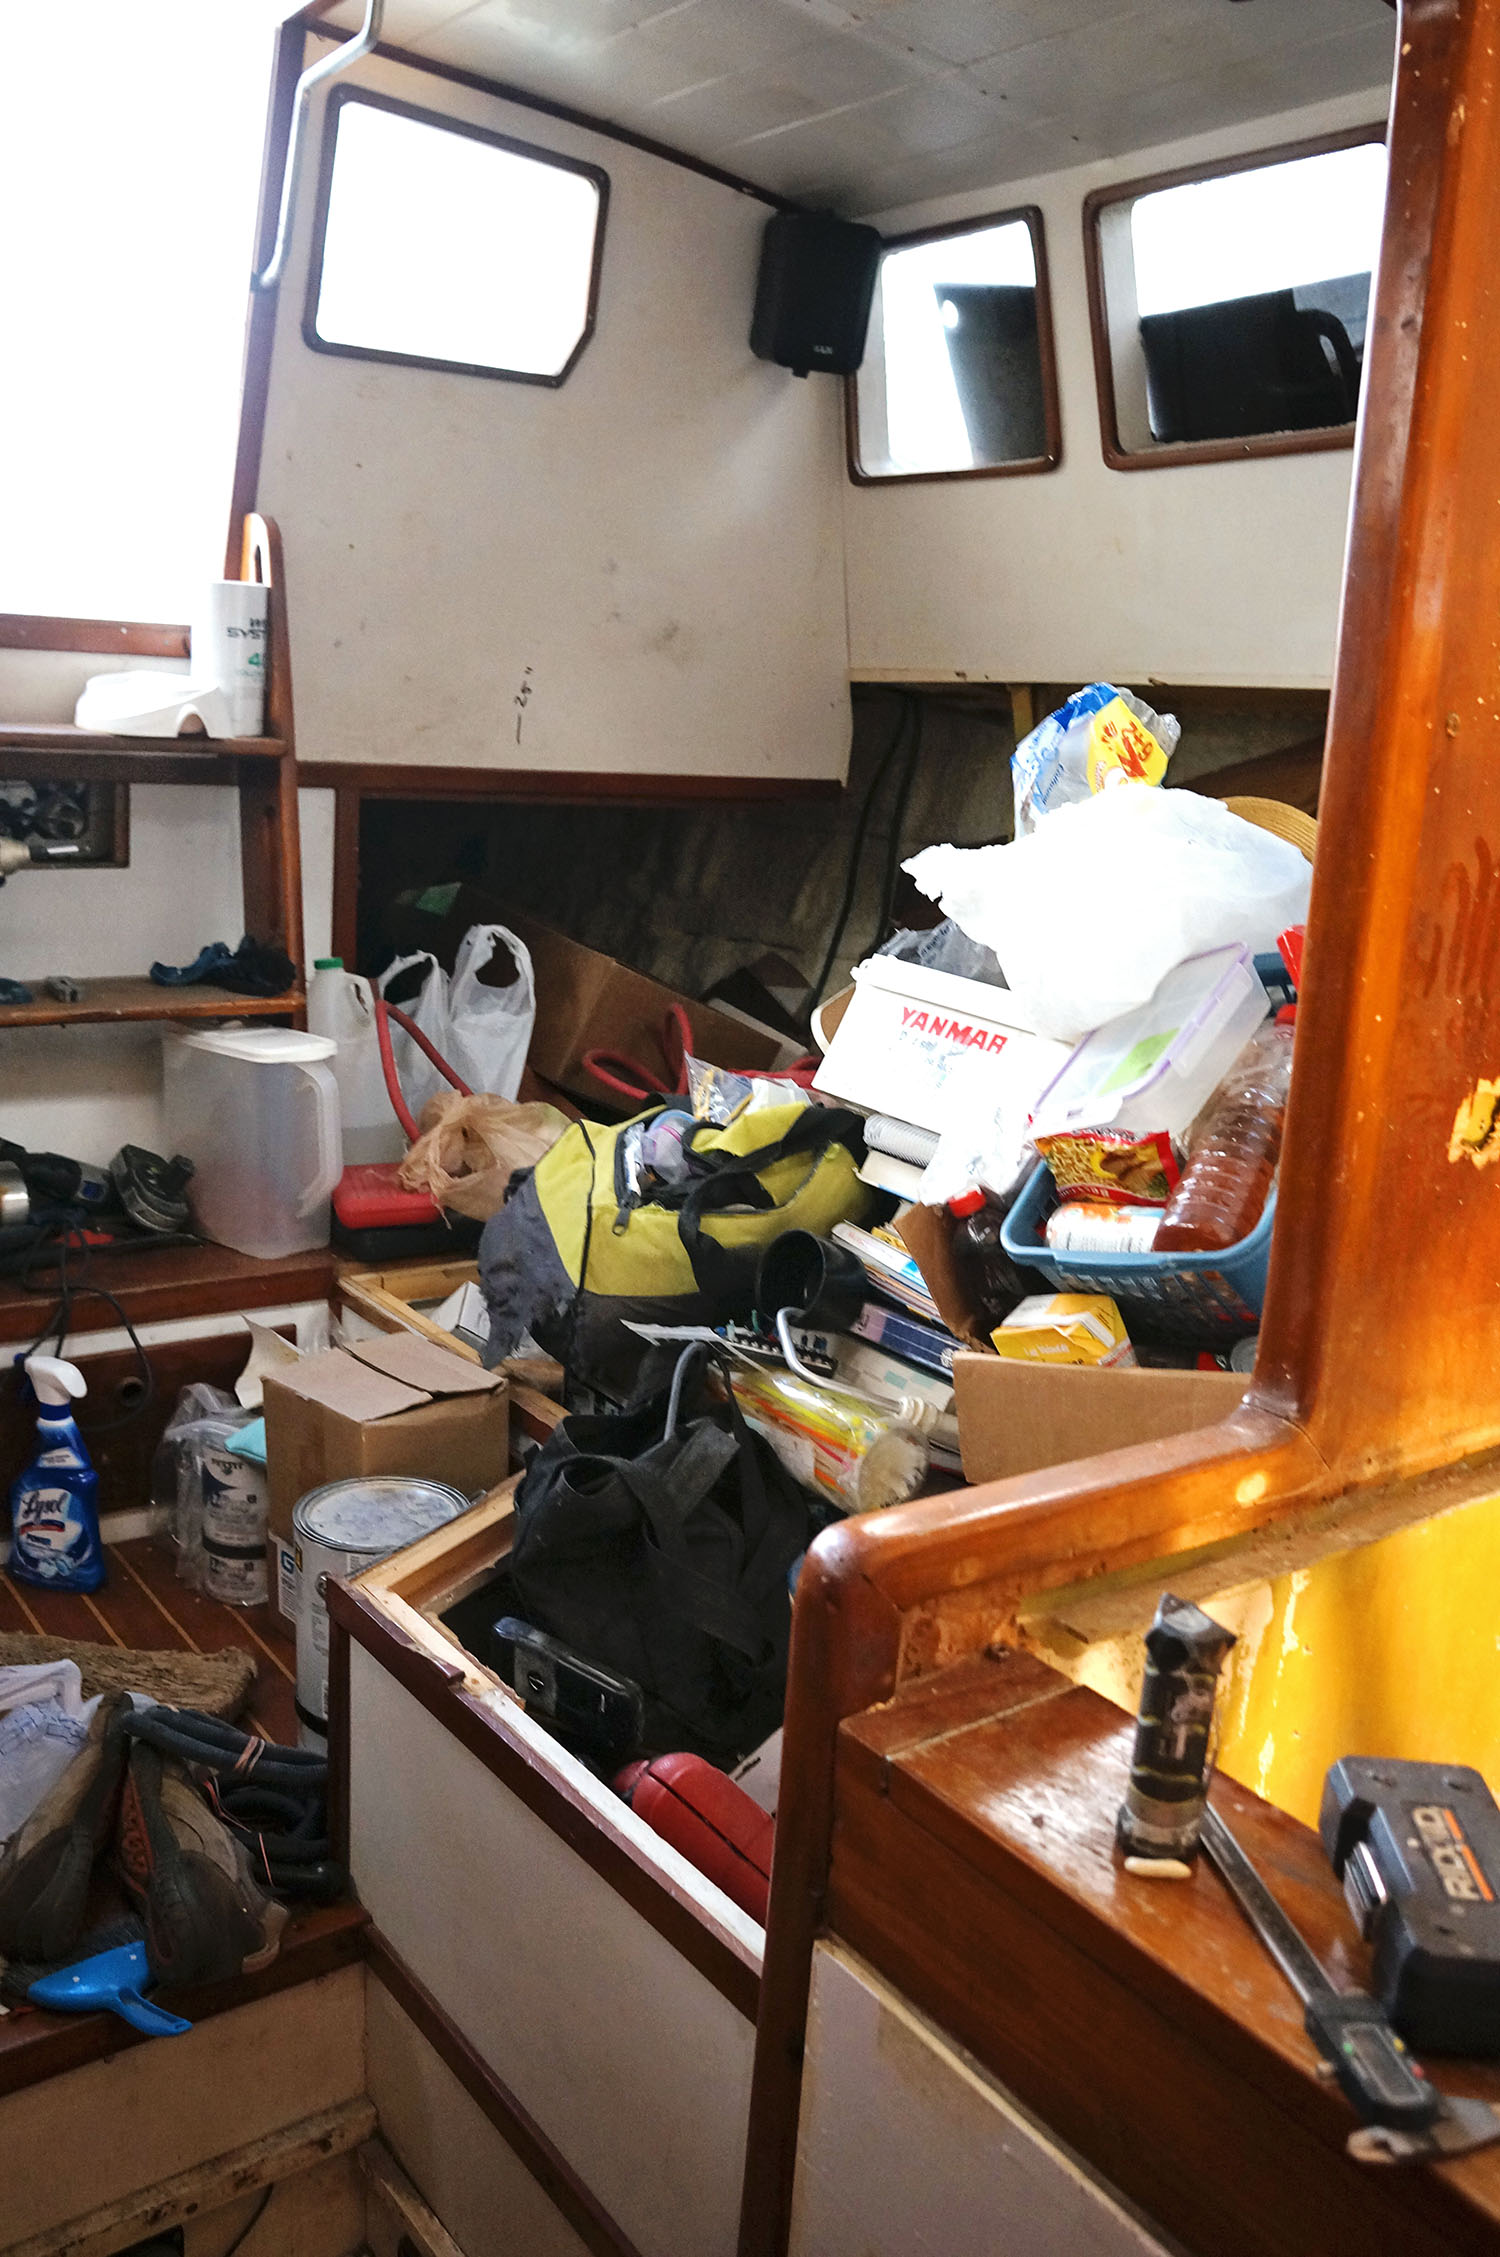
Here we are at another spot where the projects we’re working on are just so long and drawn out that I’m waiting to be able to do a full post on them, or they’ve been so small that they barely feel worth mentioning.

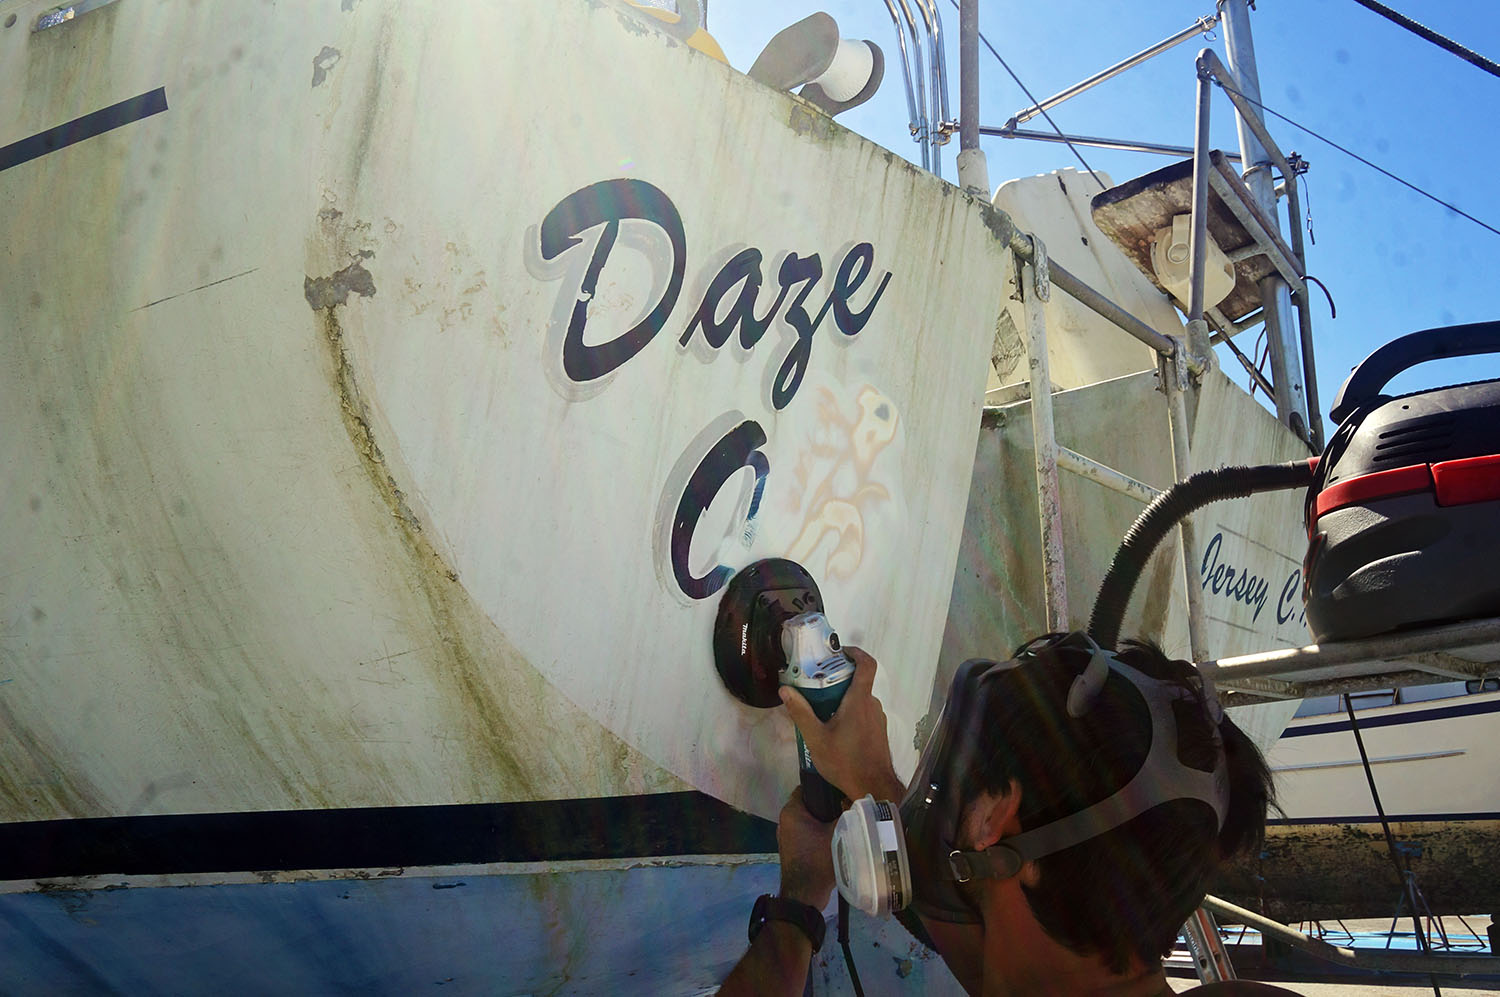
So until I can compile a full post one one of the six projects we’re working on at moment, or since I do want to quick show you other little things that have been taking up our time, check out some of the random happenings around Daze Off.

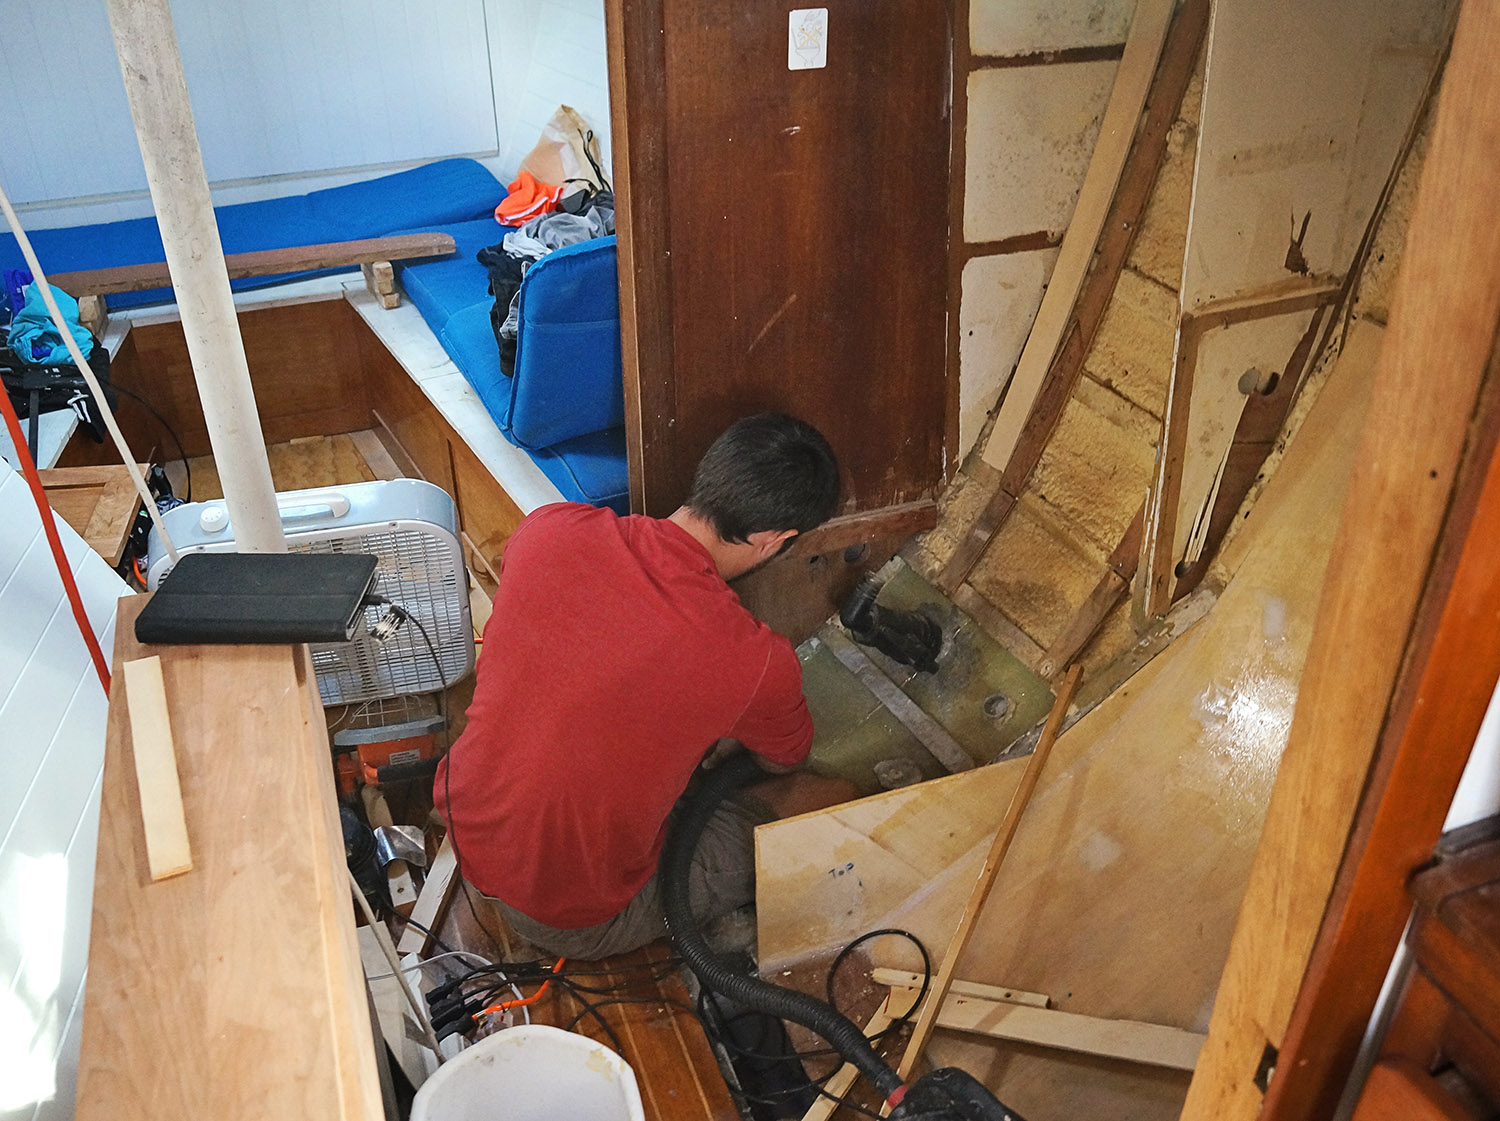
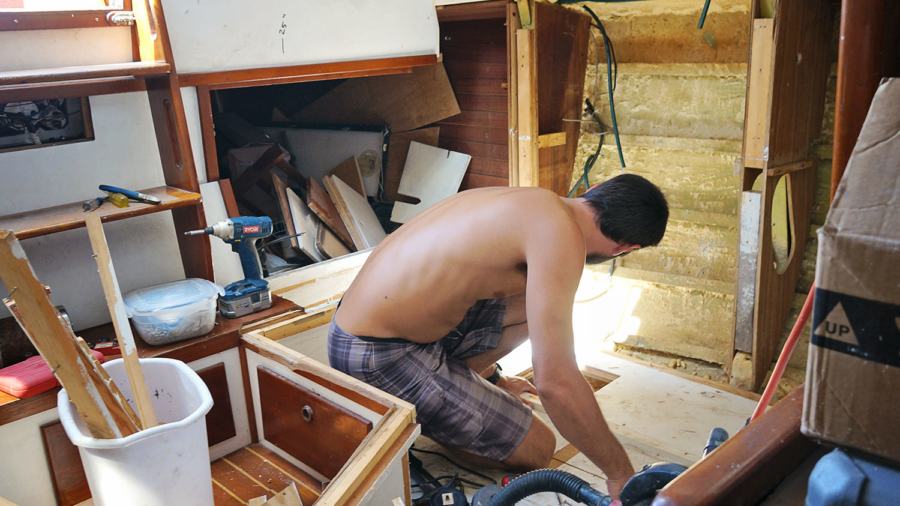
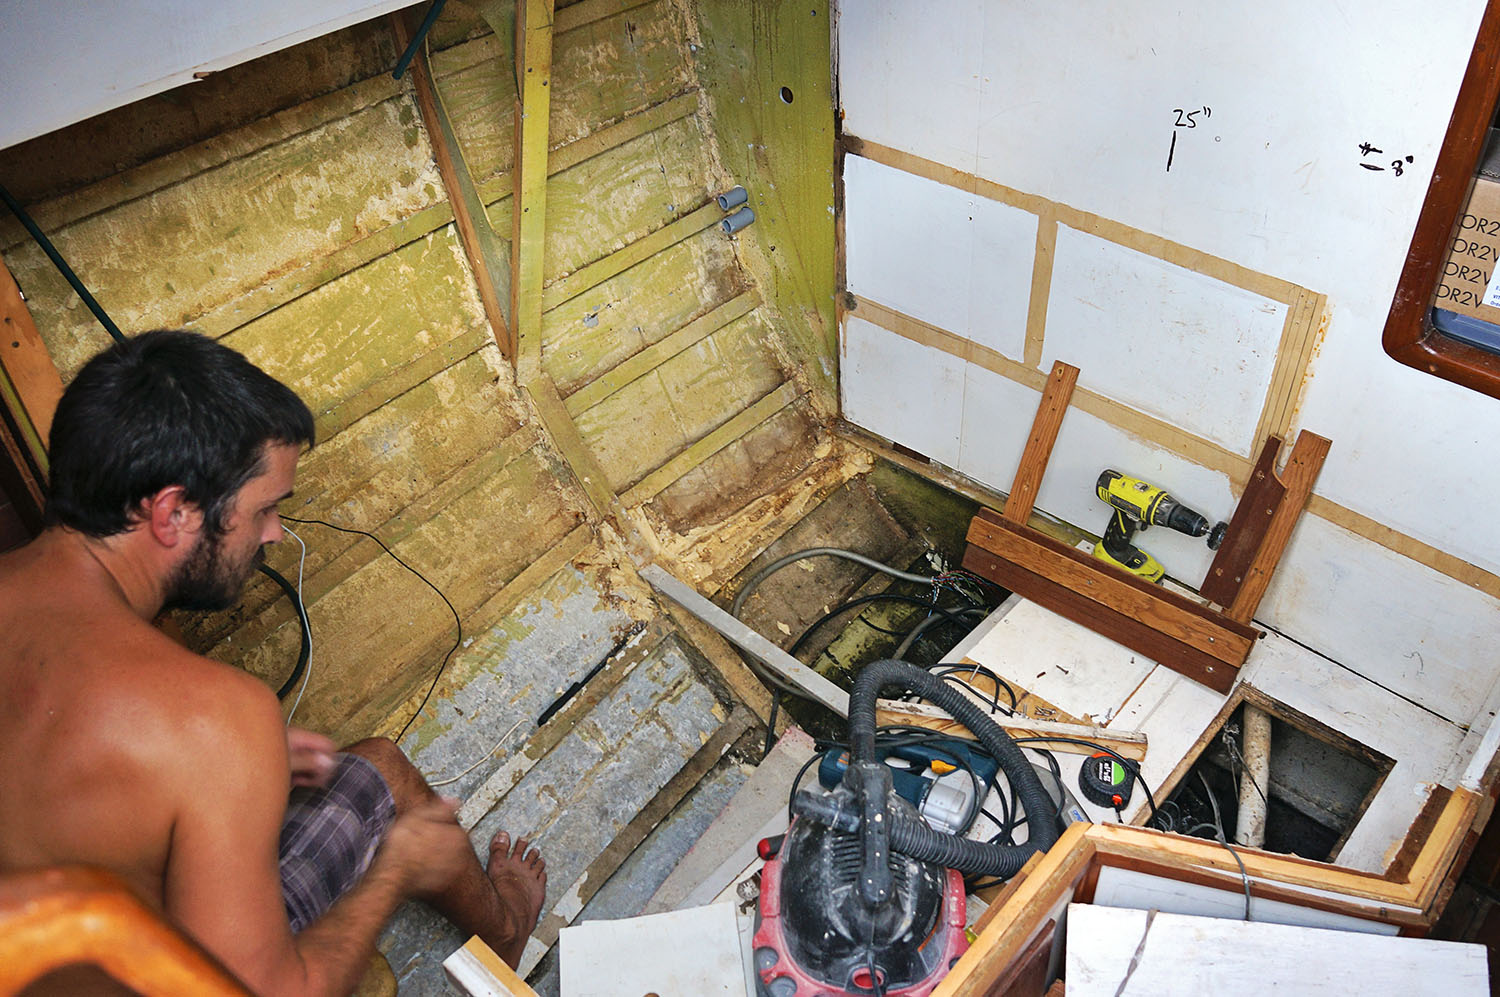
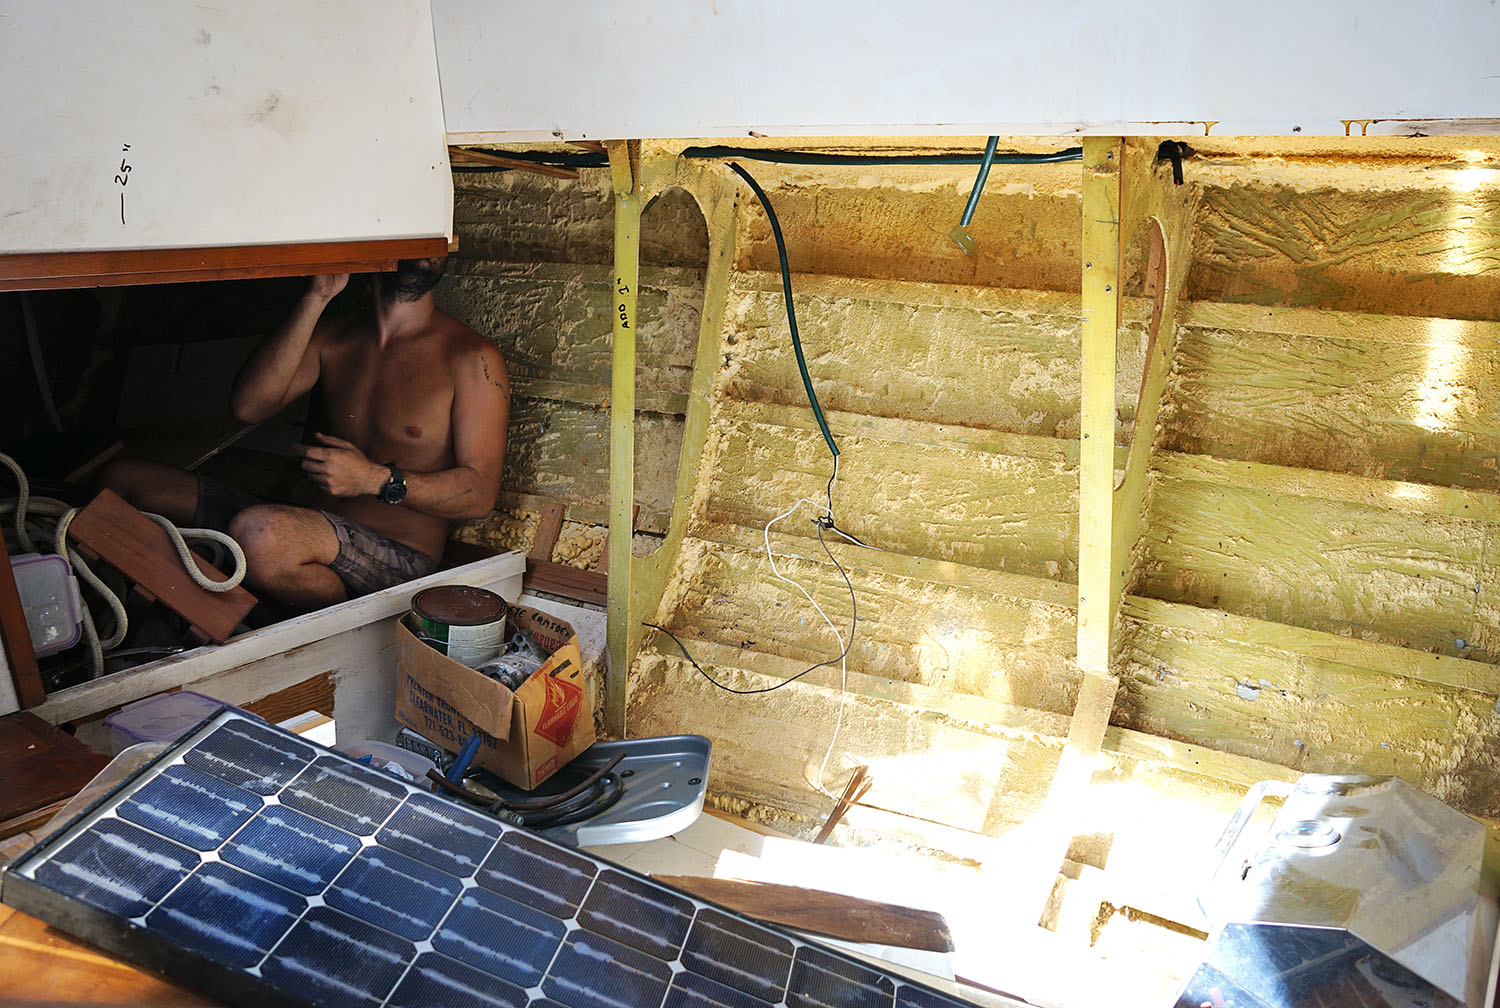
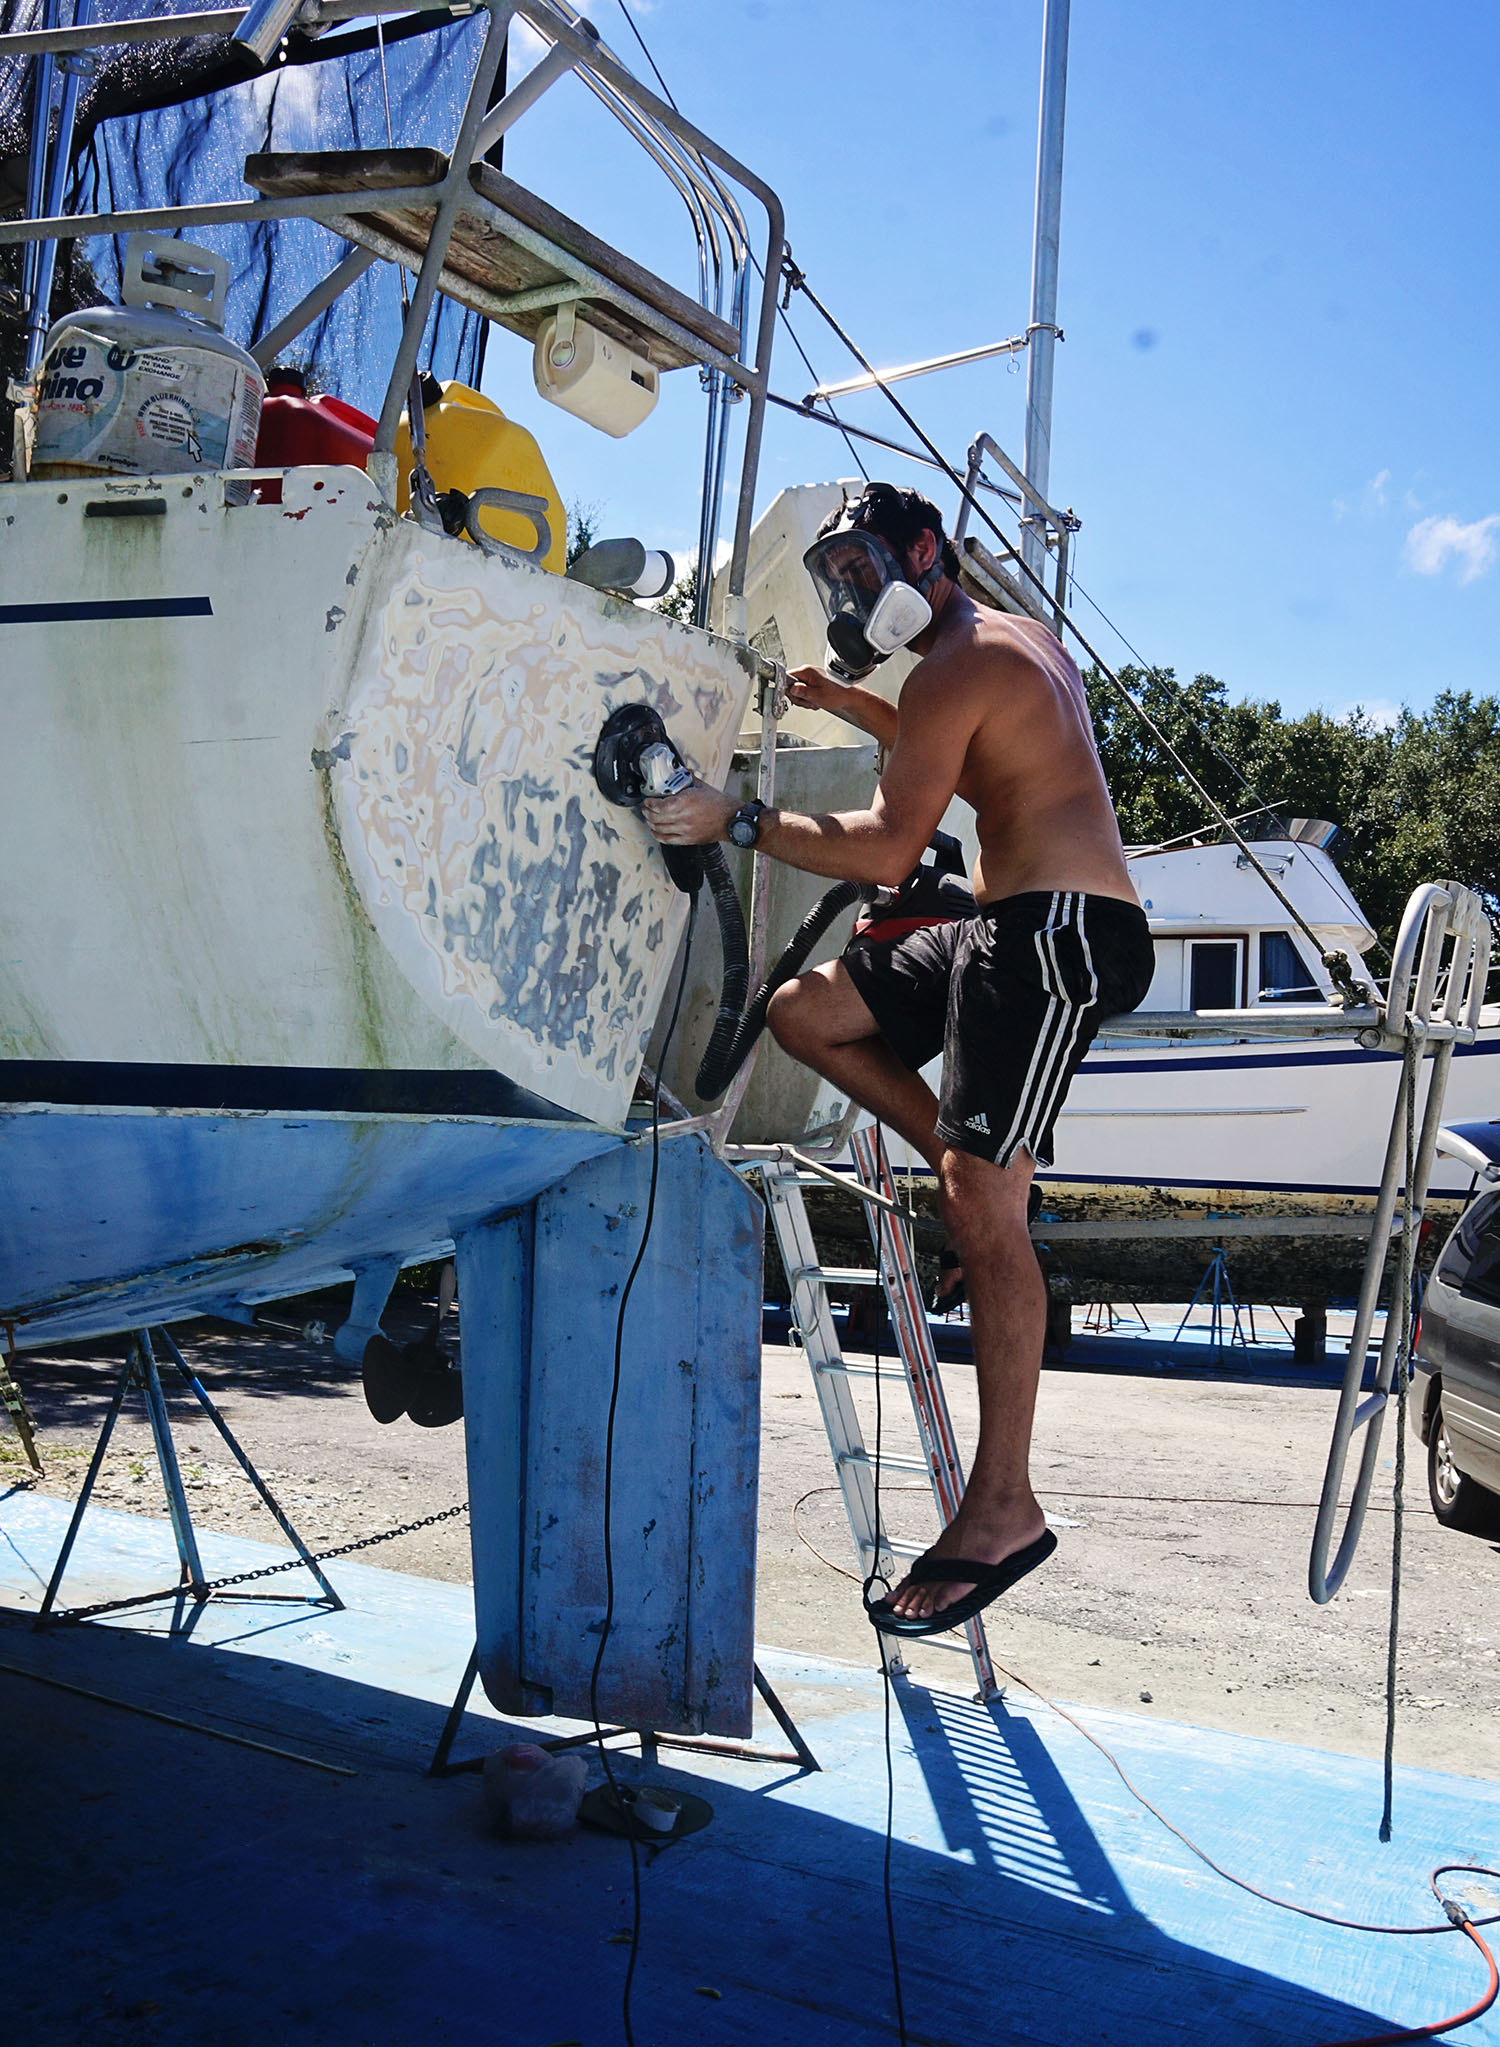
  • We’re getting our water tanks ready for use.
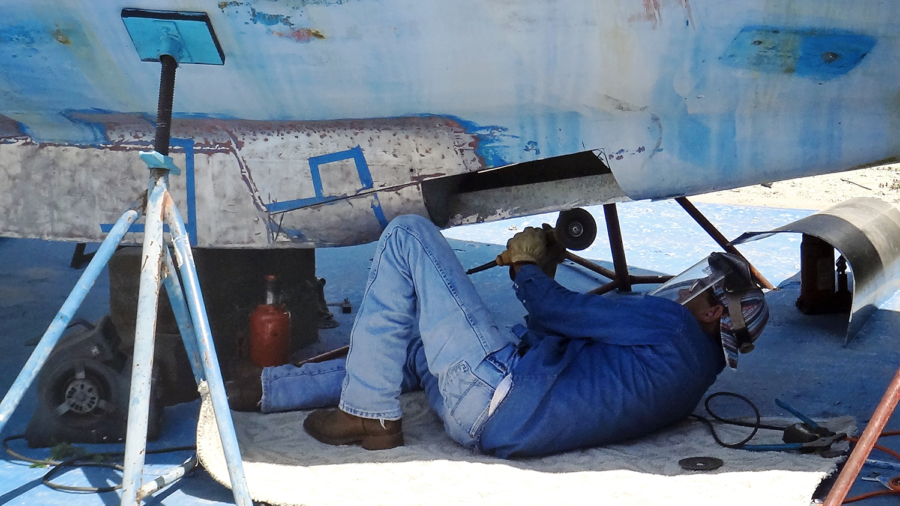
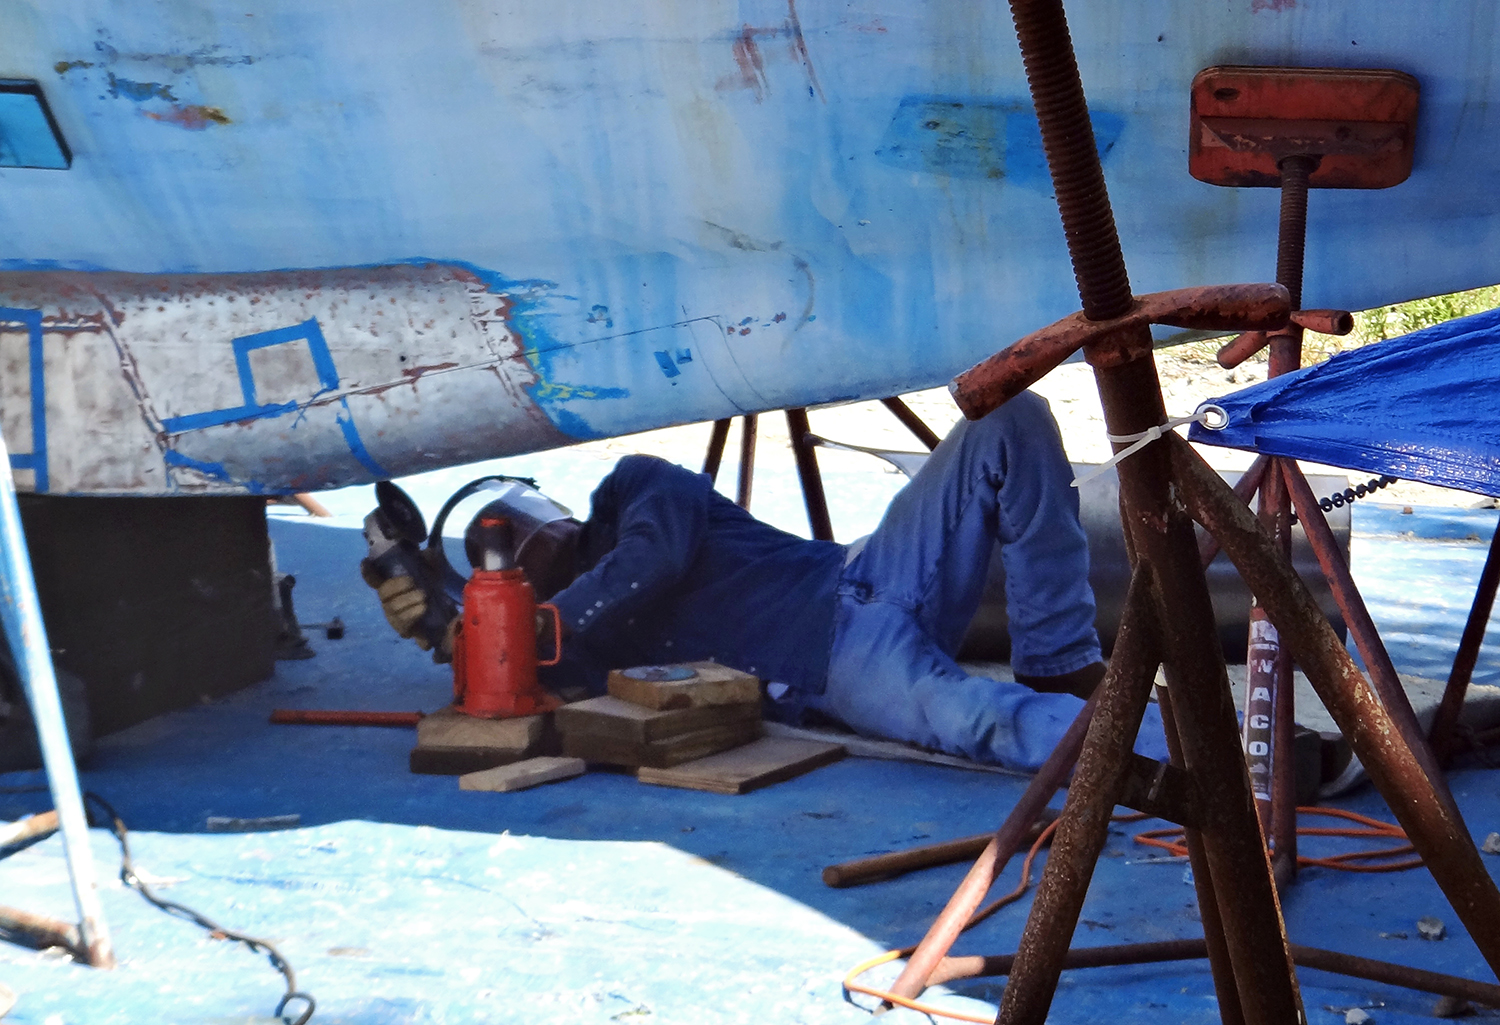
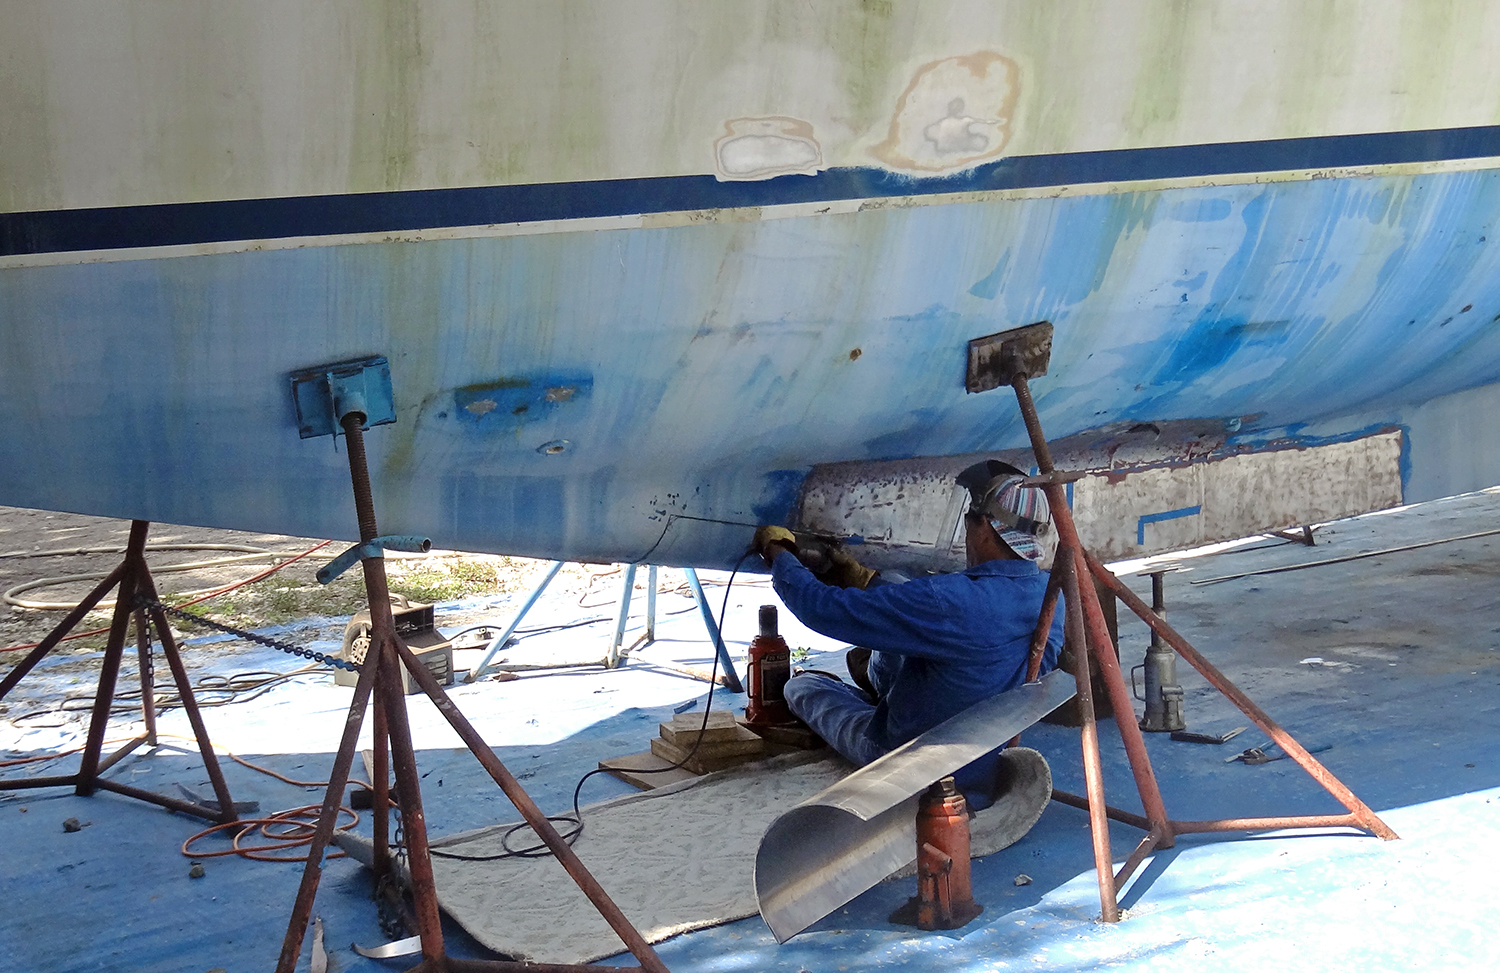
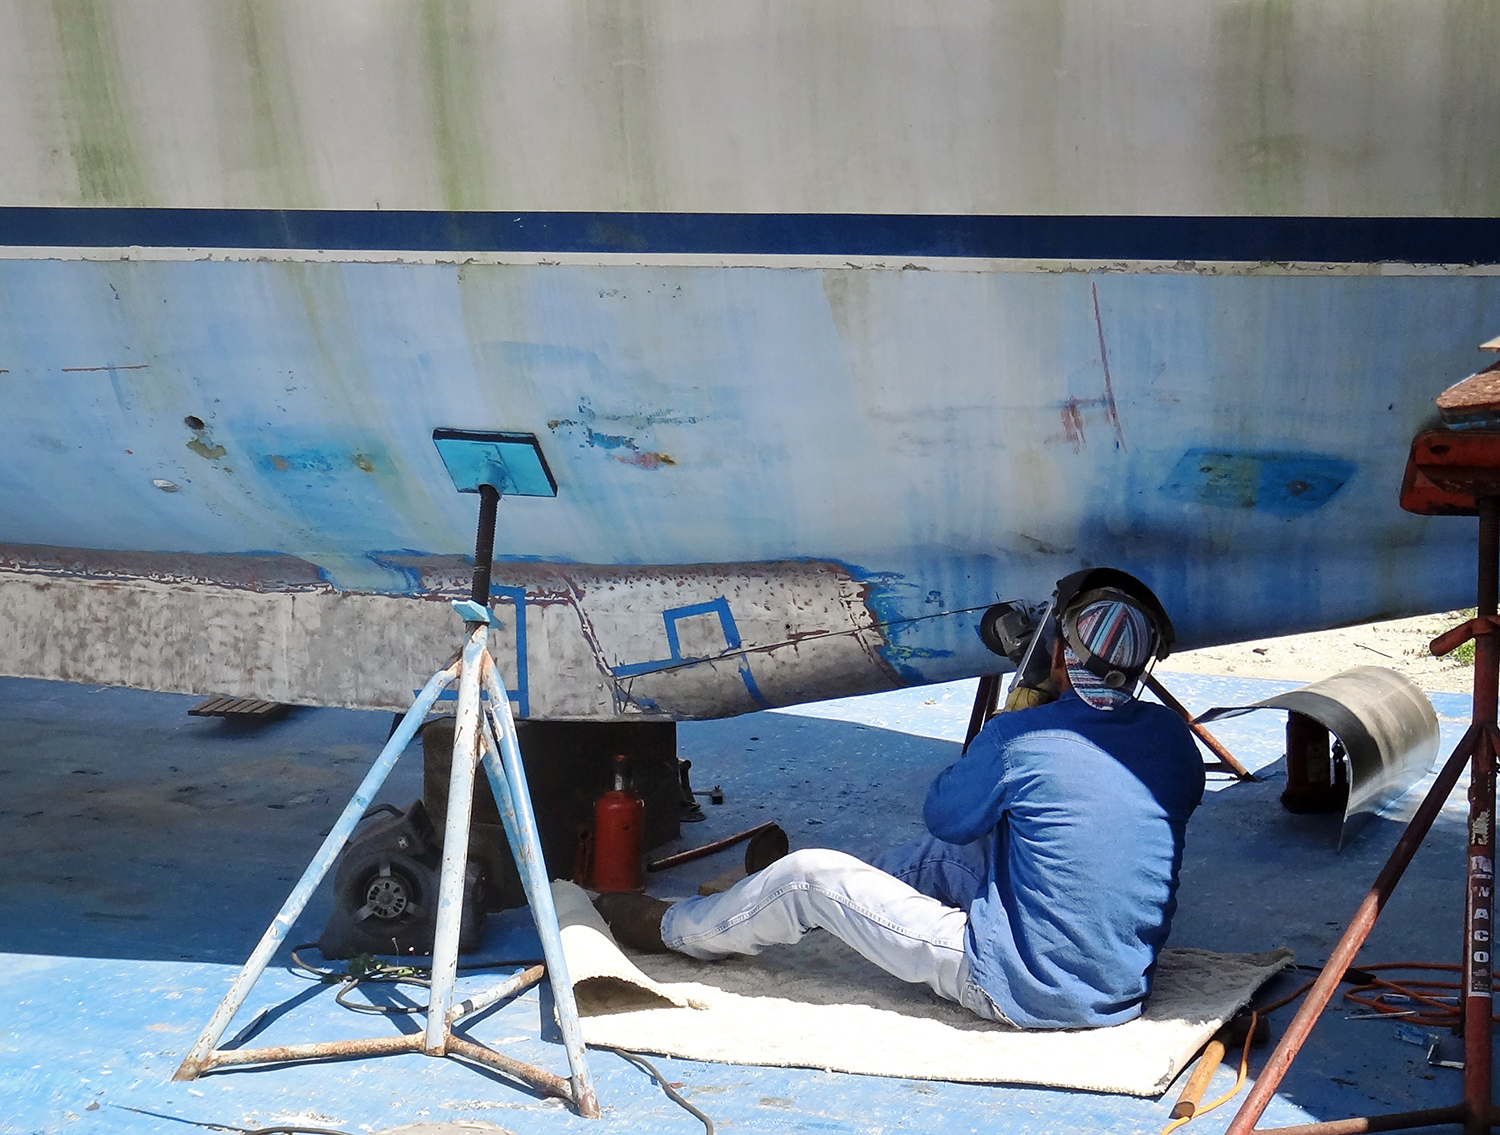
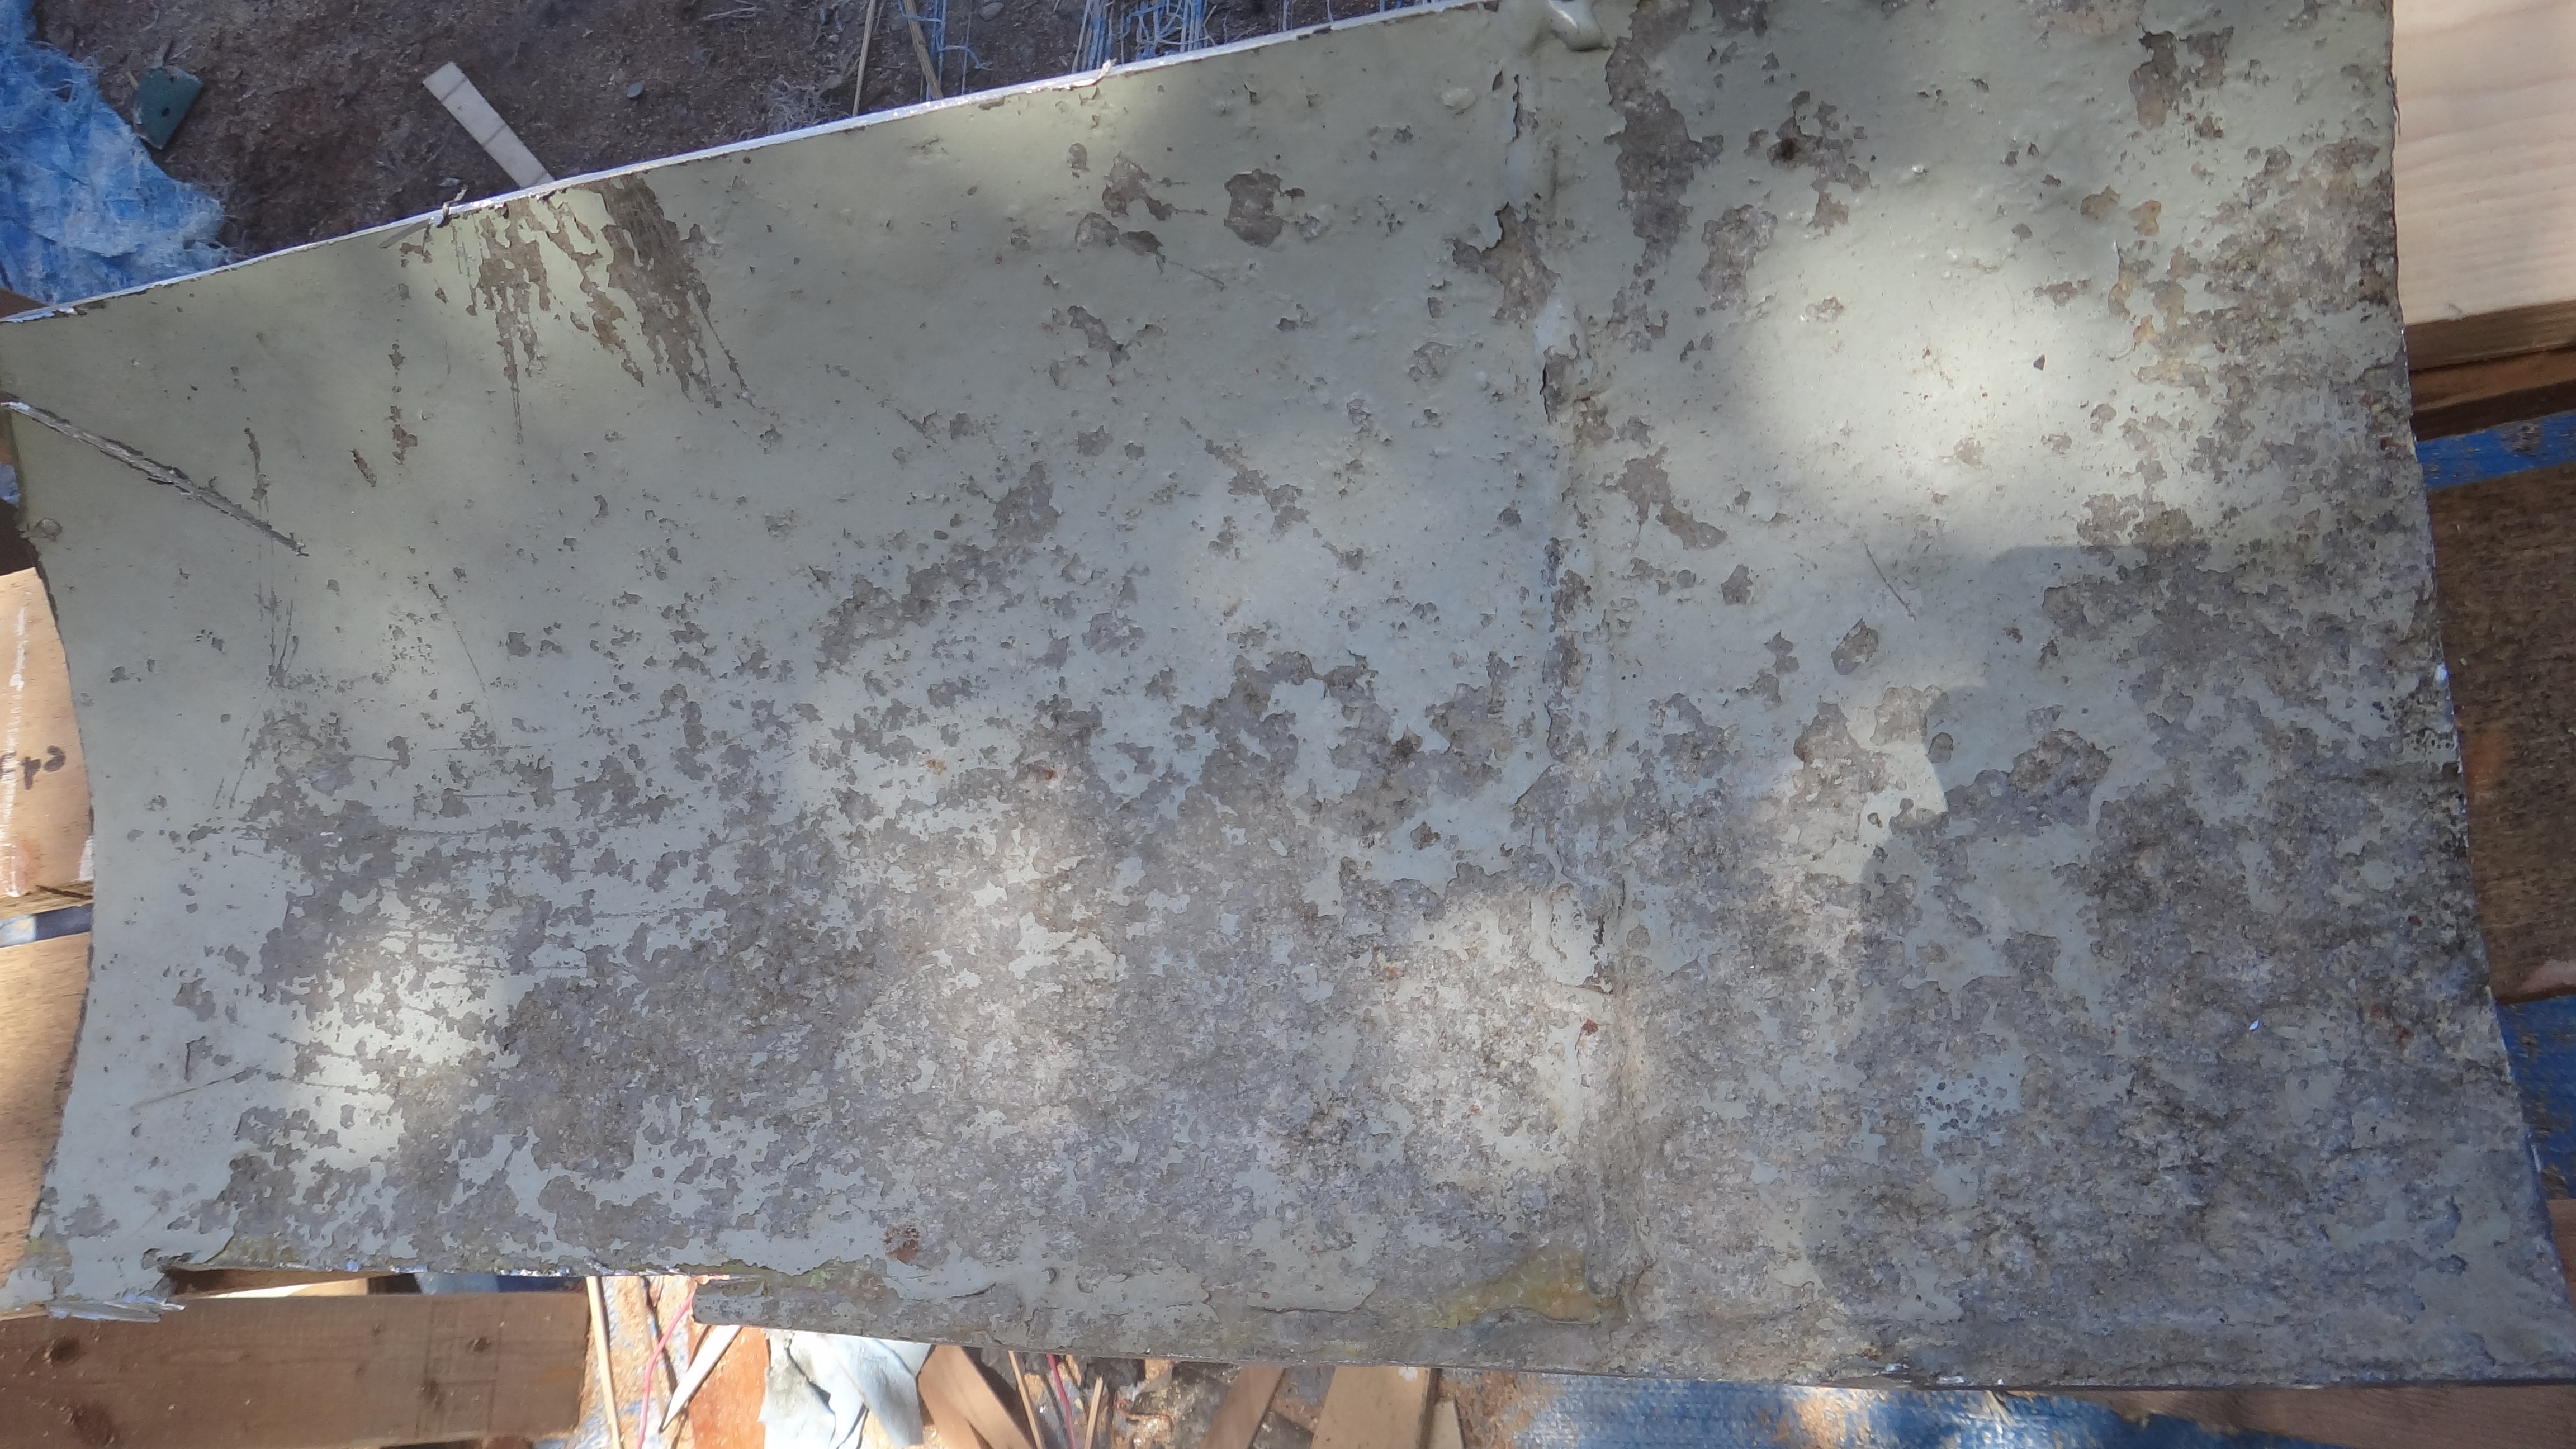
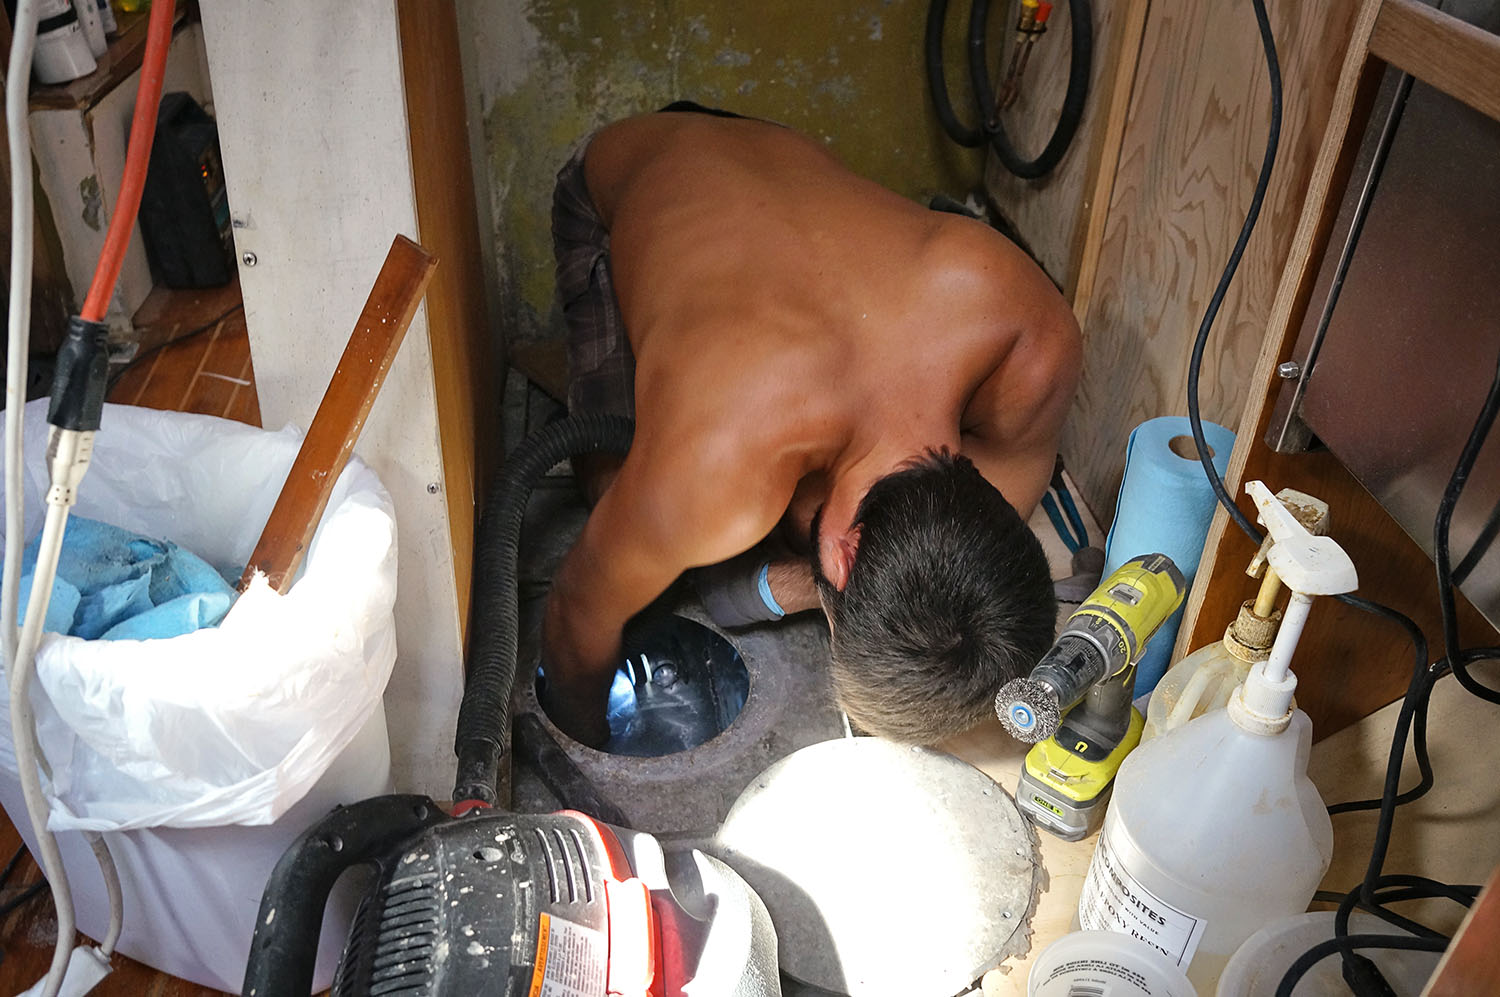
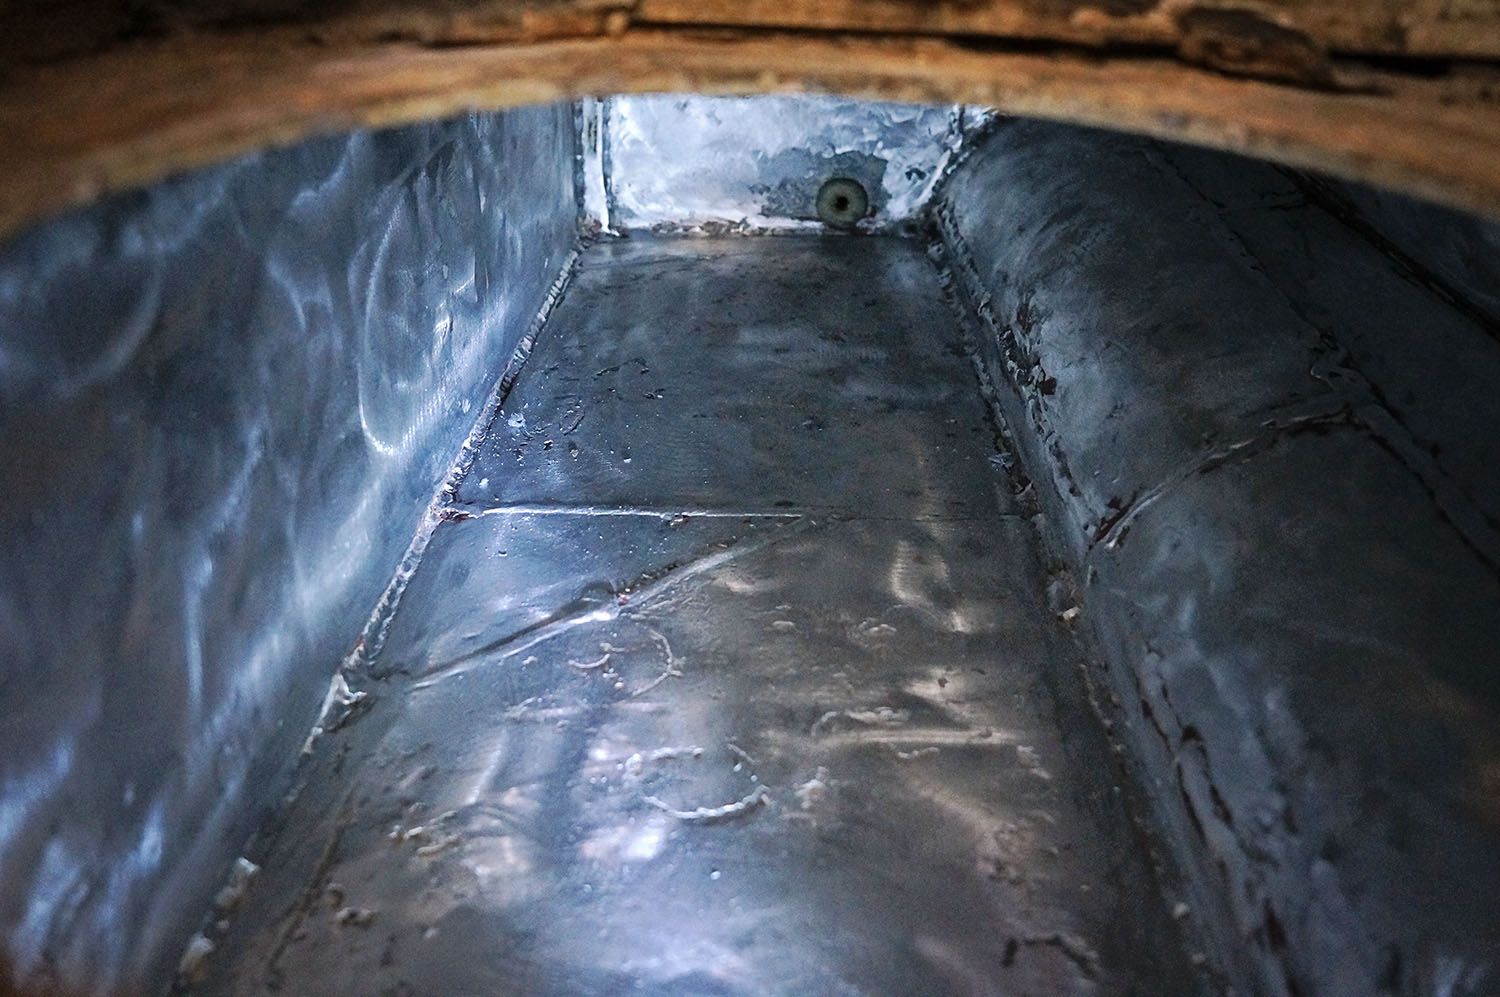
No plastic water tanks on this boat.  Just like everything else, they’re aluminum.  And just like everything else aluminum, there’s bit’s of corrosion or pitting.  To make them use-able we first had to get them completely cleaned out.  Matt went to work in there with a combination of tools (but mostly just a grinder) to get them all polished and pretty.  It created such a huge dust cloud that after two minutes we realized that we needed to contain this mess as much as possible and threw a tarp over him while he worked with a flashlight to guide him.

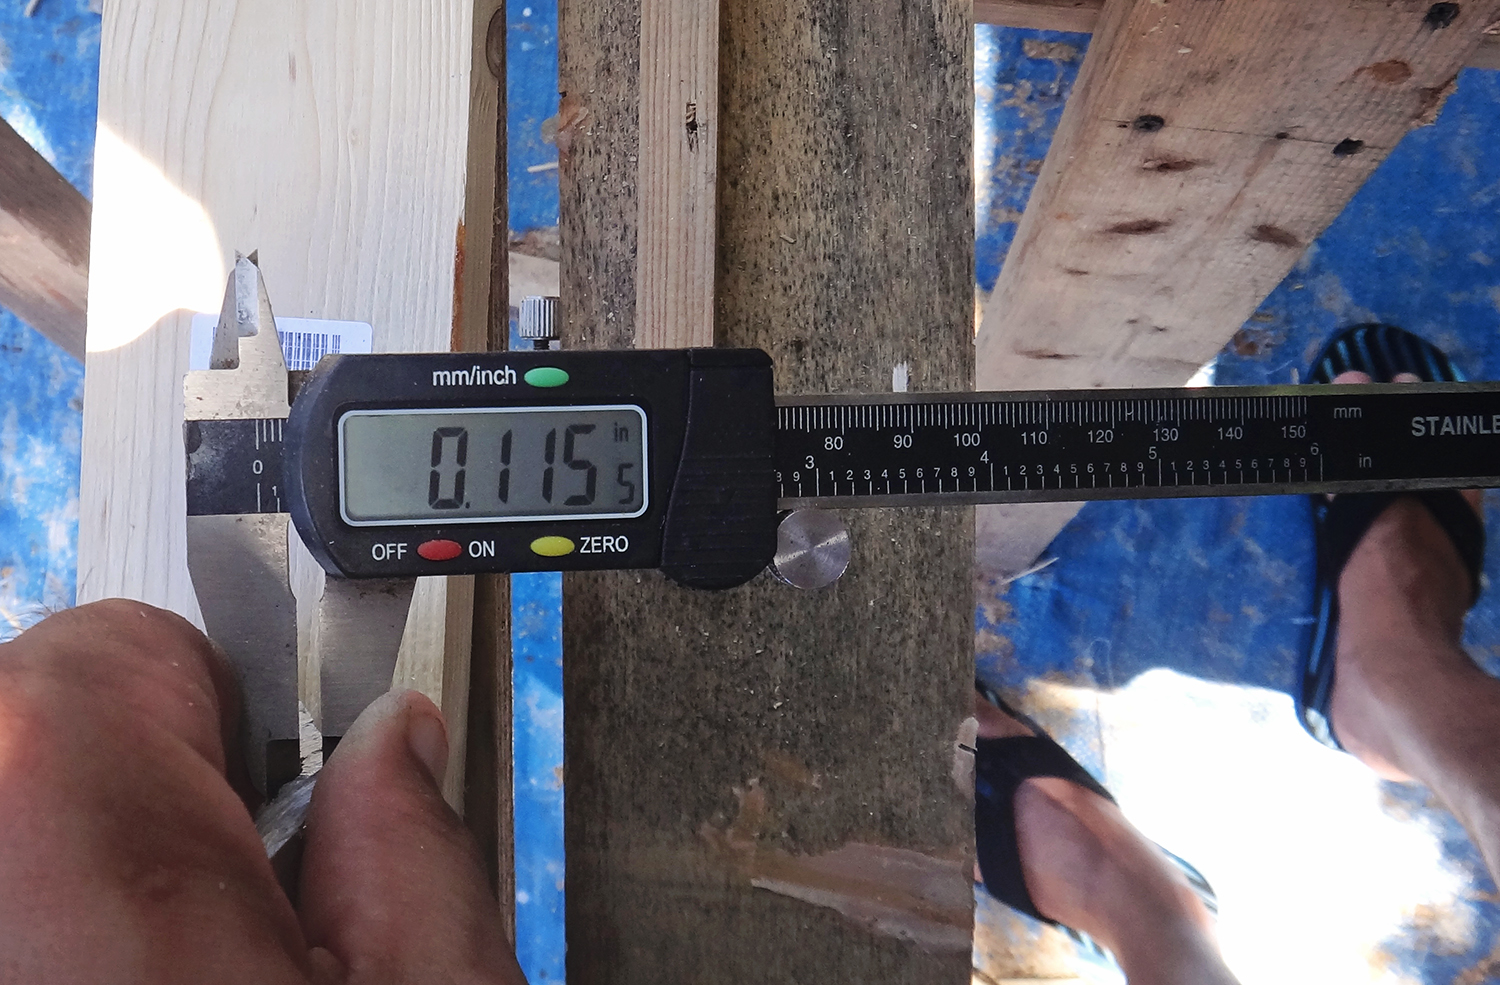
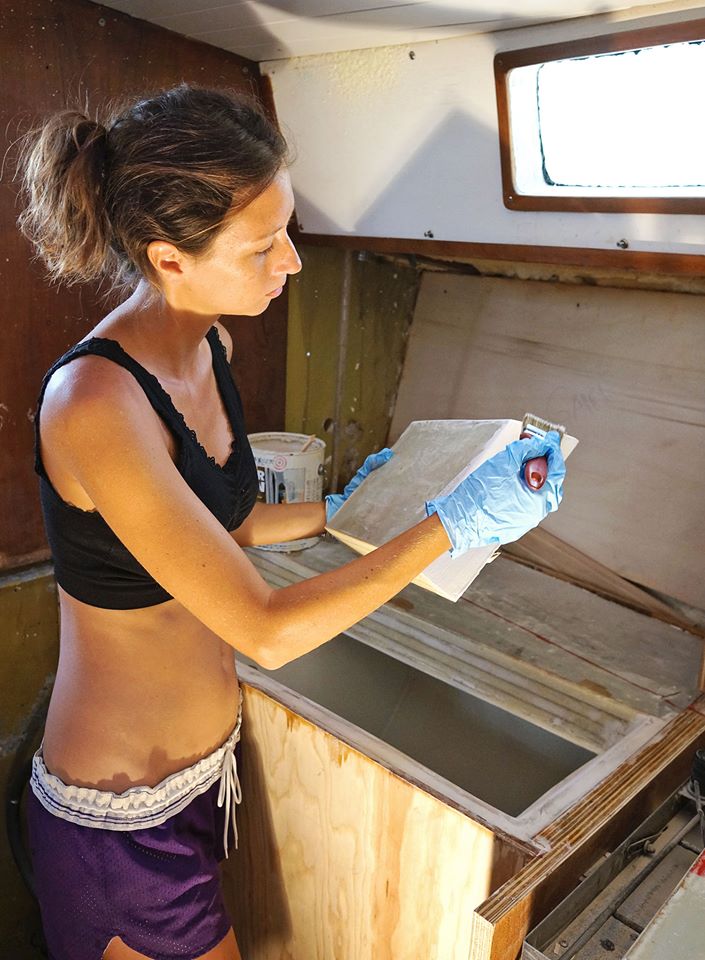
When that was done it was time to protect them and make sure that our drinking water will stay safe and pure.  We’ve decided to go the route of epoxy.  The first coat has to be sanded in to give a slightly rough surface for the epoxy to bond to, but any coats after that can be painted right in and act as a barrier/protector.

I won’t lie.  While he was under the tarp sweating like a pig and getting blinded by all the dust around him, I was sitting out in the cockpit in the afternoon sun and sipping on the remainder of our Madeira wine straight from the bottle.  Don’t worry, I had my work cut out for me too.  I had the job of putting the final coat of epoxy on after Matt did the initial one.  I know, my life is so rough.  Feel very bad for me.

Matt cleaning water tank

inside of water tank

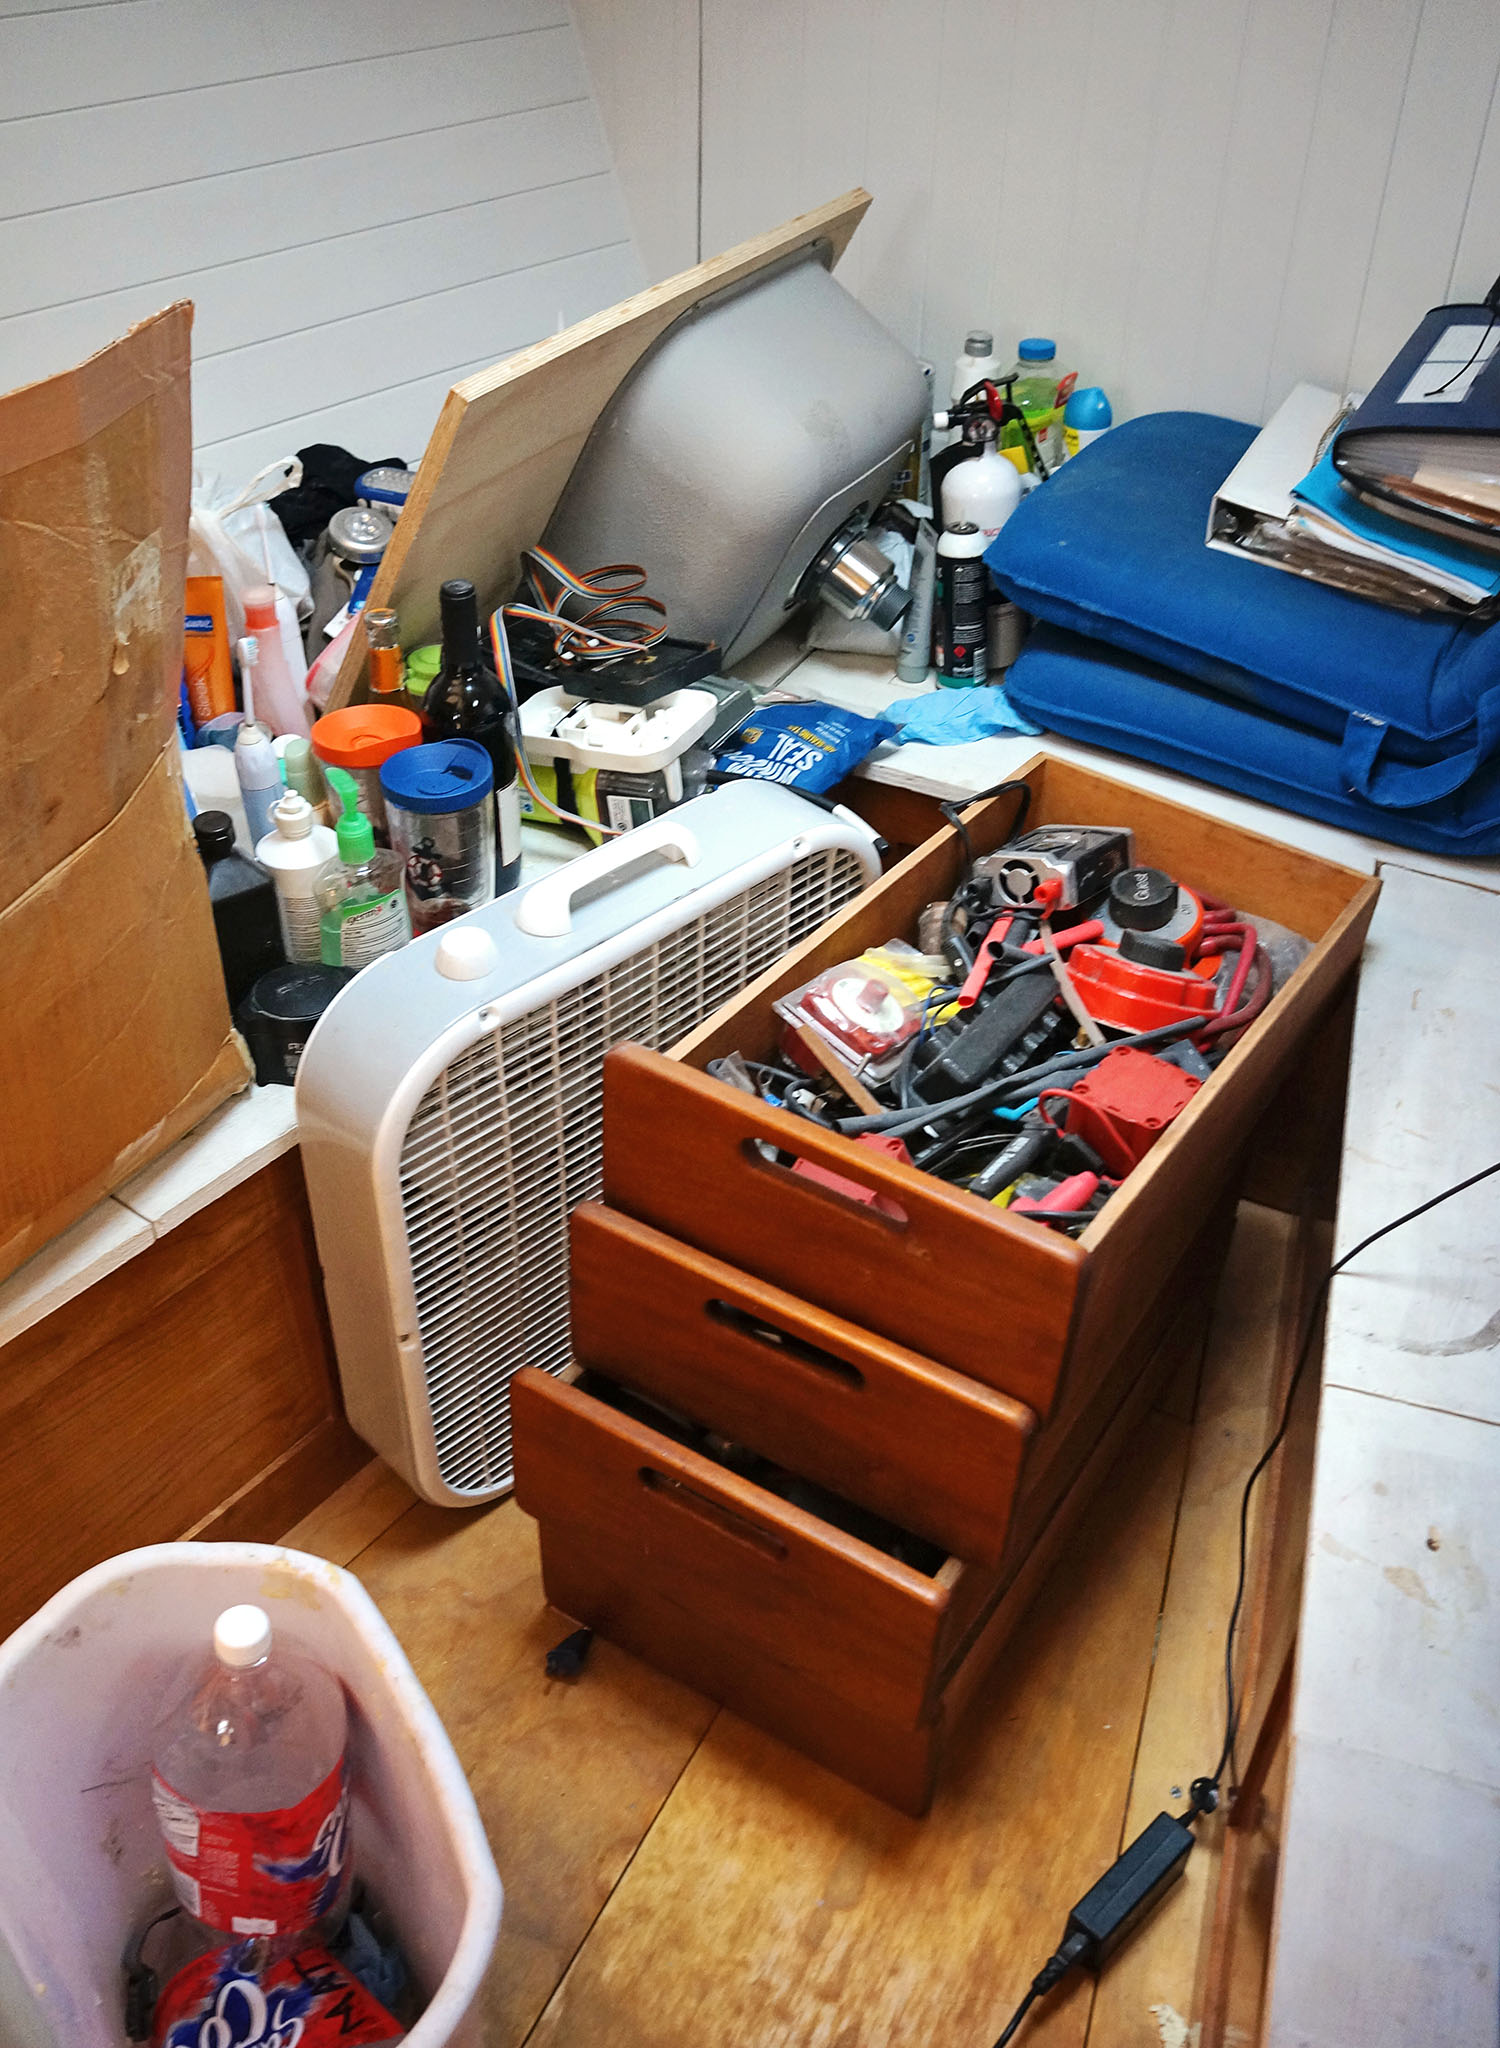
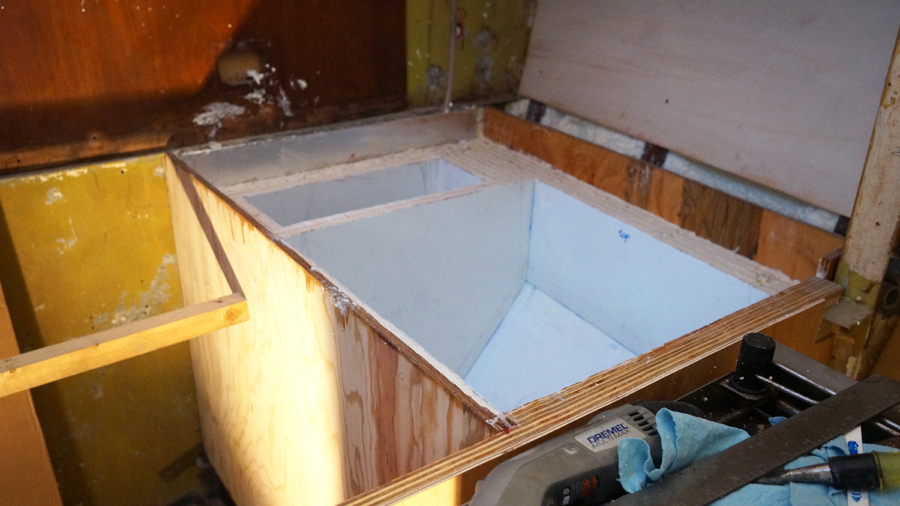
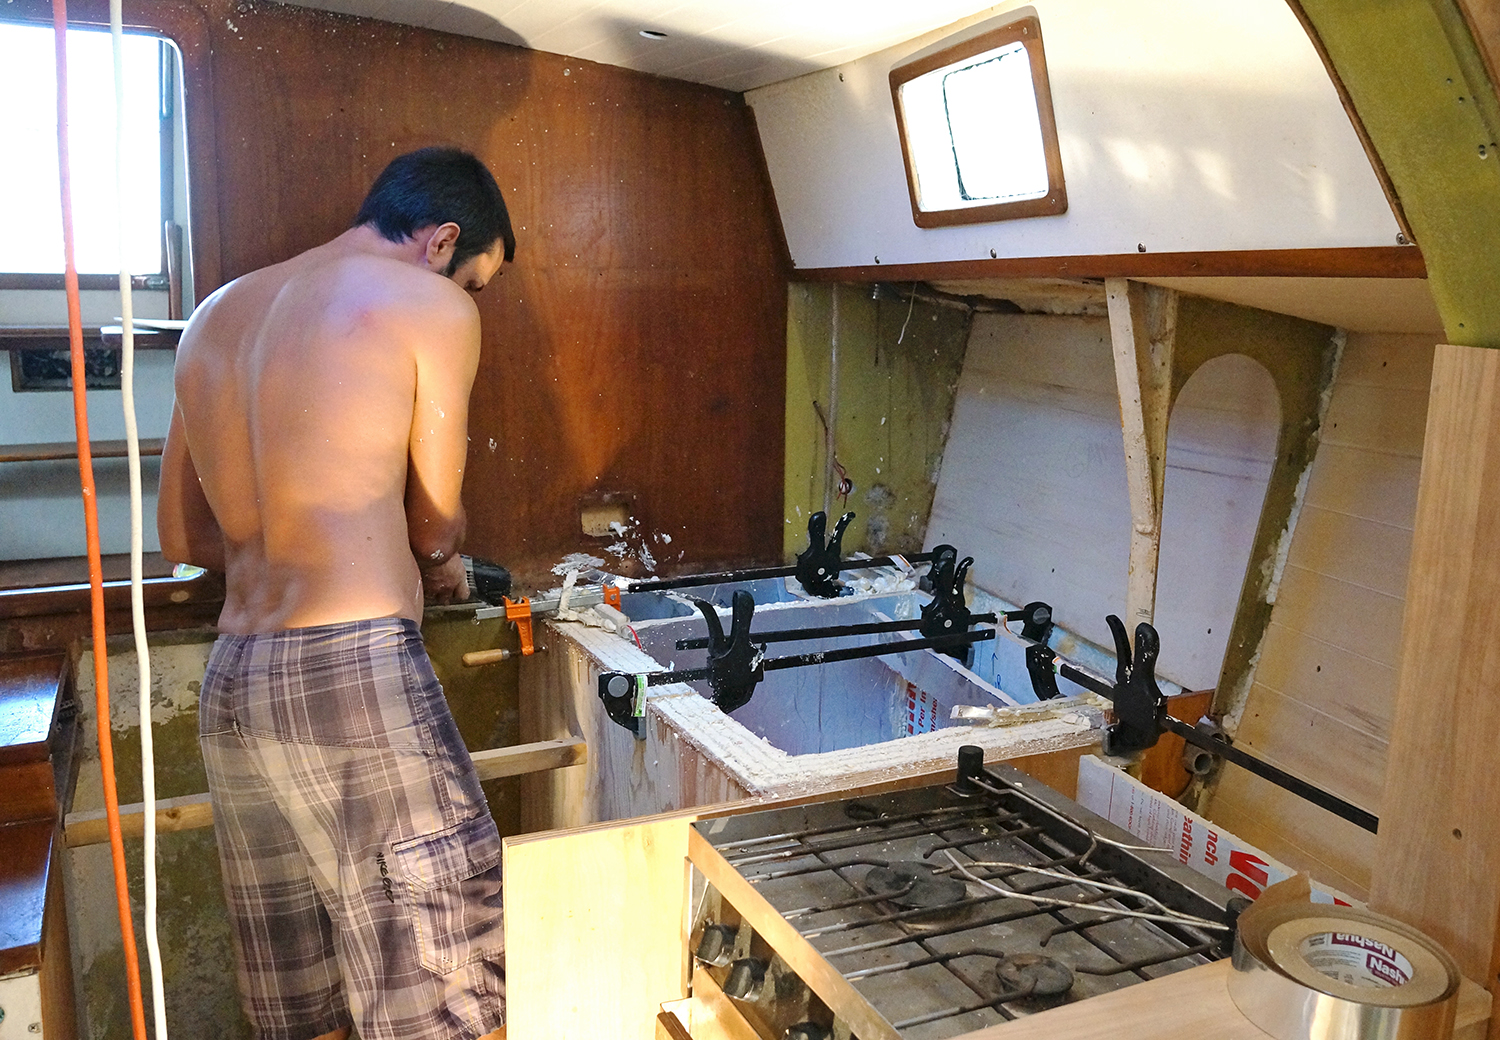
  • We’re still working on the fridge.

I know that a lot of you are really excited to see our next post on the final stages of us building our own refrigerator, but it’s been a lot of slow steps and that post is still coming. But don’t worry, I have not forgotten about those of you that are in the middle of the same project or just about to start it.

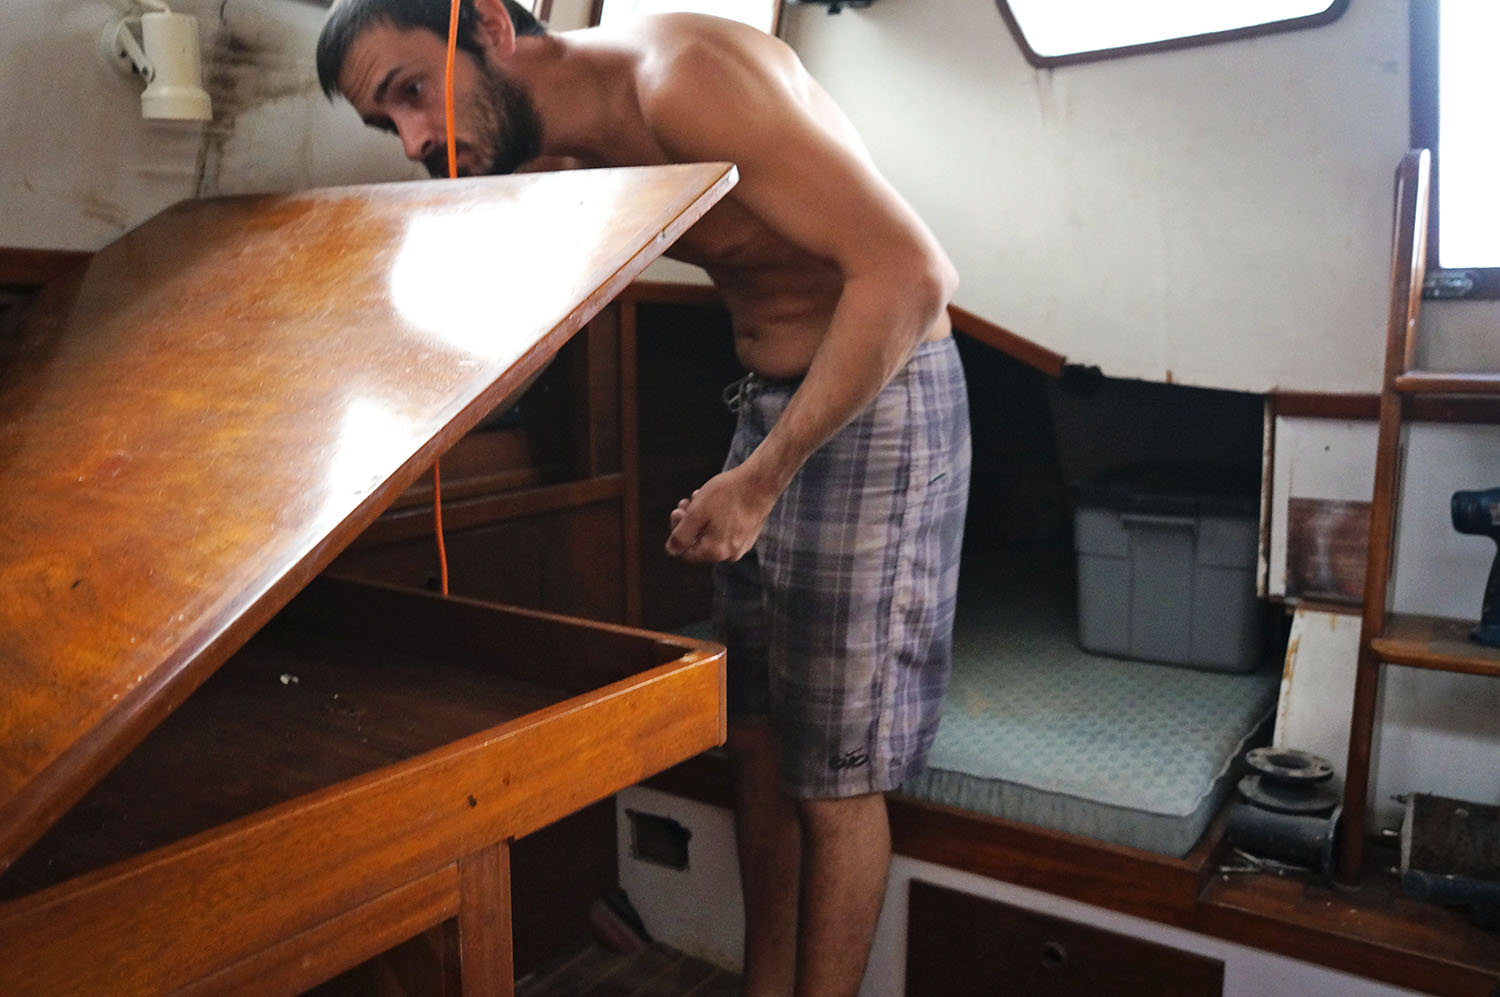
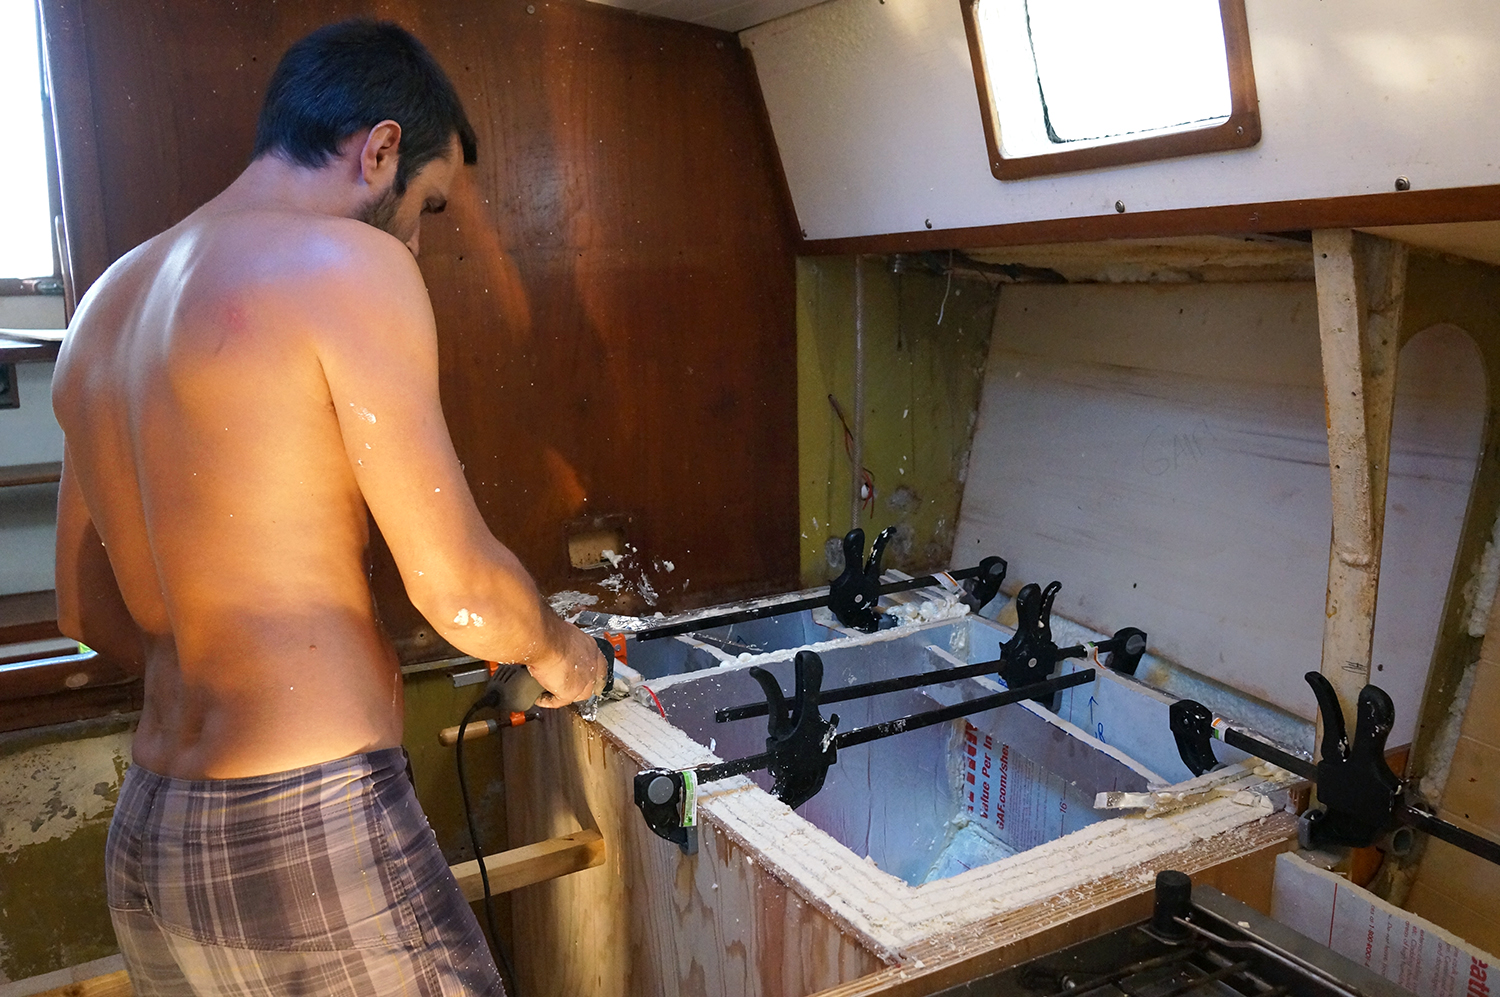
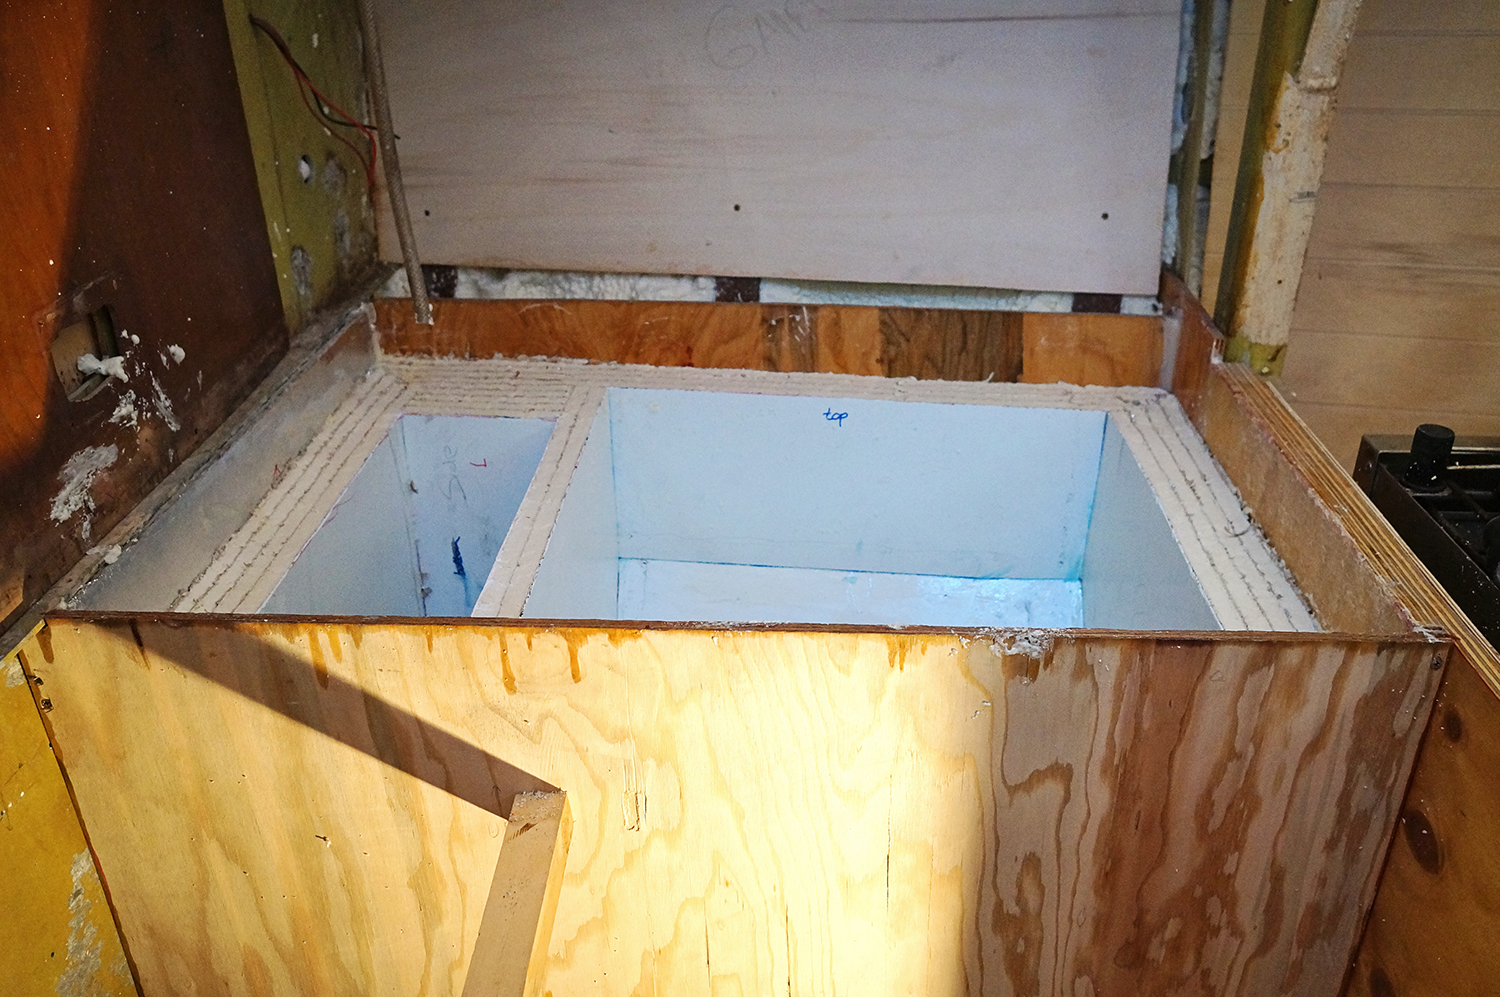
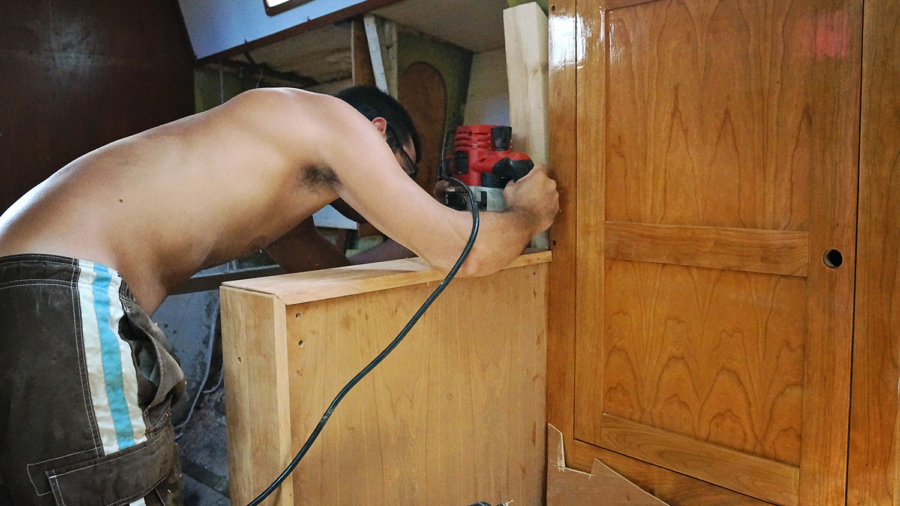
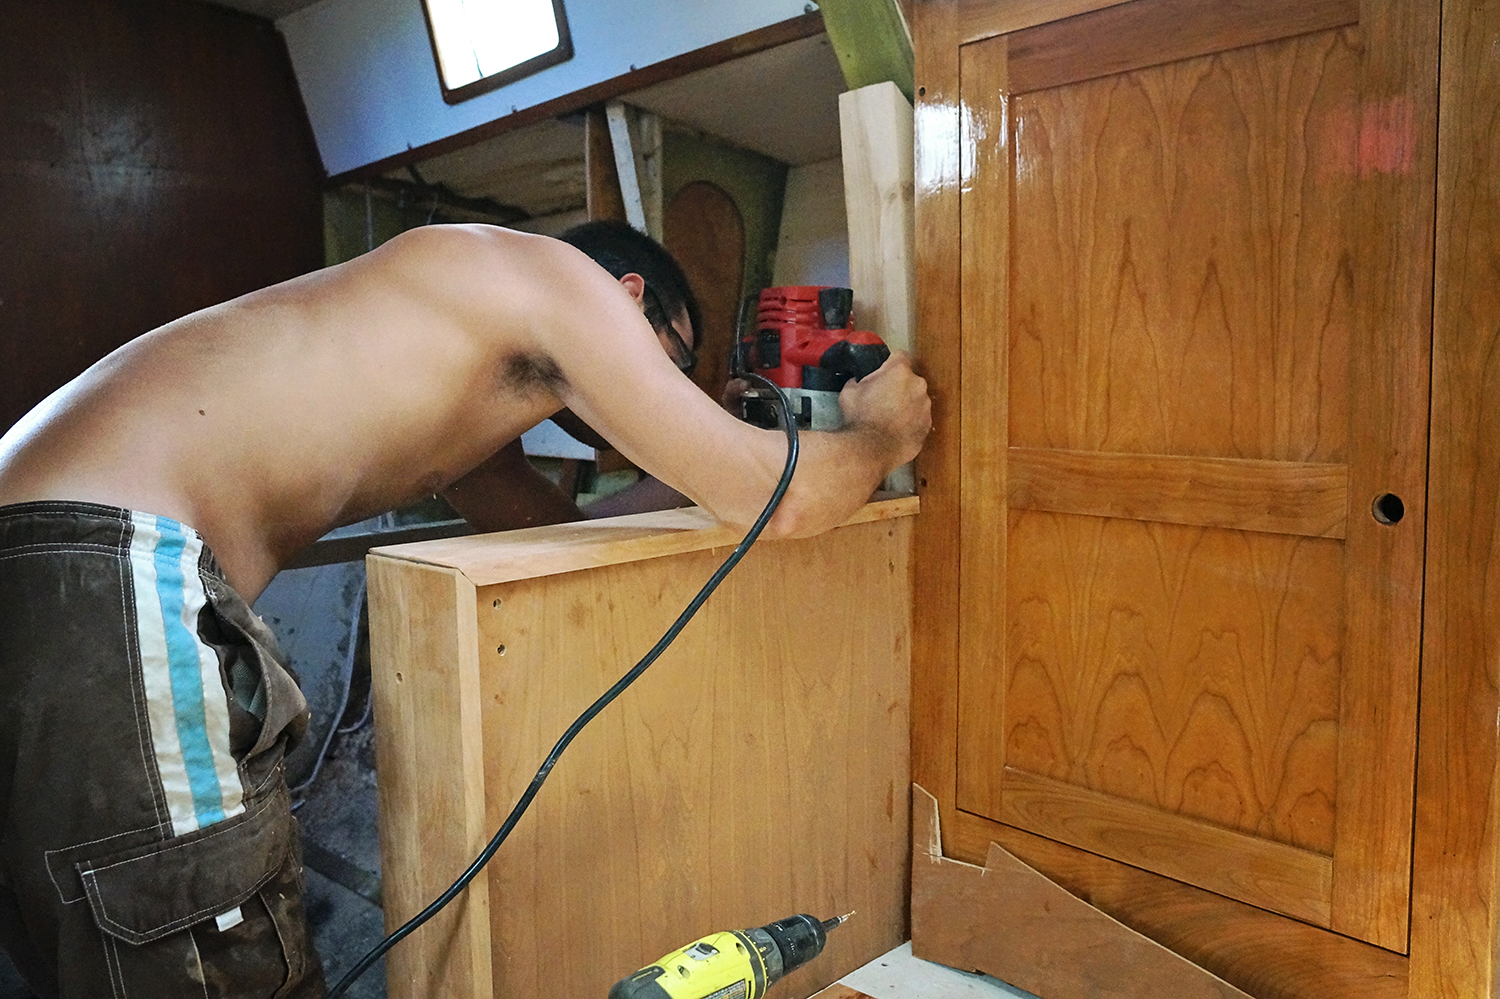
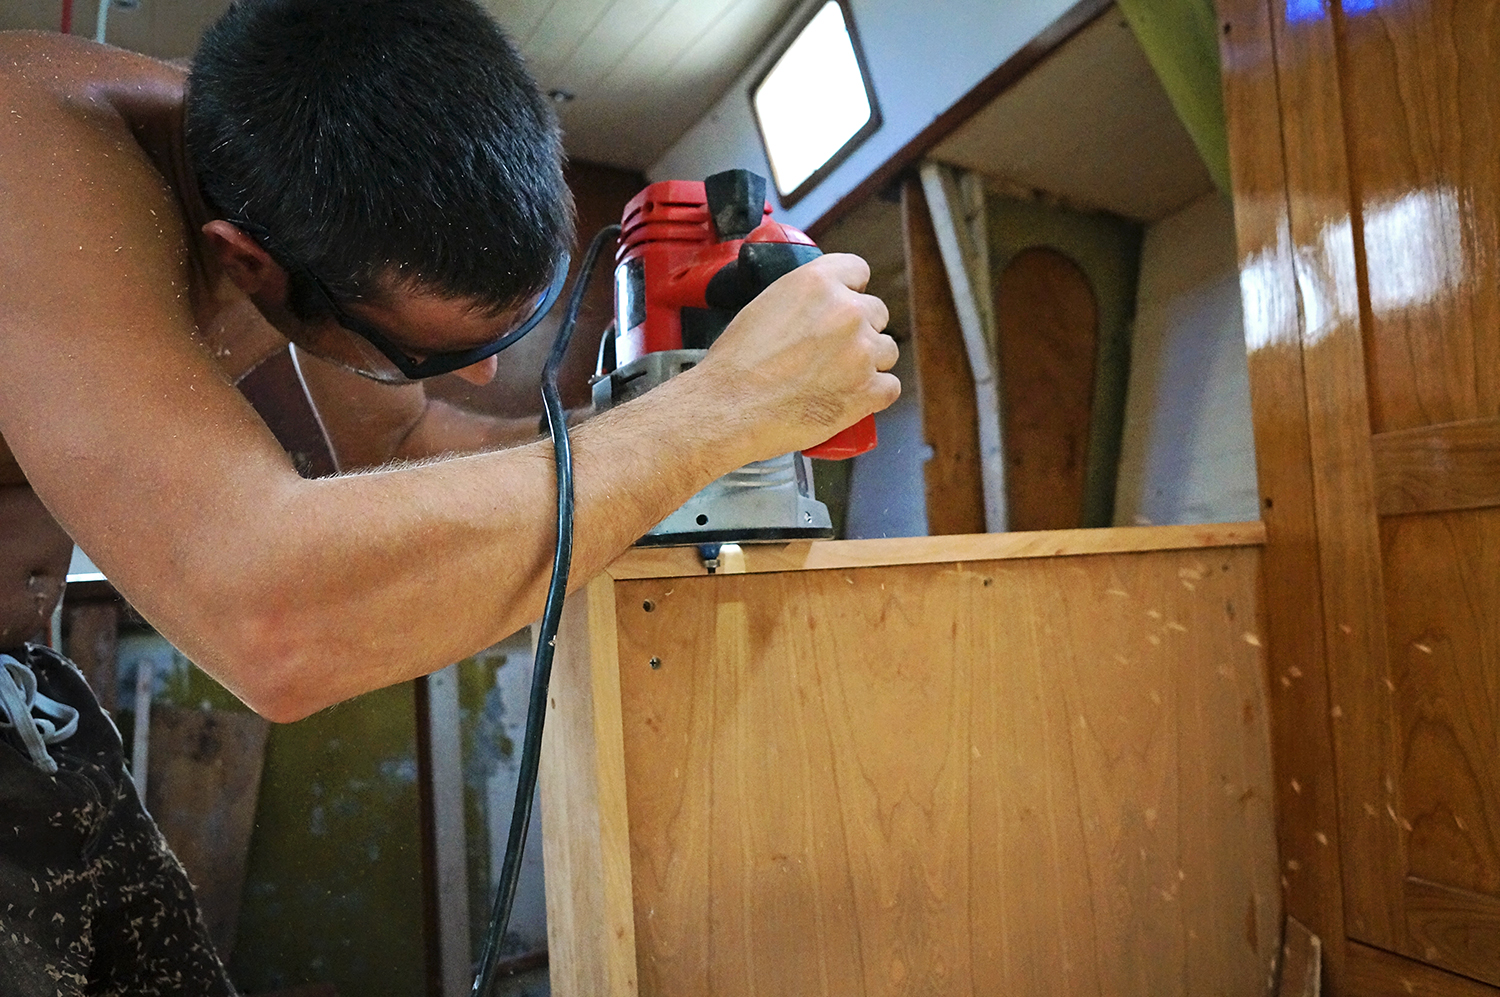
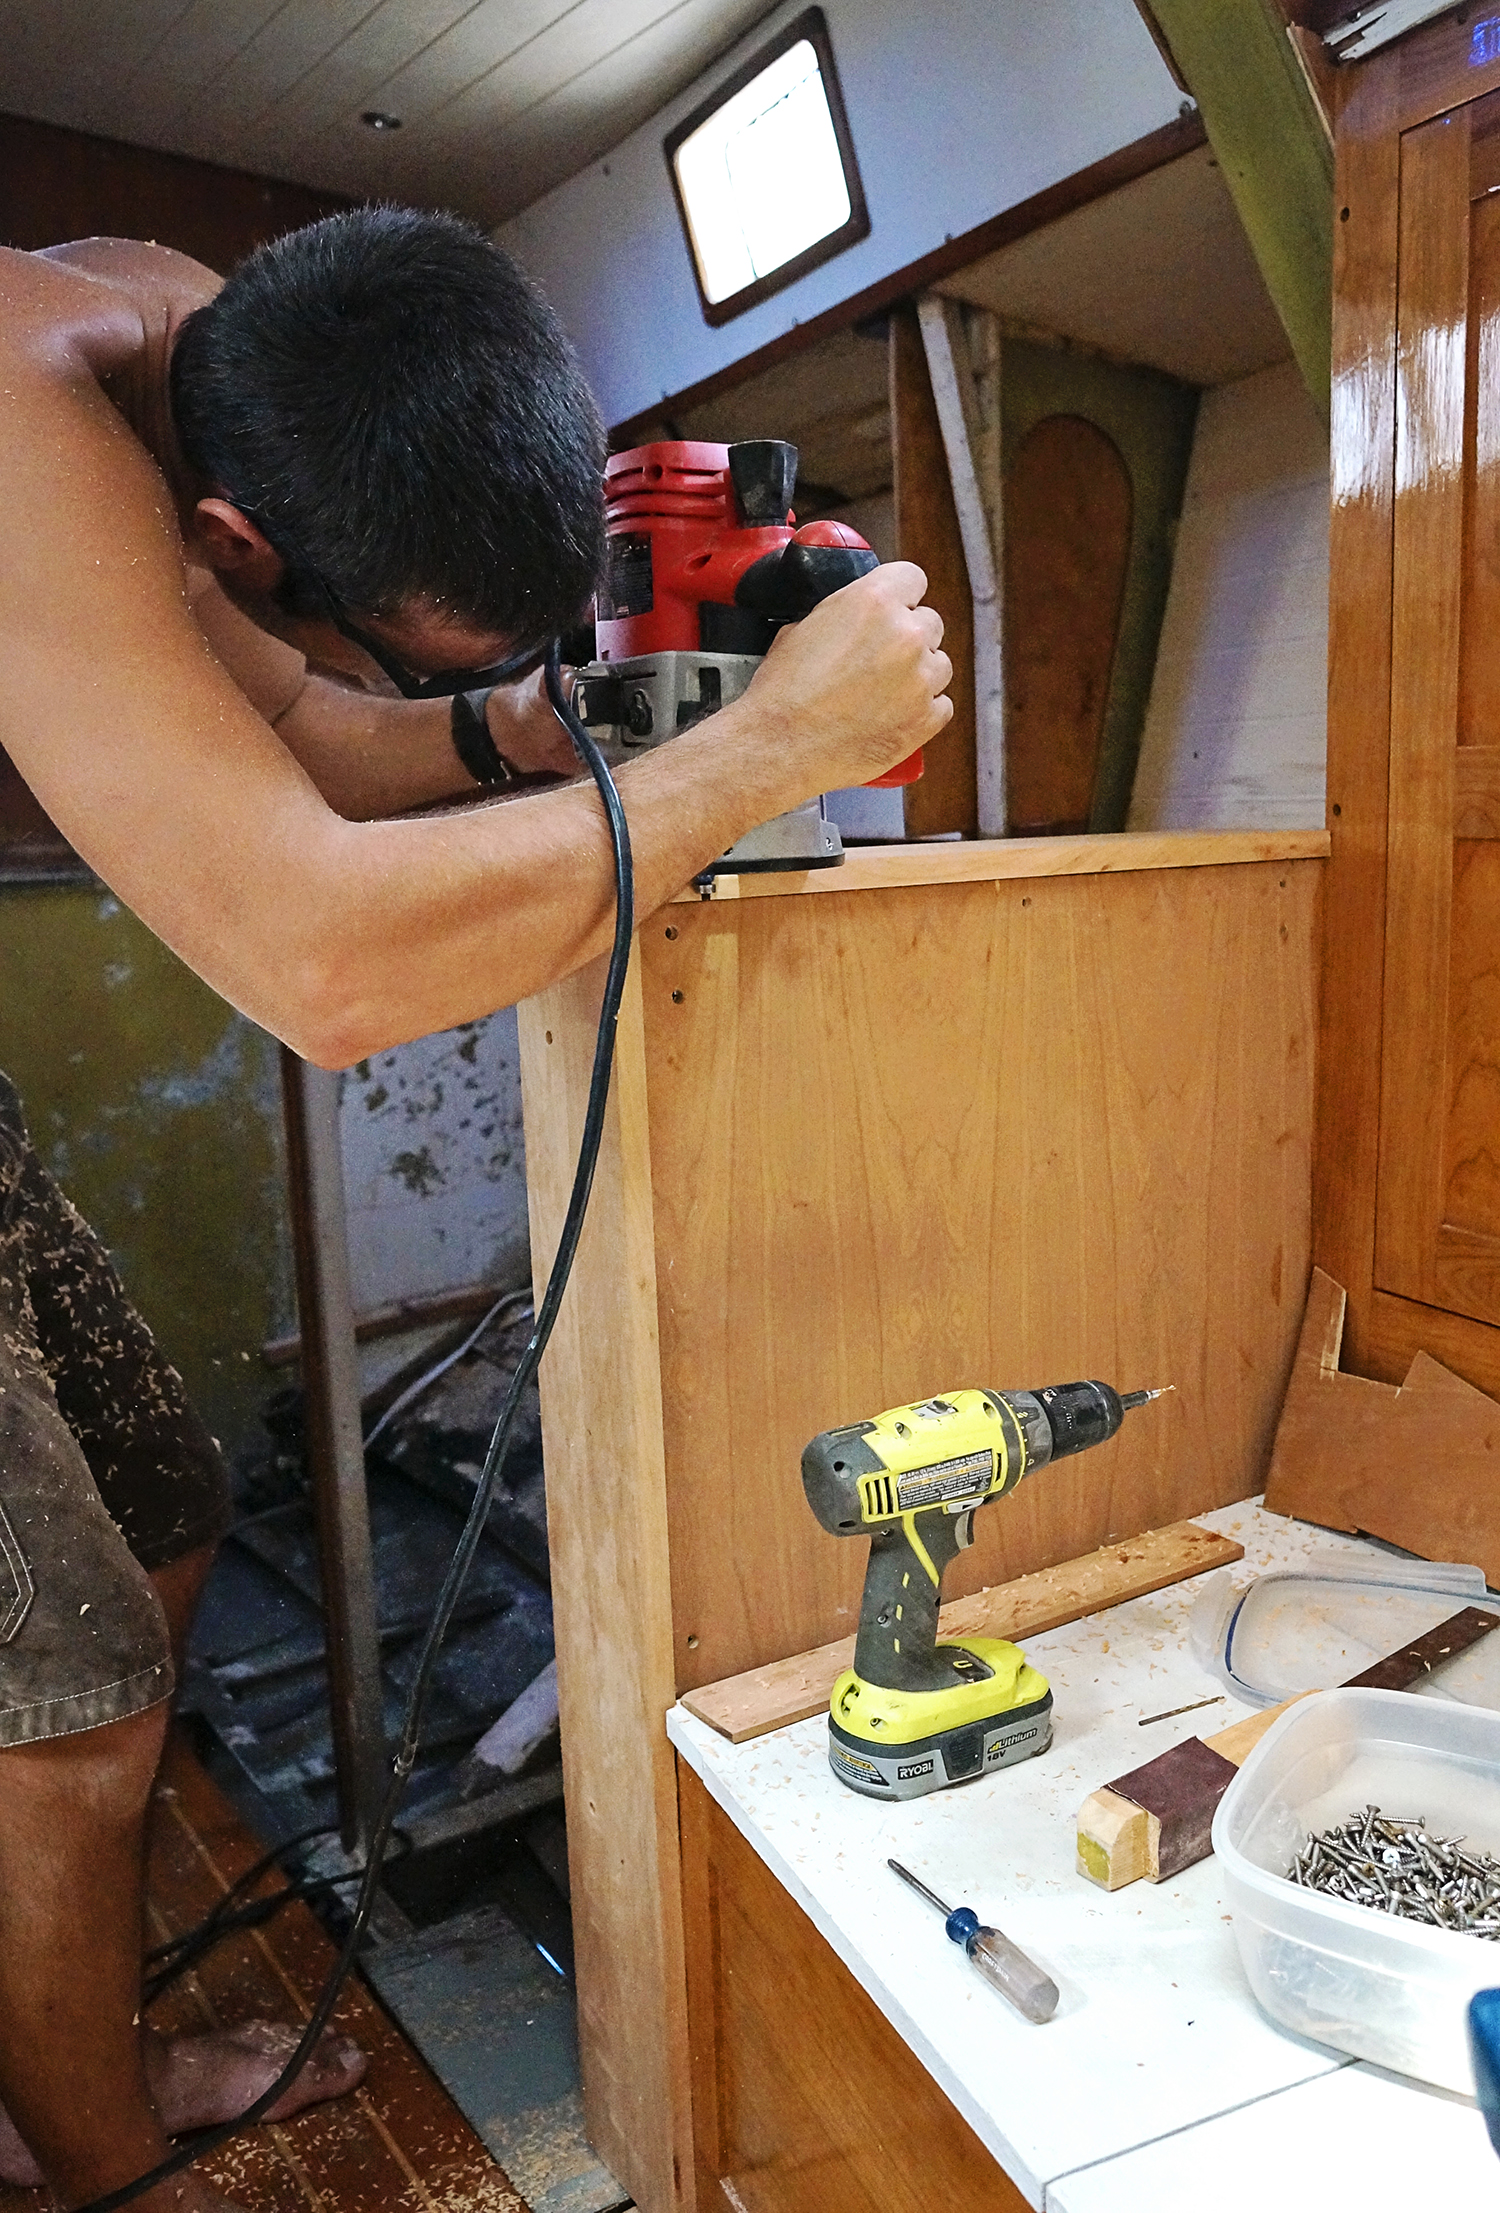
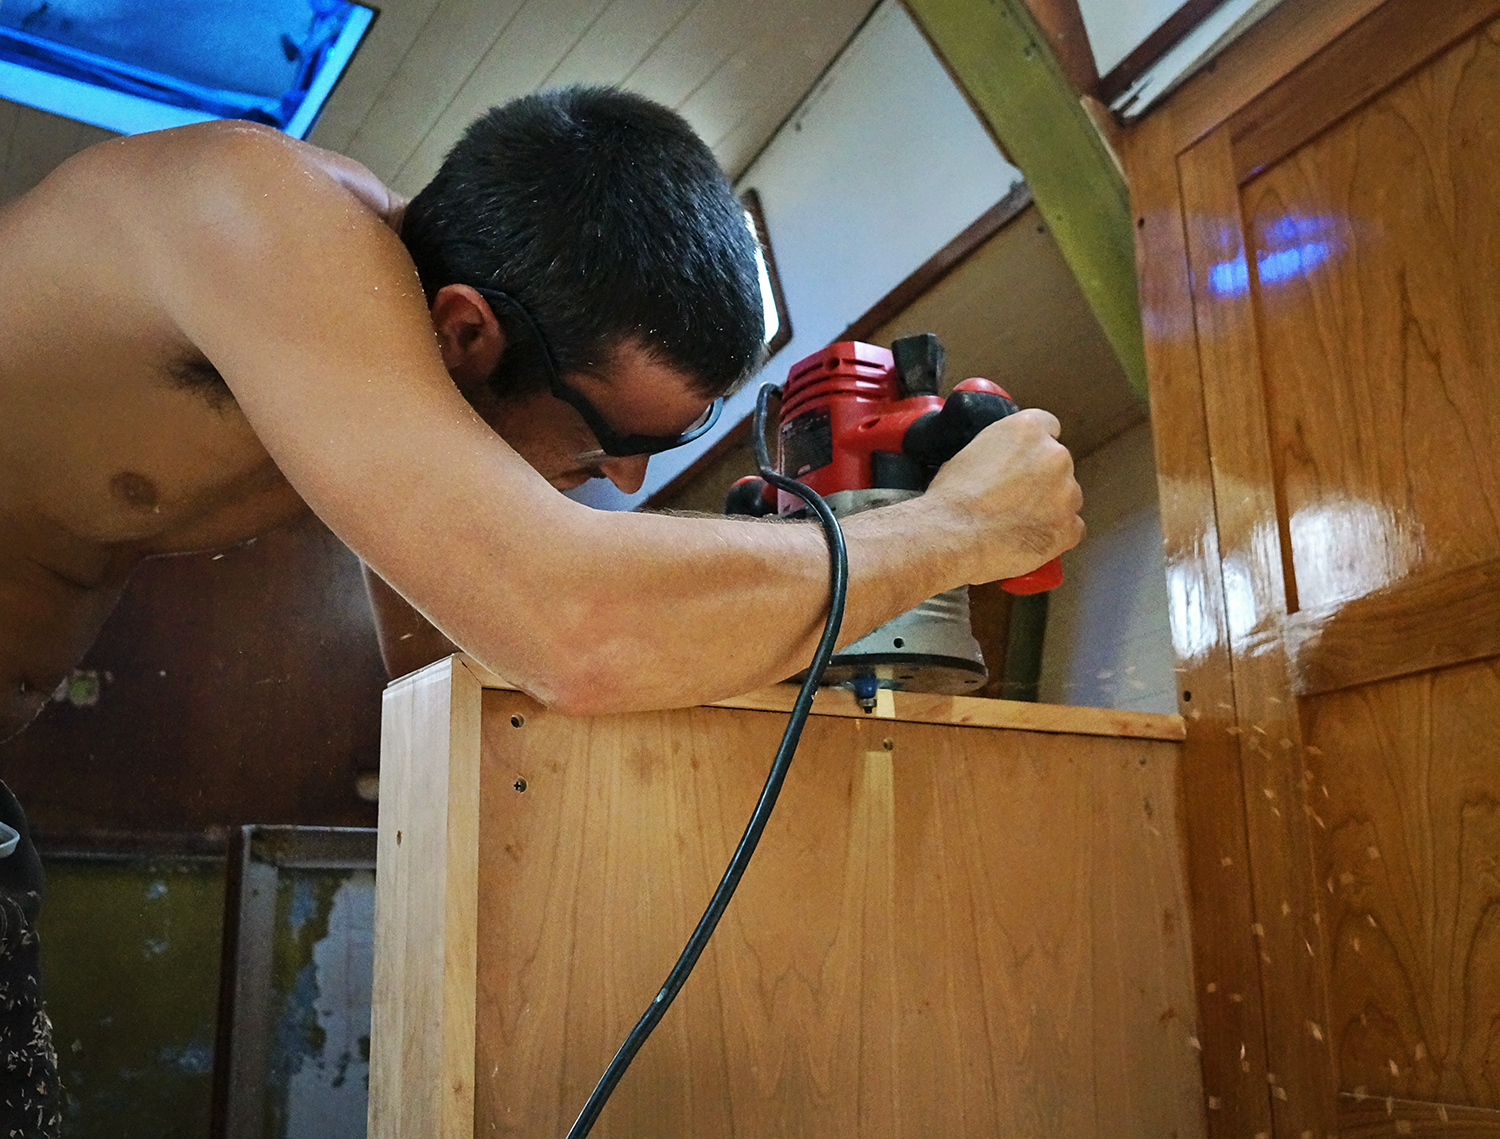
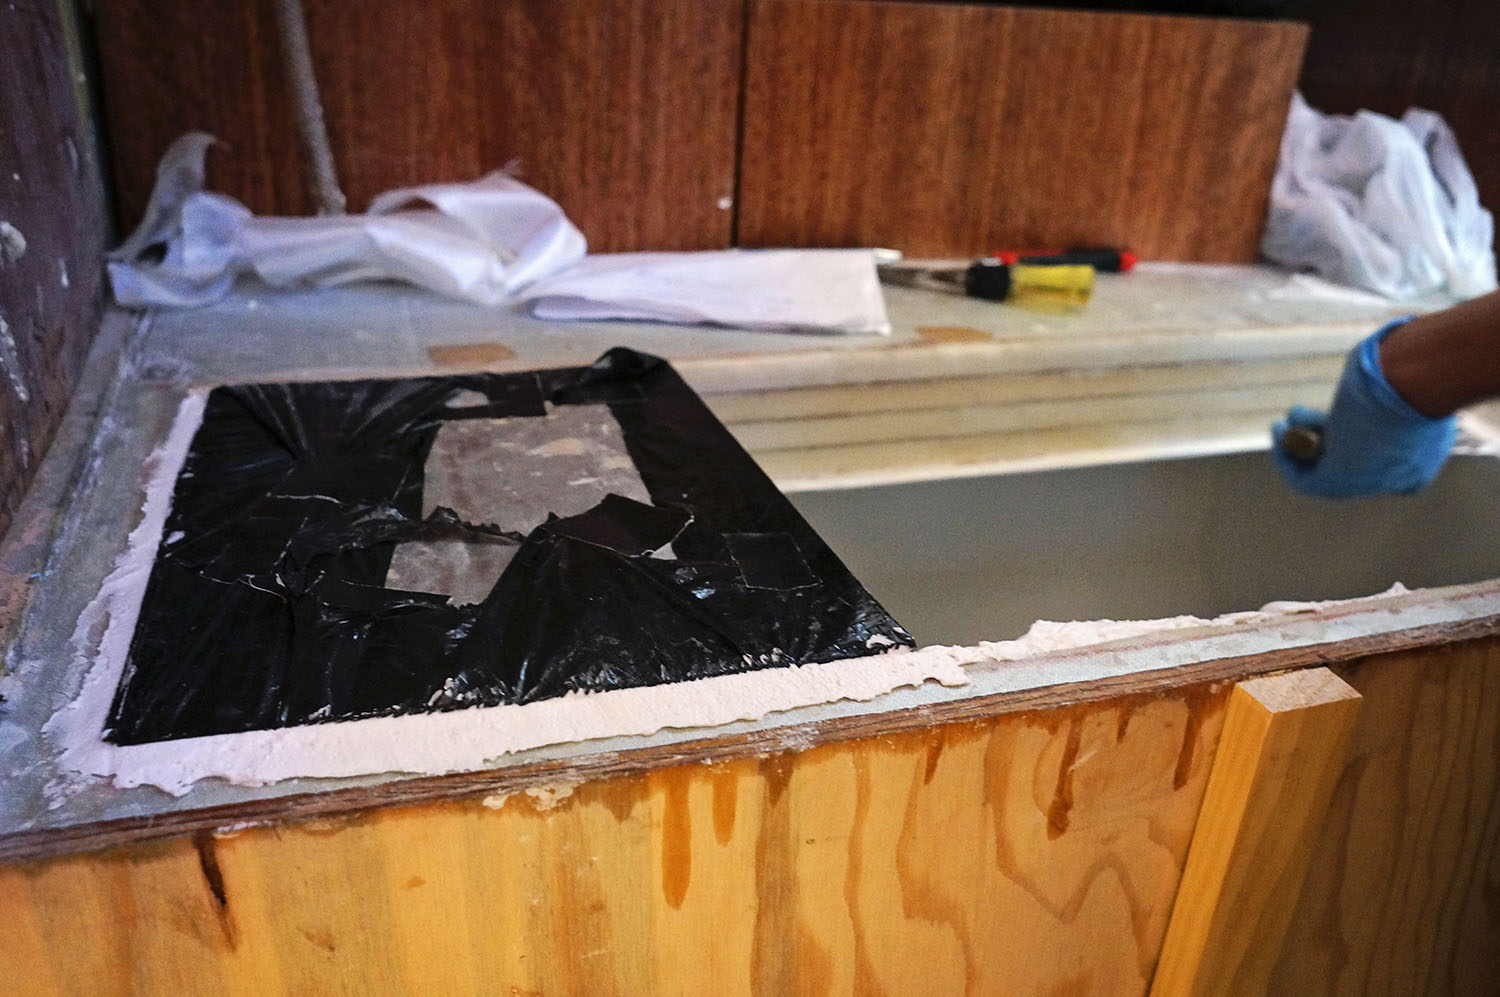
I’ll let you in on a little sneak peak of what the past few days of work on have looked like though. At the moment we’re focused on the lid, getting it to fit properly in it’s space, and then priming and painting everything.  I don’t want to spoil too much for my next ‘Stage 3’ post on it (but maybe it would let me skip having to write it then? No…) so I’ll give a quick gist of it. to make sure the lid and the fridge – view the page for options and come together perfectly where there are no odd or wavy gaps allowing cold air to escape or causing strange rattles, we spent more time with our newest hobby of playing real games to win money and other filler.

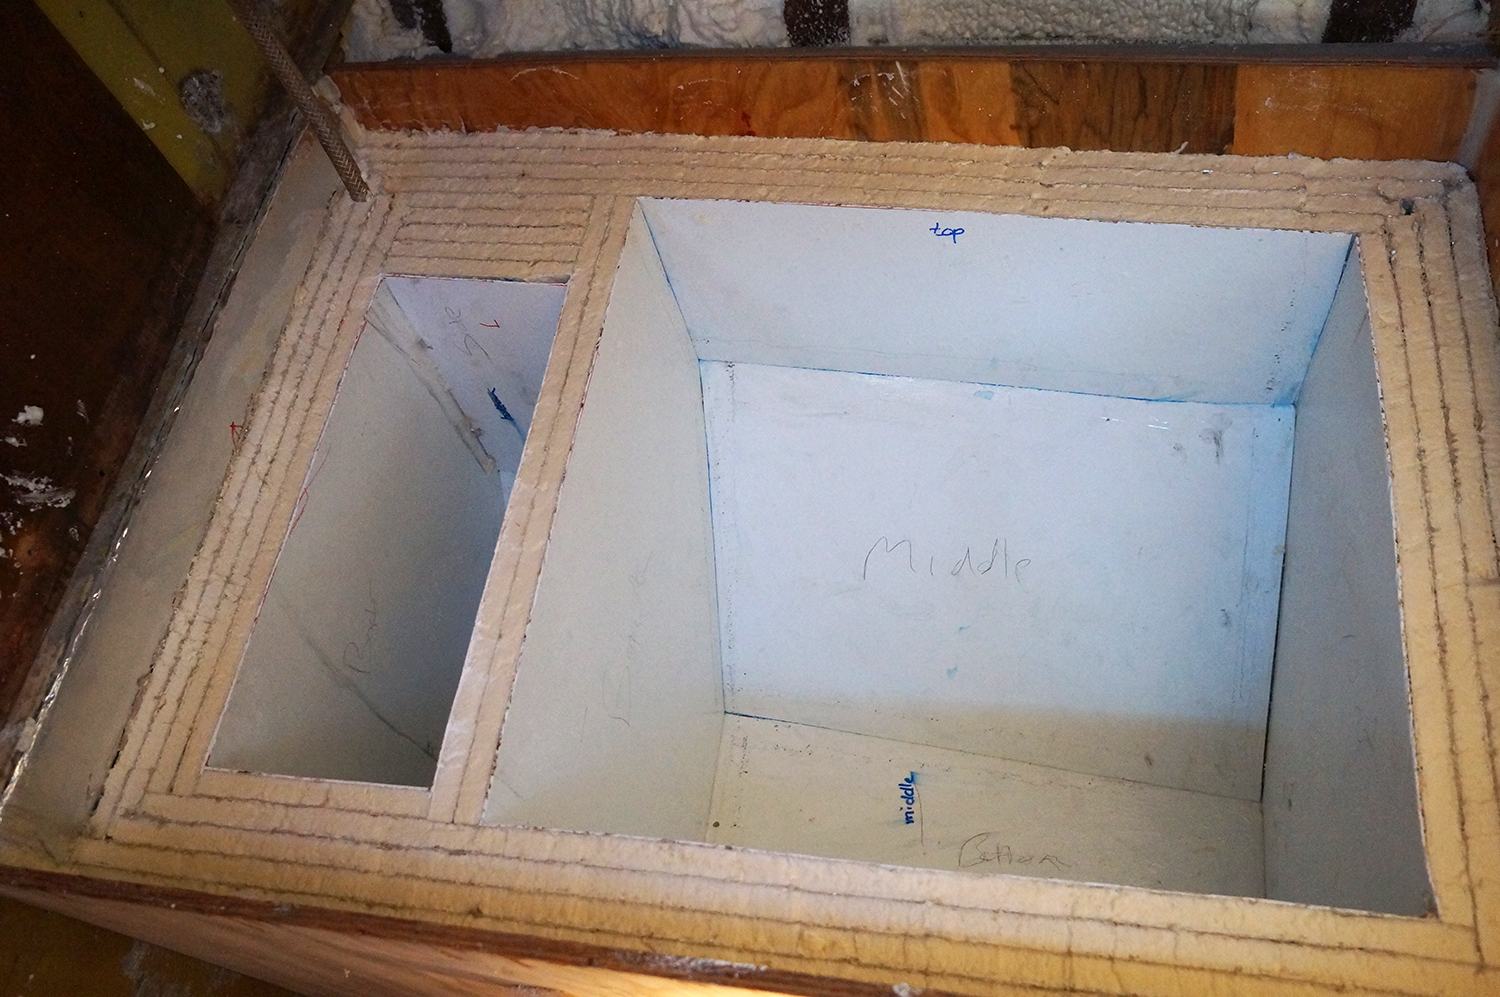
Mixing Q cells into expoxy, we spread the thick goop over the lip of the insulation we had already cut down.  Placing a plastic garbage bag over the lid itself so it does not permanently adhere to the epoxy, we set it in it’s place to form a mold with the filler.  Pressing down on the lid forces all the excess out which we scrape off and allow the rest to dry. Then sanding down the remainder once it has dried, we give it a smooth surface, see how well the lid fits into place at that point, and then do it again if we are still finding gaps.  Needing 24 hours to dry and sand each time, this is a very lengthy process.

Once it finally finished, 4 coats and days later, I was finally able to start painting!  Which at least lets my mind think we are near finishing this project even though that is in fact quite far from the truth.  But at least it’s something to keep me distracted and covers the ugly fiberglass coated insulation in a coat of pure white promise.

work on fridge

painting fridge lid

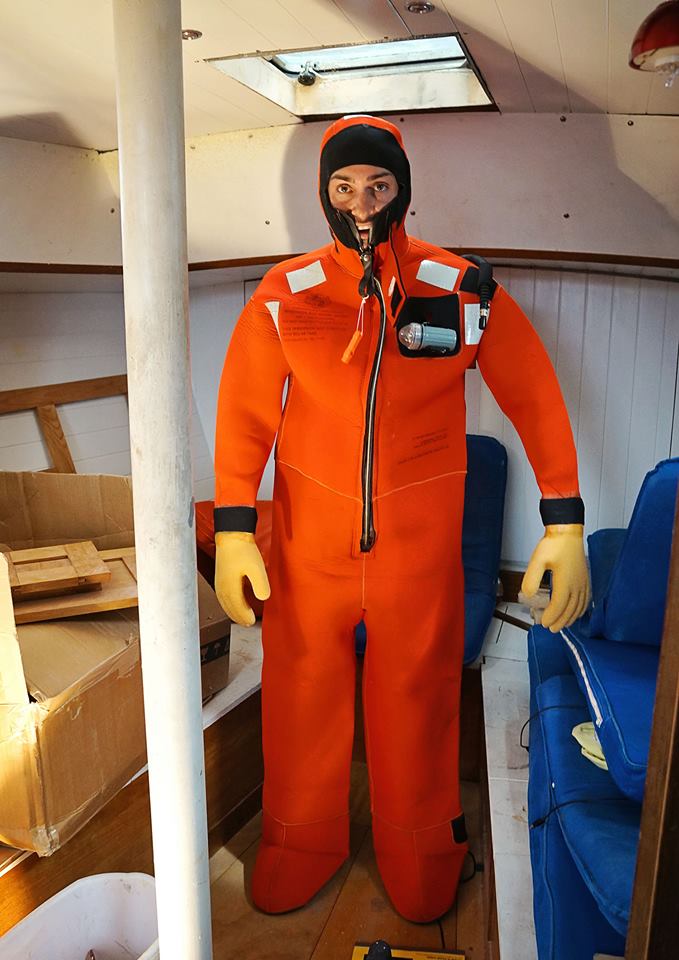
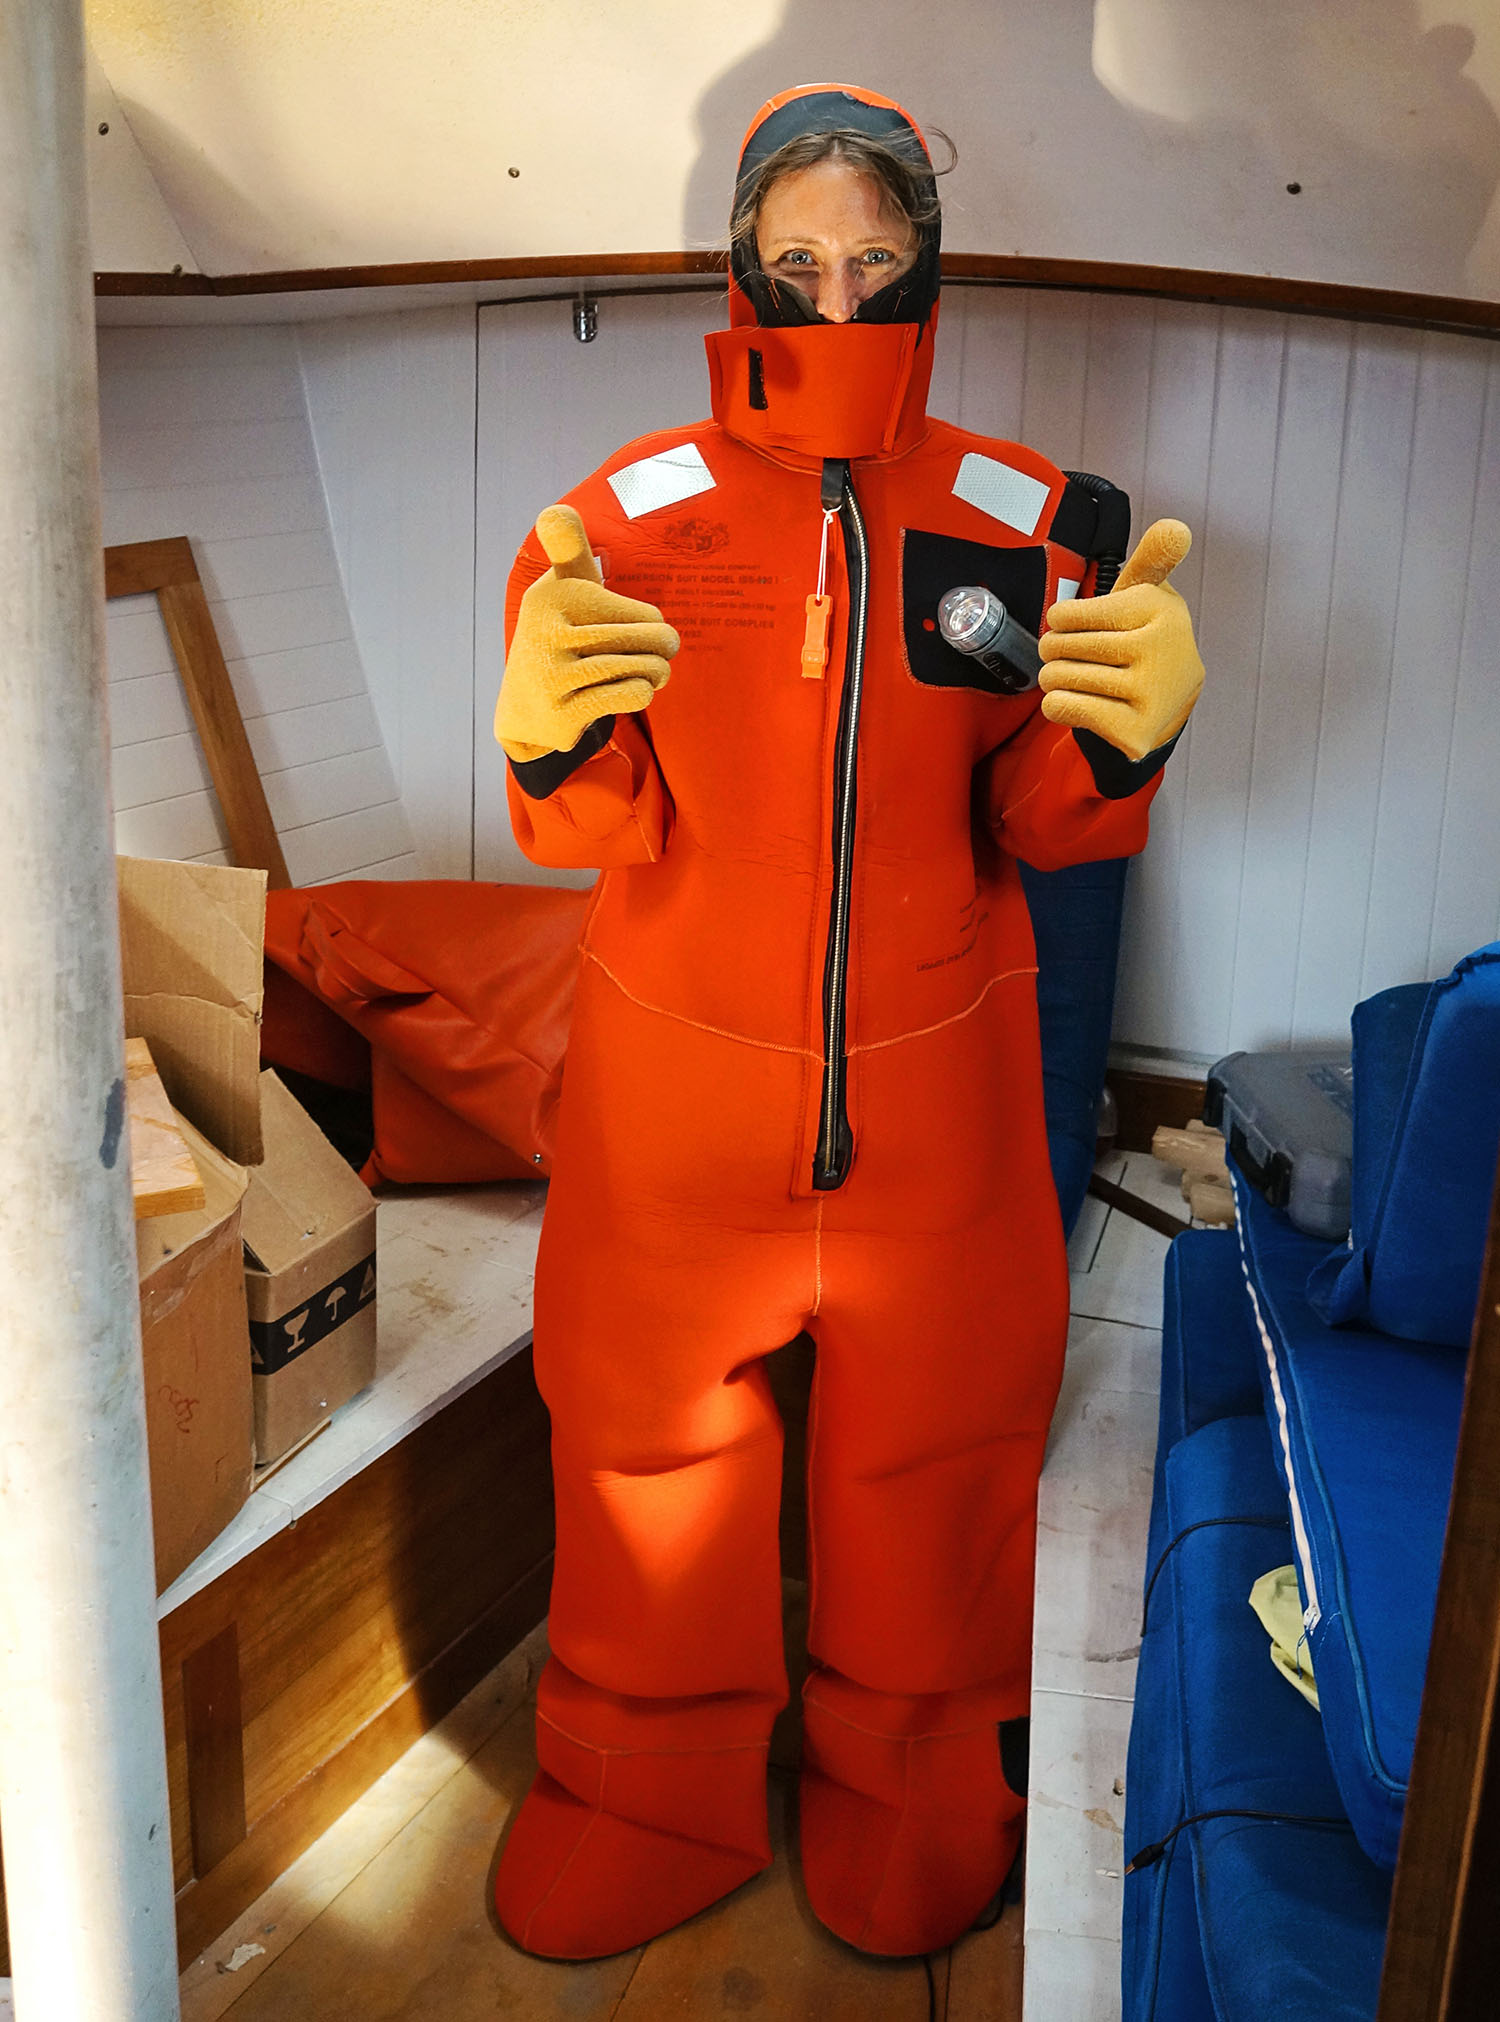
  • Our Gumby Suits came in the mail!

Yes,  I know, that is not the technical name.  They are full immersion survival suits, but after looking at the photos below you can see how they got their nickname. The purpose for them is that if we ever have to abandon ship in cold waters, these suits (if worn properly) will keep you insulated from the cold temperatures and keep you from getting hypothermia.  Although we’ve only purchased them for when we get close to Arctic waters, of which we’re still nearly two years from arriving at, it’s suggested these be worn any time you might find yourself prolonged in waters under 84 degrees as hypothermia can begin to set in then as well.  These suits let you survive in those waters indefinitely and give you a much better chance of surviving cold waters.

Matt in survival suitJessica in survival suit

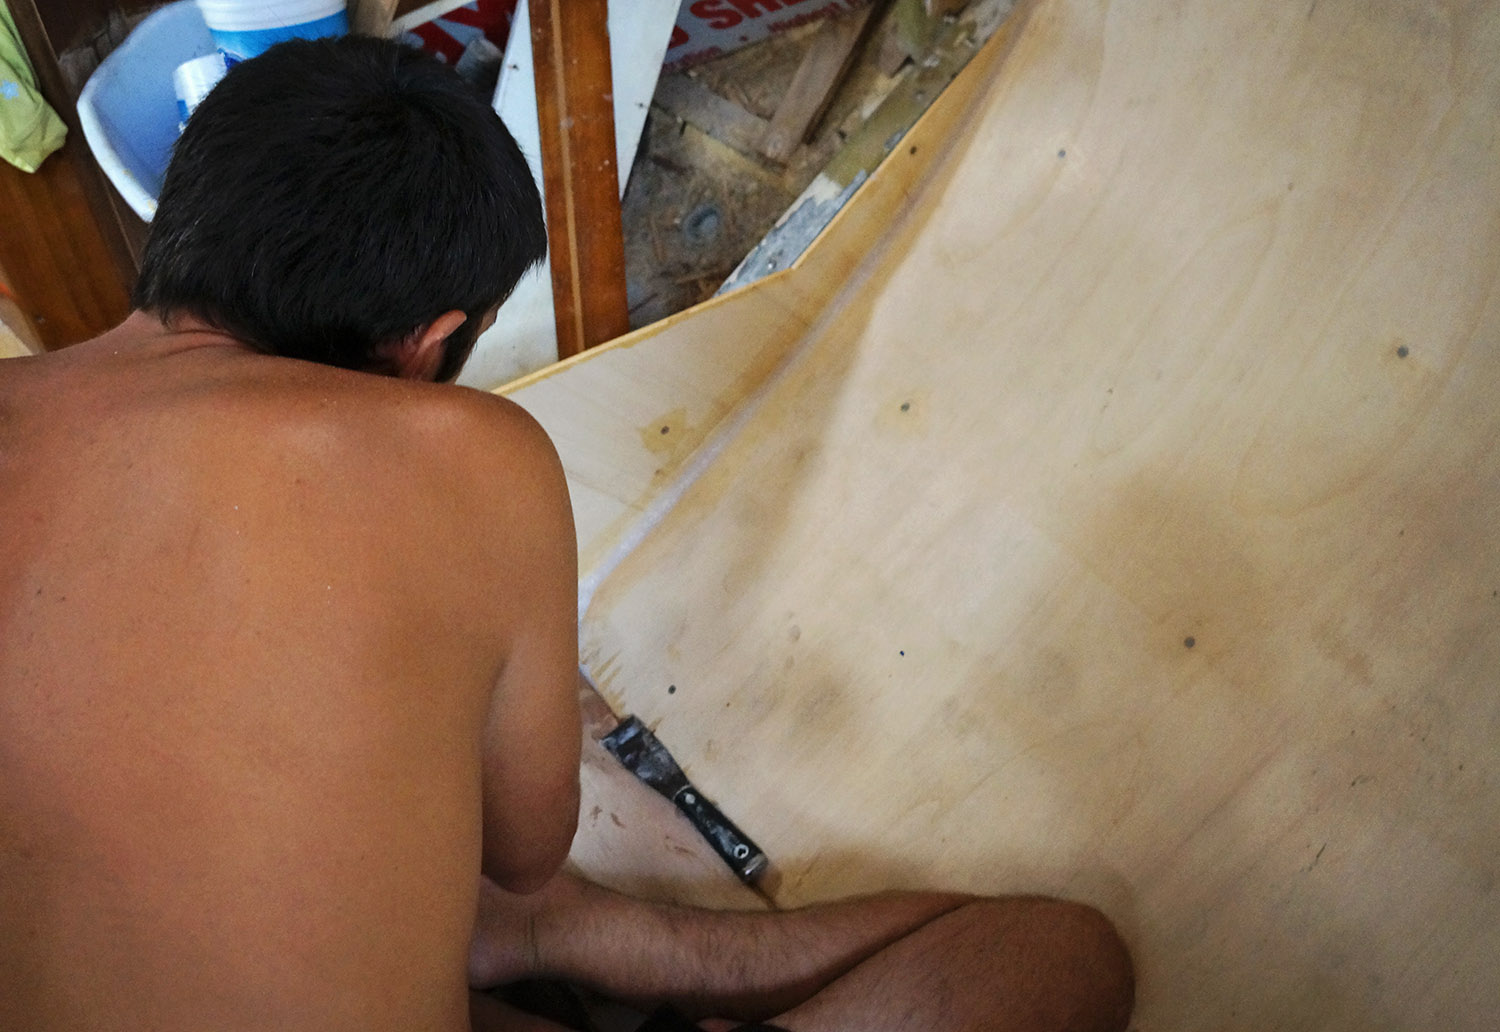
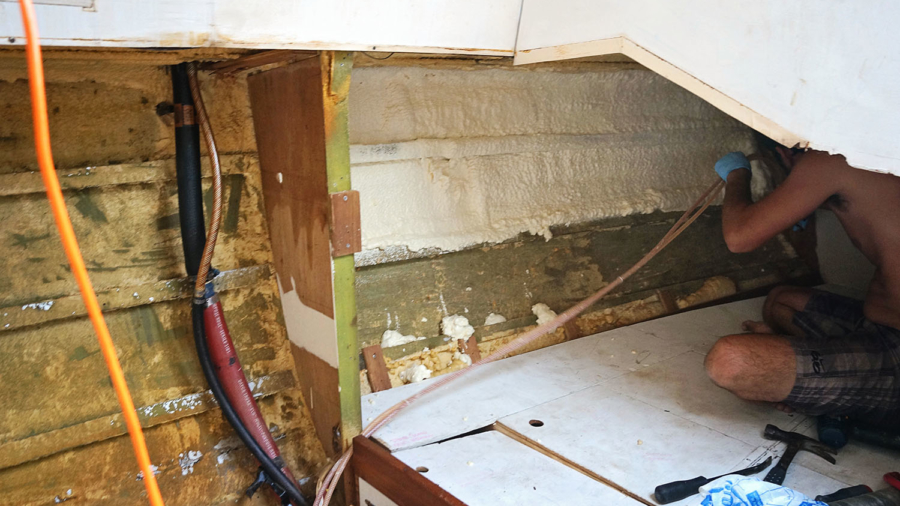
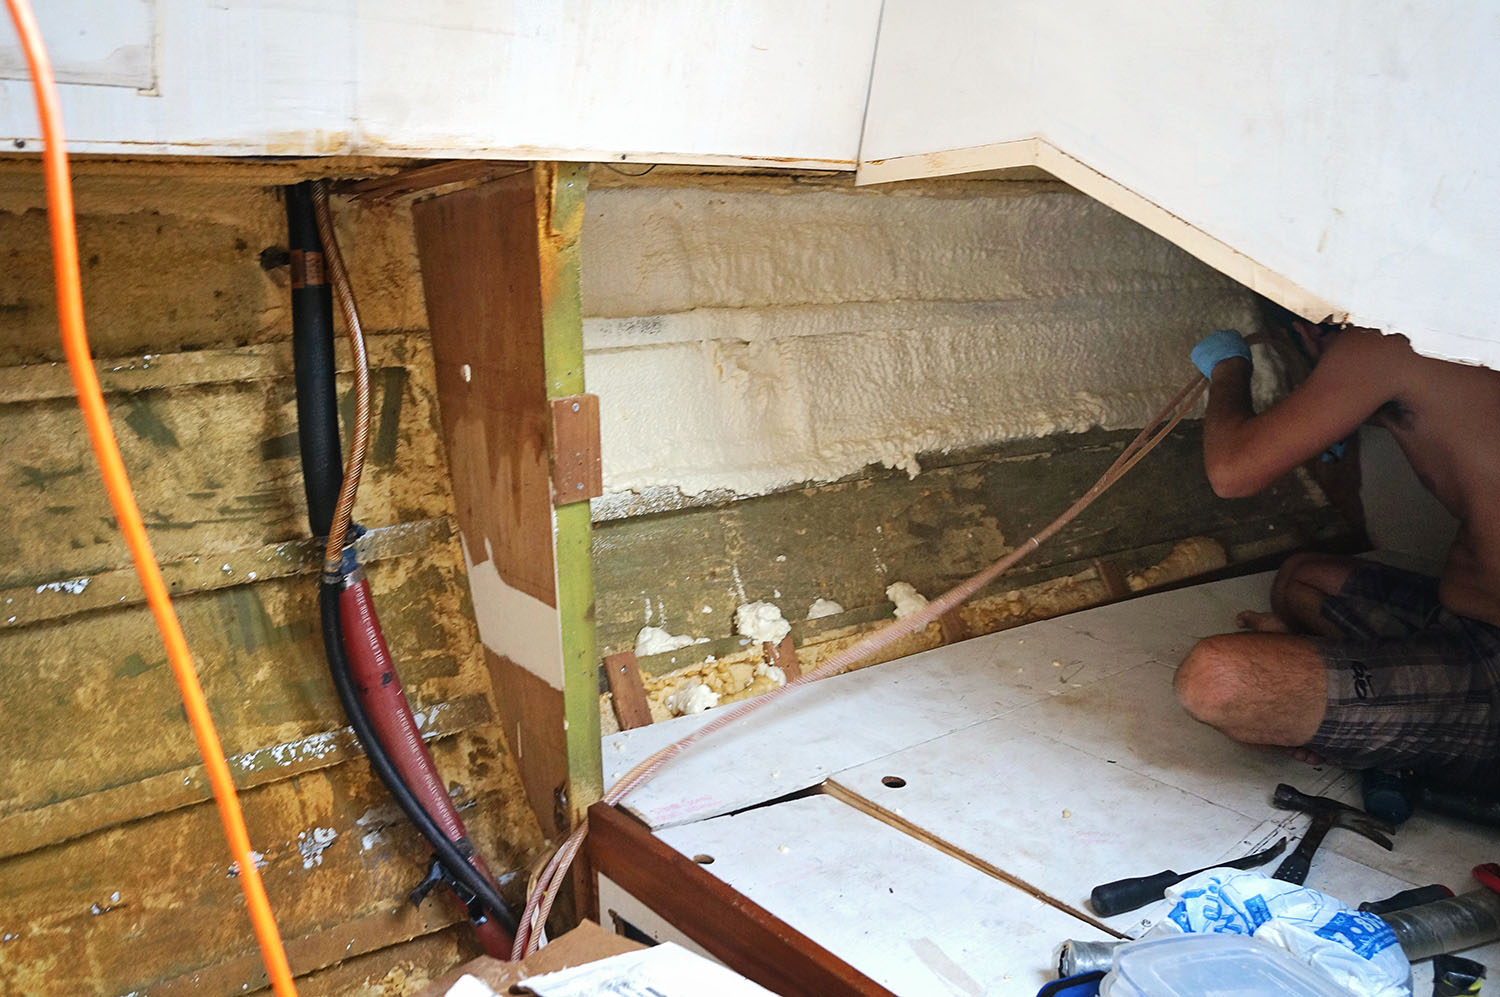
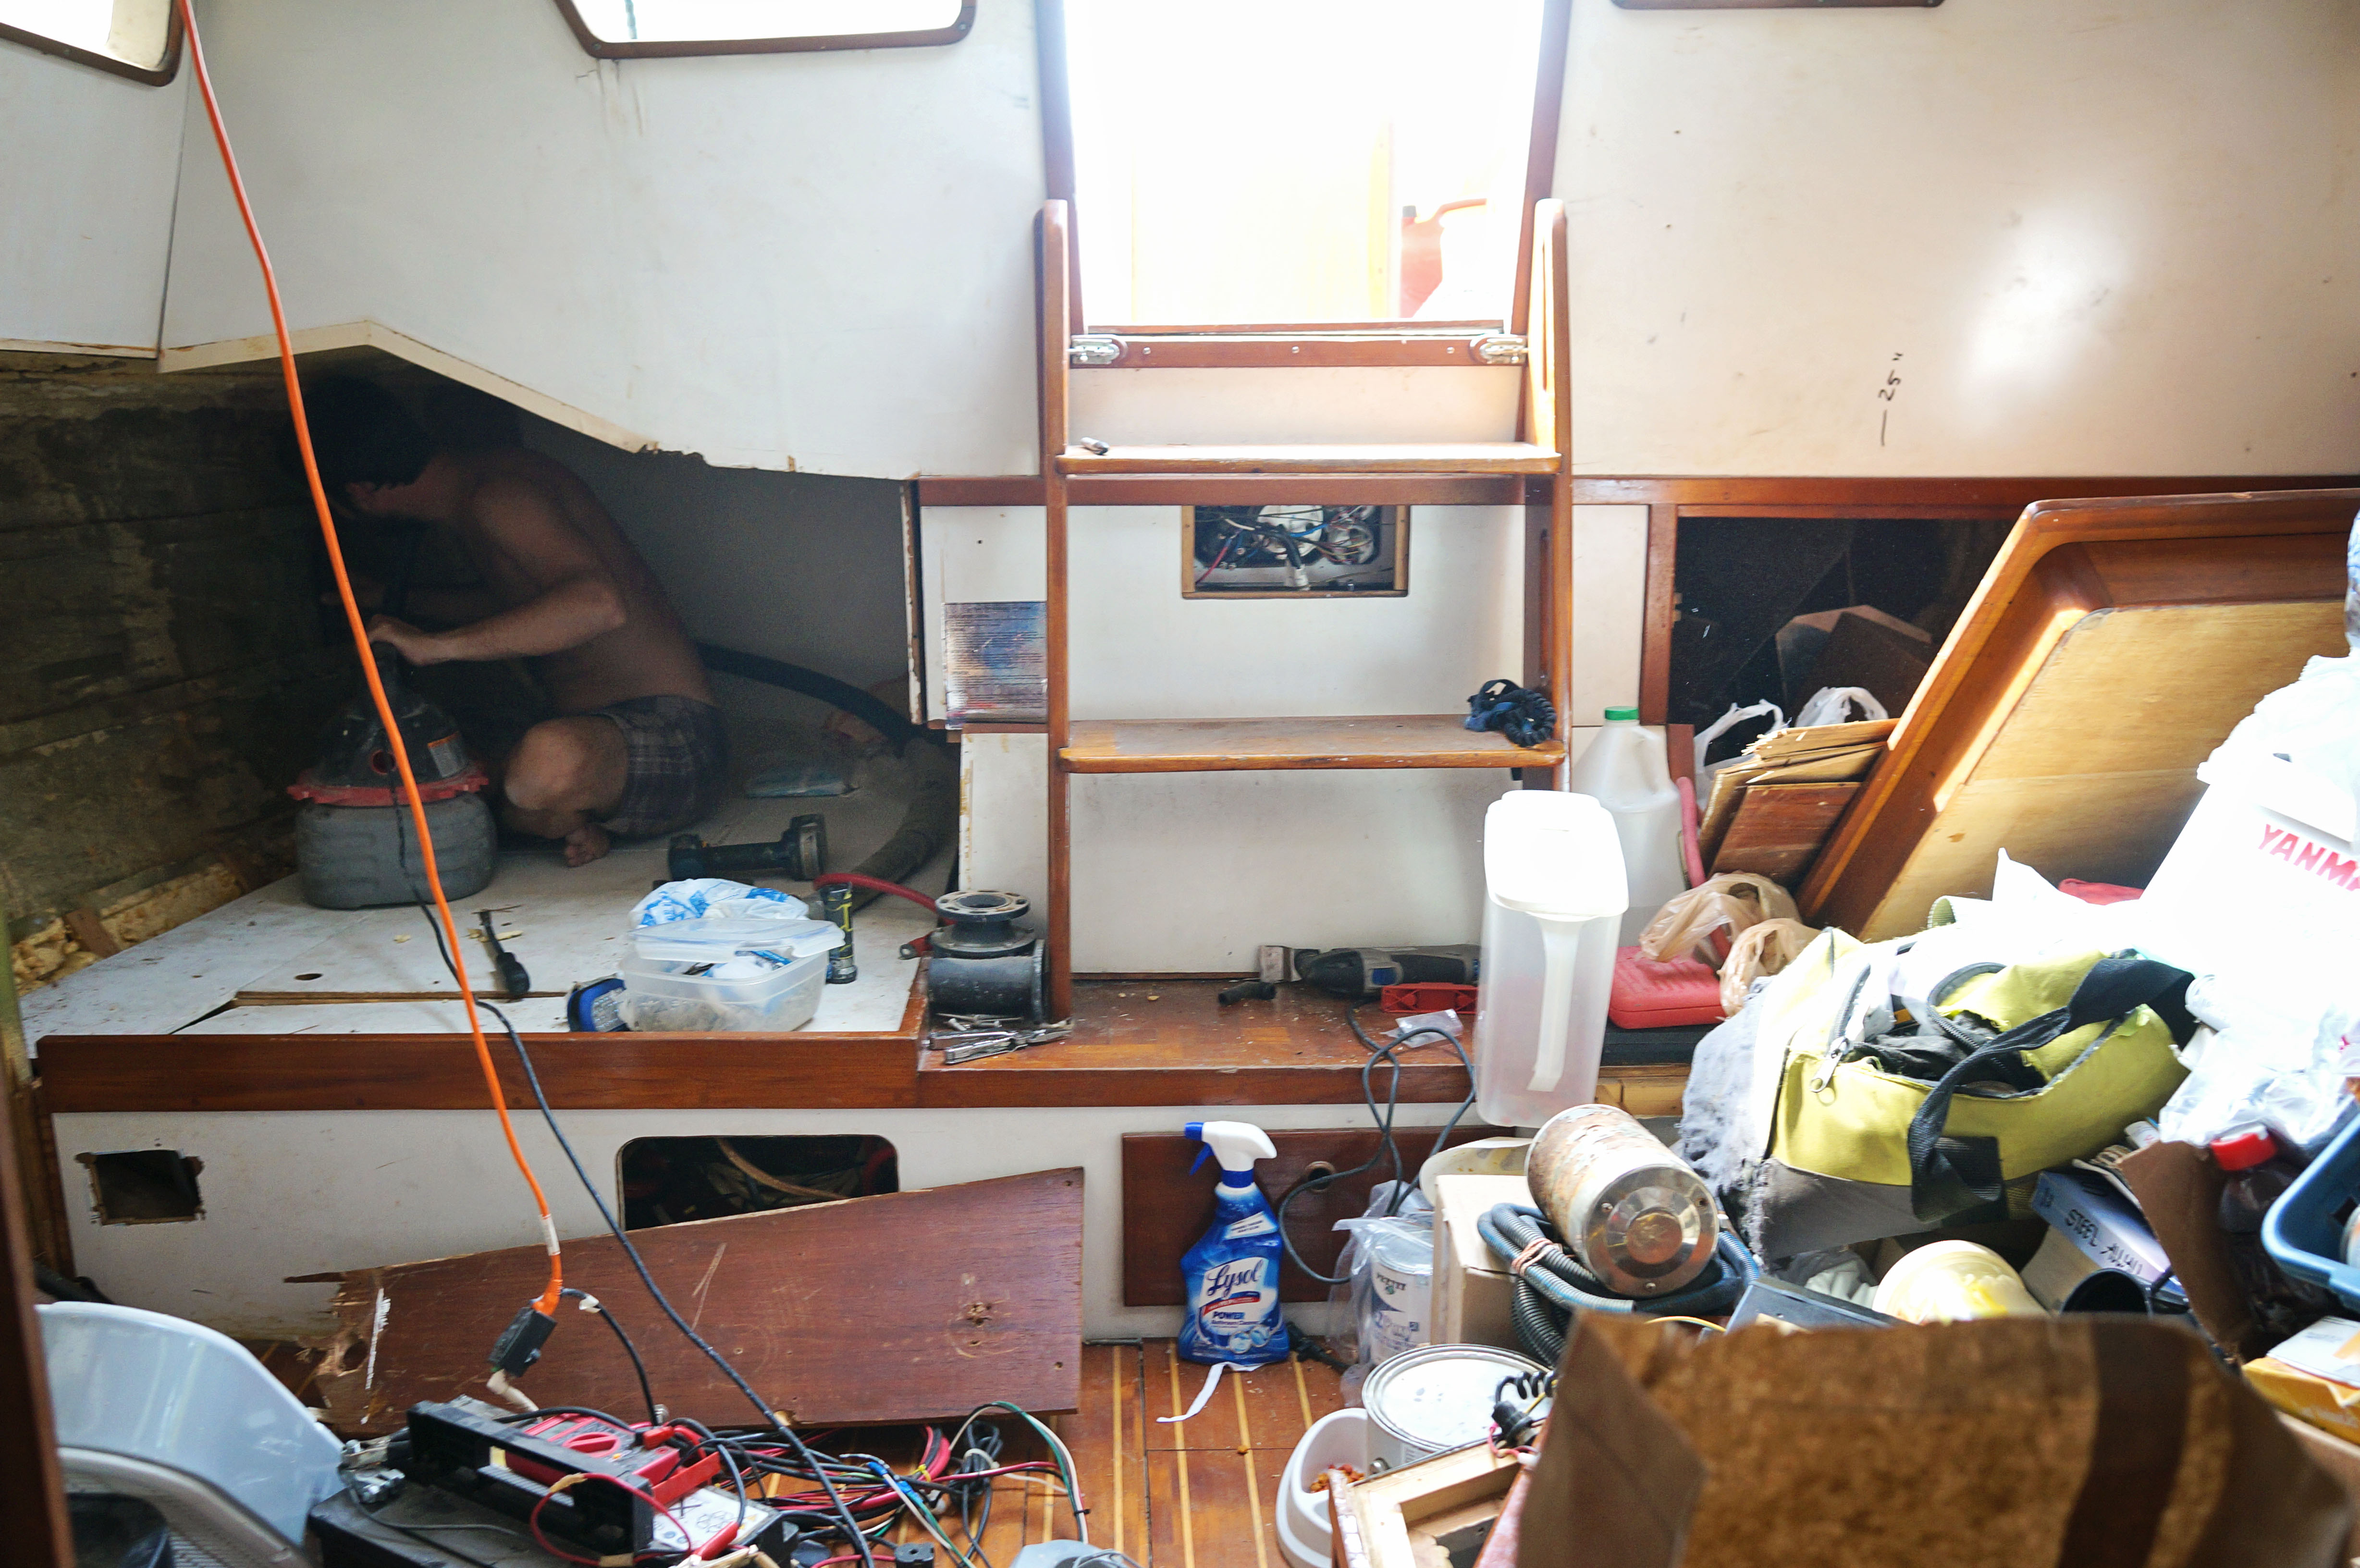
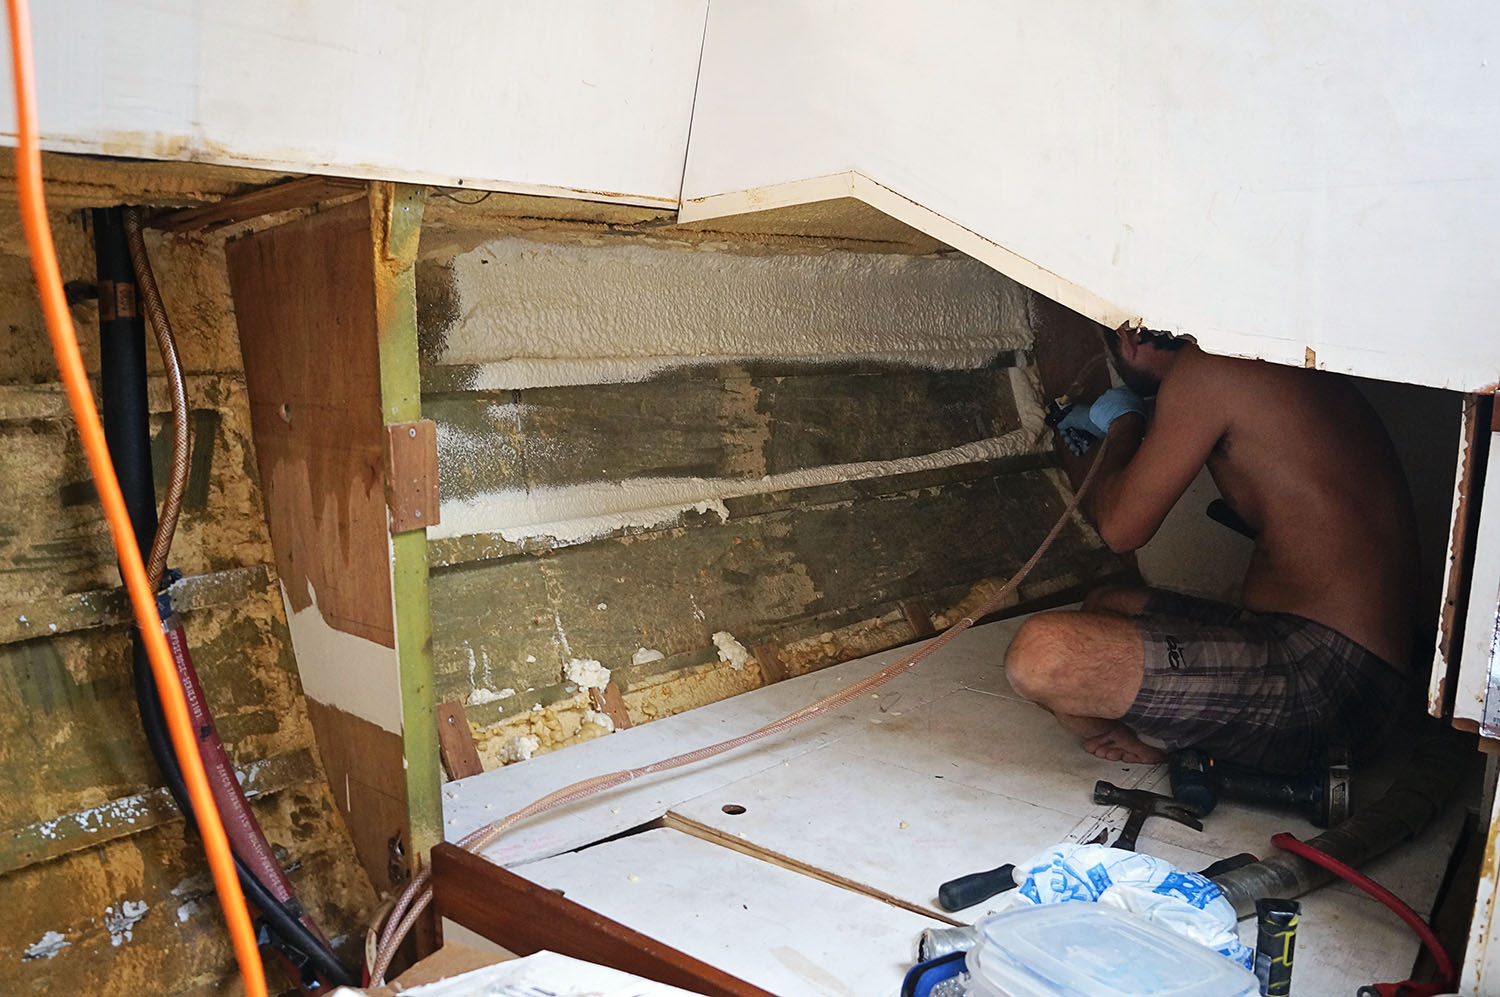
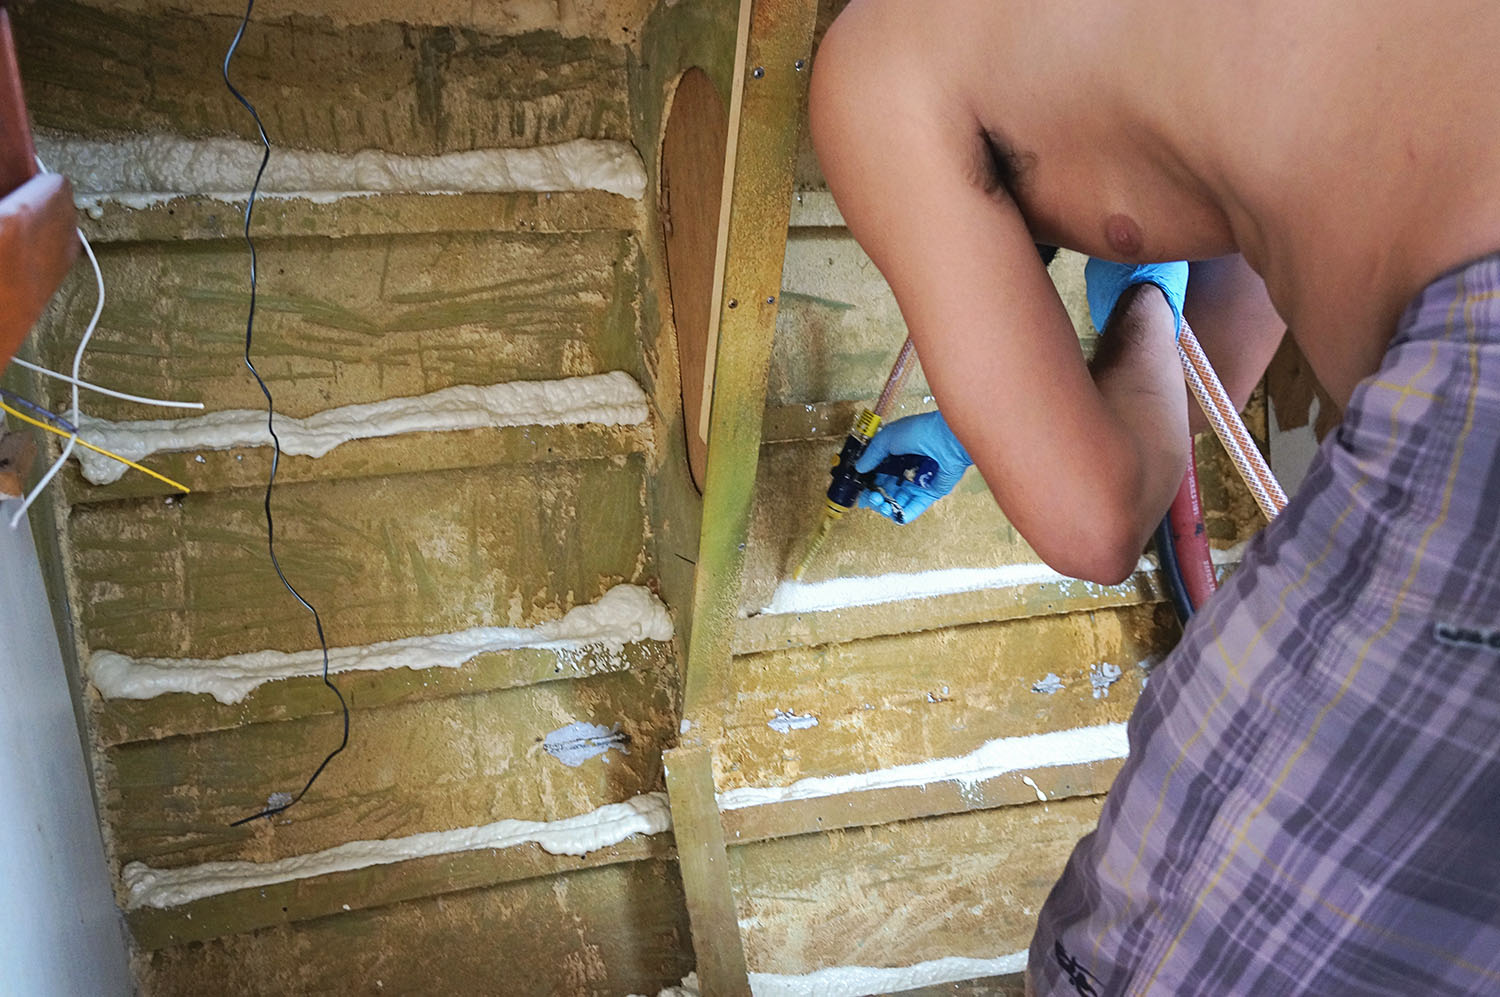
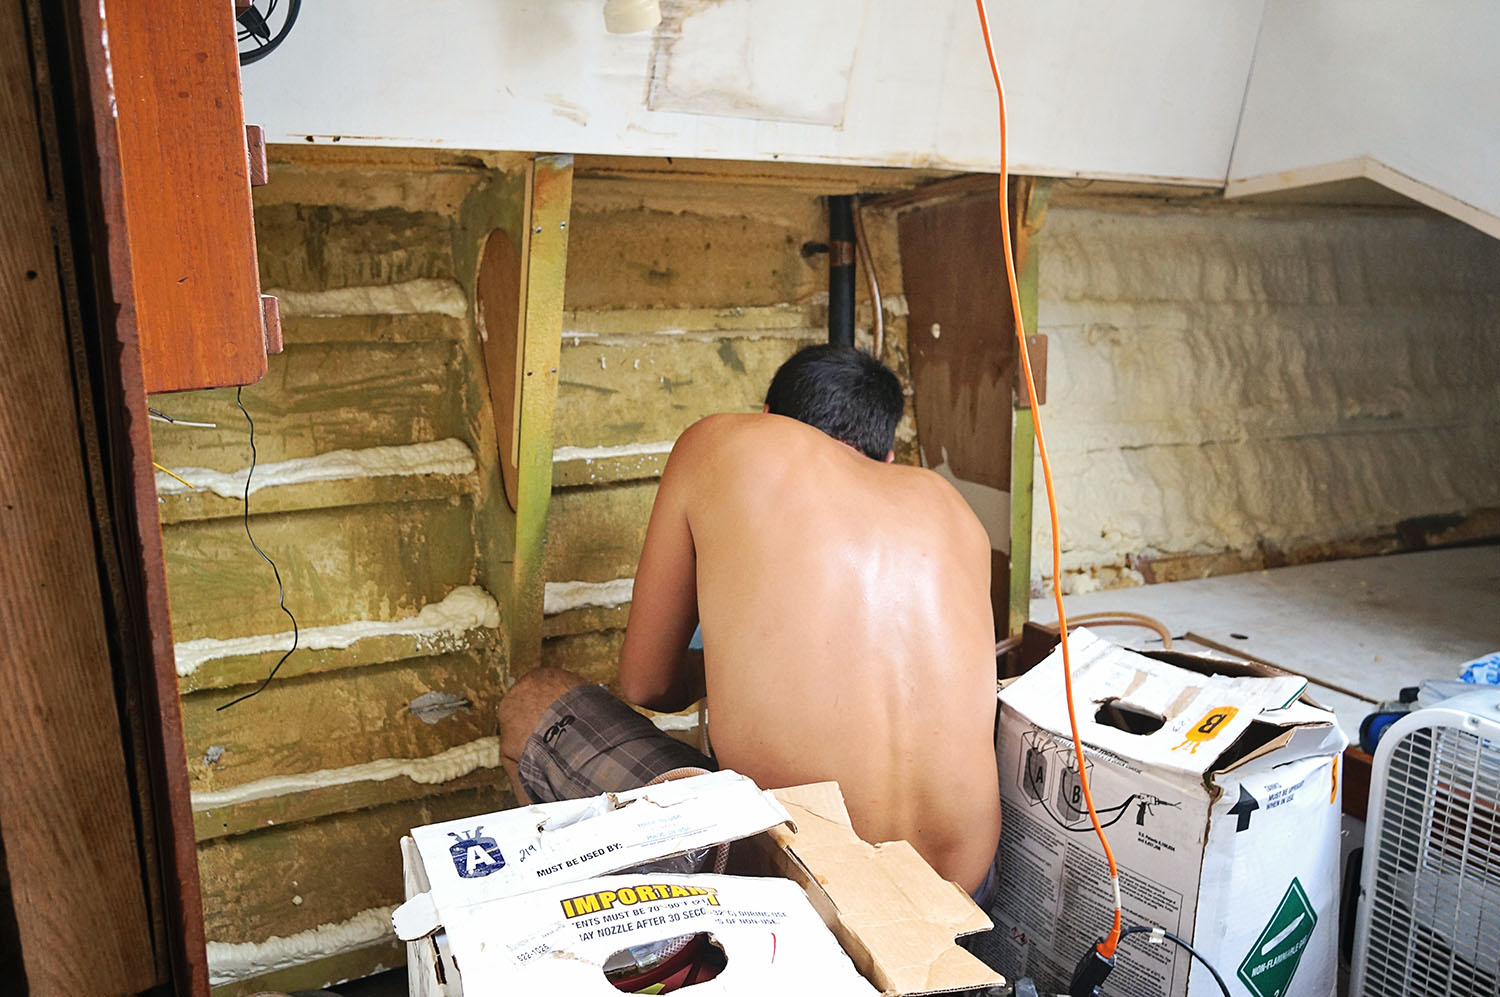
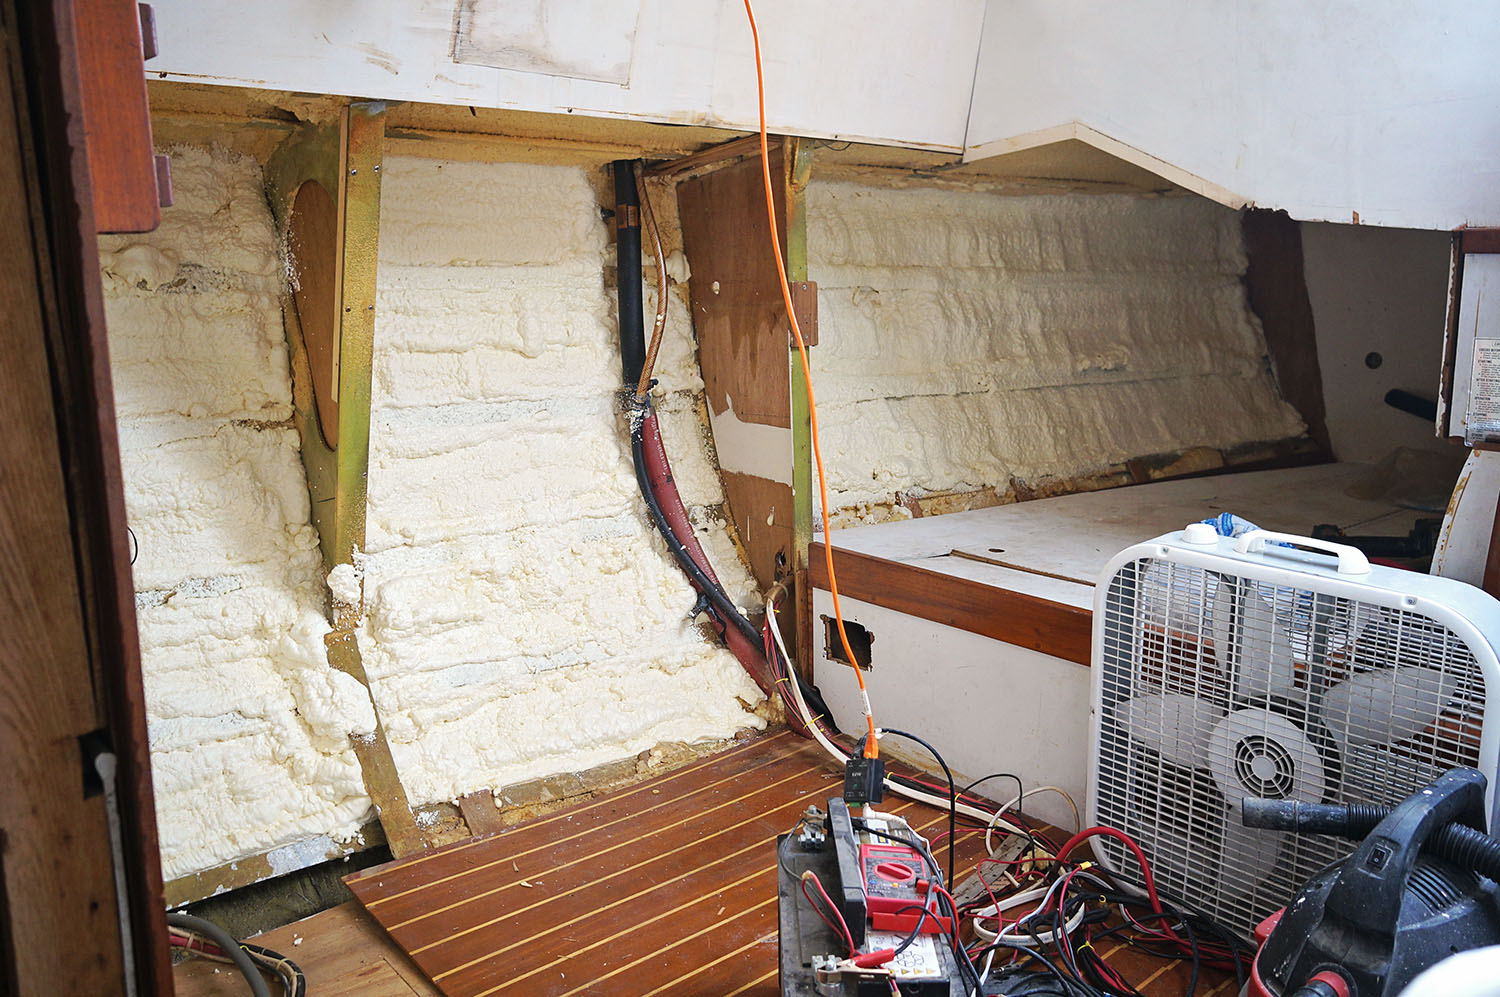
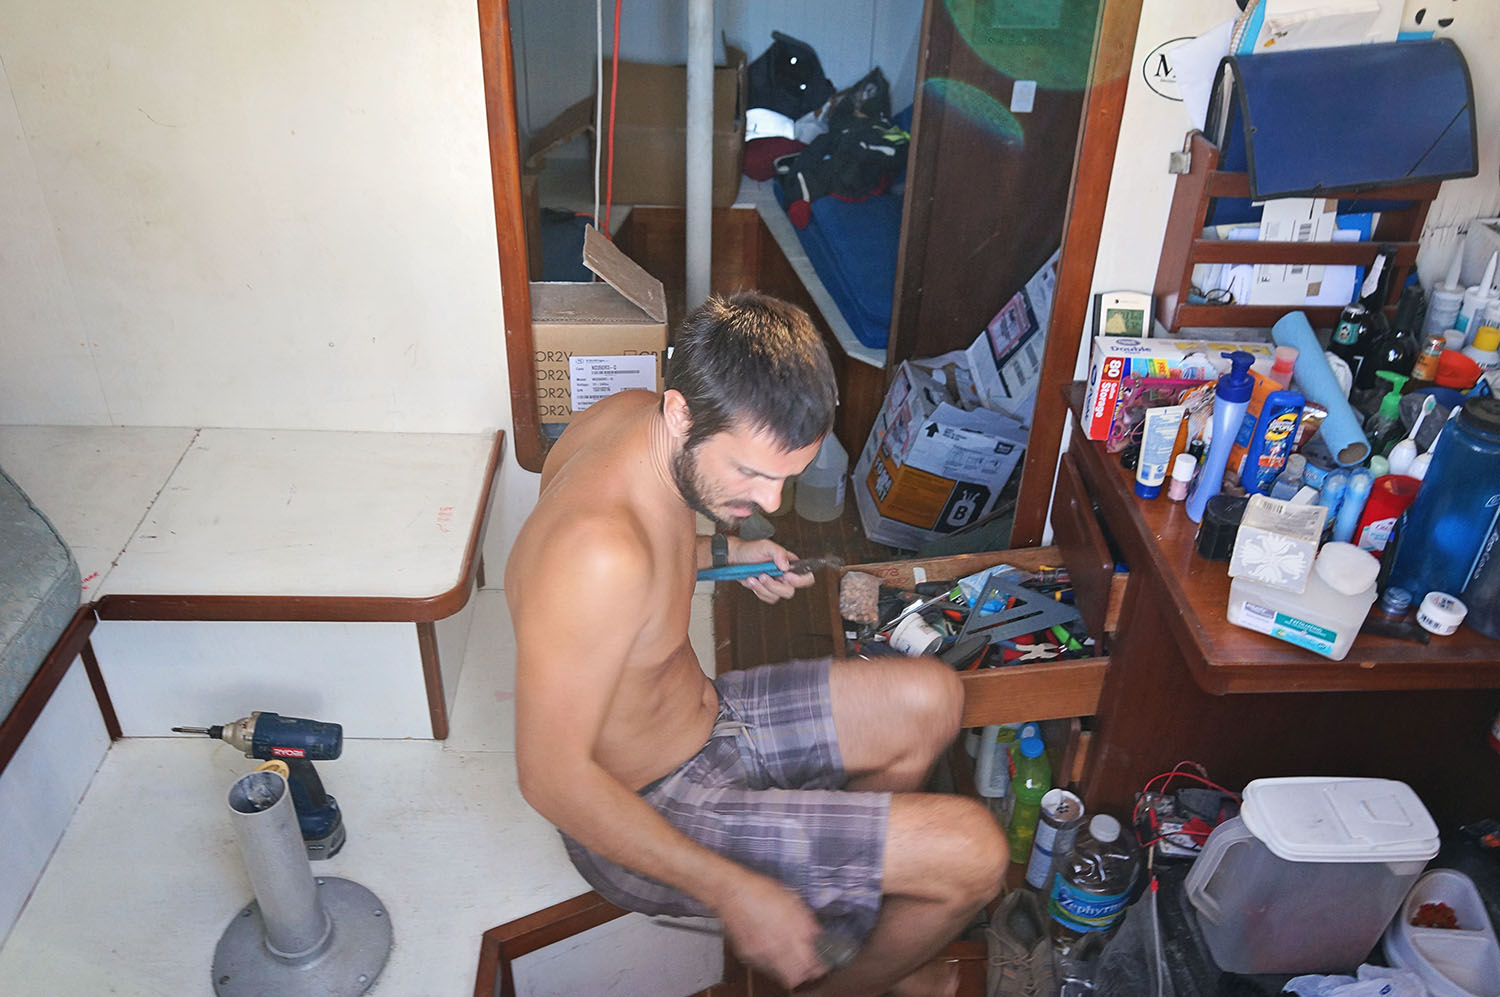
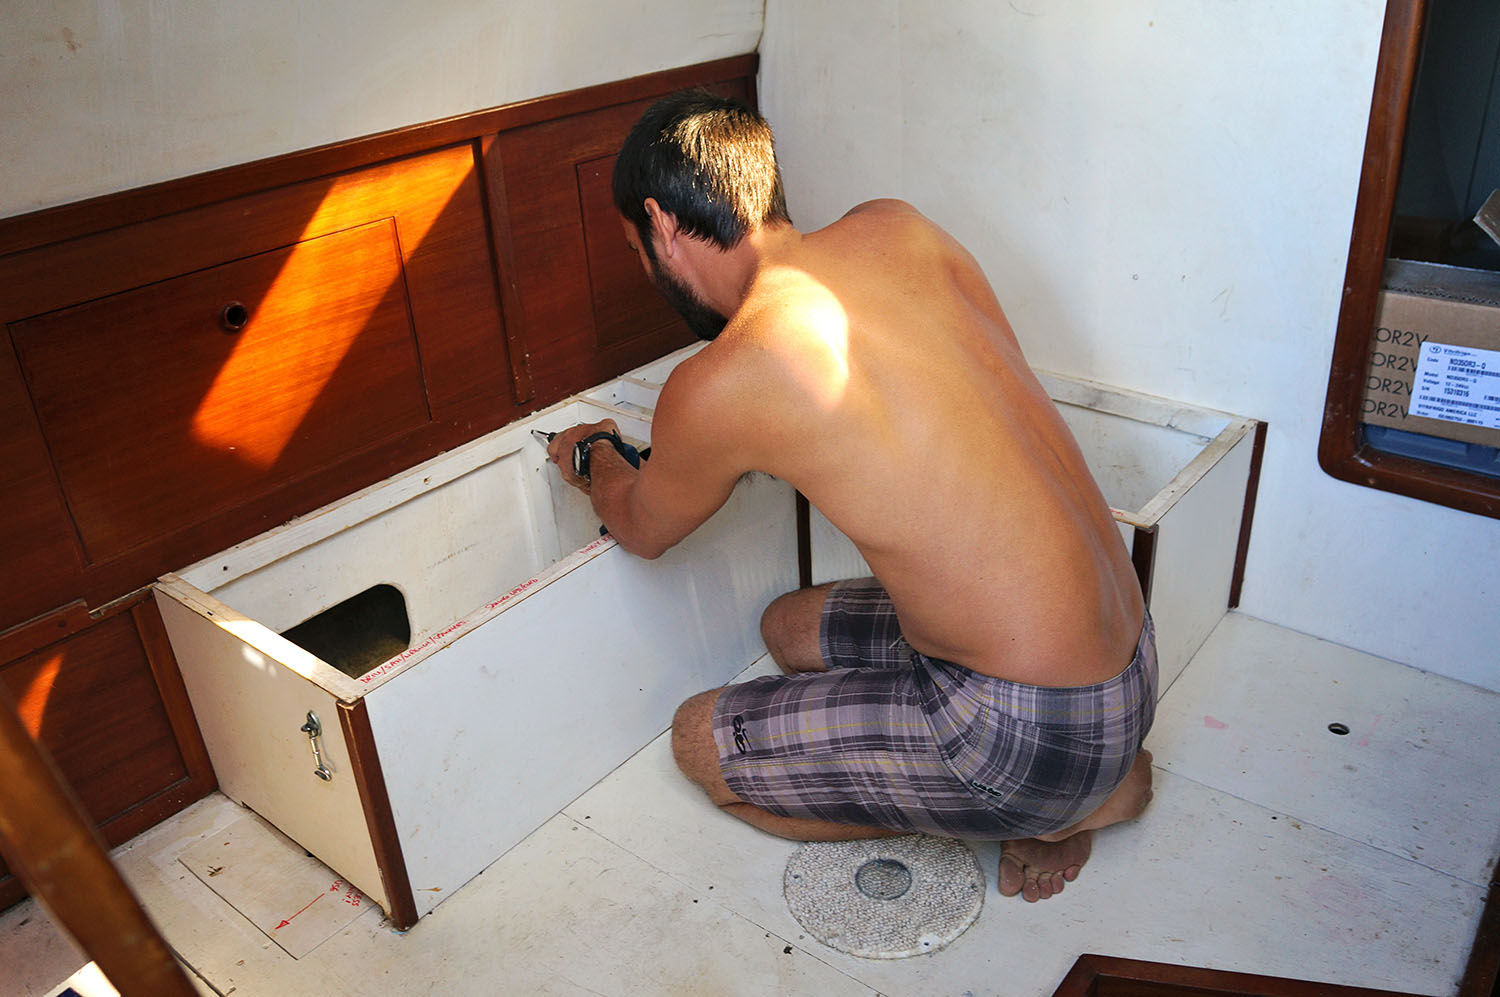
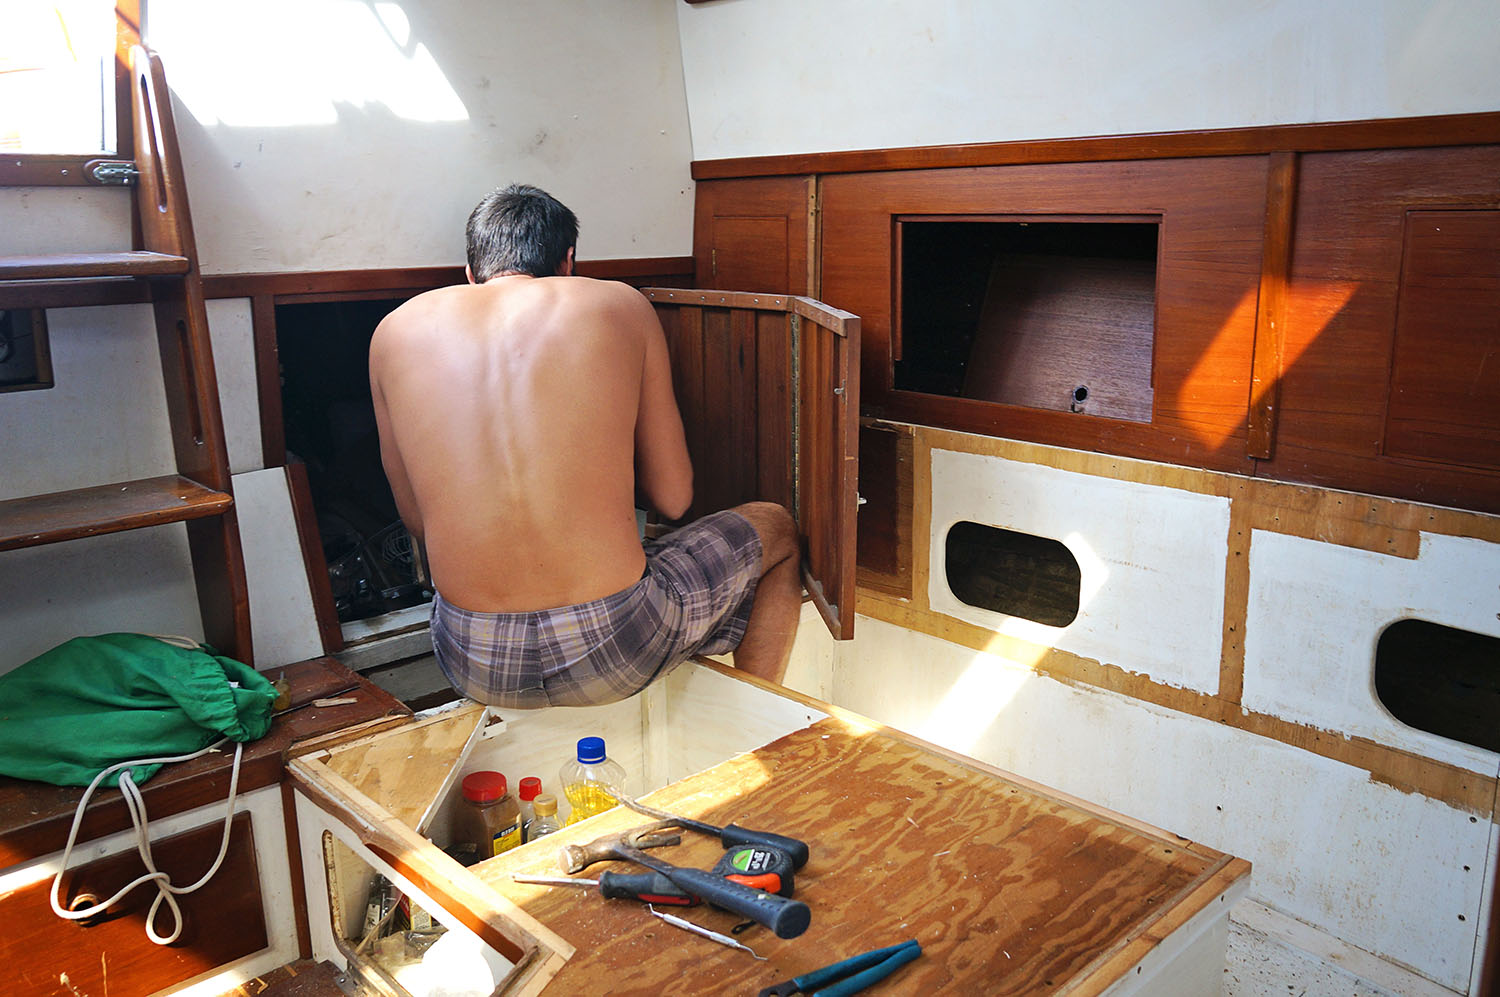
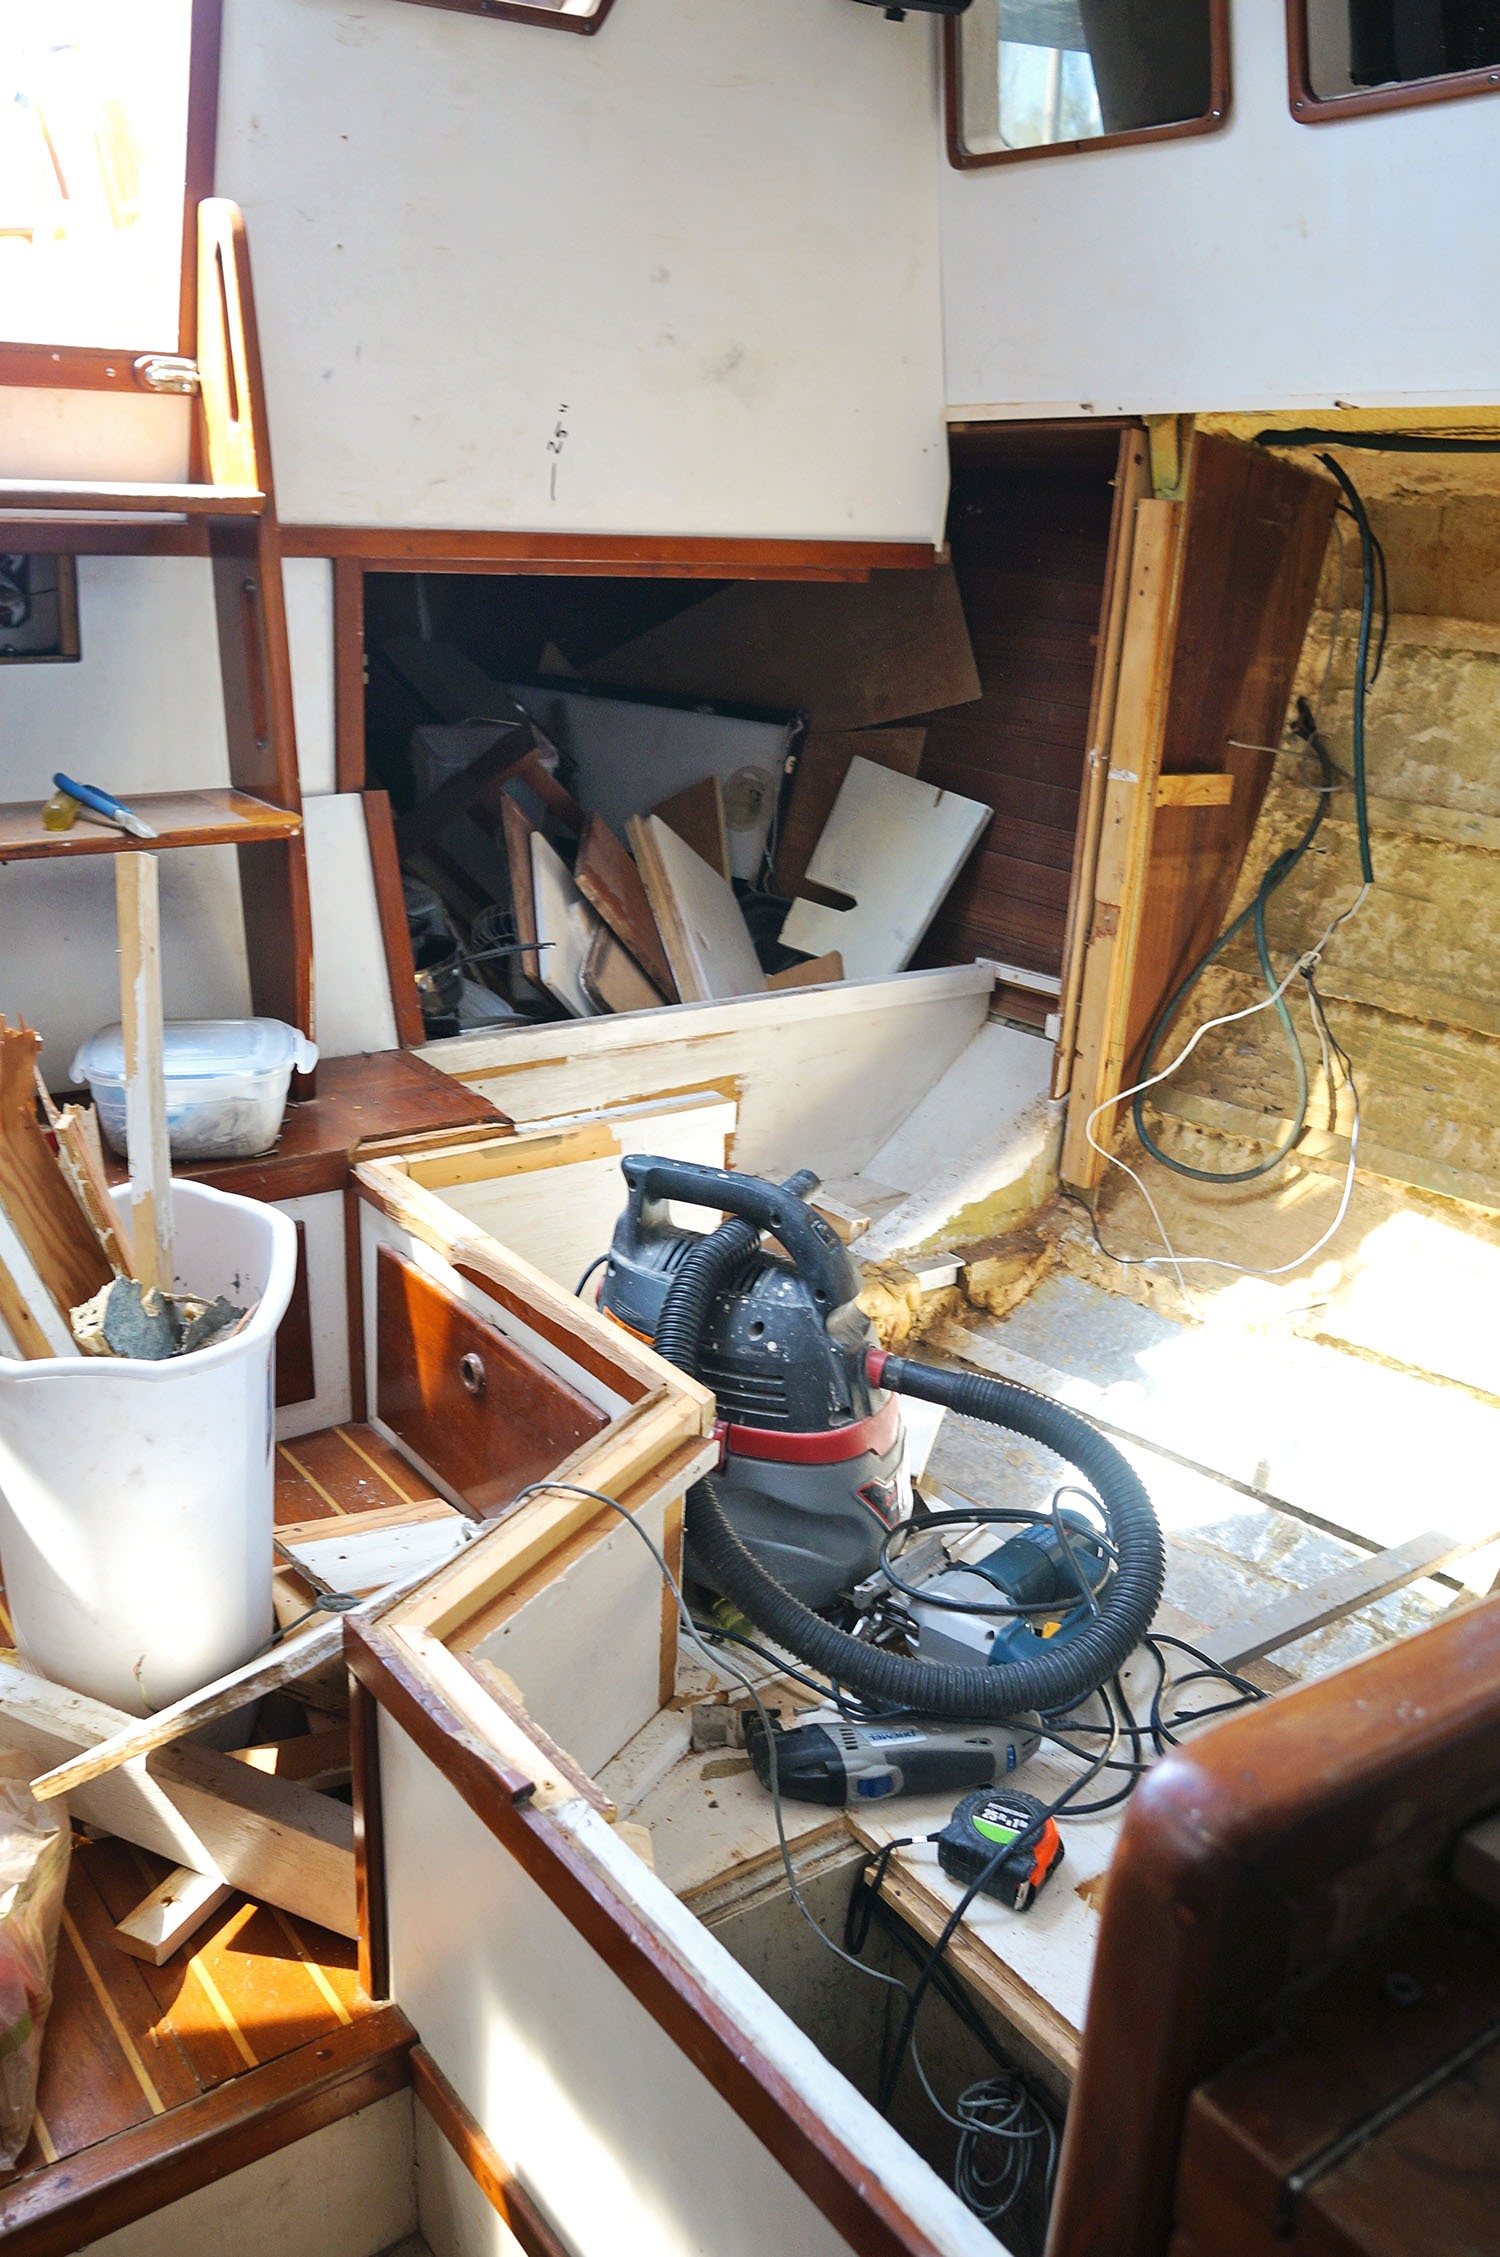
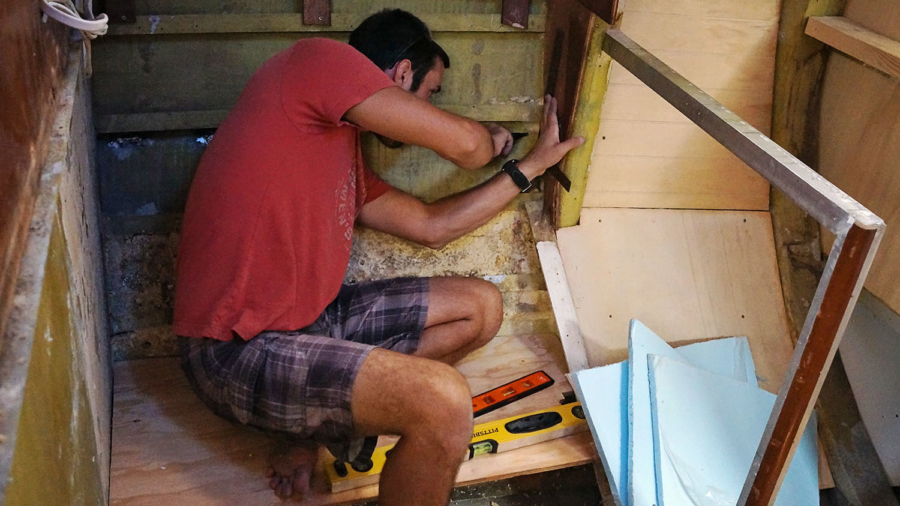
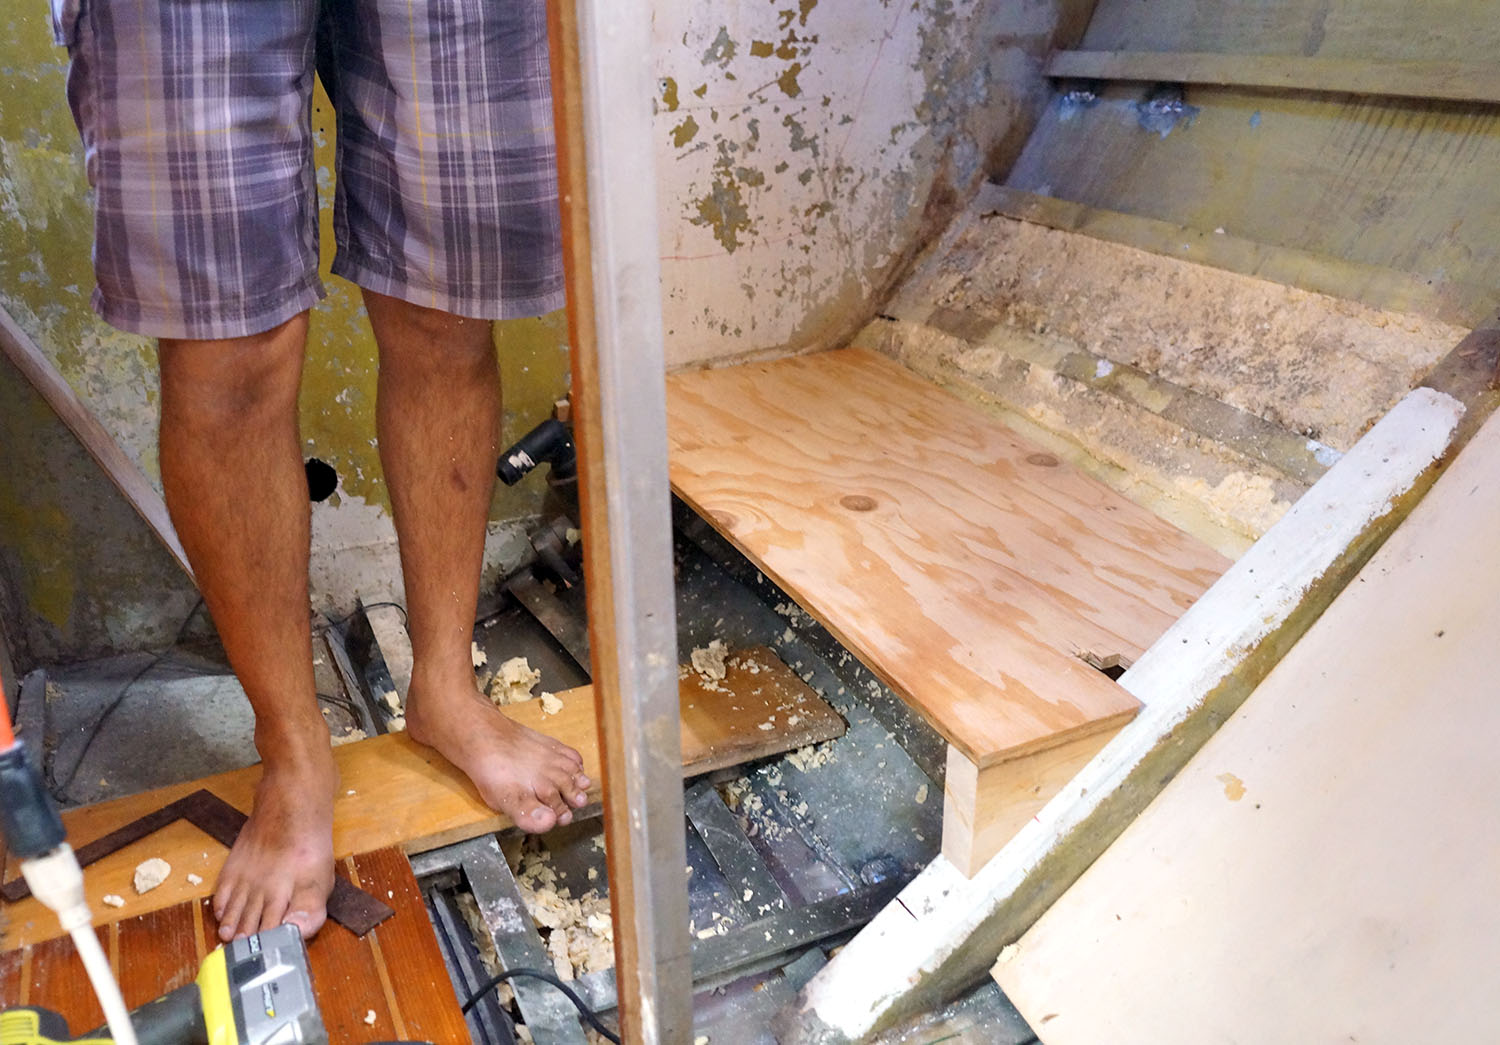
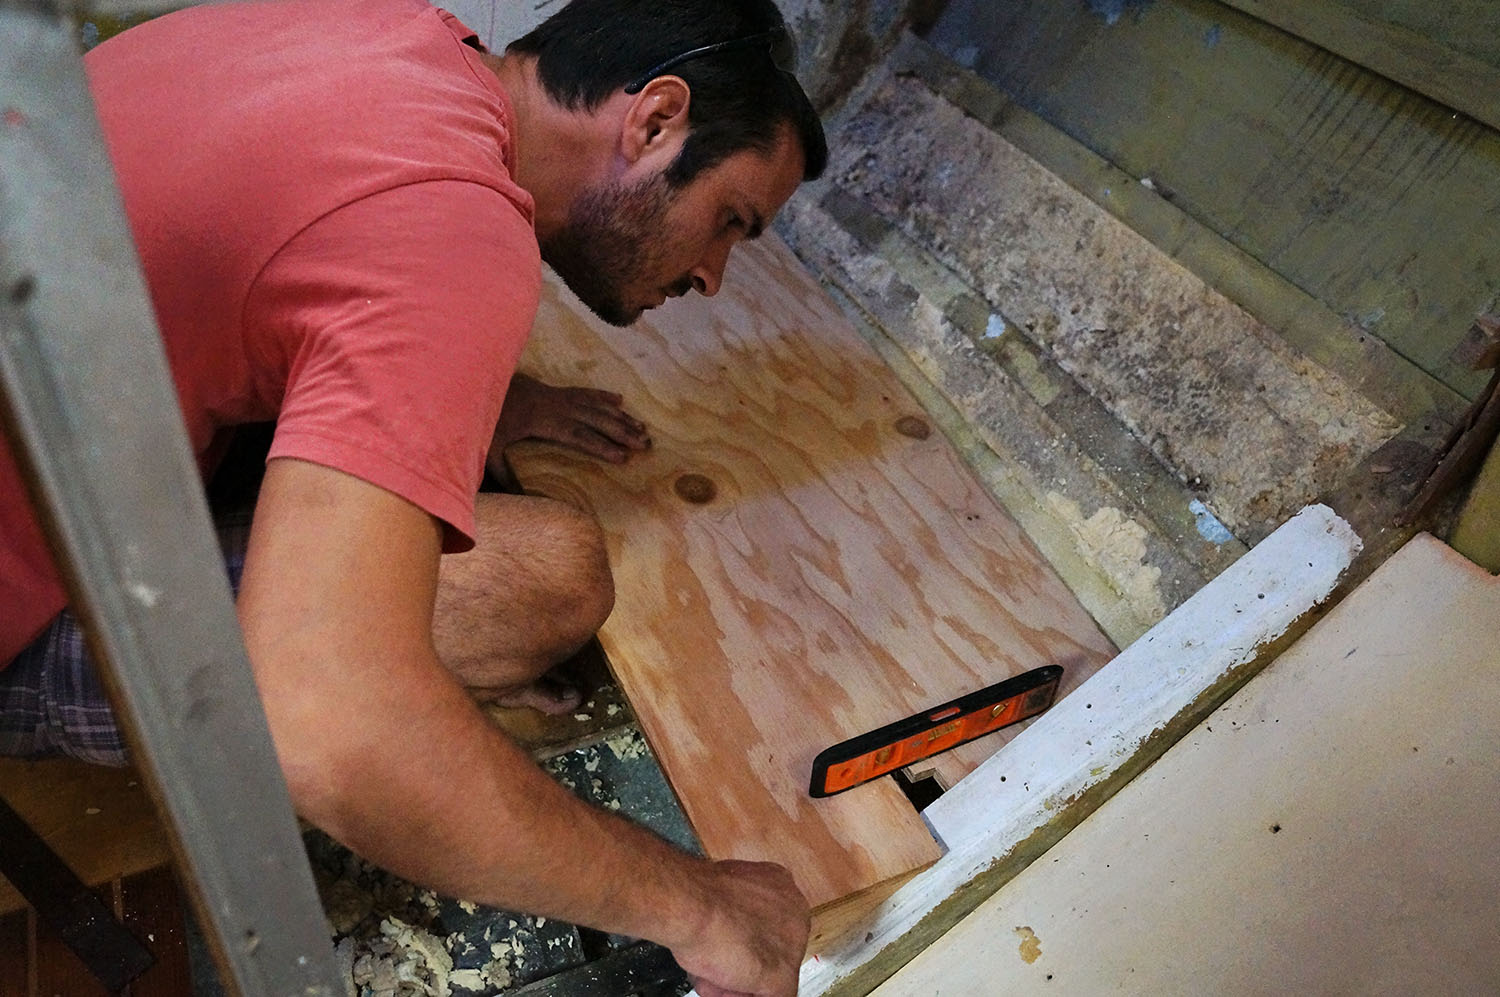
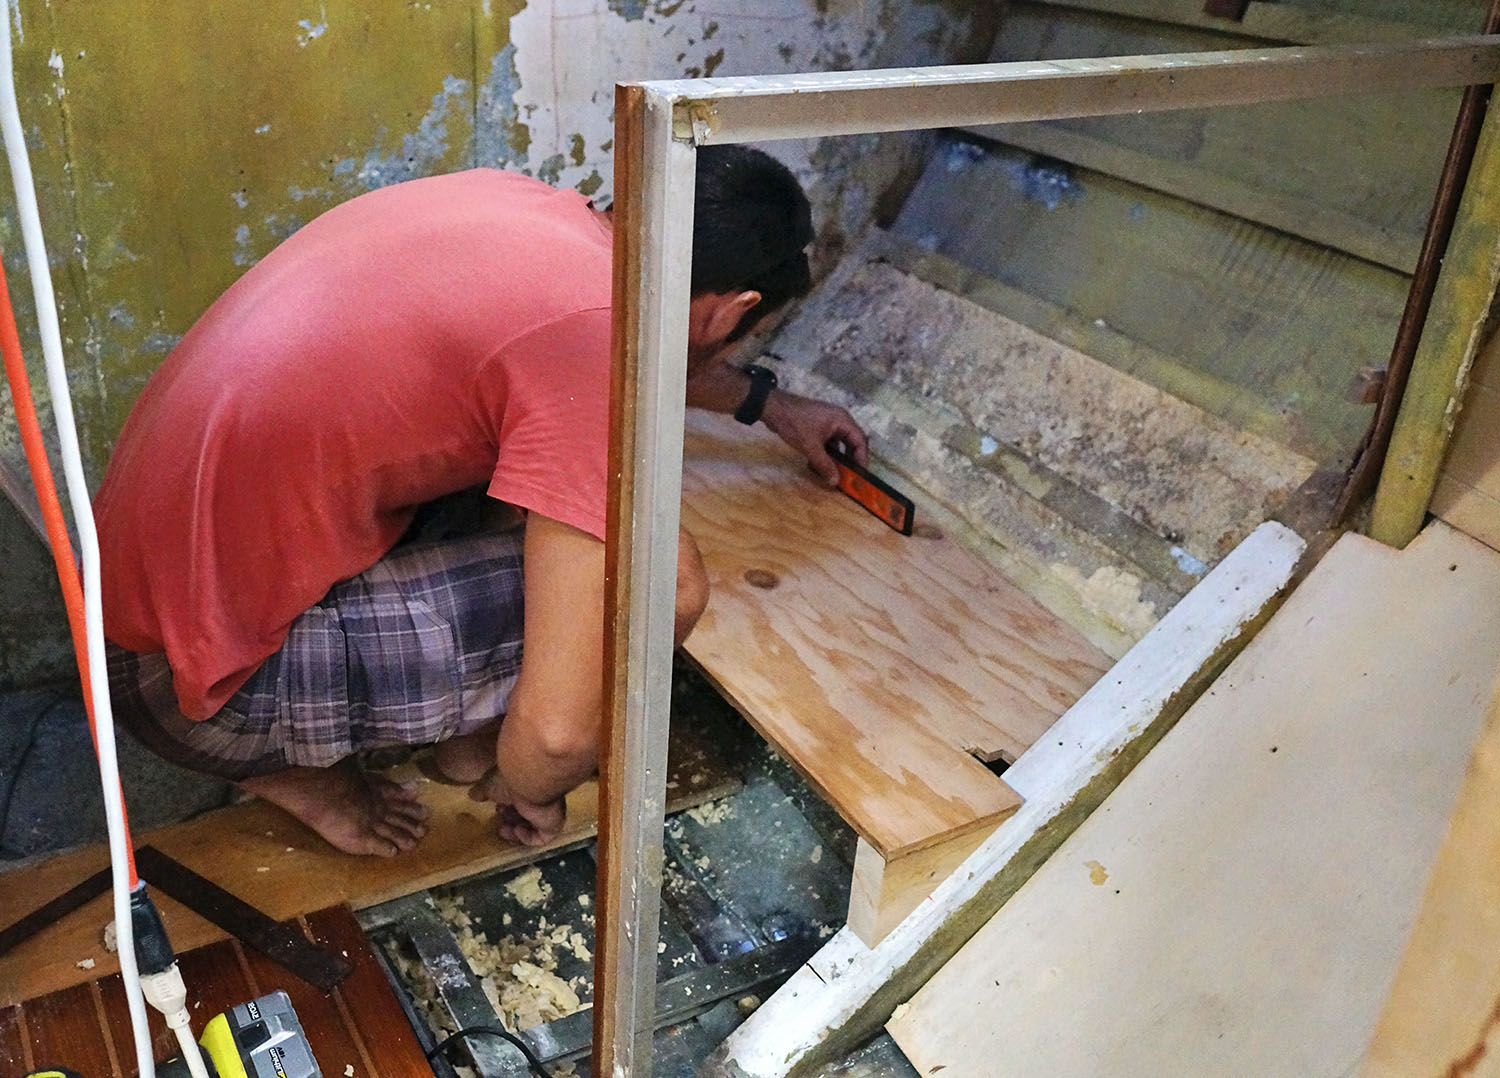
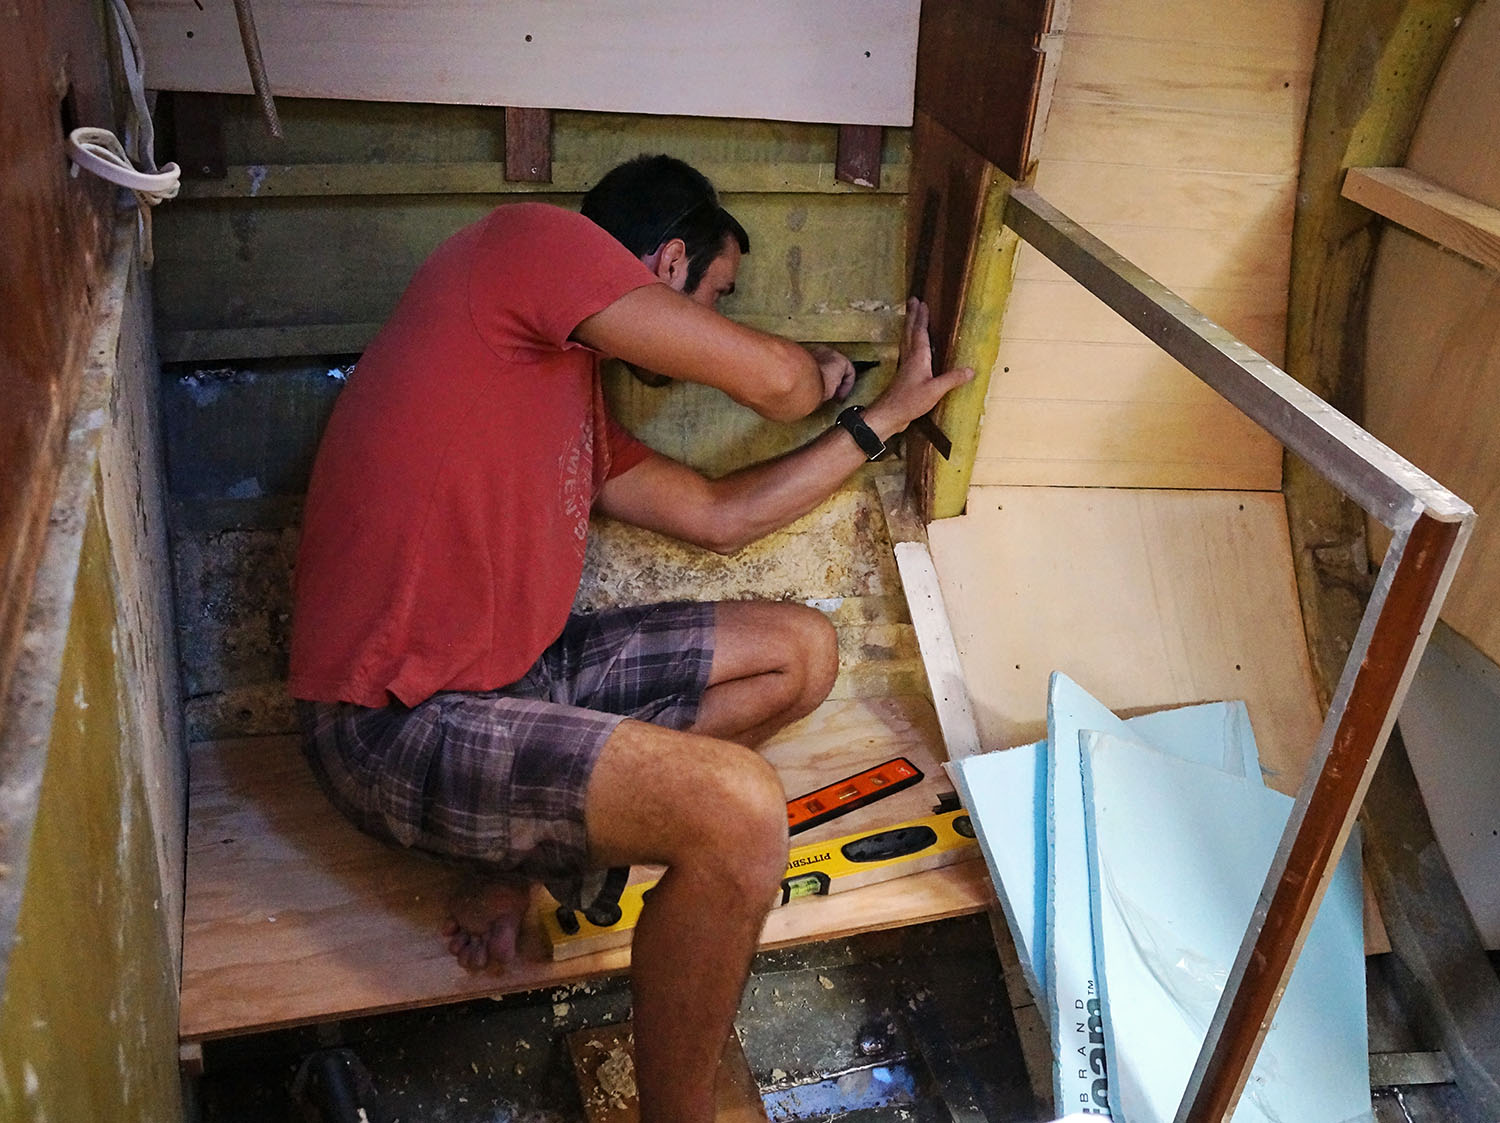
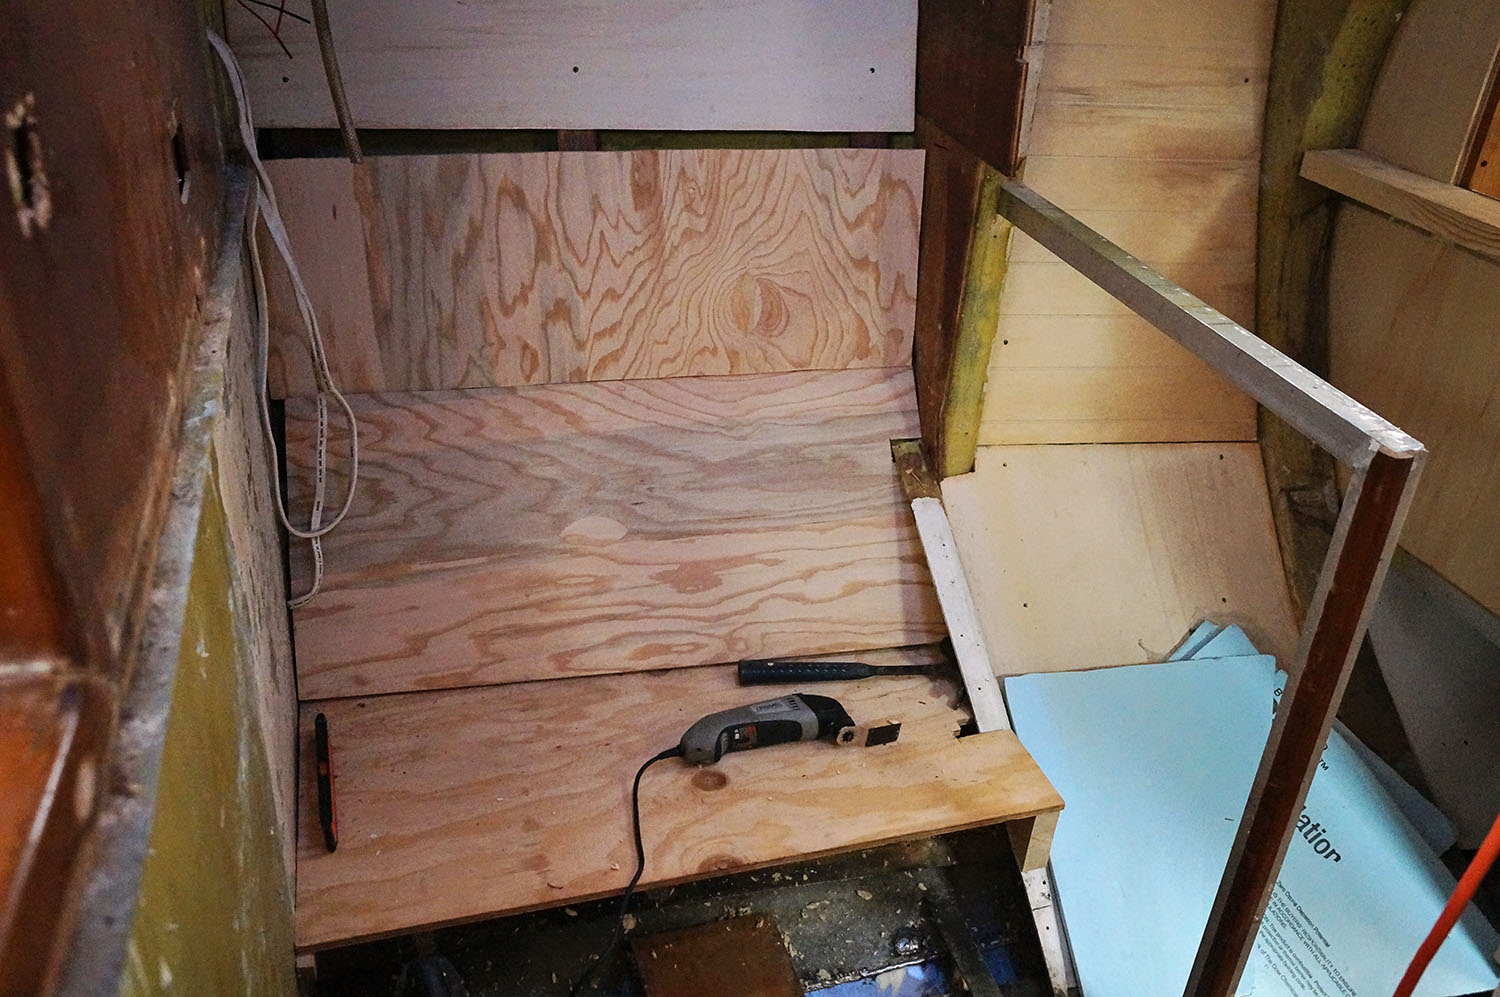
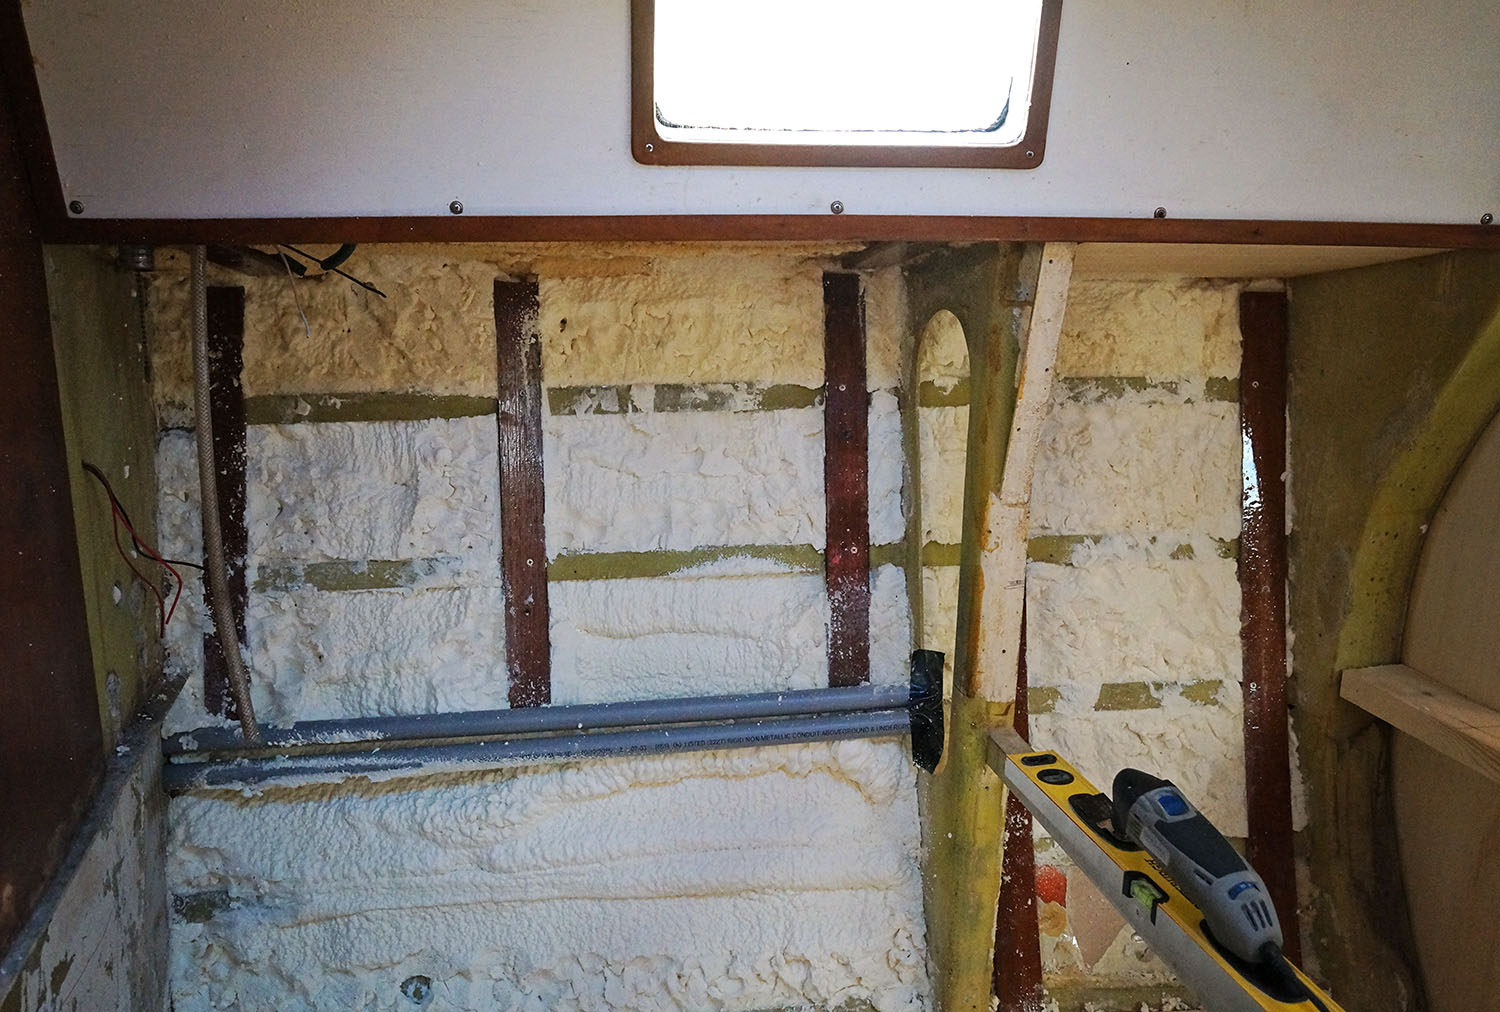
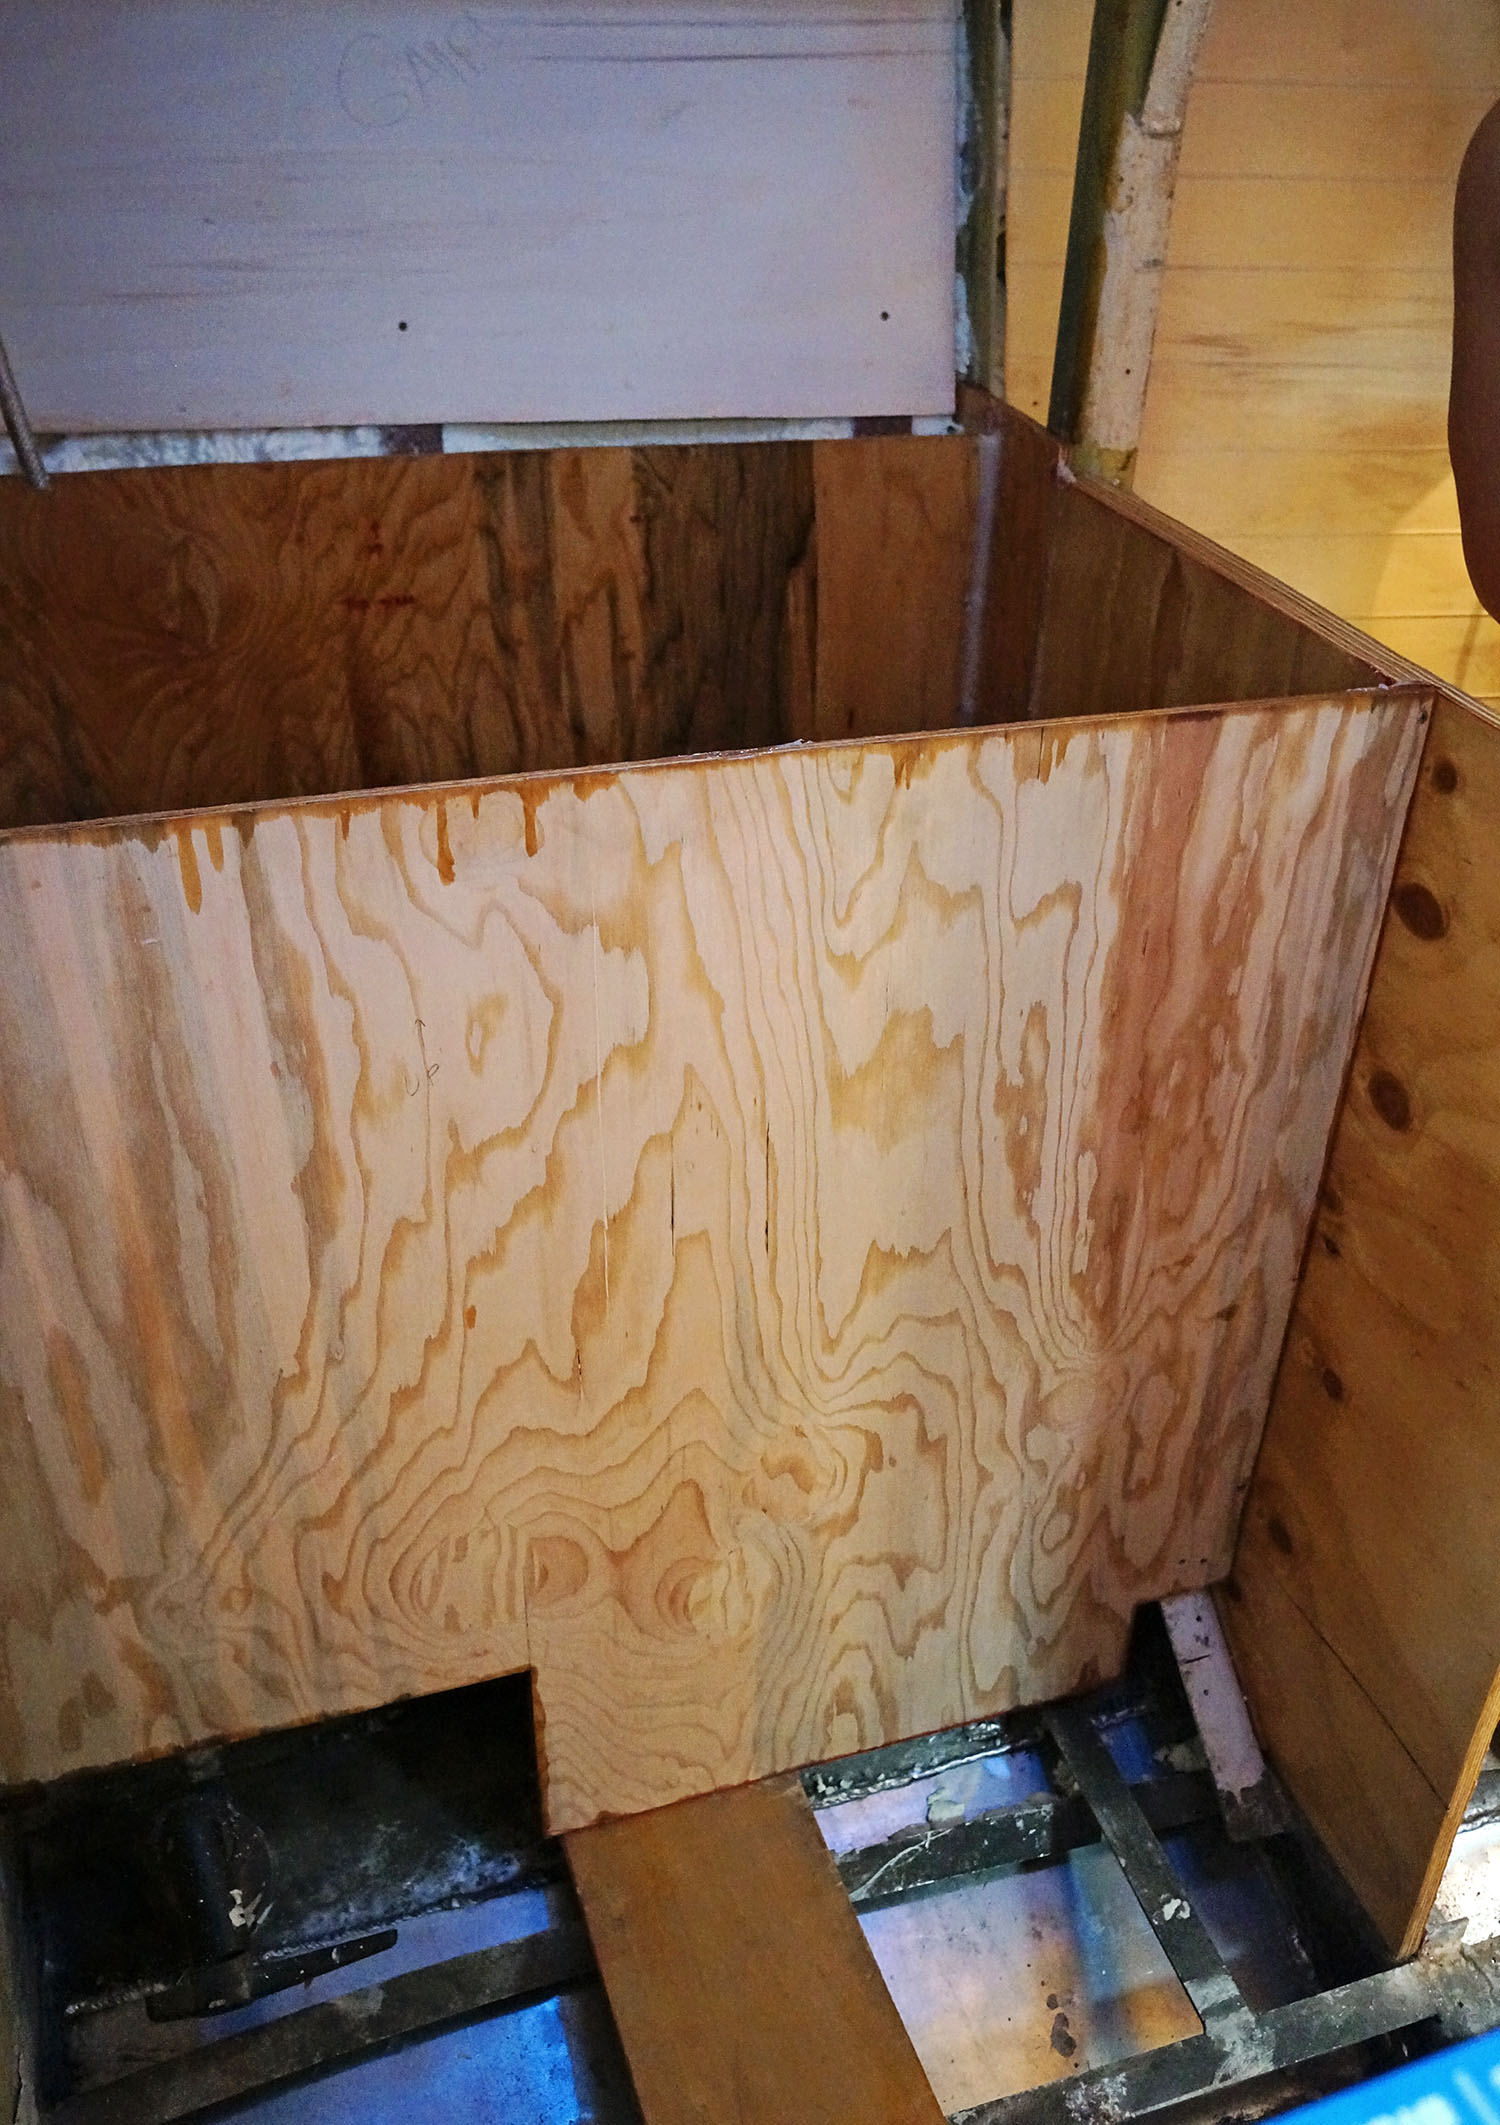
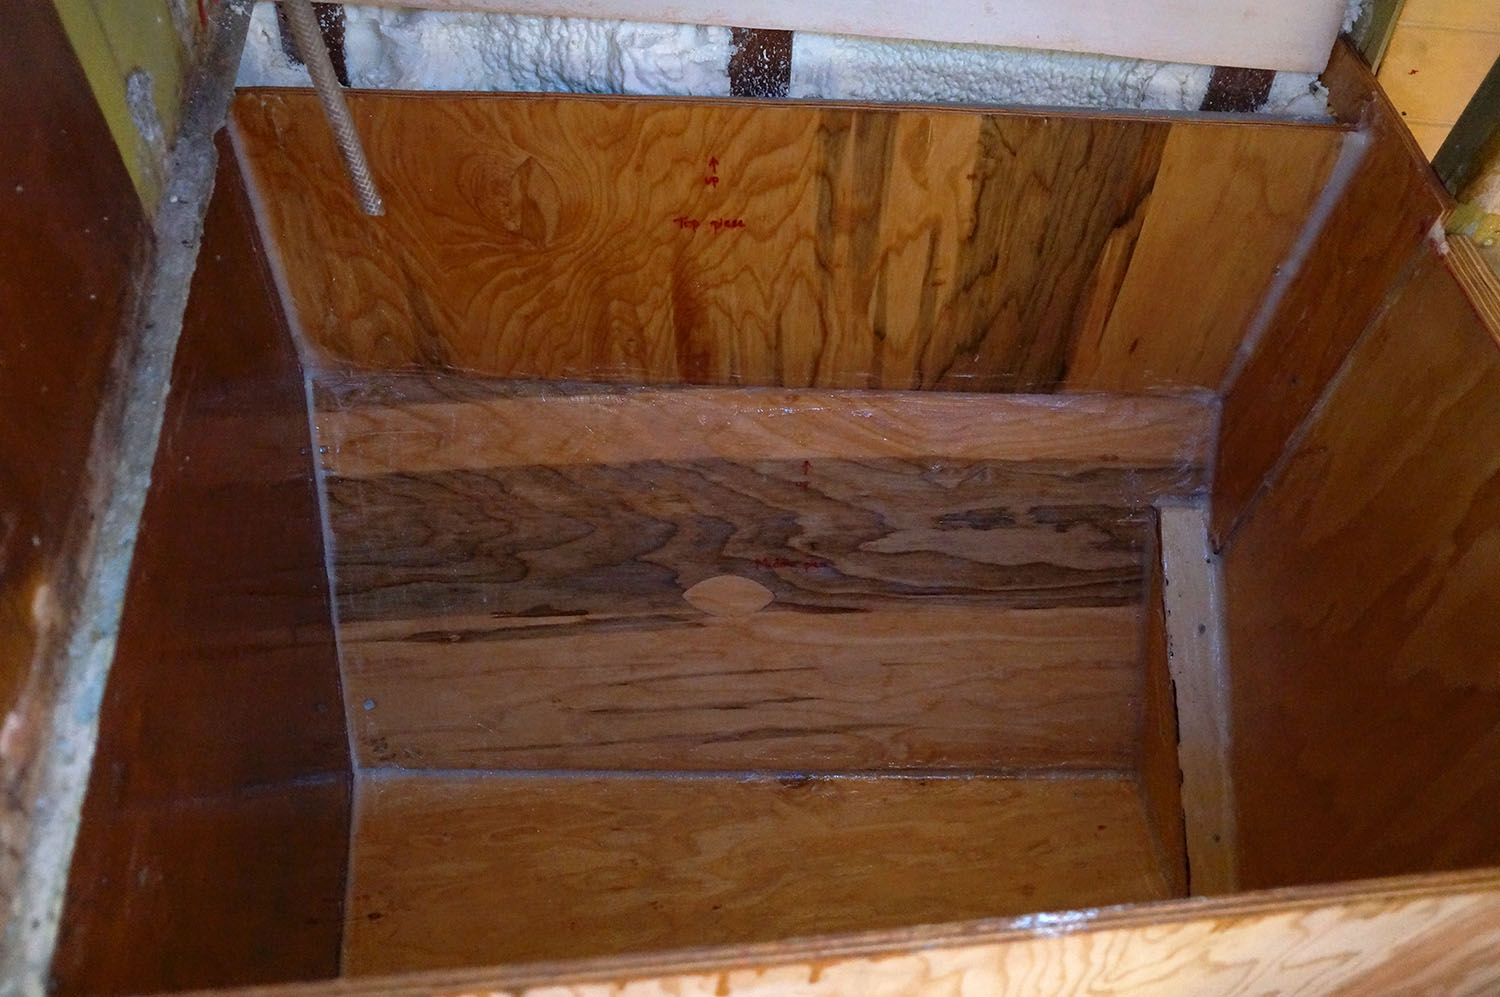
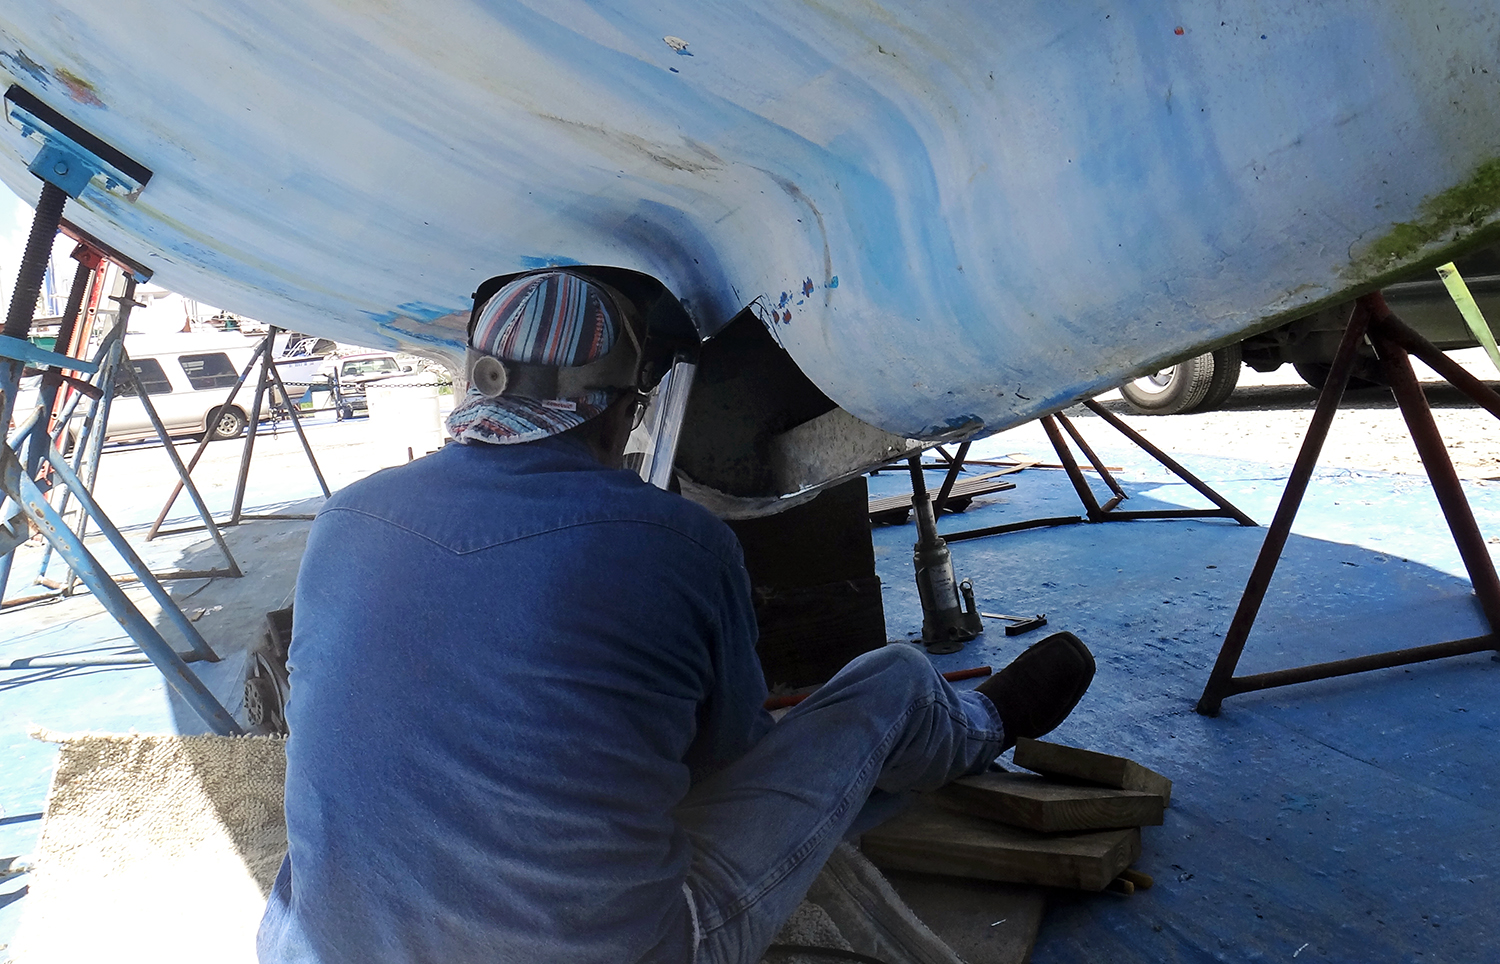
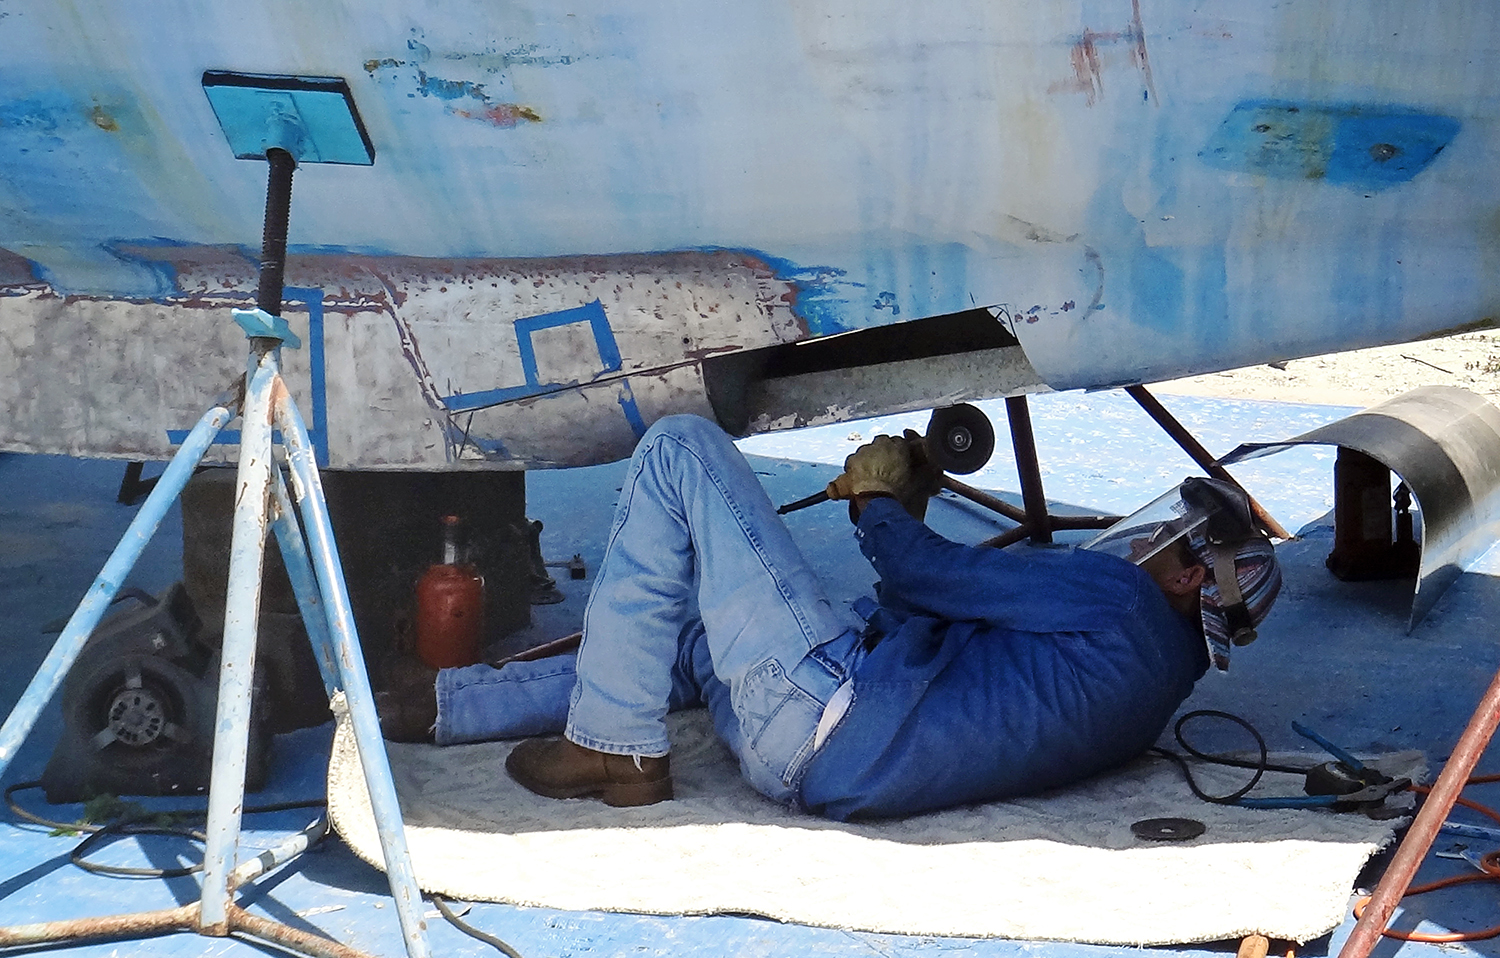
  • Work has begun in the head

Very slowly mind you as this is another case of a lot of epoxy work and filler and even more time of waiting for it to dry and work with it again. I have a feeling this project will take quite awhile and I will be doing a full post on it soon, so at the moment I’ll give you a quick preview of what we’ve done so far.

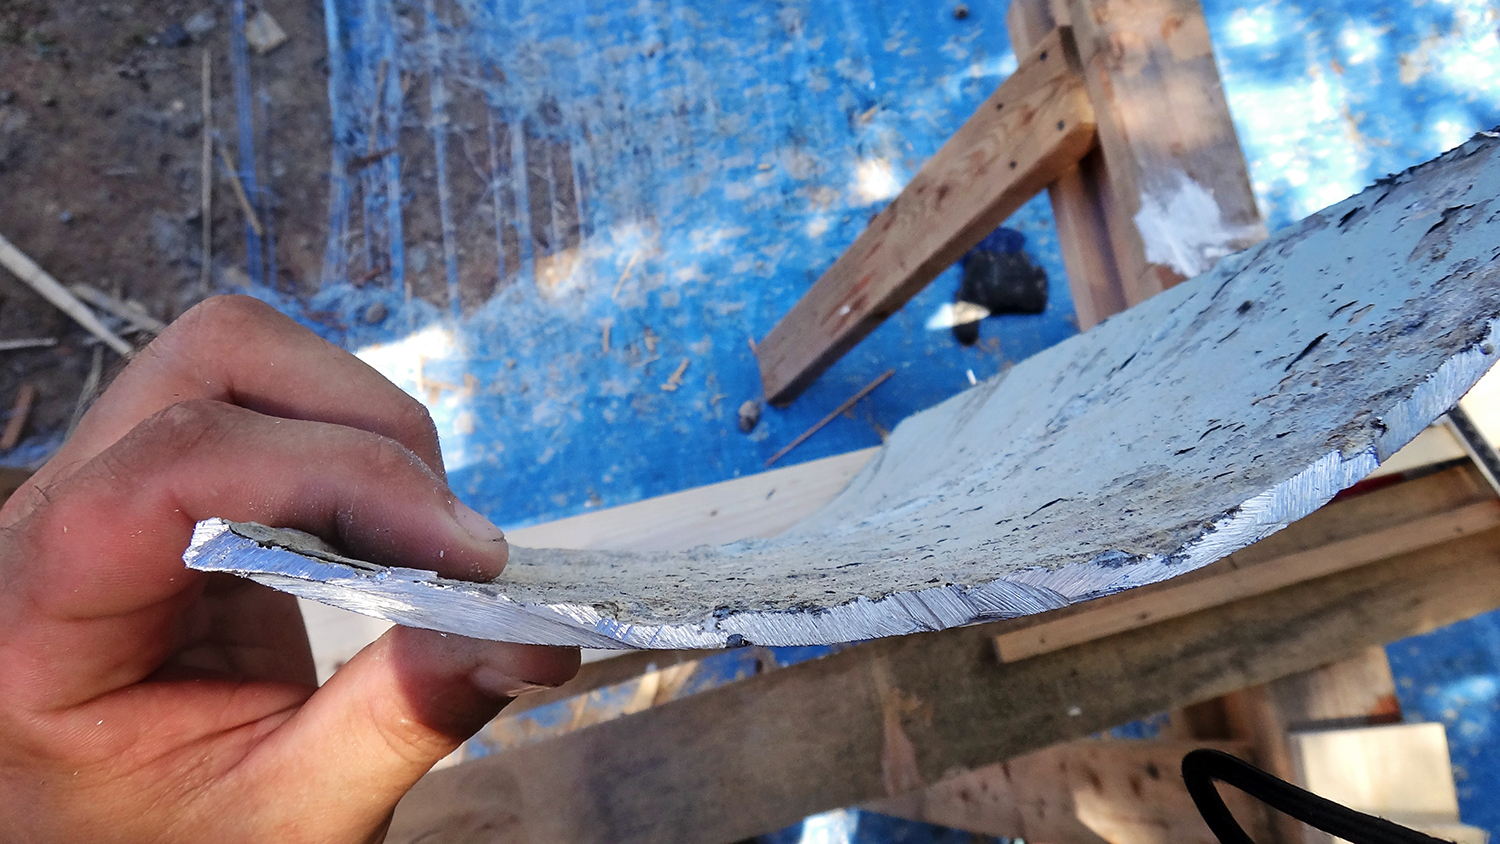
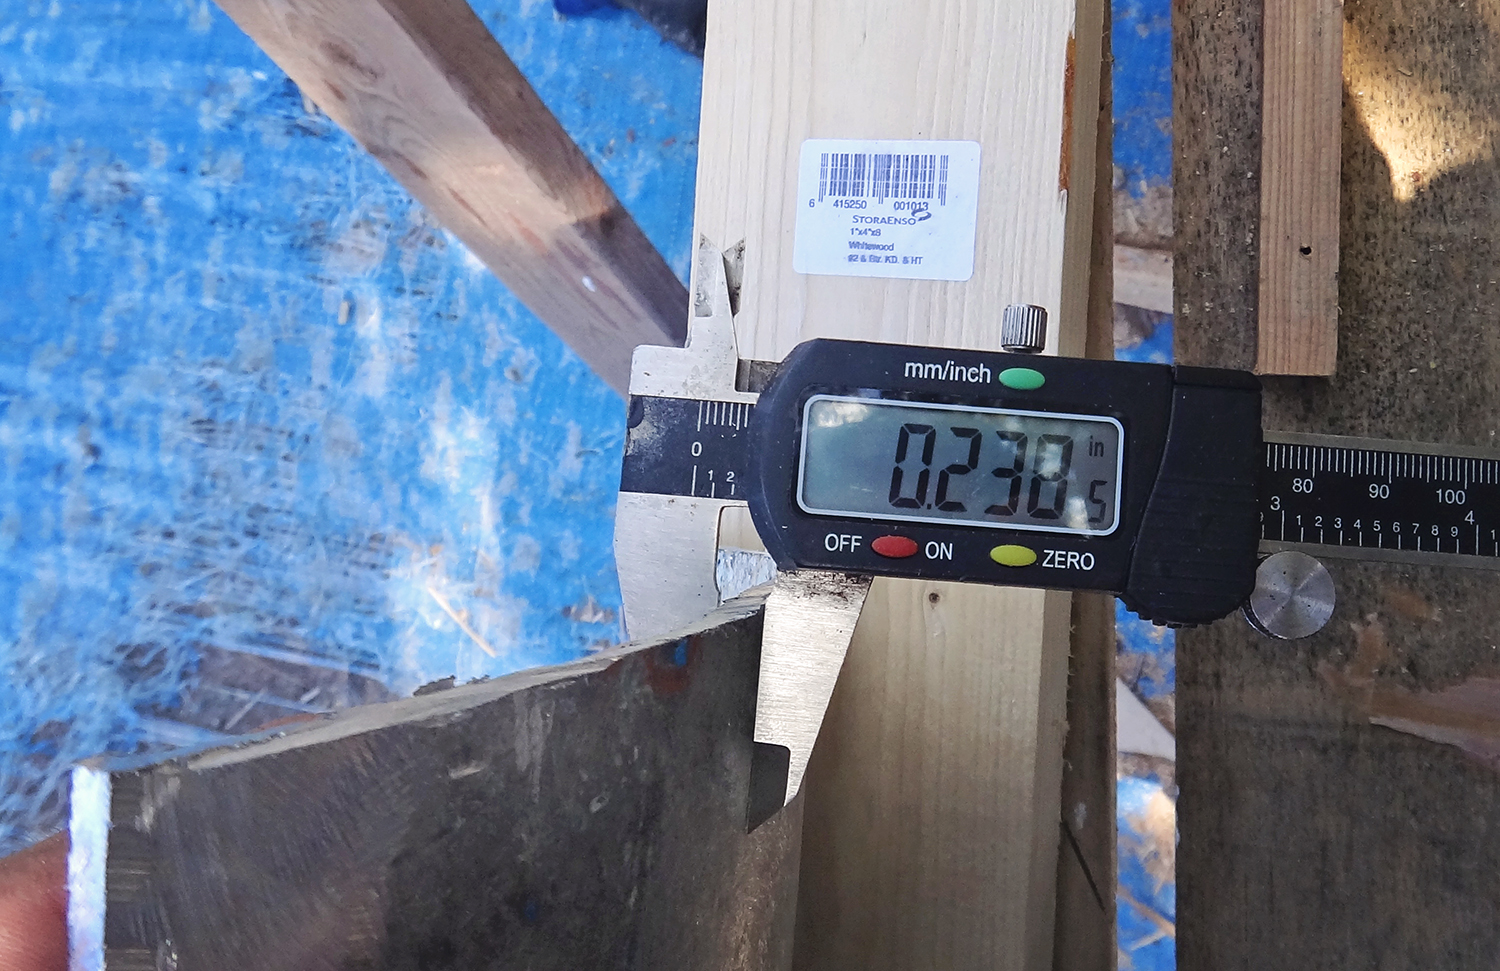
We started with the basic project of templating our sheets of Eurolite to fit against the hull and become our wall.  Or in this case, our shower.  It has since been layered in fiberglass to give it extra strength and to make sure that no water penetrates inside and rots the wood. Once all of those boards were in place we’ve needed to fill any cracks and gaps with epoxy and filler to make those water tight as well.  The real pain in the butt has been sanding down the colloidal silica.  It takes f-o-r-e-v-e-r. Once we get to the Q cells though, it should make it much easier to smooth down the excess filler.

Matt fiberglassing shower

making floor in head

spray foam insulation

Mission Demolition: Pilot House Part II

Sunday October 25, 2015

spray foam insulation

The chaos continues.  If we ever thought there was maybe one area inside this boat we’re living on while reconstructing it that was still in decent shape or any kind of *livable*….well that’s now long gone.

Today we continued the process of ripping apart the pilot house to use up the rest of the spray foam insulation before it has the opportunity to expire on us.  A few days ago we completed the port side and now it was time to take care of starboard.  The good news was at least this side did not have as much built in cabinets and shelves to take apart.  Instead of having to work our way town through two layers of storage before we could reach the floor, this side only required taking all the drawers out of the navigation station and pulling it out a few inches so we could get to the cabinets against the hull.

It’s crazy to really take a good look at how many items we actually store up in that area.  All of our personal items other than our clothes, as well as numerous parts for the boat that aren’t sitting in our storage unit up the road (which is also full).  How did we gather so much crap?  Sorry, not *crap*.  Items to rebuild the boat.  At this point I’m not sure what I’ll be more joyous about when we finish this project.  The ability to go cruising again, or not living in a construction zone!

I’m kind of surprised that Georgie is putting up with this as well as she is too.  I should really give her more treats every day for not complaining.  Unless you count the eye rolling.

mess in salon

Matt clearing pilot house

pushing junk to port side

Georgie in the mess

Once everything had been disassembled and moved to the other side of the boat it was time to clean the hull to make sure there was no debris left in the frame to become stuck in the foam once it was sprayed.  I didn’t even get the chance to crawl into any of the tiny spaces with the vacuum before Matt was already in there and getting it prepped.

Since we knew there would be no more need for the spray foam insulation after this area was finished, it became a case of use as much as possible.  There was no skimping on cracks and crevices and Matt even made sure to spray deep in the cracks first before going on to the areas between the framing. When one coat had settled in and filled out it was time to begin the second coat, letting the foam expand all the way out to the frame and beyond.  Why not?  It all had to be used up and we could use the dremel to take off any extra that would get in the way of the framing.

All in all it was a very simple project and a fairly productive day.  I had of course initially wanted to put everything back the way it had been so there was no trace of the destruction any place further than the pilot house, but at the same time we figured that we may as well leave it open so we can begin to template and frame at least the starboard side.  With a repaired radiator on our Kia now, we’re able to get back to our storage unit and all of our wood and tools.

No more time off for us.  T-minus one month until my parents come and we’d like to show off as much progress as we can.  A completed head and galley?  Not even close.  But I’d like to get us as close to that point as I can.  Ha, I’m sorry.  I should say Matt will get us as close to that point as he can.  Man does he work so hard on this boat.  He deserves a medal or a cuddle or something.

pulling apart pilot house

Matt insulating hull

Matt installing spray foam

spray insulation on aluminum hull

spray foam insulation

At least to keep me entertained during this process and put a little smile on my face, we had a few visitors in the form of Lynx and Cairo.  They’ve been sneaking up into our cockpit a lot more lately, but this time since we had the doors out they thought they’d peak their heads inside and see what kind of digs we have.  Everyone in the yard tells me I’m in danger of having at least two new pets on our hands soon, but Georgie helps keep that at bay.  She’s very good at letting us know that even though she’ll tolerate living in this mess, she will not tolerate having furry siblings.

Lynx & Cairo

demolition of pilot house

Mission Demolition: Pilot House

Wednesday October 21, 2015

Matt taking apart pilot house

The good thing about getting back from vacation at  10 am on Monday was that we still hadn’t gotten out of vacation mode yet and were not quite ready to jump back into work.  As soon as Matt’s family had pulled away in their car we were passed out in our bed and recovering from all the activity of the past week.  If we thought working on a boat was taxing, we forgot what sitting in the sun all day and drinking beer all night can do for one’s energy.

The bad thing about getting back was that we still had no access to a working vehicle.  We’d deducted that a new radiator needed to be put in the Kia, and once more we were stuck waiting until it arrived in the mail.  Not so bad when we were waiting for the alternator to come because we’d just picked up a fresh supply of groceries and still had all of our majorly used tools inside the van parked next to us.  This time we had done a full clean out of the van before we were going on vacation so that we were not only not leaving precious and expensive tools inside a van that might look tempting to someone walking by it on the street overnight, but also because we didn’t want Matt’s family to know exactly how much chaos we were living in.  I’m not sure that part worked.

Long story short, just about everything was in our storage unit up the road.  Yes we still had our minor tools such as screw drivers and drills.  Yes, we could have walked up the road to retrieve what we needed.  But that table saw was not light and those sheets of Eurolight were not easy to carry for more than a few steps at a time.  For the next few days we were left with only the things we had right in front of us.

That’s when a project that we had been somewhat dreading and putting off for some time came front and center as one of our only options of what we had the ability to work on.  Rip apart the pilot house so that we could install the foam insulation to the frame.  Truth be told this project needed to be done soon anyway.  The shelf life of the spray once it’s been opened is about 30 days and we had just sprayed the galley three weeks before.  Not wanting to take the chance we’d loose $300 worth of foam because it might go bad on us before we could use it, we decided it was time.  The only part of the boat that wasn’t yet in shambles would now be reduced to a pile of rubble.

pilot house - Trisalu 37

pilot house - Trisalu 37

Matt reorganizing

Matt disassembling storage


Although I had been pushing for this project for quite some time now, because although Matt doesn’t always agree with me on this, I do believe in saving money.  (Or at least not wasting it.  Beer is not a waste of money!) Anyway, I had been dreading it at the same time because it meant we were losing any bit of use-able storage space we had left on the boat.  We have been able to move our clothes to their new cabinets, but everything else sits up in the pilot house.  All of our toiletries, parts we’ve purchased but haven’t been able to install yet. Books, tool bags, food from the Canary Islands we still haven’t eaten yet.

Ok, maybe I’m getting a little over dramatic here, but I was sad to not only lose the last area that some resemblance of a finished boat, but I was also losing any bit of organization or sanity I had left. Which is a little laughable since I’m the one who can normally live in complete chaos and not bat an eye, but for some reason this got to me.  Yet I could only stand by and watch as it was torn down piece by piece.  Sometimes you have to move back to move forward.

Stay tuned for when we tear apart the starboard side and add the insulation.

demolition of pilot house

demolition of pilot house

bare hull of pilot houses

Matt in storage area

building a refrigerator box for a boat

Building our Refrigerator Box: Stage 2

Wednesday October 7, 2015

building refrigerator box

The last I had left you with stage one progress on our refrigeration box is that we’d measured and cut all the pieces of marine plywood, nailed them into place, and then filled the cracks with colloidal silica.  Doesn’t sound like too much work but did take us the better part of a few days.  Things still felt like they were flying along though since having large items constructed and taking up space in your galley is a constant reminder you’ve finished something.

The next step after the box itself was set up and water tight was to insulate it.  Instead of using the same spray foam we’ve been lining our hull with, or the same kind of stuff we spent hours chipping out of the old fridge, we used polyisocyanurate foam.  Which is a fancy way of saying that we bought the big sheets of foam insulation from Home Depot.  Overall we’re looking for a depth of 3″ of foam insulating our refrigerator.  This made it an easy choice to get the 3/4″ sheets instead of 1/2″, ensuring we’d only have to do 4 layers vs 6.  Less work for the same job = much better in my book.

Once the huge 4×8 sheets were dragged back to the boat we needed to cut them to size to fit in the box we’d just built.  After Matt had done a little research on the subject he’d found out that staggering the joints is the best way.  This means that instead of cutting 4 sheets of insulation the same exact size for the bottom and then measuring for one side, cutting 4 sheets the exact size, and moving to the next; you do one full layer around before starting the next.  So each layer for the bottom should be 3/4″ smaller on each side than the previous one.

Although it sounds like this should be one of the easiest steps in the process it was actually one of the hardest and most time consuming.  For each layer and each side in that layer we needed to take measurements (with two sides being odd shaped pentagons), mark and trace those measurements onto a sheet of the insulation, try and cut as straight of a line as possible with the knife on our Leatherman, and then squeeze it into it’s new spot in the box.  Usually with a few adjustments to be made.  Sometimes with the whole thing needing to be redone if we didn’t get the angle of the pentagon right.  It was a pain in the butt.

When we had 3″ of insulation all the way around we had to begin to shape the freezer as it’s own separate part of the box. Cutting two sheets to make a divider, we then built up the freezer space from the bottom and sides to make it smaller but with double the insulation.  In the end the space was bigger than we thought, bigger than we had in Serendipity, and something we should easily be able to fit a half gallon of ice cream in. With the help of the best hand tools for sale, we were able to do our work faster and with far lesser problems than expected.

After that we ran foil tape around all the edges to seal off all the porous foam and making sure no water could get inside.  Another pain in the butt project but mostly just because it was so time consuming.  At one point we decided to save it for an after dinner activity where we worked on this tedious task while sipping Miller High Life and watching Archer on Matt’s tablet.

The next day was the fun step of putting all of the 24 pieces in to make sure they fit.  Which they did!  Bad part though was we forgot that we were supposed to stop 3″ from the top to make allowances for the lid.  Ooops!  Luckily the Dremel was on hand and ready for the project.

To permanently attach the sheets together we used two methods.  The very first layer which was being attached to the epoxied wood was stuck in place with a thick batch of colloidal silica.  We clamped the insulation to the wood, placed other long sheets of foam inside as a bracing system that would push the two together from the inside and left it overnight to dry.  The next day we finished adding the remaining layers with a gap filling insulation foam.  Once again it was left overnight to dry and the next day we filled all the remaining cracks with another thick layer of colloidal silica.

clamping sheet insulation for fridge box

clamps holding foam in

Whew.  I’m tired just reliving those steps.  But we’re not done yet for stage 2!

Since we couldn’t just paint the inside layer of sheet foam and call it good (although by this time I wish we could have) we needed a solid surface in there.  We decided to use fiberglass bathroom paneling. Turning it around we made sure the bubbly side was facing the insulation and the smooth side was out.  This was attached with colloidal silica and also had all the seams filled with a thick layer.  Another overnight of drying and then everything was ready to sand down and be given a coat of primer.

fiberglassed inside of fridge

building a refrigerator box for a boat

inside of our fridge box

Seriously, I’m getting exhausted here reliving all these steps.  And to think we’re still near nowhere near being done!  Those of you who have written stating that you’re about to start your own project like this are lucky you told me or I probably would end the post here, just attached a few more photos and call it good.  Sheesh.  If we were smart we would have purchased multiple dorm fridges instead and added more solar to cover the charge.  I’m sure it would have been cheaper and much less heartache in the end.

Buuuut, we’re stubborn.  And so are you people that want to do this yourself.  Don’t say I didn’t warn you.

Ok, onto the lid.  This also required four layers of sheet insulation to equal the 3″ total we need for the top layer of insulation.  The *easiest* way to do this would have been just a simple rectangle to open and close over the areas, but it would not have made it very easy to open and shut in the end.  We needed three of the four sides to be at an angle. So, a little extra work now will save us a lot of hassle in the future.  We had been so proud of ourselves when we whipped together the lid for the fridge area in just a matter of a few hours, all measured, glued, and angles cut.  Only to find we cut the angle the opposite direction we were supposed to.

Another oops.  And other trip in to Home Depot to get an extra sheet of insulation so we could try again. One attempt later and we had it right.  From there it was set aside so Matt could begin multiple layers of fiberglass on it.

The very last step in this stage two of building our refrigerator box was to create the holes that will allow the cold air to flow from the freezer where the evaporator will sit and into the fridge.  In theory, once we have everything hooked up there will be a thermostat in the fridge area that reads the temperature.  Once it gets above a certain point a fan will kick on in the freezer and begin flowing cold air from the freezer to the fridge via the tube in the bottom.  Any warm air will circulate from the tube in the top of the fridge back into the freezer to be cooled down once again.

We also placed two shims inside the freezer for the evaporator to attach to which will then keep a 1/2″ distance between it and the wall of the freezer.

hoses leading from freezer to fridge

There you have all the work that went into stage 2.  Really, really should have bought those dorm fridges instead.  Stay tuned for stage 3 where we hopefully get this up and running!

Matt relaxing in forward salon

Video Walk Through of Daze Off – 4 Months into Restoration

Monday October 12, 2015

Matt relaxing in forward salon

Today is one of those rare occasions that the boat is as spotless as we can get it.  This is because Matt’s family is here to come sweep us away for a week of fun in Stuart, and we wanted to make sure Daze Off was impeccable for their tour.  Or, as much as a boat under construction can be.

And since our boat is finally in show off condition I thought it was as good of a time as any to do a walk through to show you the progress we’ve made since starting and also explain what we have left to do.  The other month I put up a quick video of when we first purchased the boat and she was still sitting in storage, and wow, the difference between the two is amazing.

From when we first moved on to her to begin our complete restoration, inside and out, this video is always a good reminder that progress is happening and it actually is possible that one day we will be out cruising again instead of sitting in a hot and dusty work yard.  The thought of those days are what keeps me going, but visual reminders of our progress always help too.  I love flipping back and forth between the two videos to see what we’ve been able to tear down and build back up so far.

At that time I also promised that I would begin working on more videos to show you and I do like to keep my word (most of the time). So here we are, a full walk though and explanation of our work on Daze Off, four months into our progress.  Enjoy!

getting right angles

Building our Refrigerator Box: Stage 1

Sunday September 27, 2015

Matt leveling floor

After searching for what seems like months now for the perfect refrigerator for Daze Off, we have come to one conclusion.  Although it would be soooo nice and sooo easy to buy a pre-made one that we just slide into place and plug in, there seems to be two definite problems with that.  1.  Our hull curves in so much that any of the larger sized fridges could not fit into the space we’re looking for, and if we put it against the flat surface in the center of the boat then the depth came out much further than one would like to have remaining foot space in their galley.  And 2.  The ones that would fit either of those areas were too small for our taste.

To go into a little further detail, we would have preferred a pre-fab fridge with drawers, but those all fell in the category of not fitting into the space well.  All the front open fridges we could find that did work with our hull shape and also the layout we have in mind for our galley usually fell in the 4 cu ft range.  We had 9 on Serendipity.  That would be cutting our cold food storage in half.  Not that we always filled Serendipity’s fridge to the top (unless we were headed out on passage or to the Bahamas), but it became a terrible game of ‘I need what’s sitting under 8 other layers’ the times we did.  Plus we could only imagine opening the door only to have all of the items inside topple out on us if there were any kind of motion on the ocean.

The only good solution left was to build our own.

A lot of planning went in to this (on Matt’s part, god I love him for figuring all of this out), and once we had our approximate measurements of the outside of the box it was time to head to the hardware store to buy a sheet of 1/2″ exterior plywood to begin the project.

Our first step was making cleats to add on to a few of the aluminum frames that came out on angles from the hull, allowing us to be able to have a level board sit down when we were finished.  Once the cleats were installed we were ready to cut the bottom board but also had to take into account the frame, slicing a small section out of the plywood’s edge so we could fit the board around it.

The back wall of the box needed to be built in two pieces to allow for the curve of the hull.  We do want to maximize the usable space in this fridge as much as possible which is why we decided not to build it straight up and leave a large gap between the box and the hull. Making sure that everything was level and that we’d be ending at 90° angles, we measured and cut the back two pieces, also having to make an allowance for the frame on the bottom of the two.

I had thought the sides would be much easier to cut but forgot to factor in that they needed to be pentagons to, once again, work with the curve of the hull.  You should have seen the drawings I had in my notebook as Matt was giving me measurements to write down. Top – 23″; front side 19″, top back side – 8″, remaining – 12″.  Eventually I had to make drawings to keep it all straight so we could remember what line connected to what when it was time to mark the lines on our plywood.

The front was by far the easiest, and once we loosely assembled it together it was nice to step back and say “Wow, look at all we were able to complete in one day”.  Except, we were still so far from finishing. I had also forgotten that we needed to cover the metal frame that was running through our refrigerator box. Using sheets of Eurolite for this we cut two pieces that covered the top and side and also cut some sheet foam to slide under that area so that once it was closed off it wouldn’t be sucking cold air into a useless area.

That was enough to fill one whole day, but in the end it still felt like we accomplished a lot more than we have on a normal day lately.  Day two was prepping the wood for final installation and also do all the final prep to that space before the boards were permanently placed, such as insulating and running conduit.

While I was sent outside to ‘epoxy the s#*t’ out of the boards, as Matt put it, he was inside working on more spray foam insulation. It turns out the previous owners of our boat once again had it all wrong.  Where you’re supposed to have insulation from the overhead leading to the waterline, they instead had bare metal all the way down to the waterline and then decided to insulate from there to the bilge.  Oh that’s right.  They needed a place to hide their drugs.

So Matt went through and properly insulated the rest of the hull and made a huge mess in the process when he tried to add a little extra to the existing insulation to the overhead.  But it was also kind of nice knowing that I’m not the only one who makes big mistakes on this project of a boat.  So yeah, a lot of my free time is now going to be spent scraping off bubbles of foam from the walls, cabinets, floors, and even the plexi hatch.

A few days later once the plywood had two coats of epoxy we were ready to screw all the boards in place and fill any gaps.  Working with my new best friend, epoxy, we added some colliodal silica to make a nice thick paste which we then ran along all the cracks and made sure they were thoroughly filled.  This should make sure the frame of the box will be completely water tight.  A very good thing when condensation is a high probability.

So there you have it for stage one of building our own refrigerator box.  Stay tuned for the next step where we get to insulate!

Matt making board level

Matt measuring board

getting right angles

layout of fridge box

spray foam insulation in galley

fridge box

inside of fridge box

welding new aluminum panel

Stage 2 of Welding our Aluminum Boat

Wednesday September 23, 2015

DSC01330

It’s finished, it’s finally finished!!  The main areas of welding to the floor areas of the head and the galley are now complete.  Aside from a few humps in the beginning where it took a little time to properly shape the new panel on the front of the keel that wrapped around both sides; and having a hard time removing some of the corroded aluminum from the side of the keel because of the lead in our keel directly behind it (an issue that was quickly fixed with the help of an air chisel), things have been moving swiftly along the past few weeks.

Since I can’t comment much more on the welding job because I’m trying to figure out Why is Sheet Metal Thickness Measured In Gauge and Not Inches?  as answering some questions we’ve been getting on this process.

One popular question we get is ‘Why don’t you take a few classes and do this yourself instead of paying someone an hourly rate to do it for you?’. The simple answer is because of the location of the welding.  As Matt likes to tell the people in the work yard who ask us this question, If it were all areas above the waterline or on the deck that required welding, sure we’d probably take the courses and learn to do it ourselves.  It would probably be a handy still to have.  But because all of the areas we are concerned about are under the waterline it is imperative they are done right.  As far as our beginner skill level for carpentry and whatnot on the interior, it’s fine if we mess up a little bit here and there.  If an angle isn’t at 90° or if we need to add extra trim because we over-cut a board, it’s not going to kill us. But if there are mistakes in the strength of the hull or keeping it water tight…well, that’s a bit of a different story.

‘What kind of aluminum are you using for the replacement panels?’  When we had our ultrasound done back in June it was estimated that the original panels were 1/4″ thick where there was no corrosion and we’re following that thickness with new 1/4″ 5086 aluminum.  (For someone who had asked, no we are not using airplane metal as that is not made for corrosion resistance).

‘Is this more work/welding than you were anticipating?’  Yes, absolutely.  Nothing we can’t take on, but more than we were *hoping* was necessary when we first started.  If you remember back to when we were debating on if this boat was worth the time and money needed to fix it up, welding was the big thing stalling us from diving right in.  The problem being that most of the issues are not visible just by first glances on the outside.  Some of the corrosion areas we were not even aware of until we began ripping apart the interior.

I don’t know if it had been mentioned in any previous posts, but our original intention had been to have the boat brought to Hinkley Boat Yard in Stuart to have the welding done.  At the same hourly rate we were finding everywhere else, it seemed only logical that we put our boat in the hands of people who work on boats just like ours day in and day out, and are used to all the odd shapes and curves. Visit Website to find such people who would help you cater to your boats by supplying the right materials. With all their fancy equipment and large crew, they’d be able to expertly diagnose the areas to be replaced and have the new panels installed in a flash.  Luckily this is not what we did, because at that time we weren’t aware of the areas in the head and galley that needed to be replaced.  We would have spent all that money to have it hauled there and back only to have more work done anyway.  Going the slow and steady route has actually paid off.

‘How much is this going to cost you?’  Uh….we’re not quite quoting figures on the boat work just yet.  But don’t worry, we are keeping a tally and once everything is finished we’ll have a nice little page dedicated to what this refit cost us.  But hey, look at all the scrap metal we’re collecting.  We could probably turn it in for $5.  🙂

So there you have it.  I wish I had more information or more to say on the process itself, but as I mentioned in our Stage 1 post, I usually wander off and play on my computer while any work is being done since I’m of no use or help to it.

There are still just a few more very small areas to be taken care of, but we’re going to give ourselves and our welder a much needed break from focusing on them right now.  All I know is with the floor areas of the galley and head replaced with shiny new plates we can begin work on those areas and keep up hope that we’ll actually finish the interior of this boat one day!  Next project on the list is building our own box for our refrigerator.  Stay tuned as I’m sure it will be a fun lengthy process.

**Don’t worry, we never looked at the welding in progress.  For the one photo that shows it I looked away and held the camera out in front of me while I took the shot.

scrap aluminum

Matt inspecting the boat

placing the new panel

welding new aluminum panel

9.18.15 (1)

Visual Progress

Friday September 18, 2015

9.18.15 (1)

Two items of great news!  1.  The welding is almost done!  Ok, maybe not 100%, we’d float if put in the water kind of done, but done in the areas that we need for us to be able to start building back up all the areas we’ve recently destroyed.  And 2.  We made visual progress on the boat today!

Not only have the past few weeks been spent, we’ll, we’ll say visualizing and planning, while the welding has been going on under our feet, the projects we were able to work on during those off hours and on weekends were of the variety where you put in a bunch of effort but have to keep setting that project aside for touch-ups and adjustments.  Nothing we could assemble at the end of the day and say “Yay!, look at what we’ve created!”.

One of those projects has been creating a divider that separates the galley from the forward salon.  The cherry plywood that goes on either side has been a breeze to measure and cut, but the cherry hardwood pieces that cap it off have taken a bit more thought and work.  First we had to locate between our 2.5″ and 3.5″ pieces, sets that would match up together between color and texture so that when they were set side by side (for a final width of 6″) it was not a drastic difference.

Ok, honestly that part wasn’t too difficult although it did take a little extra thought and a lot of extra rummaging through every piece of wood in our storage unit up the road.  The two very tricky parts of this project were cutting the ends at perfect 45° angles so they perfectly matched up together and then routing those edges so they blend together seamlessly.  To try and get those 45° angles we had only our table saw and there were many unfortunate pieces that ended up and useless scraps and we spent a good portion of one afternoon adjusting everything possible on that saw to get a straight line at the perfect angle.

Then was the routing.  Not a hard project until it comes to the corners.  Then it’s just one slight slip of the hand and you create a dent much larger than you were intending.  And um, yup, that’s exactly what we did.  So now one of our perfectly color matched, measured, and angled pieces is now kind of useless.  In that spot at least.  We’ll end up using it for the vertical area sitting back next to the cabinet where we can chop a good 3-4″ of it’s length.

Today though we were able to take the replacement piece and route it perfectly which means it is now installed!  Yes, finally a place in the boat we can look and say, “That wasn’t there yesterday.  We’ve made progress…see?”.  Which is the best feeling in the world!  Now I can’t wait for next week to come around so we can attack the galley and get that feeling almost daily. 9.18.15 (2) 9.18.15 (3)

9.18.15 (4)

P.S.  Do you like the doors for our clothing cabinets?  I don’t think I’ve shown any photos of them since our last post on the project.


open keel during welding

Stage 1 of Welding on our Aluminum Boat

Monday September 7, 2015

Daze Off getting welded

Last week was our first real vacation since we arrived in Florida in March, and our welder’s first vacation from working on our boat since he started just over a month ago.  Between 3-4 days a week for least 4 hours a day he’s been under Daze Off, sweating in the August heat in his jeans and long shirts.  I’m sure he was just as ready from some time away from our boat as we were.

cutting open Daze Off

Real Feel outside, 105°.

If you’ll remember back to the beginning of June when Daze Off was first moved into the work yard, we had our favorite surveyor, Dylan Bailey, come take a look at her and do a 1,000 point ultrasound across her hull.  With all of his pinpoints we were able to map out areas of the hull and keel where corrossion had effected the thickness of the aluminum to the point where it would be safer to replace those areas with new sheets. Asking a welding services expert as to what is the safest option when it comes to such processes.

Just like us, our welder has decided to start forward and work aft, meaning the first area to be touched would be the very front of our keel.  A section of about 24″ wide by 36″ long that wraps around from one side to the other.  Basically, what would be one of the more difficult and most time consuming areas of our welding process. Mapping out the exact area we wanted to replace the first thing to be done was taking the replacement sheet of aluminum and shaping it to the hull.

Again, this was the part that was going to take the longest as it’s an odd shape and we obviously want it to fit perfectly when it’s time to go in.  Before we even cut out the piece to be replaced there were a few days of bending and forming to get ourselves as close as possible before we cut out the existing piece.  Literally leaving a gaping hole in the bottom of the boat once it comes out, we want to make sure that it won’t take very long before the new piece is able to be attached.  Mosquitoes are in prime season here and the last thing we need is and open invitation for them to come and join us in our bed every night.

Finally we were ready to go and set our welder to work with his circular saw, carefully extracting the old sheet of aluminum.

welding on Daze Off

welding of Daze Off

cutting out old aluminum

open keel during welding

Using a circular saw to take out the old aluminum.

Let me say that while we haven’t exactly been back and forth on the necessary welding to the bottom of our boat, we were never sure the extent it was going to need.  Paying our welder by the hour, we of course don’t want to spend any more time or money than we have to, but on the other hand we always prefer ‘safe over sorry’.  It’s been a fun little dance between what is essential to replace and what we can leave alone.

At first we had been a bit unsure of replacing such a large section but once it was out and we were able to look at the amount of corrosion from the inside, we knew we’d done the right thing.  The panel was absolutely of deep pitting on the inside and in some place, worn down to half of the original thickness.  Our ultrasound of the boat had really paid off since we would have originally done a much smaller area due to what looked bad on the outside alone.

From the photos below you can see that where the aluminum was in premium condition, the thickness was measuring approximately 1/4″, and in areas where the corrosion and pitting was worst the thickness had gone down to 1/8″.  Half of the thickness!  And right in the front of our keel where we need the most protection.  If Matt actually succeeds in bringing me up to icebergs in this boat, I do not want to be bumping into any of them with only 1/8″ of aluminum underneath me.

old aluminum plate

full thickness of aluminum

corroded aluminum

old aluminum panel

 We’ve gotten much further since this point, but since I’ve been terrible at pulling out my camera for boat projects lately, combined with the fact that I always feel a little bit strange photographing our welder while he’s working, these are the only photos I have of the project up to this point.  Since this area was cut out we’ve now fully welded on the new piece as well as continued down the starboard side of the boat.  Things are really starting to come along and now the work is going much smoother and faster as the welder becomes more familiar with our boat.

Hopefully only another week or two now until all the main areas are completed and we can dive into work on the galley and head.  I feel a little bit useless as Matt spends his days acting as an assistance to the welding process and I sit there twiddling my thumbs, but I can’t say I mind the times I’ve been sent to the cool air conditioning of the kitchen with my laptop and an iced coffee in front of me since I can be more productive in front of a glowing screen at the moment instead of sitting on the shredded tarp next to our boat.

8.28.15 (1)

Daze Off Is No Longer

Friday August 28, 2015

8.28.15

Daze Off, that is.  We didn’t like, lose her to a wind storm or sell her off because we can’t handle the boat work anymore.  And no, we did not burn her down, although it’s still our phrase of the moment, just like it was for a time on Serendipity. (“I am going to burn this effing boat down!!”)  I mean, burning down this boat would just be absurd.  It’s made of metal. (Although wouldn’t that be nice?)  She’s just nameless at the moment is all.

In our never ending search to find the best way to remove the paint from the hull, Matt took our grinder to the stern last week to see how that compared to a paint stripper we had tried a few times up by the bow.  He used an 80 grit flap disc, and the results came out pretty good.  Attached to our small vacuum we found out that Matt could sand a decent portion down in a small amount of time while barely making a mess.

The majority of this project won’t even start until November or so, once the interior is nearly finished, but it’s nice going through at the moment, testing spots here and there to see what one will save us the most time and money in the future.

There’s still the decision that needs to be made of should we go down to bare aluminum or put a new coat of paint on?  We love the idea of bare aluminum, but we don’t know if we’ll be able to get the finish we want on it. We know she won’t be incredibly shiny like the new aluminum currently being welded to our keel, but we’d still like something that looks decent. Painting would probably be the easier route to go, only stripping off the first layer of paint instead of all the way down, but it would also be more expensive.

So many decisions and only, oh, three months to figure them out.  I’m sure we’ll know what we want to do when the time comes, but it is also nice knowing all the options we have at hand.

Now that we’ve tried this little test run right where our identity was we’ll be nameless for a time, although we’ll keep referring to the boat as Daze Off before something new gets put on. We’re still debating on a few possibilities of names for this boat, and although we think we’re 95% sure, we won’t tell anyone until we do an unveiling ceremony sometime this fall or winter.  I hate to disappoint Matt’s family in telling you that it will not be called Yearz Off, as they keep suggesting.

8.28.15 (1)

8.28.15 (2)

8.28.15 (3)

8.28.15 (4)

8.28.15 (5)