Saturday September 12, 2015
It’s pretty easy to say that I have a soft spot in my hearts for animals. Â Maybe this also extends to a curiosity for all animals since you’re just as likely to find me chasing down a strange looking bug or lizard as you will cuddling up to a furry domestic animal or getting the help of Insight Pest Control Boston, but it’s suffice to say they pique my curiosity and tug at my heartstrings. When we arrived to Indiantown Marina back in early March it didn’t take long for me to notice a few of the furry critters that were roaming the grounds. Â Other than the abundance of lizards and geckos that you’ll constantly find running underfoot, there were also a few felines freely roaming the yard. Â Pets without leashes?, we originally thought. Â Sadly no, they were strays of the boat yard.
As the days went on, I couldn’t help but notice that some of the critters weren’t the kind you’d want to share your living space with. While the roaming cats seemed to keep a few pests in check, it was clear they couldn’t manage it all. The boatyard had its fair share of unwelcome visitors—rodents darting between storage sheds and insects creeping into cabins. Even at home, pests like centipedes would occasionally make an appearance, prompting an urgent need to look up how to deal with house centipedes. It became obvious that a more effective solution was needed to maintain a comfortable and clean environment for everyone at the marina.
That’s when I began to consider professional help. With trusted solutions from pest-rx.ca, managing the boatyard’s pest problem could go beyond just a quick fix, focusing on prevention and long-term control. Their expertise in dealing with such situations ensures that the animals I adore can coexist peacefully with a pest-free space. After all, creating a healthy balance between appreciating wildlife and maintaining a livable environment is key, whether you’re on land or at the dock.
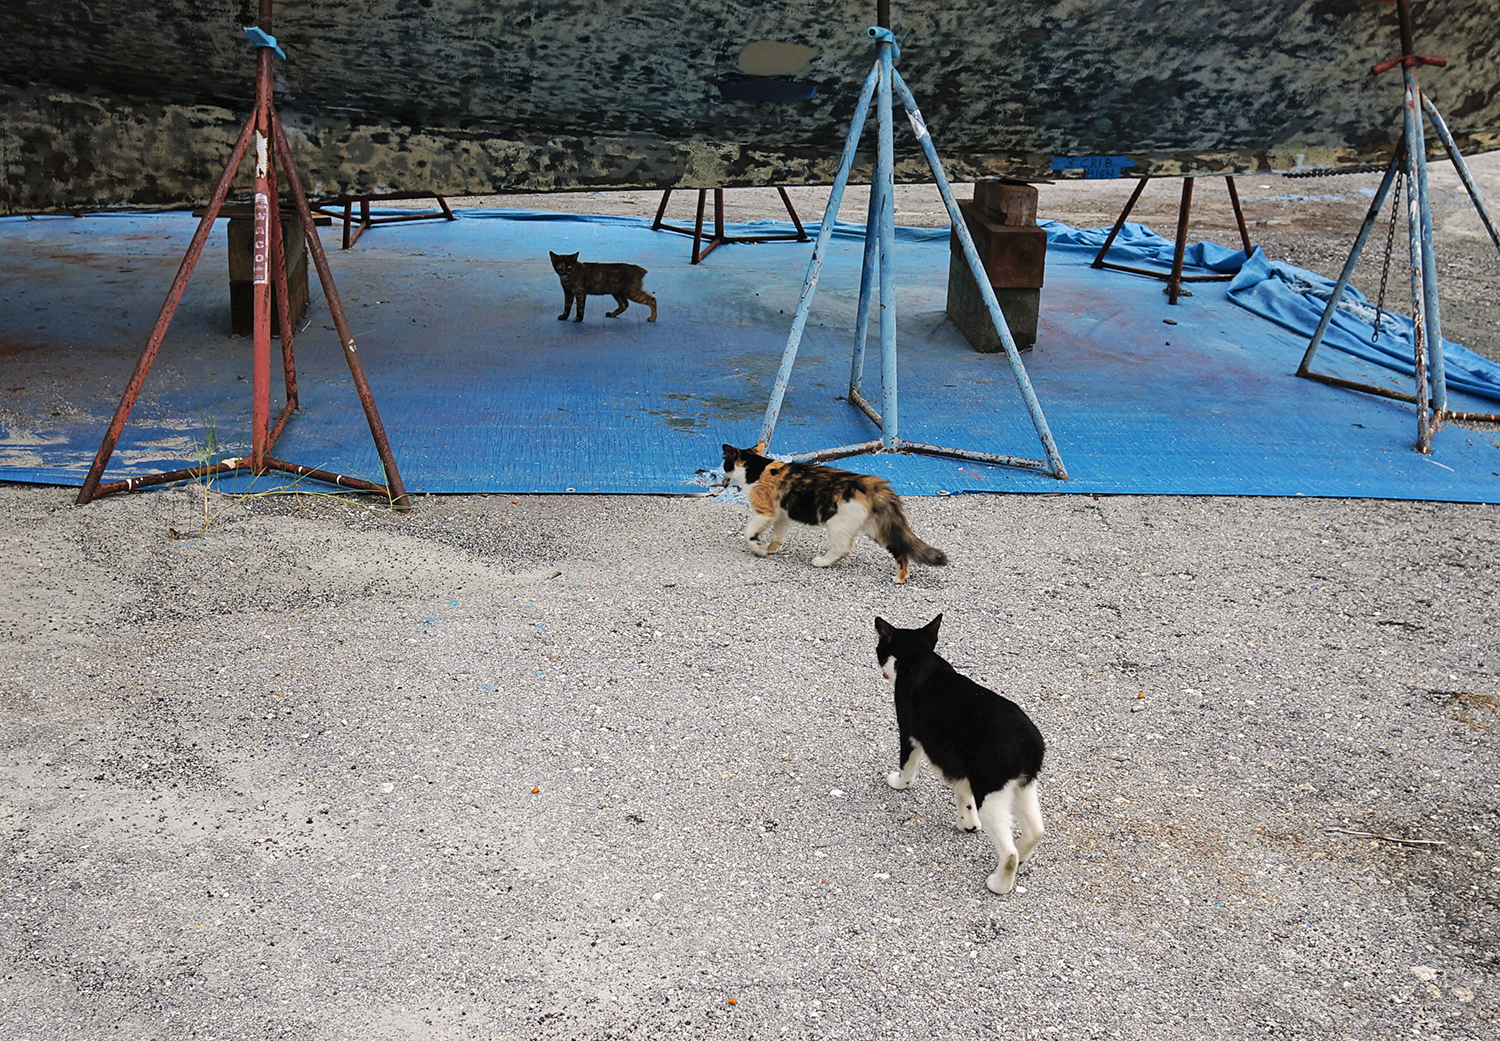
Cats are pretty intelligent and very sweet, too. Only two of these cats were known to be around all the time although it wasn’t strange to see 2-3 others hiding in the tall grass of the storage yard every evening. Â One of these regulars that could always be seen hanging around the service department in the work yard was called Rudder and although wasn’t technically a pet, is fed daily by one of the service guys. Â The other, Sylvester, would always come into the patio and kitchen area every evening as the sun came down. Â Much more familiar with people, he’d cozy right up on your lap and wait for a good scratching.
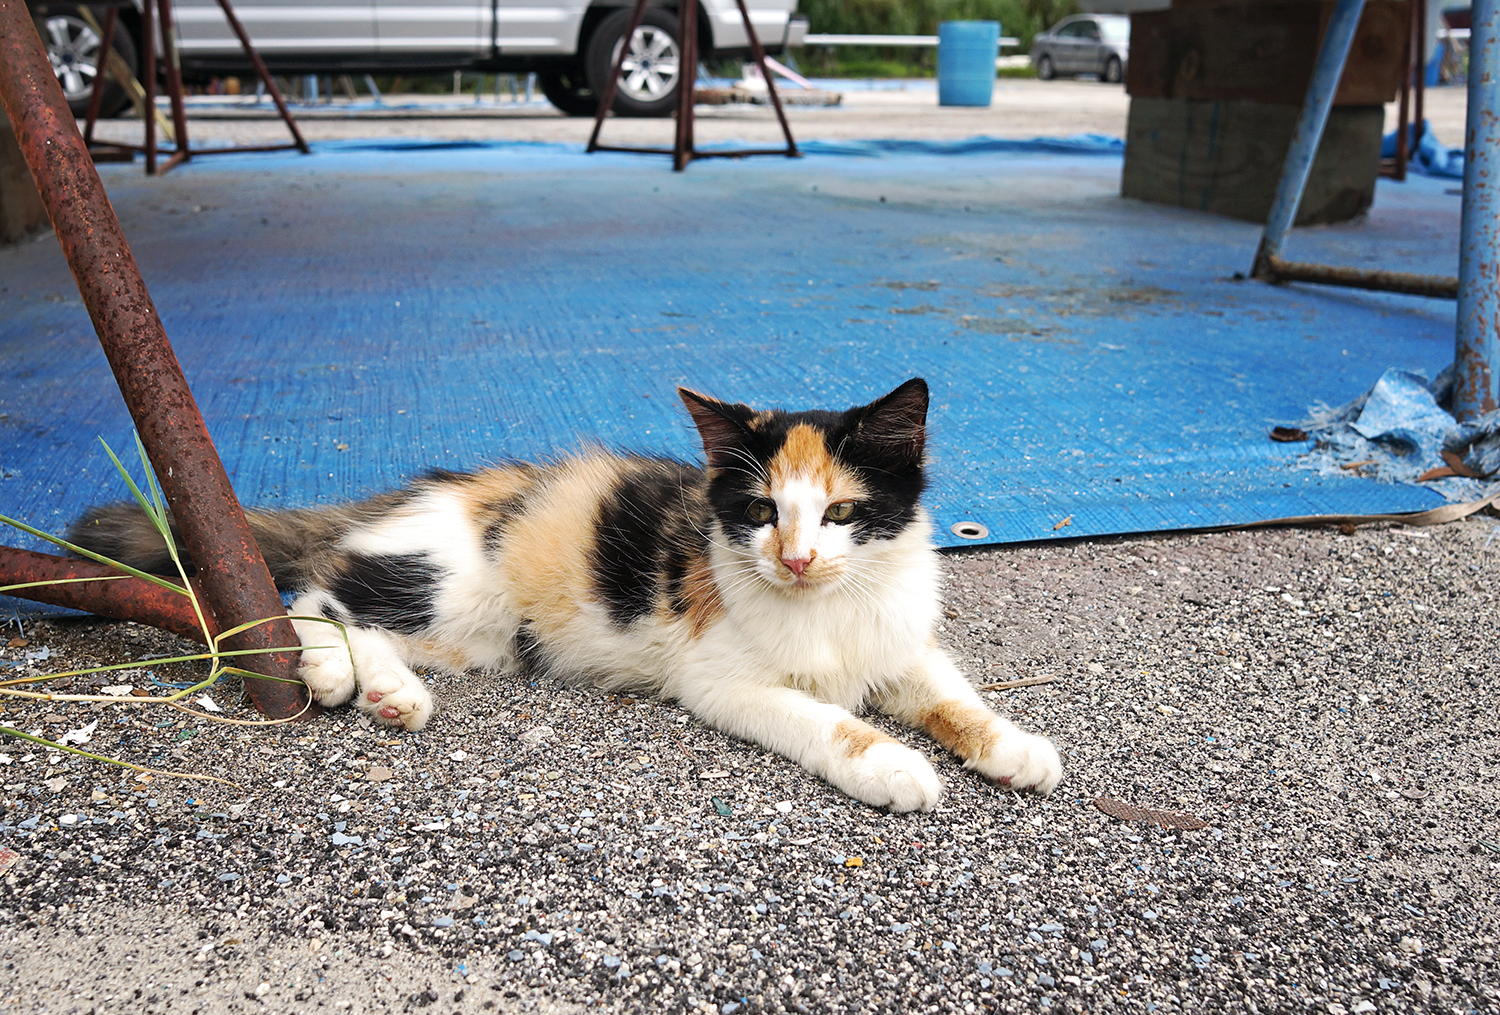
Although we found out that Sylvester is also a ‘cared for stray’, meaning that he also has someone at the yard who will feed him daily yet doesn’t quite claim him as their own, we also found out the sad story of his past. Â Sylvester actually used to be a boat cat, ditched at the marina to suddenly fend for himself. Â He seems to be quite content with his new life of freedom though, as long as there is always a full food bowl to come back to every night. 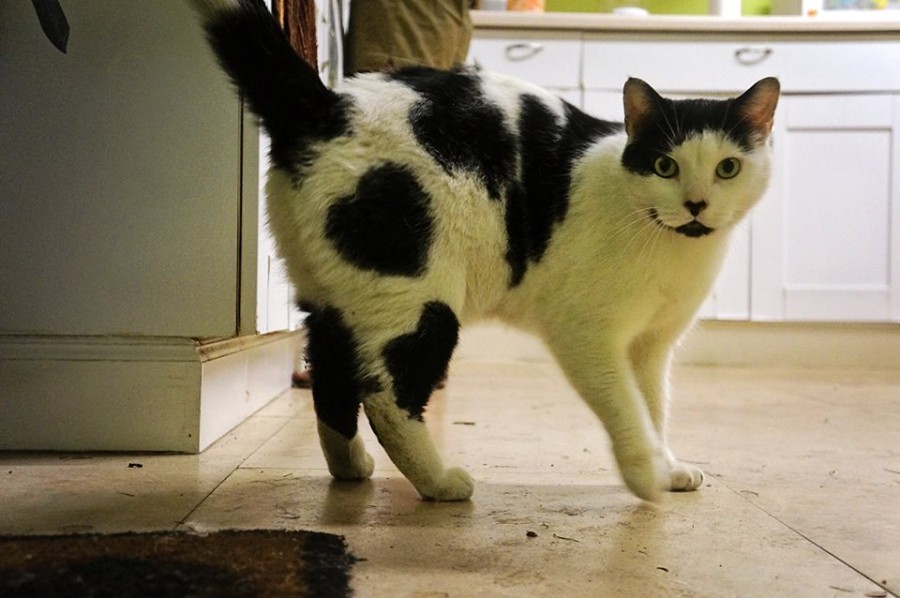
Sylvester. Â Look at that heart on his butt! Â 🙂
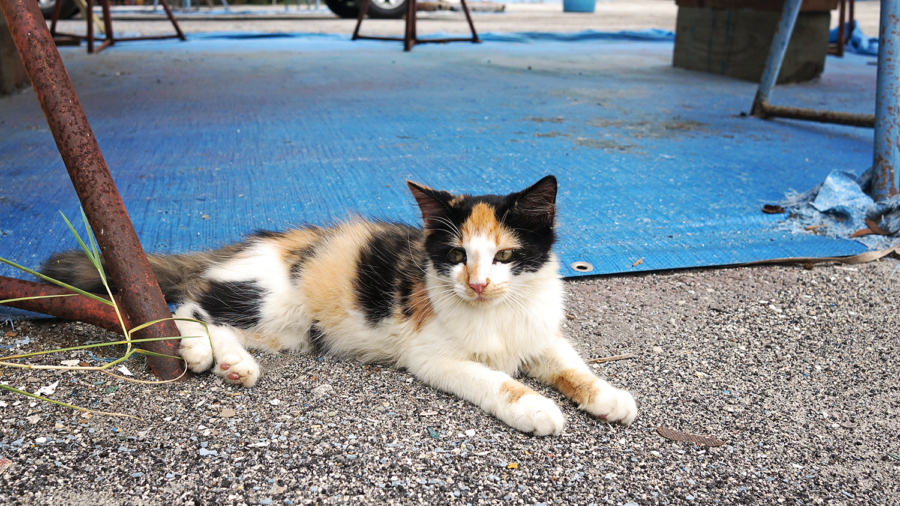
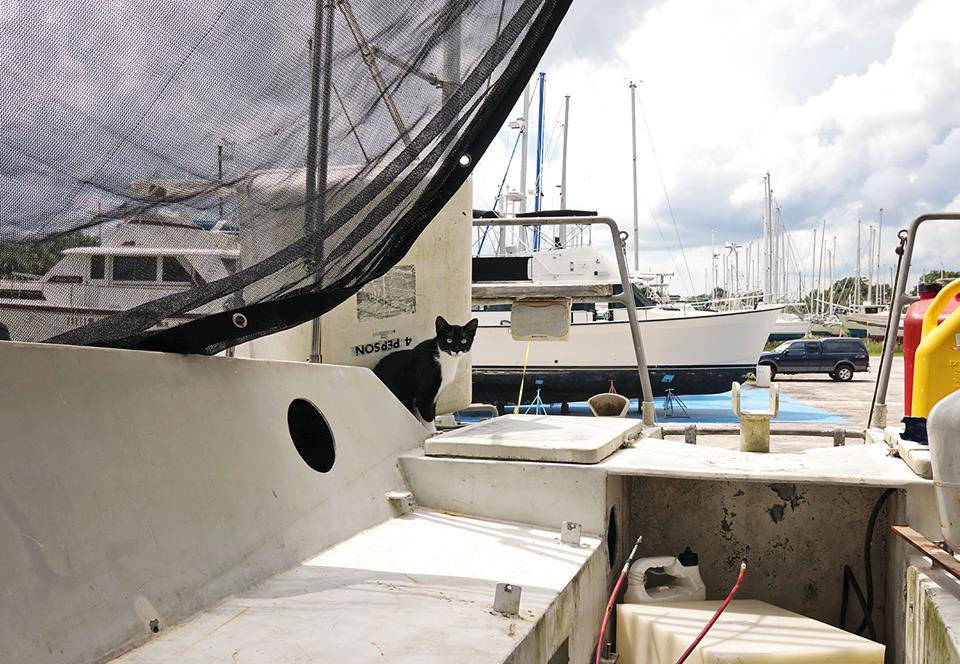
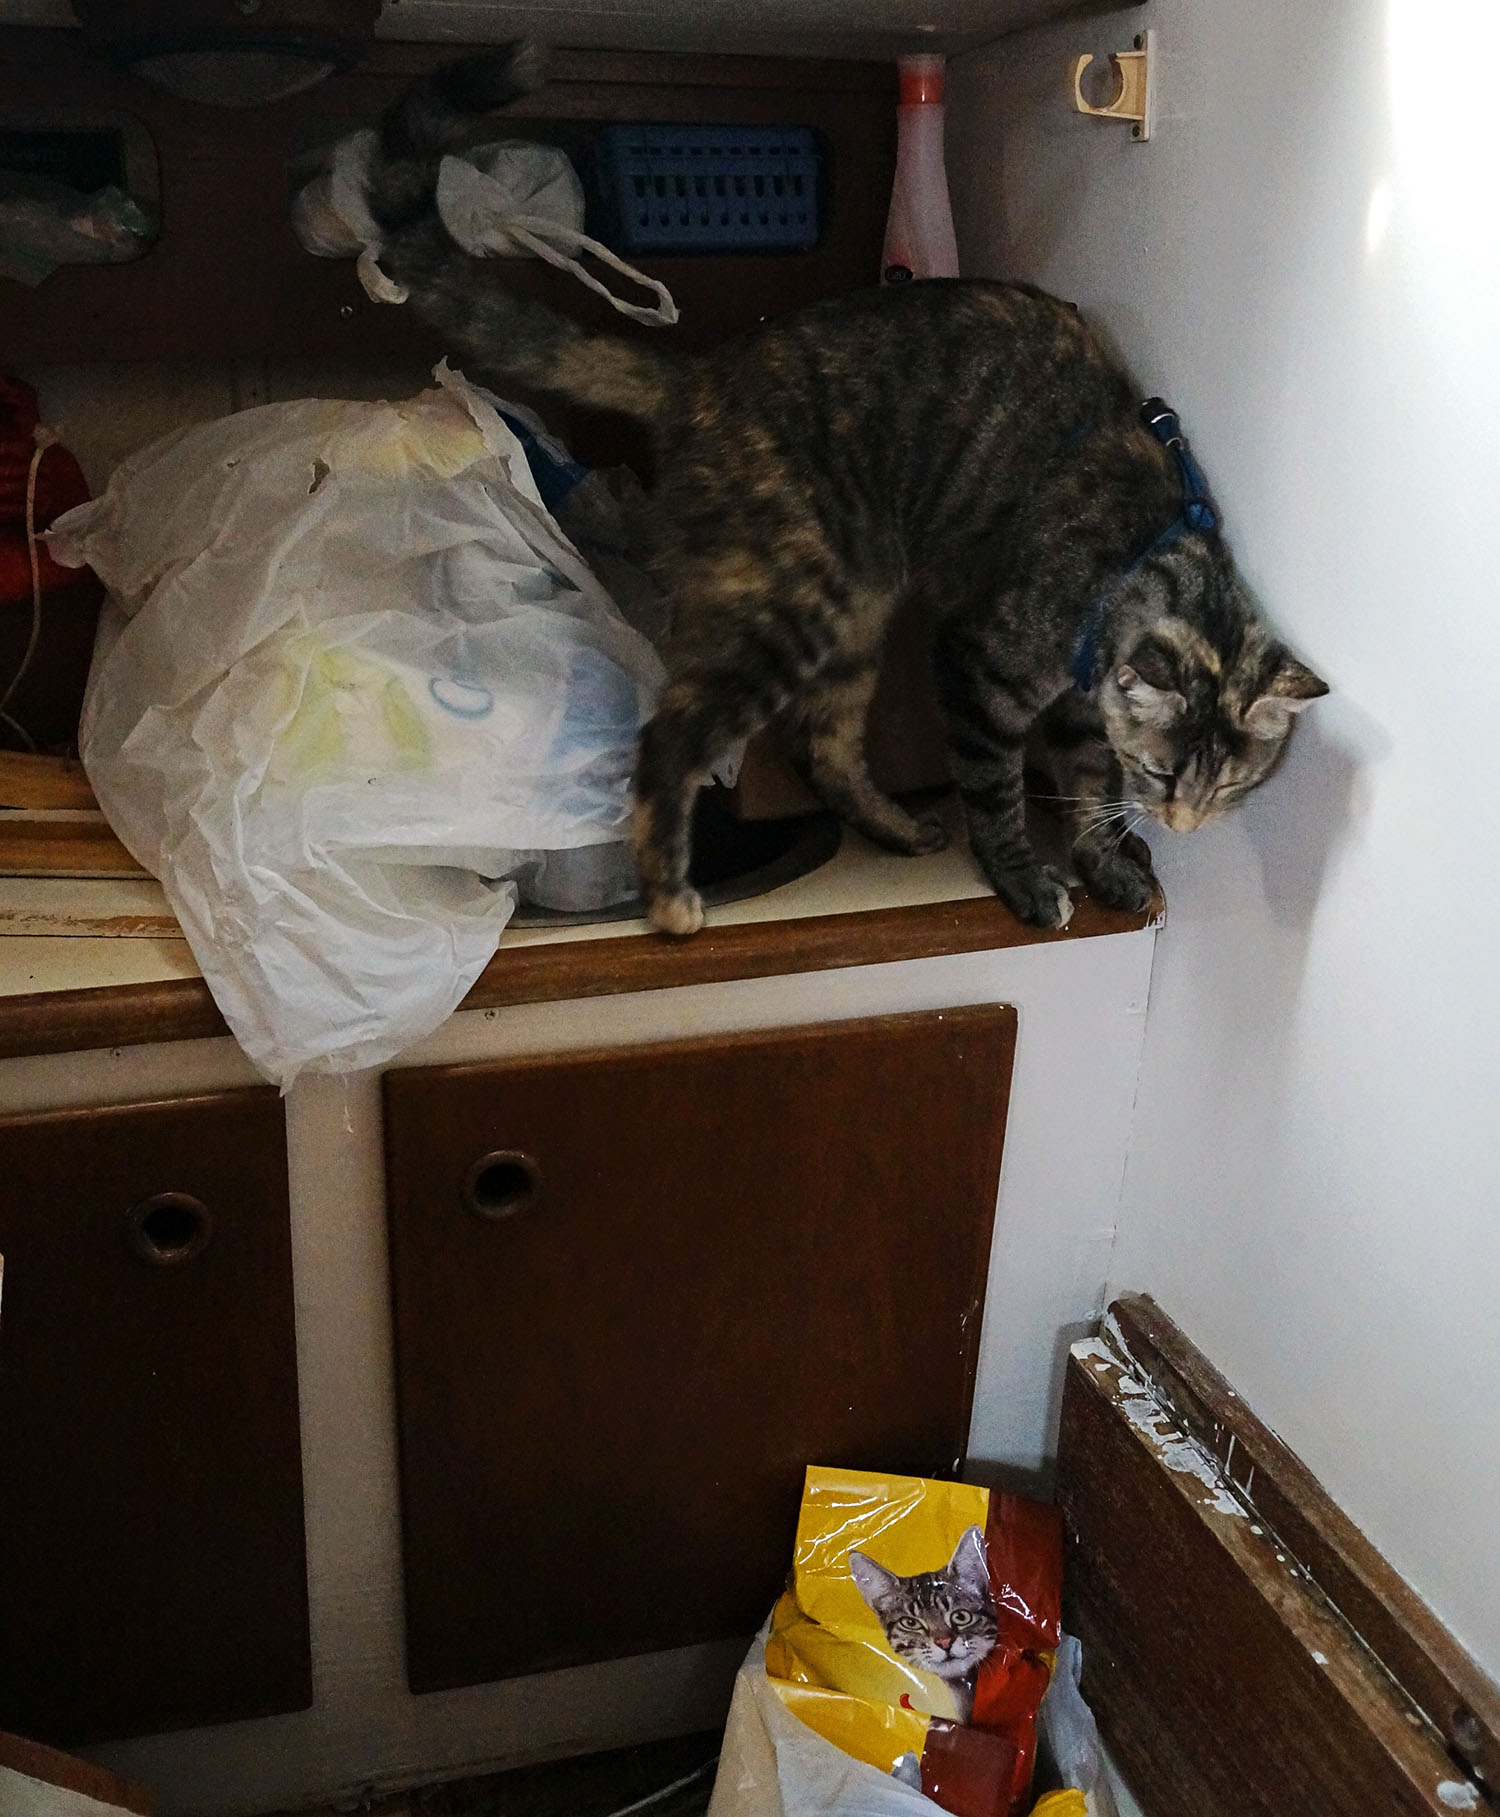
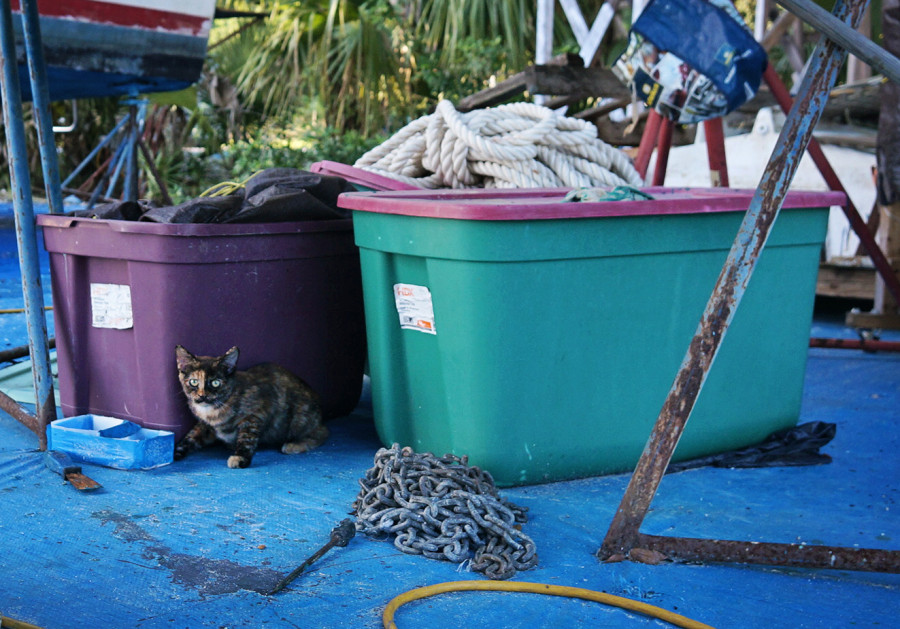
A few more months went by before we were introduced to the newest stray of the yard. Â A black and white female that had apparently been around for awhile but whom we’d never seen. Â This one was a bit more skiddish and it did not help that her first encounter with us was when Georgie’s leash escaped our grasp down by the patio one night and she tore after this new cat, ready to hunt down anything that roamed into her territory.
One thing that immediately struck us about this new female is that she didn’t have a tail. Â Both of us assumed that there had been some kind of accident which caused her to lose it, until a few weeks later when someone had told us it was a specific breed that is born without a tail. Â Matt goes, “Oh, I think those are called Lynxs”, and so became her name. Â Lynx, the tail-less cat. Â It turns out the breed is actually called Manx, but by then the first name had already stuck and we found no reason to change it.
In late July we saw two little kittens following Lynx around, most likely the reason she had been so absent our first few months there. Â Taking care of a litter of small ones would probably not leave her much time to roam around freely. Â Talking to our neighbor in the work yard we found out that Lynx and her kittens would usually seek shelter under his overturned dinghy next to his boat and he also fed her every day. Â She was actually becoming so familiar with him that she would walk the stairs up to the cockpit of his boat every day for a feeding. The kittens, now around around 6 months old, have grown quite a bit and have also taken to eating from the free bowl of food our neighbor was providing them.
Knowing we had our own cat, a fact that’s hard to hide when we walk her up to the patio every morning for breakfast, asked if we wouldn’t mind taking care of ‘his cats’ as well while he was gone on a four week vacation. Â Loading us up with food he left us with instructions and also let us know that Lynx appeared to be pregnant once again. Â He was pretty sure the new kittens would be born during his absence.
To support her during this critical time, we made sure to provide her with high protein cat food to give her the energy and nutrients she needed for a healthy pregnancy. The food was packed with the essential building blocks to help her and her kittens thrive, and we were careful to keep her meals regular and full of love.
It became a bit of a routine, feeding her first thing in the morning before heading out for our own breakfast, and as the weeks passed, we looked forward to the excitement of the new kittens arriving. After all, when you’re caring for someone’s pregnant cat, the right food isn’t just important—it’s essential. 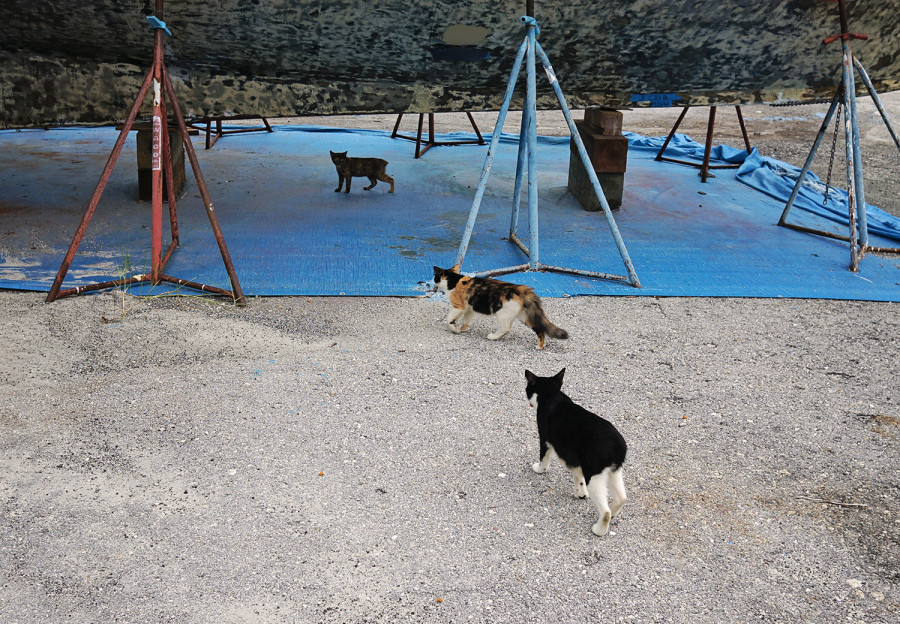

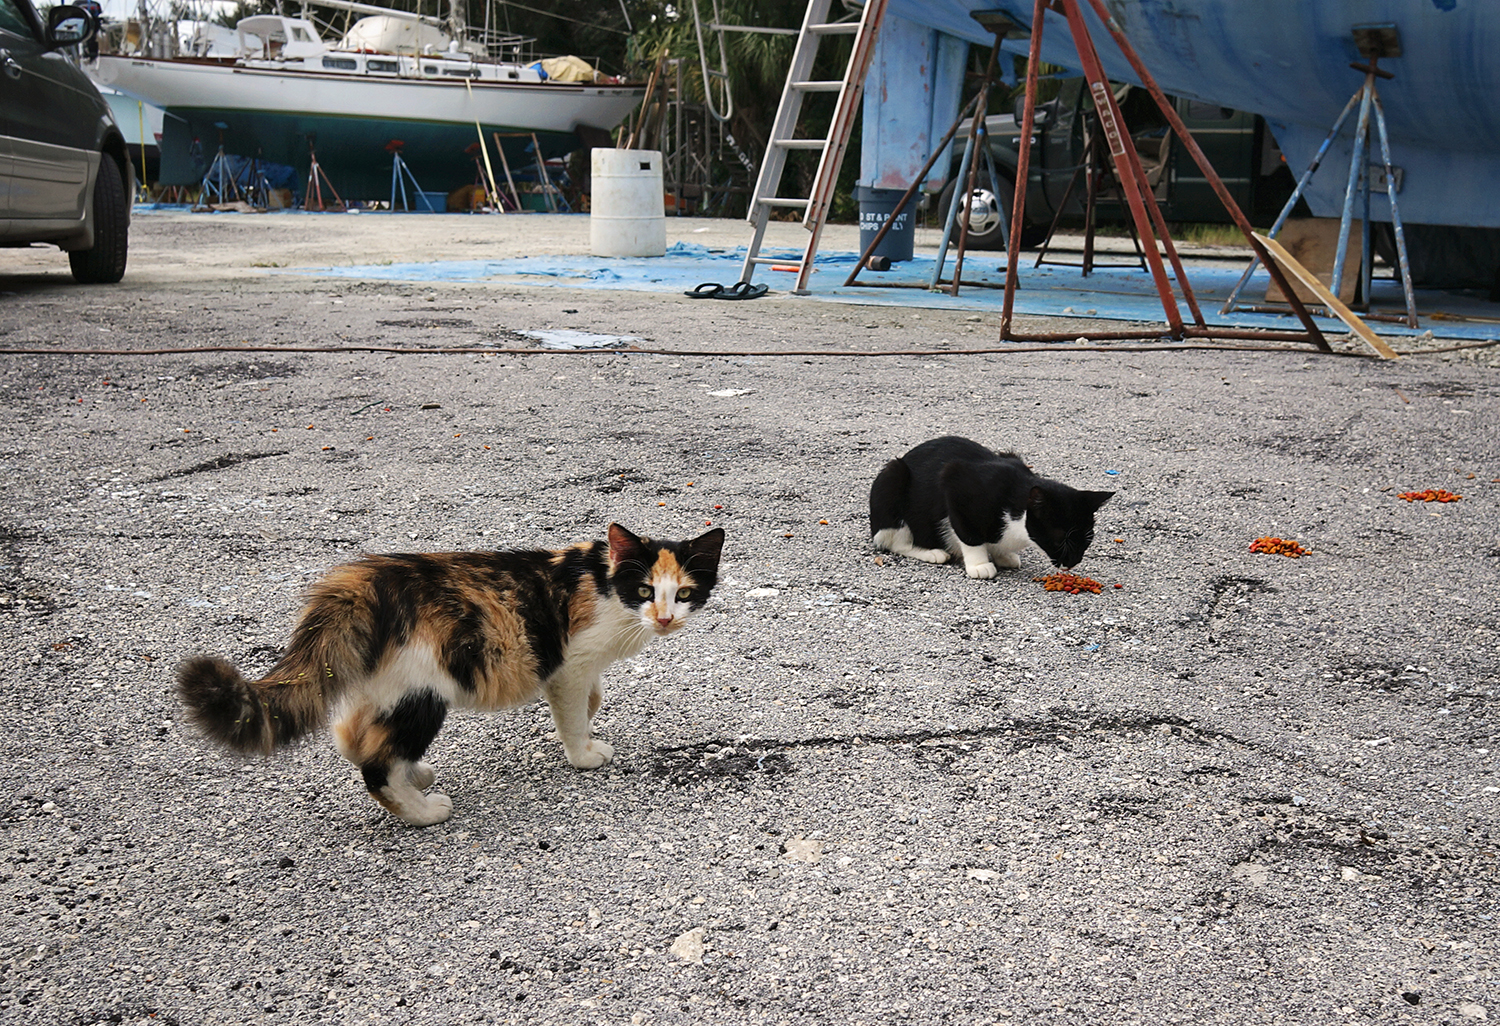
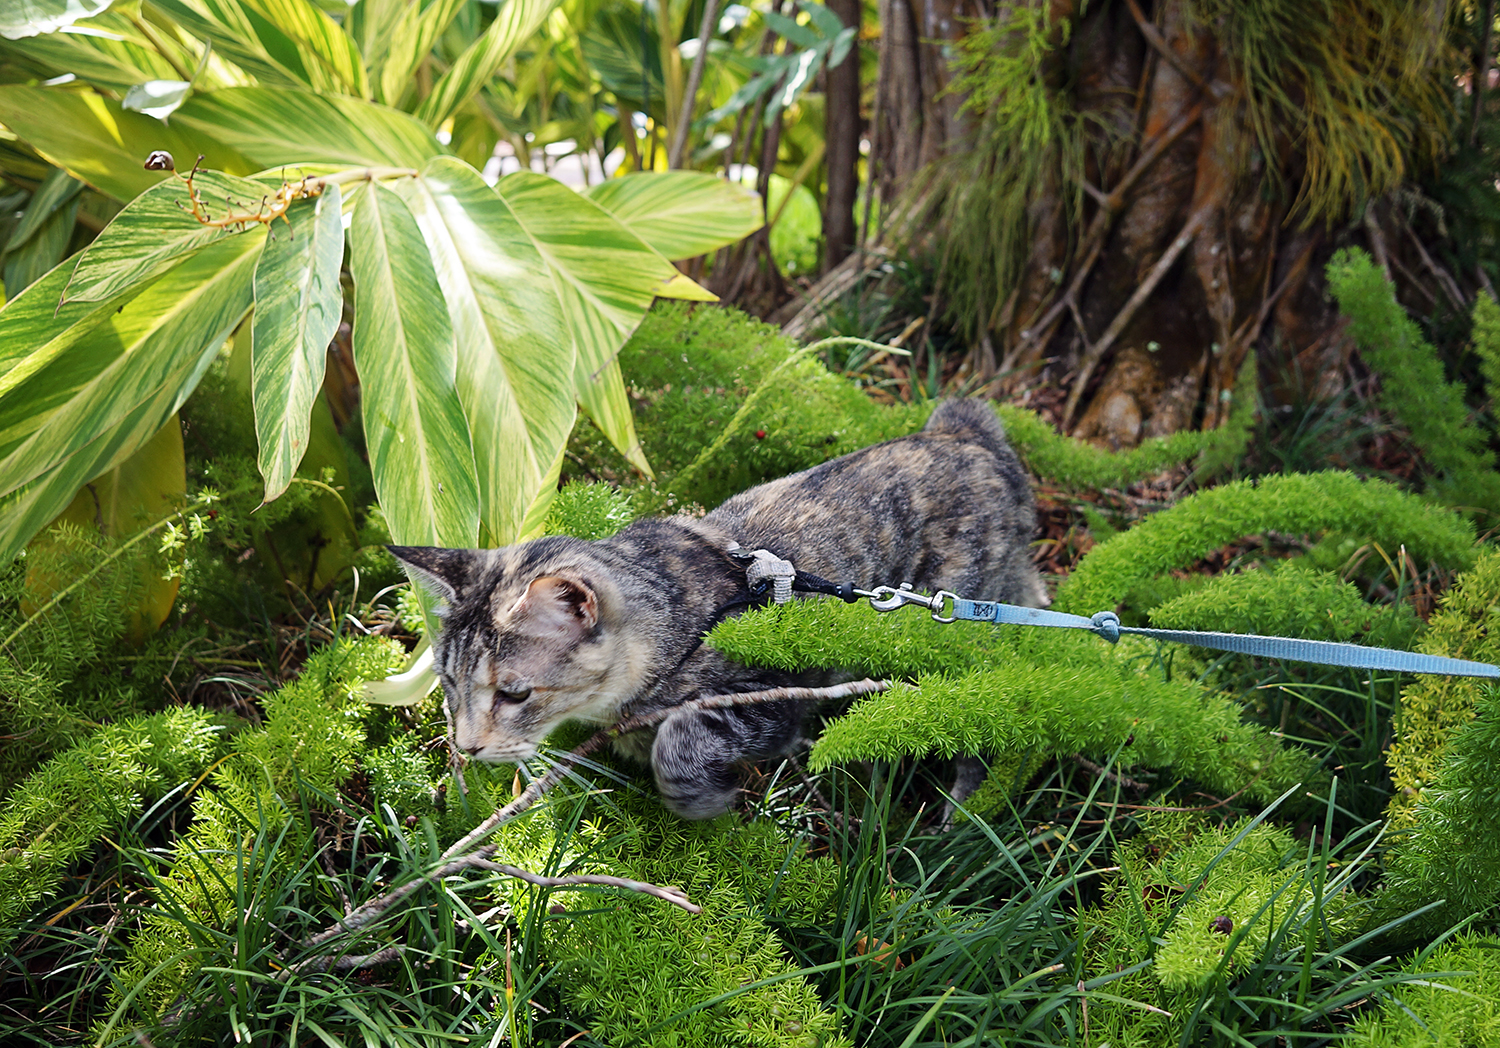
Cairo & Lynx at dinner time. 
Cairo. Â Oh how I want this kitty!! 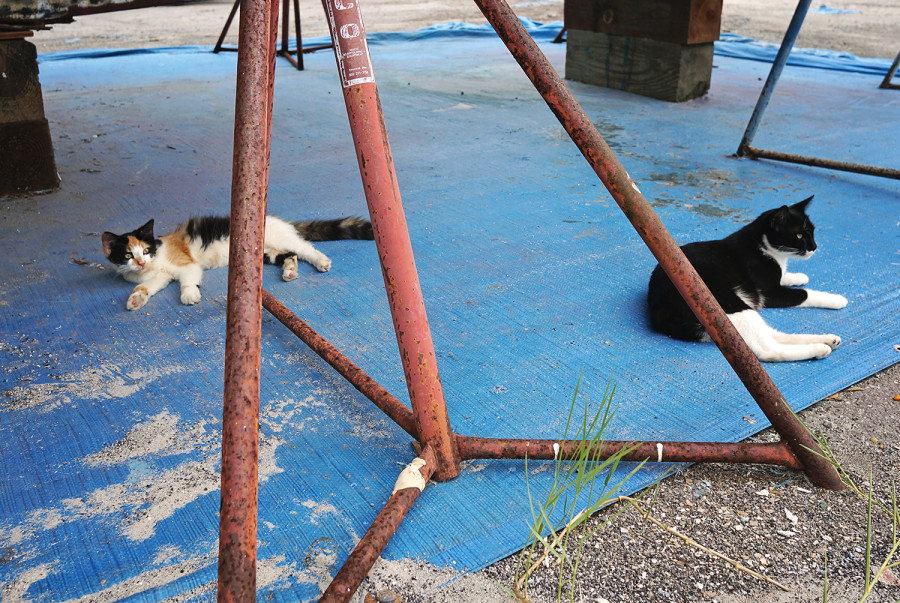
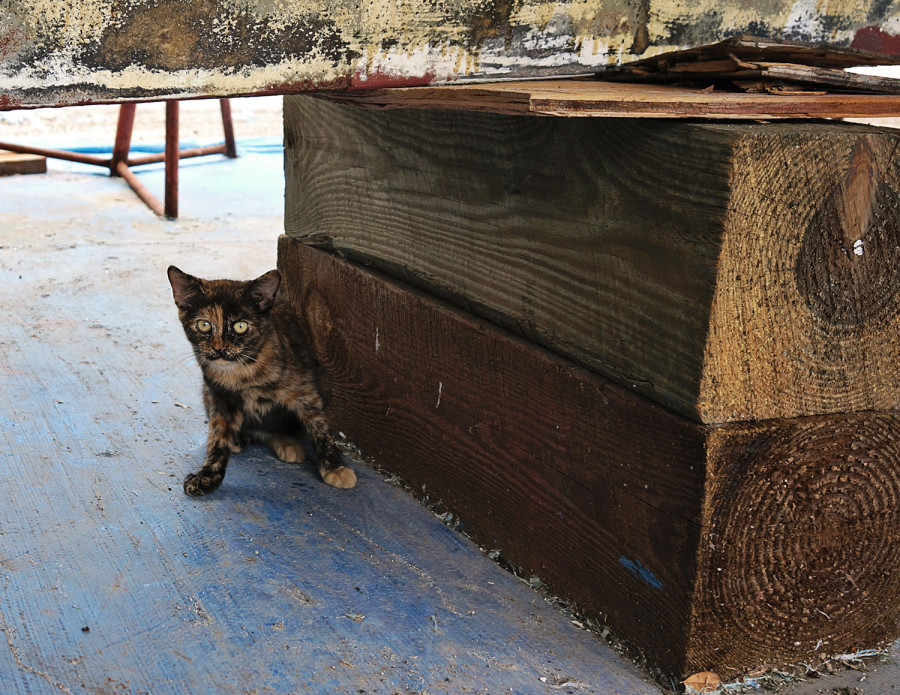
Bandit. Â The runt of the family.
For the past week and a half now we have been feeding the cats and they are becoming much more comfortable with us each day. Â Waiting for us under the boat each morning when we get up, they quickly learned where their breakfast is coming from. Â To say that I’ve already become attached to them is an understatement. Â Cairo, the fluffy tailed kitten is about the cutest thing I’ve ever seen, and her little sister Bandit is so ugly that it’s made her so adorably cute. Â And just like her mommy, she’s a Manx cat as well with just a little stub of a tail.
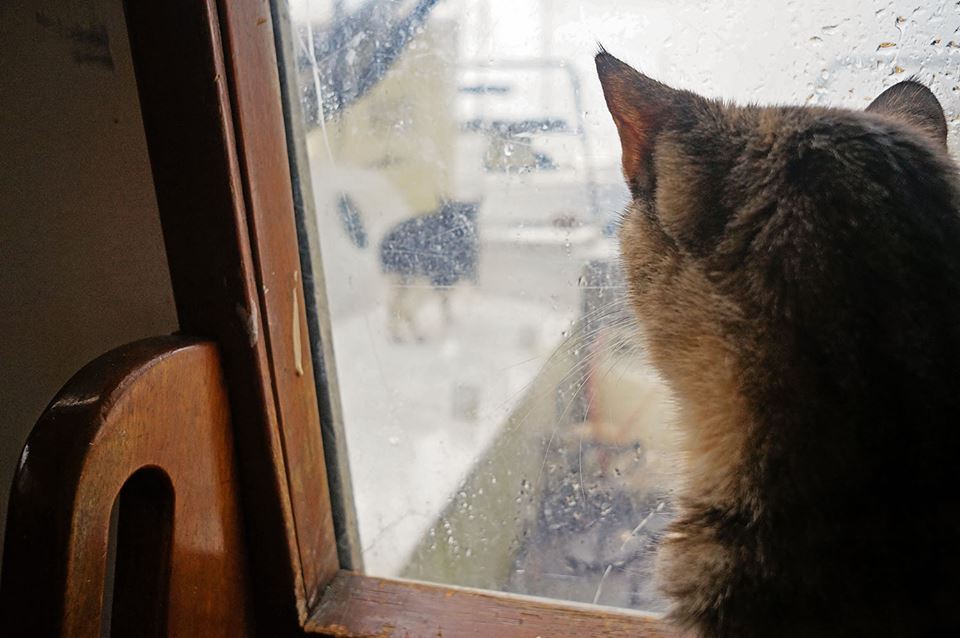
Lynx has not only warmed up to us but is now craving our constant attention. Â It took a few days to let us pet her, but now she’s basically a lap cat. Â Always wanting to be pet and butting her head against our hands when we stop. Â She’s a total lover. Â Sometimes I even find her trotting right next to my side as I make the walk from our boat up to the bathrooms. Â I would love nothing more than to keep her, and although Matt has taken quite a liking to her as well, he’s not ready to have a second cat on board. Â Plus, Georgie would probably go nuts on her.
We already know these two don’t get along and there’s been a few times that Lynx has climbed the ladder up to our cockpit only to find Georgie ready to chase her right back down. Â Or when the plexi doors are in place, the two will have a stare down until Lynx turns around and eventually leaves. I hate to say it, but Georgie is not tolerant of any other cats. It breaks my heart to know that we won’t be able to give any of these kitties a new home. Â Which is why I’m going to ask for your help.

IMPORTANT
(Que sappy Sarah McLachlan music…)
If you’ve just been skimming the post up until this point and only looking at photos of cute cats, this is the part where I need your focus. Â I need to find homes for these cats. Â Unlike Rudder and Sylvester, there are not permanent marina employees to look after these three. Â There is only our neighbor, until he goes in the water and leaves next month, and then Matt and I, most likely, until we are out of here as well. Â And that’s if a few of the marina employees who don’t care for this family very much don’t catch them first and bring them to the Humane Society to be put down.
If you are in the Southern Florida area and are looking for a boat cat/house cat/apartment cat or know anyone who is, please let us know. Â As much as it brings me joy every morning to come down from our boat and see them eagerly waiting for me, I know I can’t keep them and I would love to see them go to a good home. Â Whether it be together or separate, they need someone who can properly look after them and give them everything they need and deserve.
My next solution is that if we can’t get them adopted, maybe we can at least get them spayed. Â All three are females and this will unfortunately be a vicious cycle of new litters in the marina unless this problem is taken care of. Â If anyone knows of a vet that would do this for us pro bono or for a discounted rate, PLEASE let us know.
My very last option/solution is for anyone out there who wishes they could take care of these cats but for one reason or another (location, allergies, whatever) can’t…is to sponsor one of these kitties. Â By sending funds to our PayPal account we will have that cat spayed as well as given all of the necessary shots and provide that cat with two meals daily. Â This would continue for as long as we are in the boat yard, but would work extra hard to get that cat adopted before we leave, having that process be much easier with an up to date health certificate.
(Contact us at admin@mjsailing.com  Subject: Stray Cats)
Please help us make these three cats as happy as our little Georgie. Â It’s so worth the love they give you in return!

*We believe that Lynx had her litter on September 9 when she disappeared for two full days. Â Unfortunately, due to the large amounts of time she has been spending under our boat since then, we also believe that the litter did not make it due to either health reasons or an attack by raccoons.