spray foam insulation

Mission Demolition: Pilot House Part II

Sunday October 25, 2015
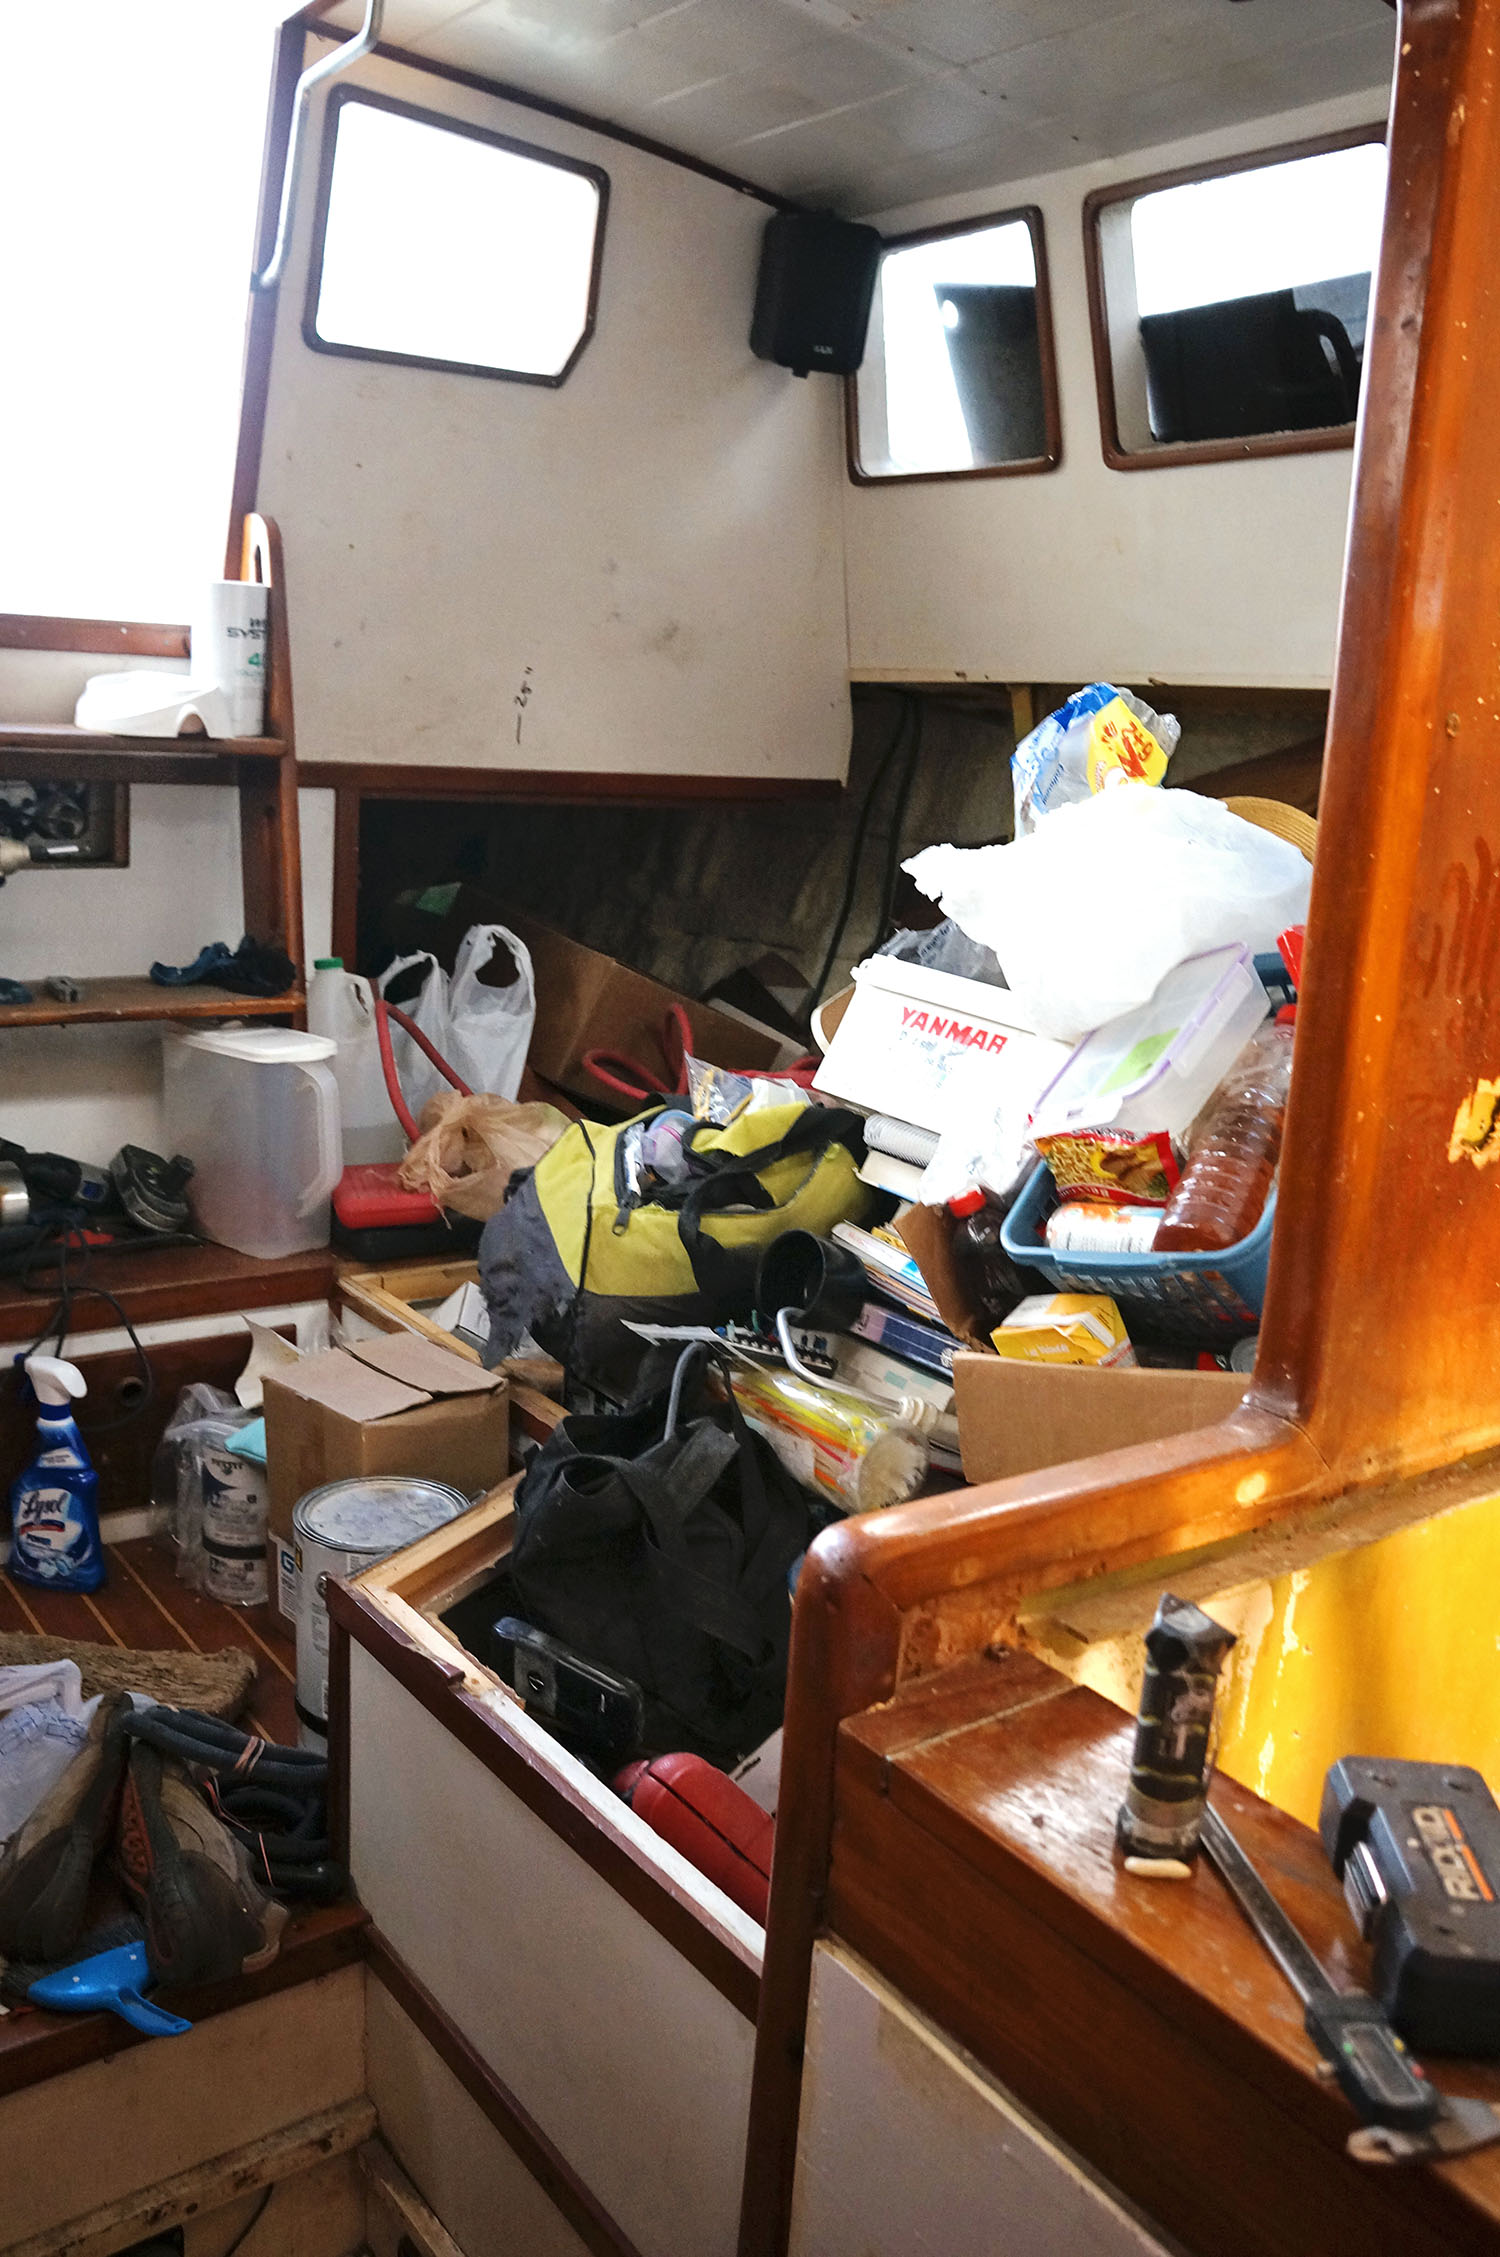
spray foam insulation

The chaos continues.  If we ever thought there was maybe one area inside this boat we’re living on while reconstructing it that was still in decent shape or any kind of *livable*….well that’s now long gone.

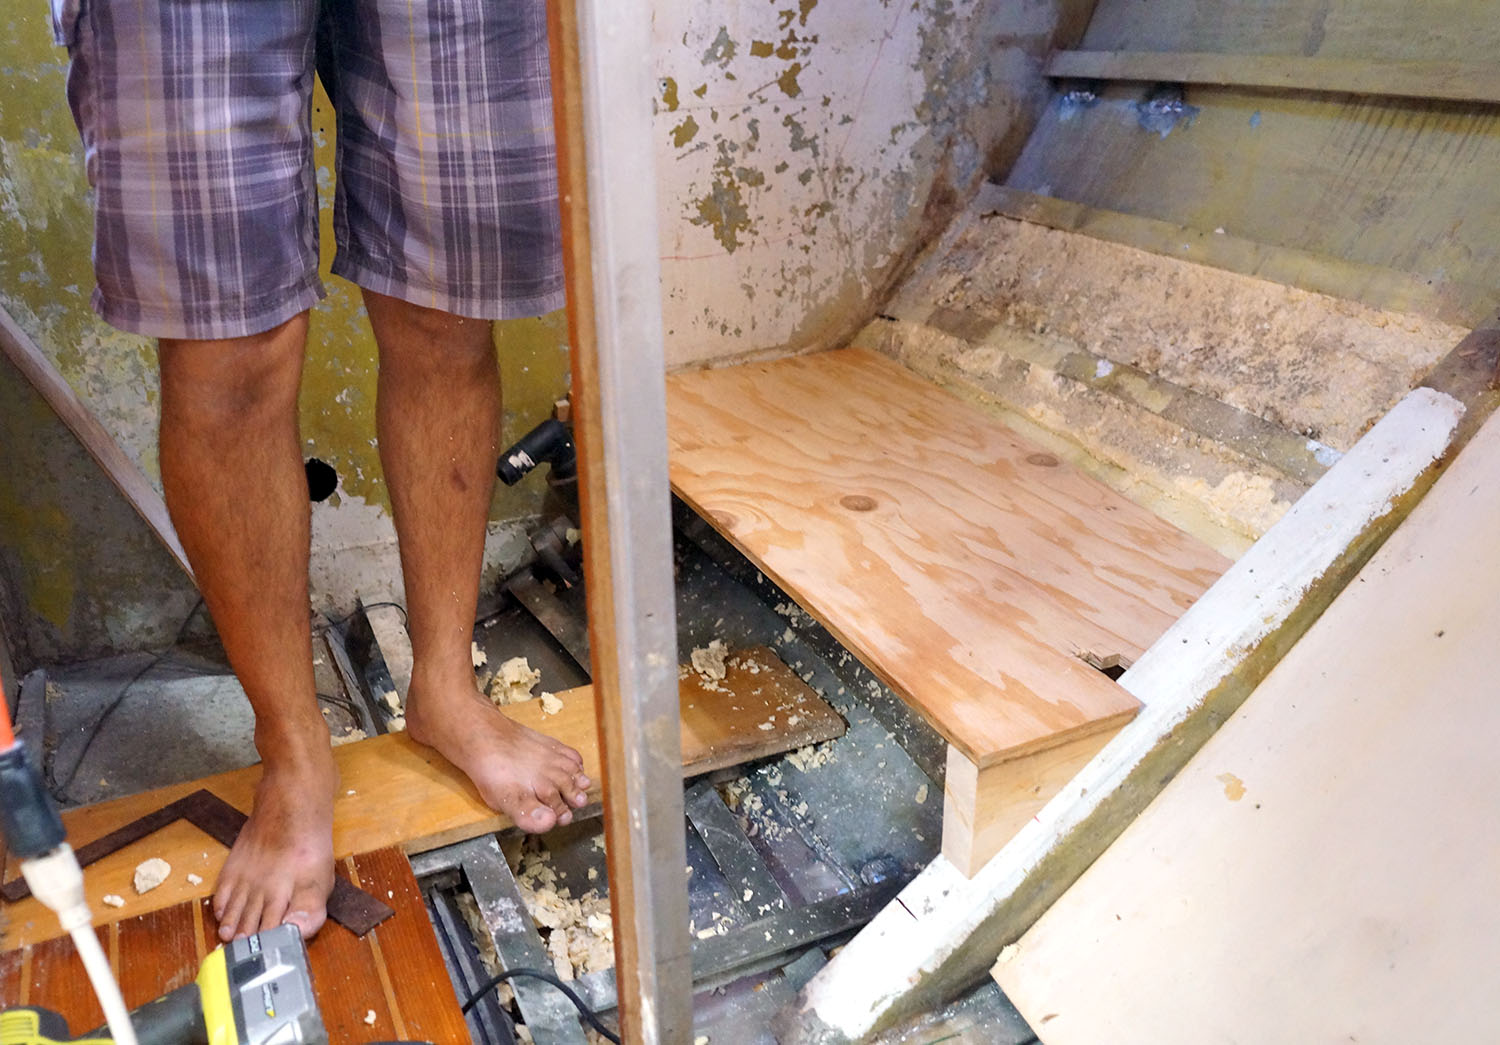
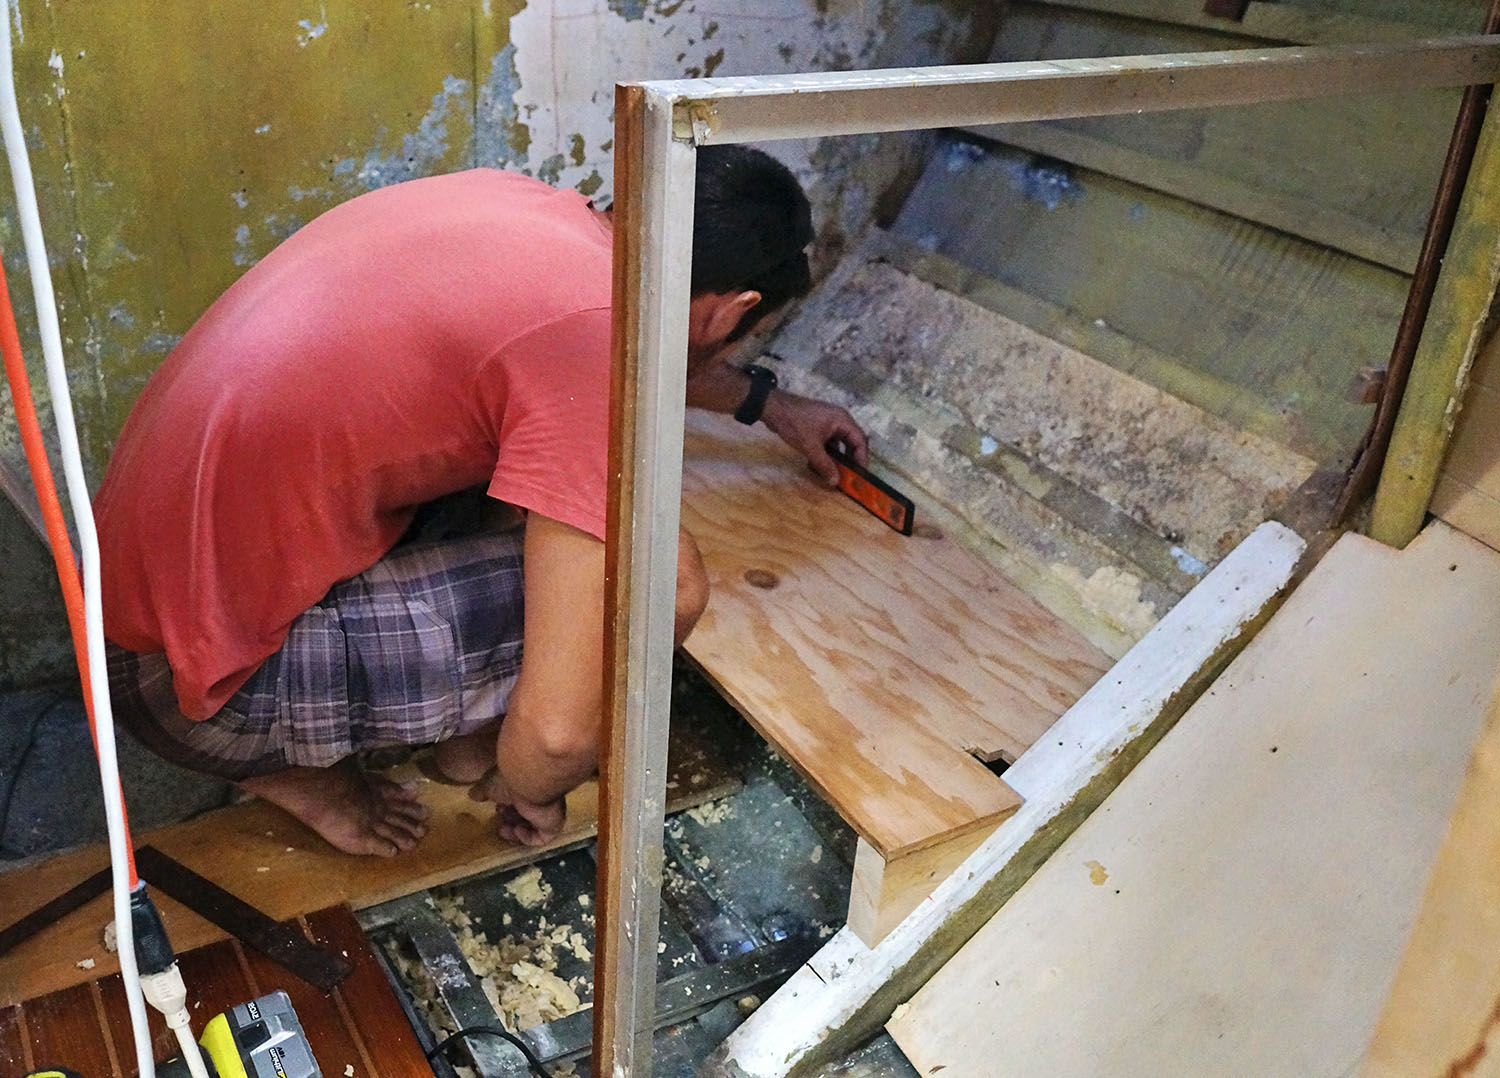
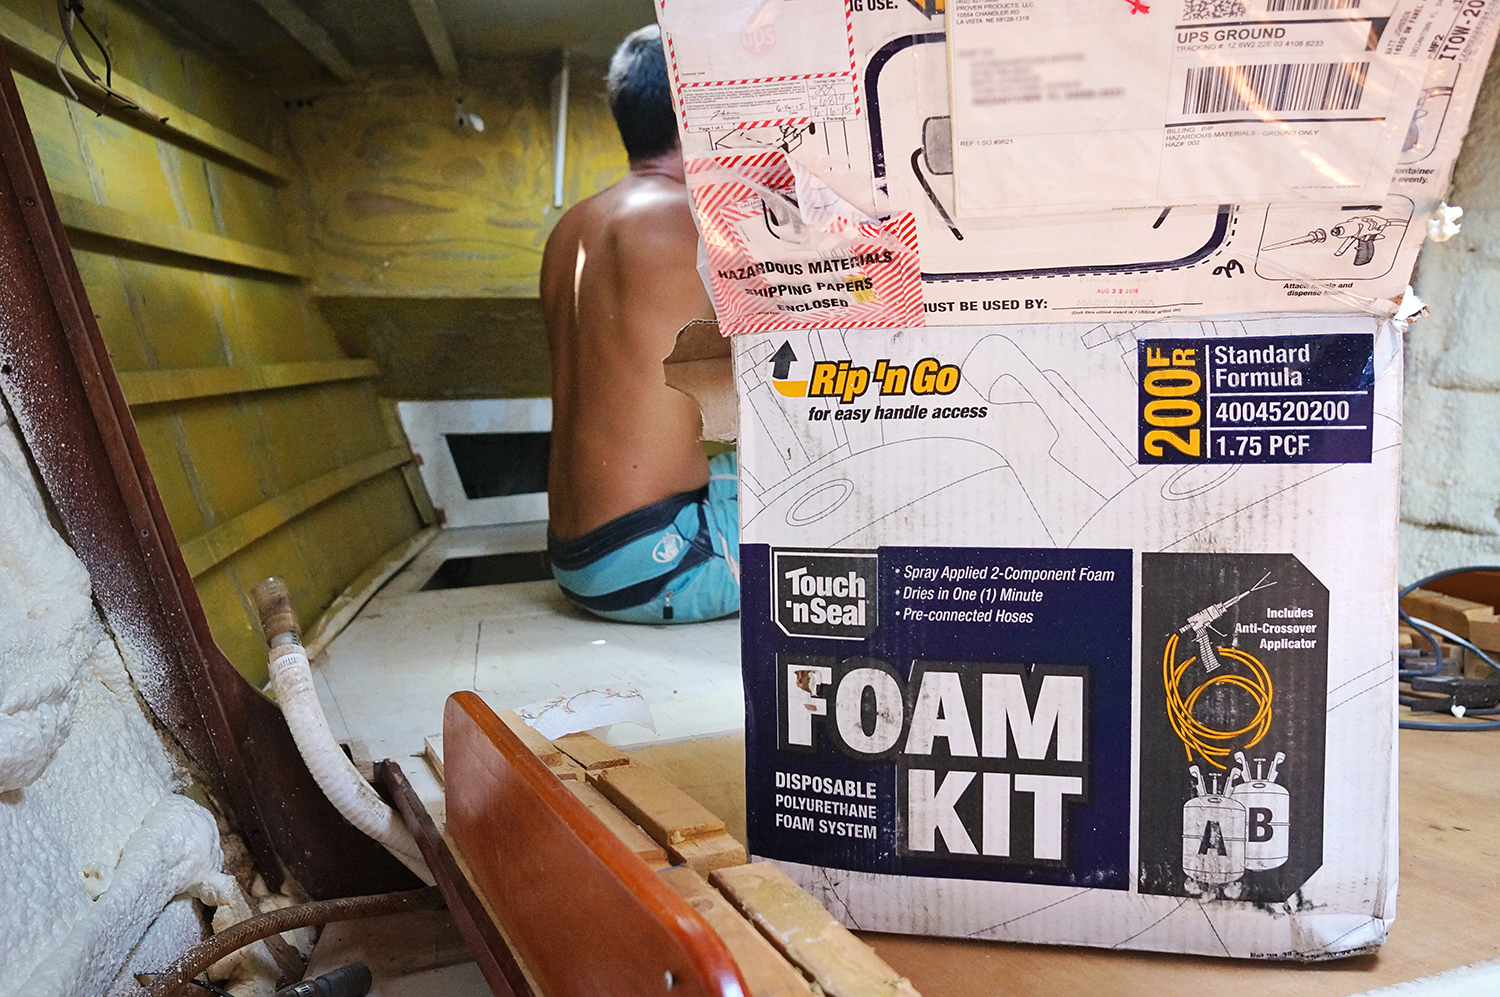
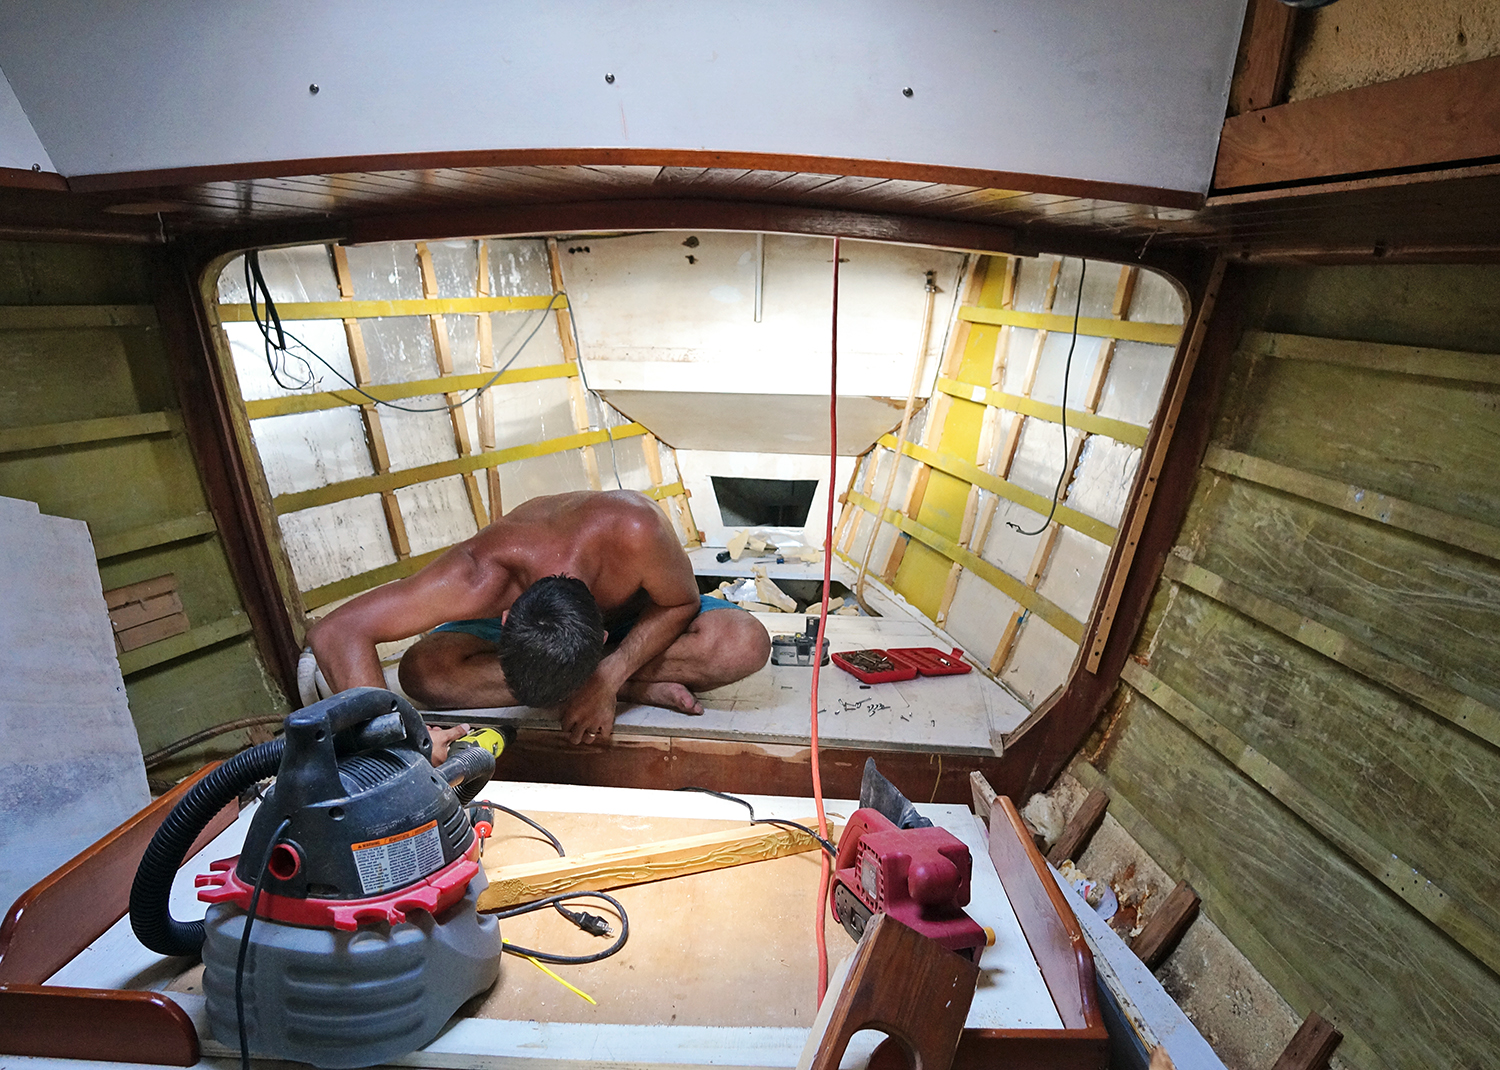
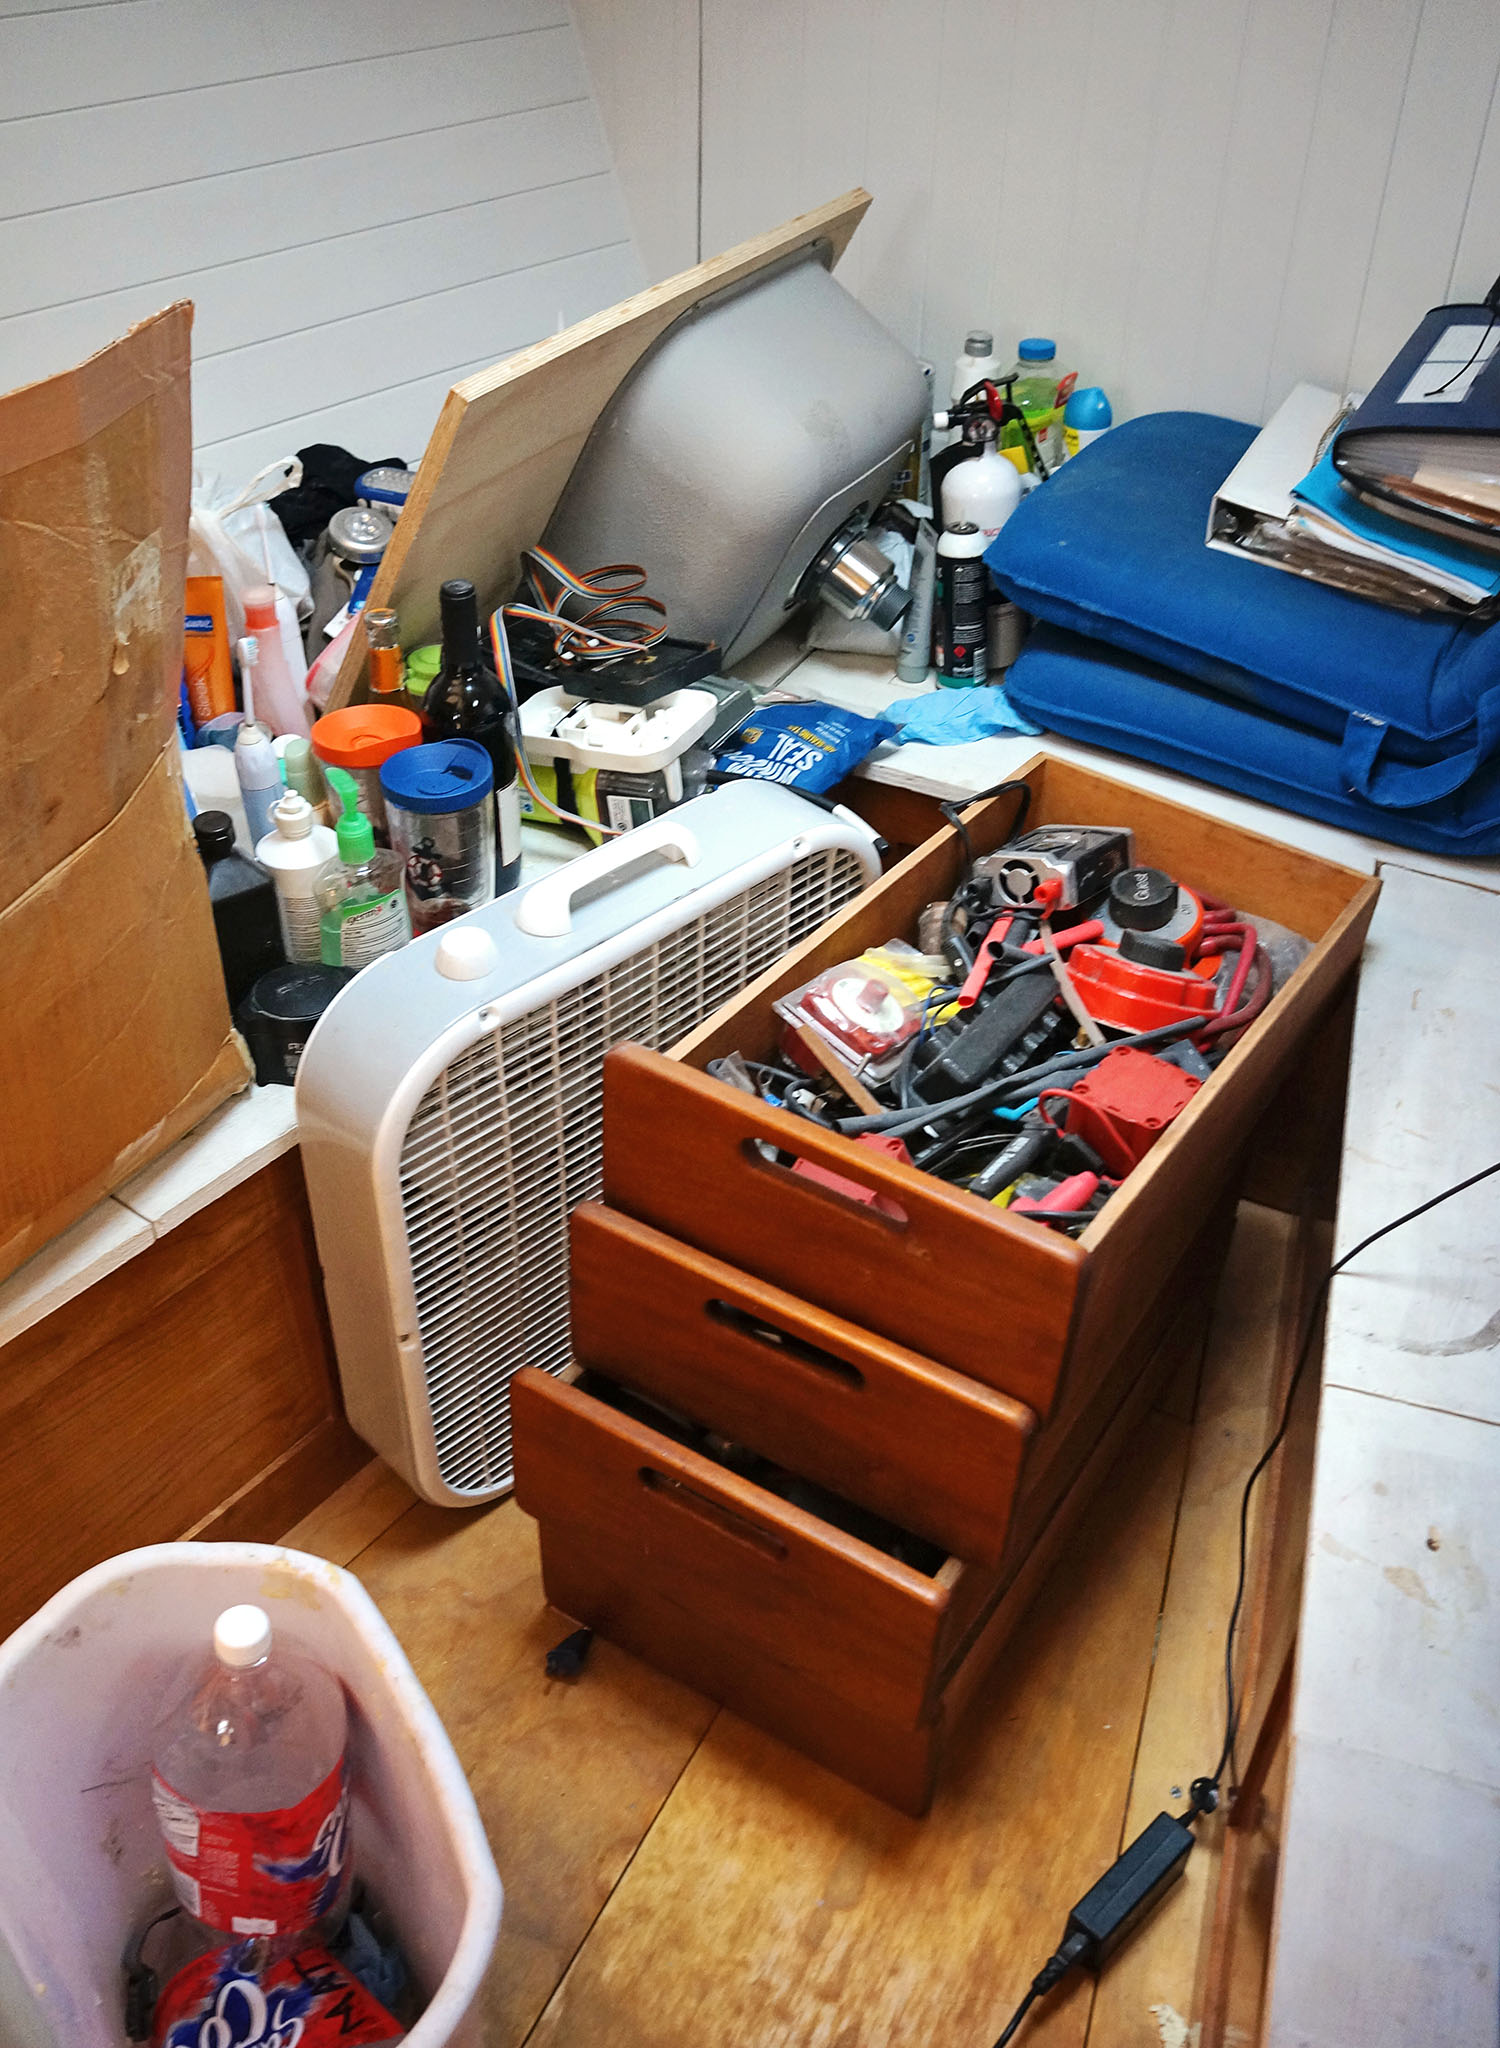
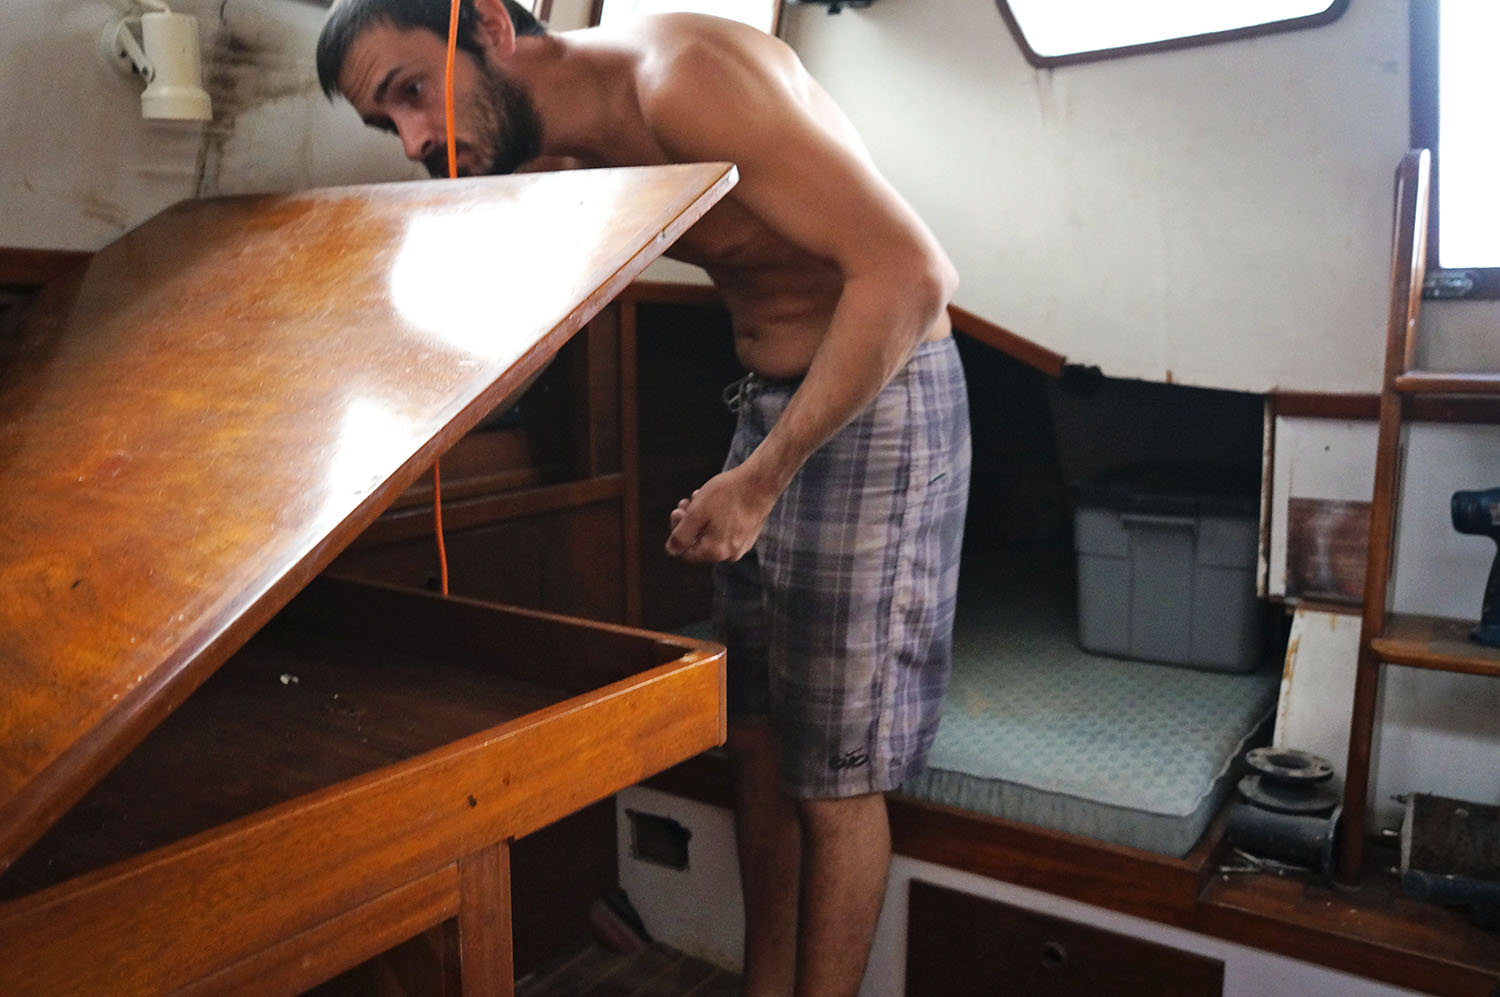
Today we continued the process of ripping apart the pilot house to use up the rest of the spray foam insulation before it has the opportunity to expire on us.  A few days ago we completed the port side and now it was time to take care of starboard.  The good news was at least this side did not have as much built in cabinets and shelves to take apart.  Instead of having to work our way town through two layers of storage before we could reach the floor, this side only required taking all the drawers out of the navigation station and pulling it out a few inches so we could get to the cabinets against the hull.

It’s crazy to really take a good look at how many items we actually store up in that area.  All of our personal items other than our clothes, as well as numerous parts for the boat that aren’t sitting in our storage unit up the road (which is also full).  How did we gather so much crap?  Sorry, not *crap*.  Items to rebuild the boat.  At this point I’m not sure what I’ll be more joyous about when we finish this project.  The ability to go cruising again, or not living in a construction zone!

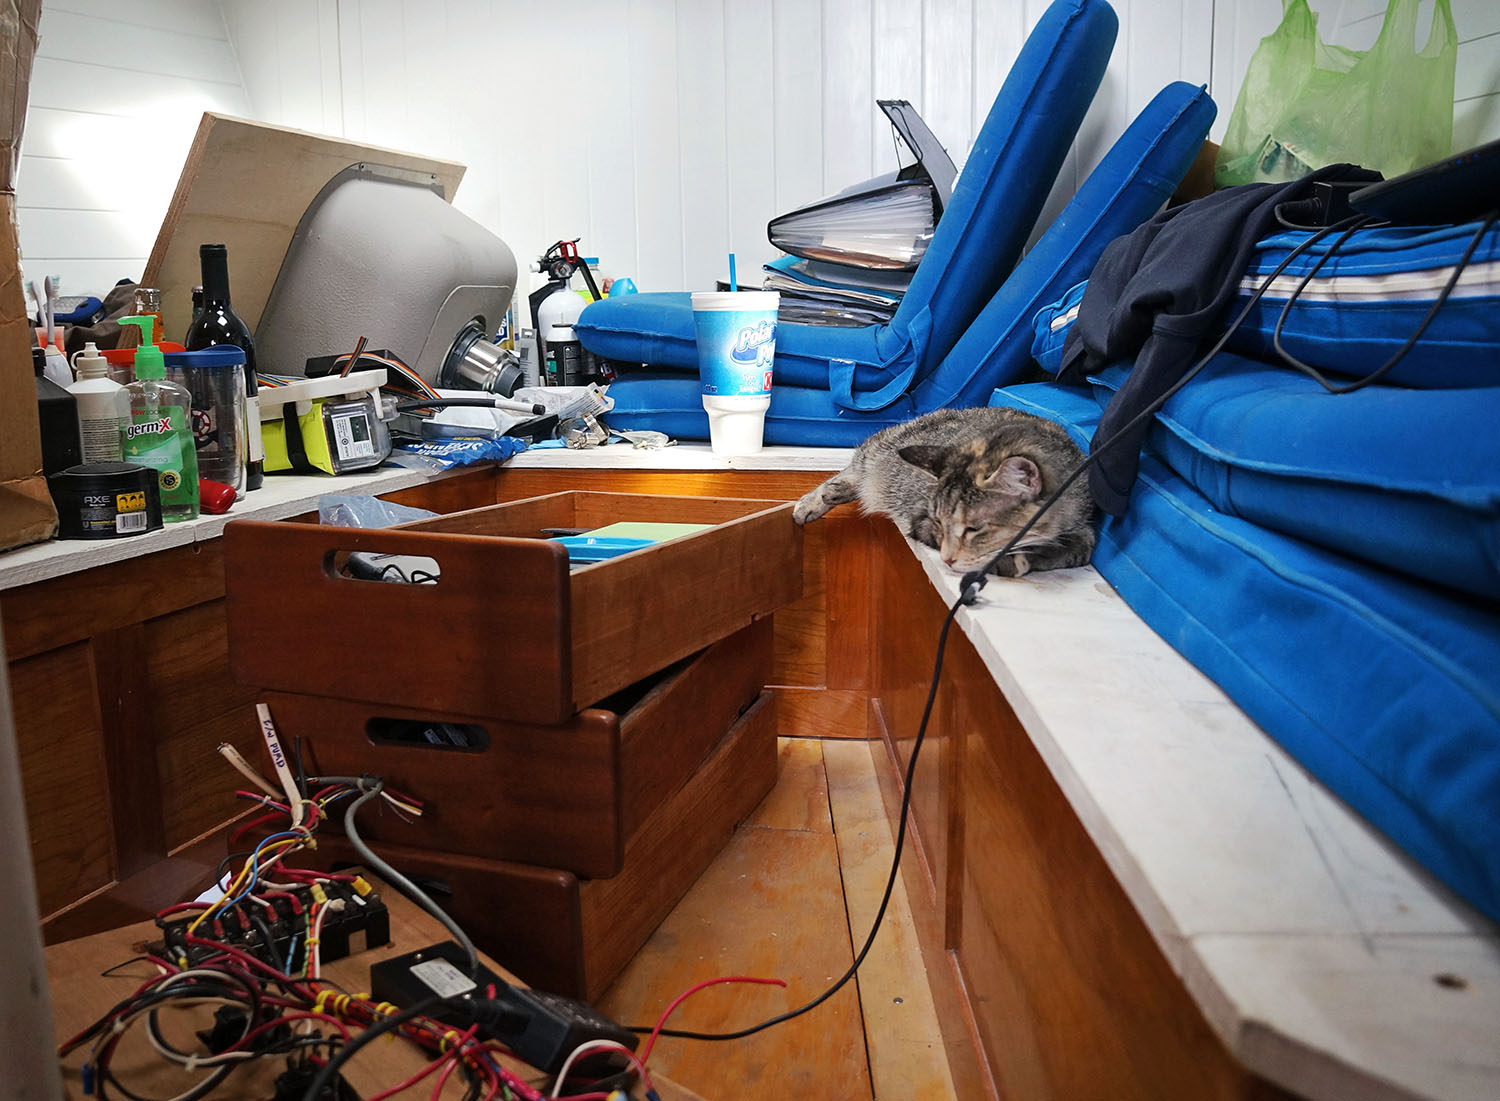
I’m kind of surprised that Georgie is putting up with this as well as she is too.  I should really give her more treats every day for not complaining.  Unless you count the eye rolling.

mess in salon

Matt clearing pilot house

pushing junk to port side

Georgie in the mess

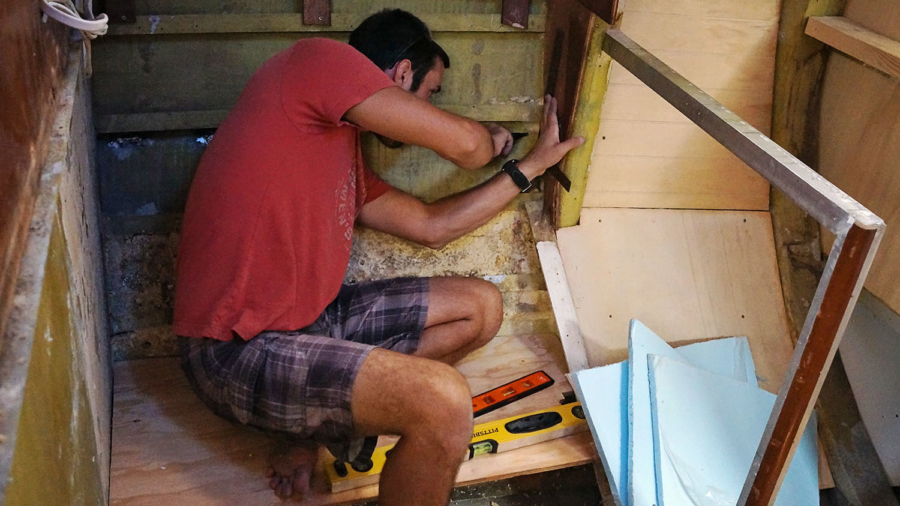
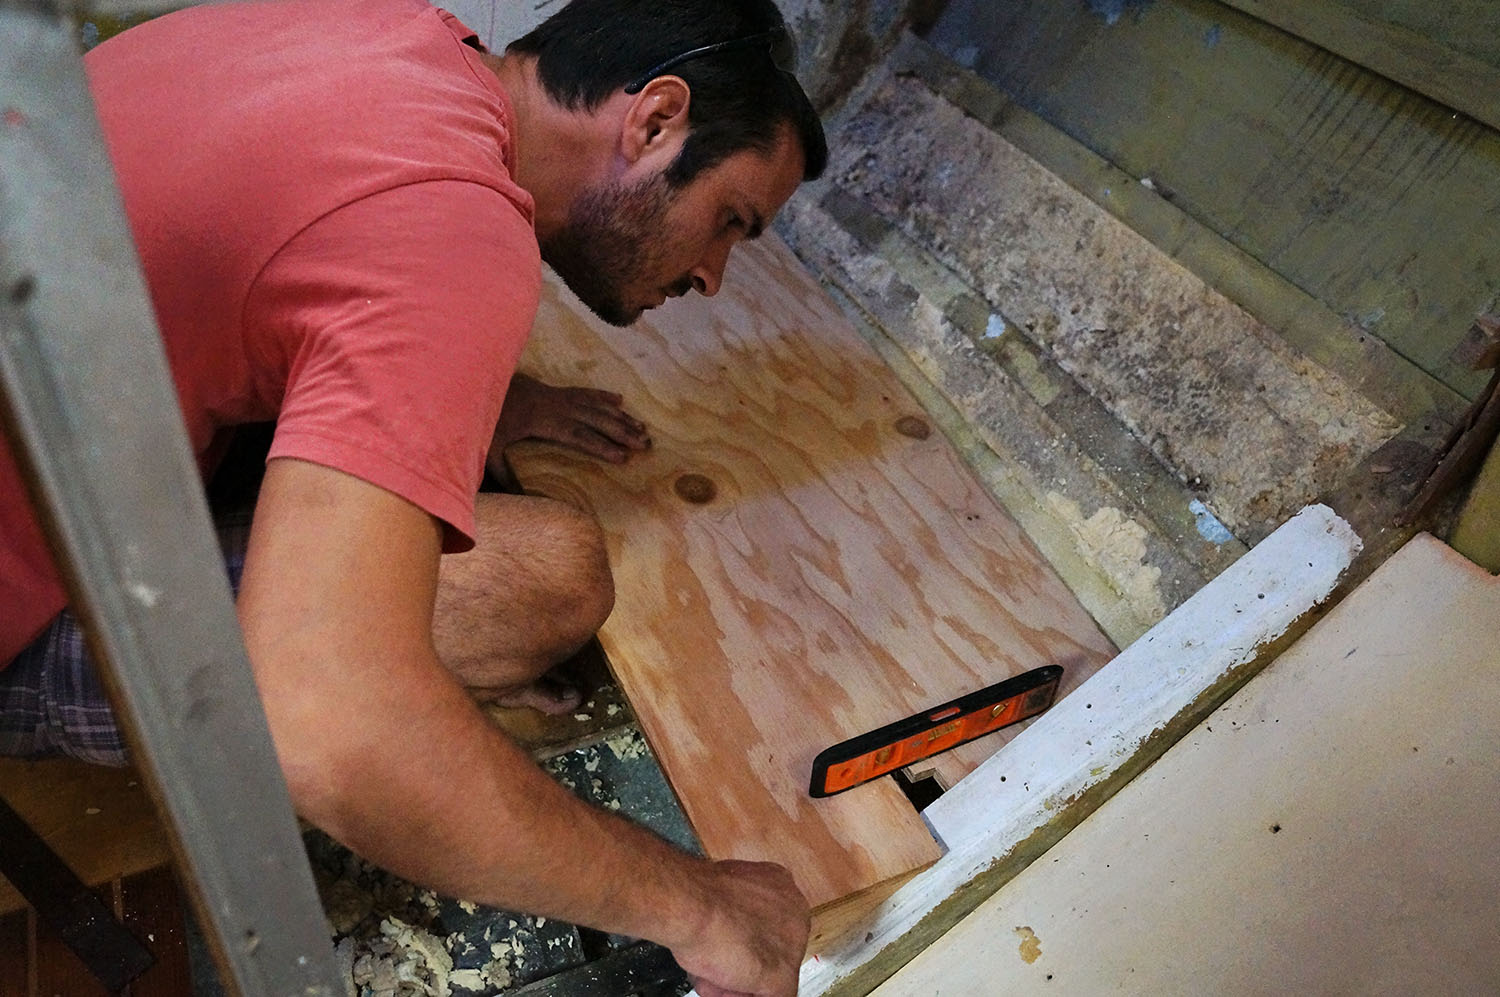
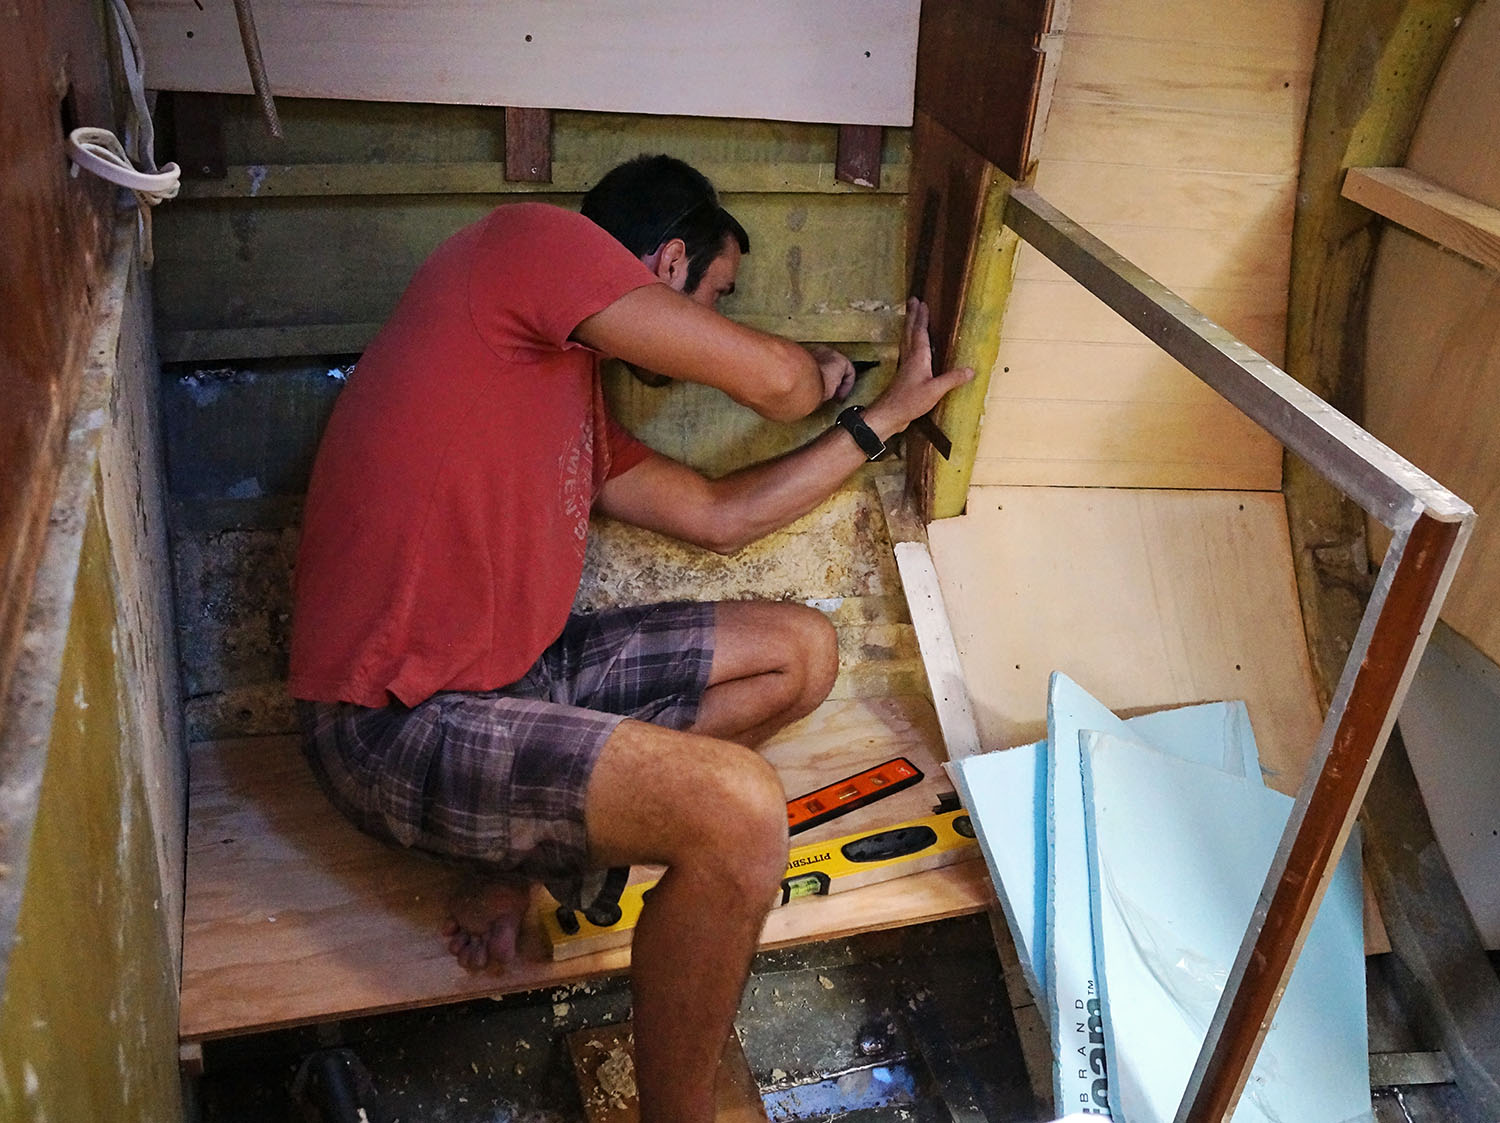
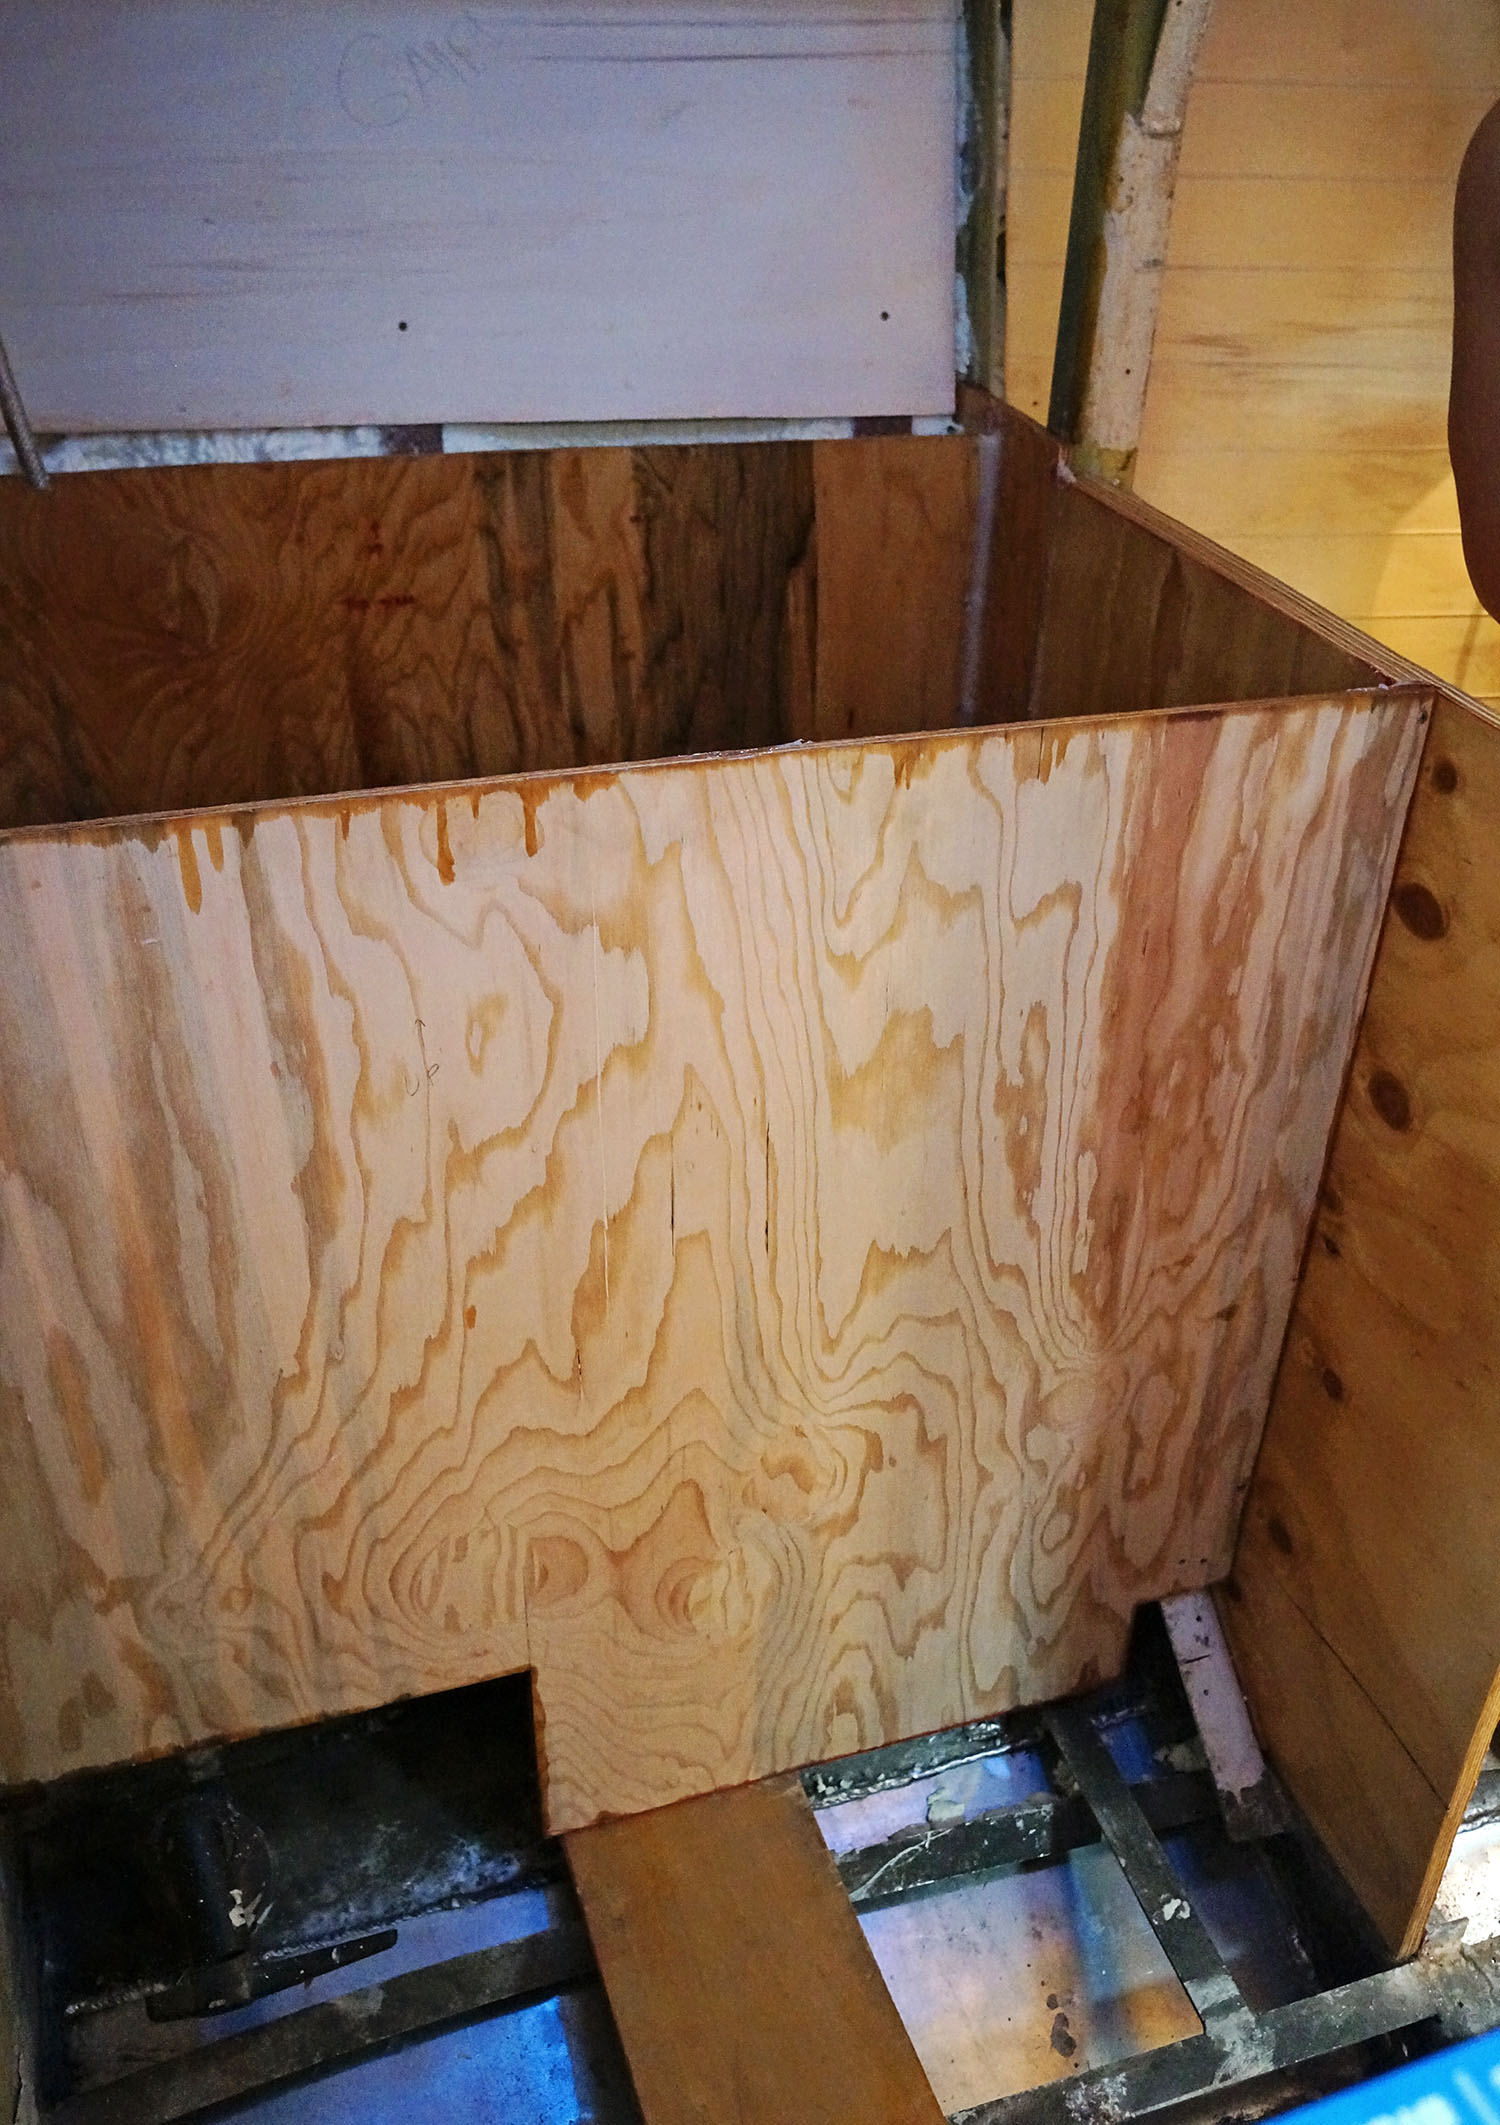
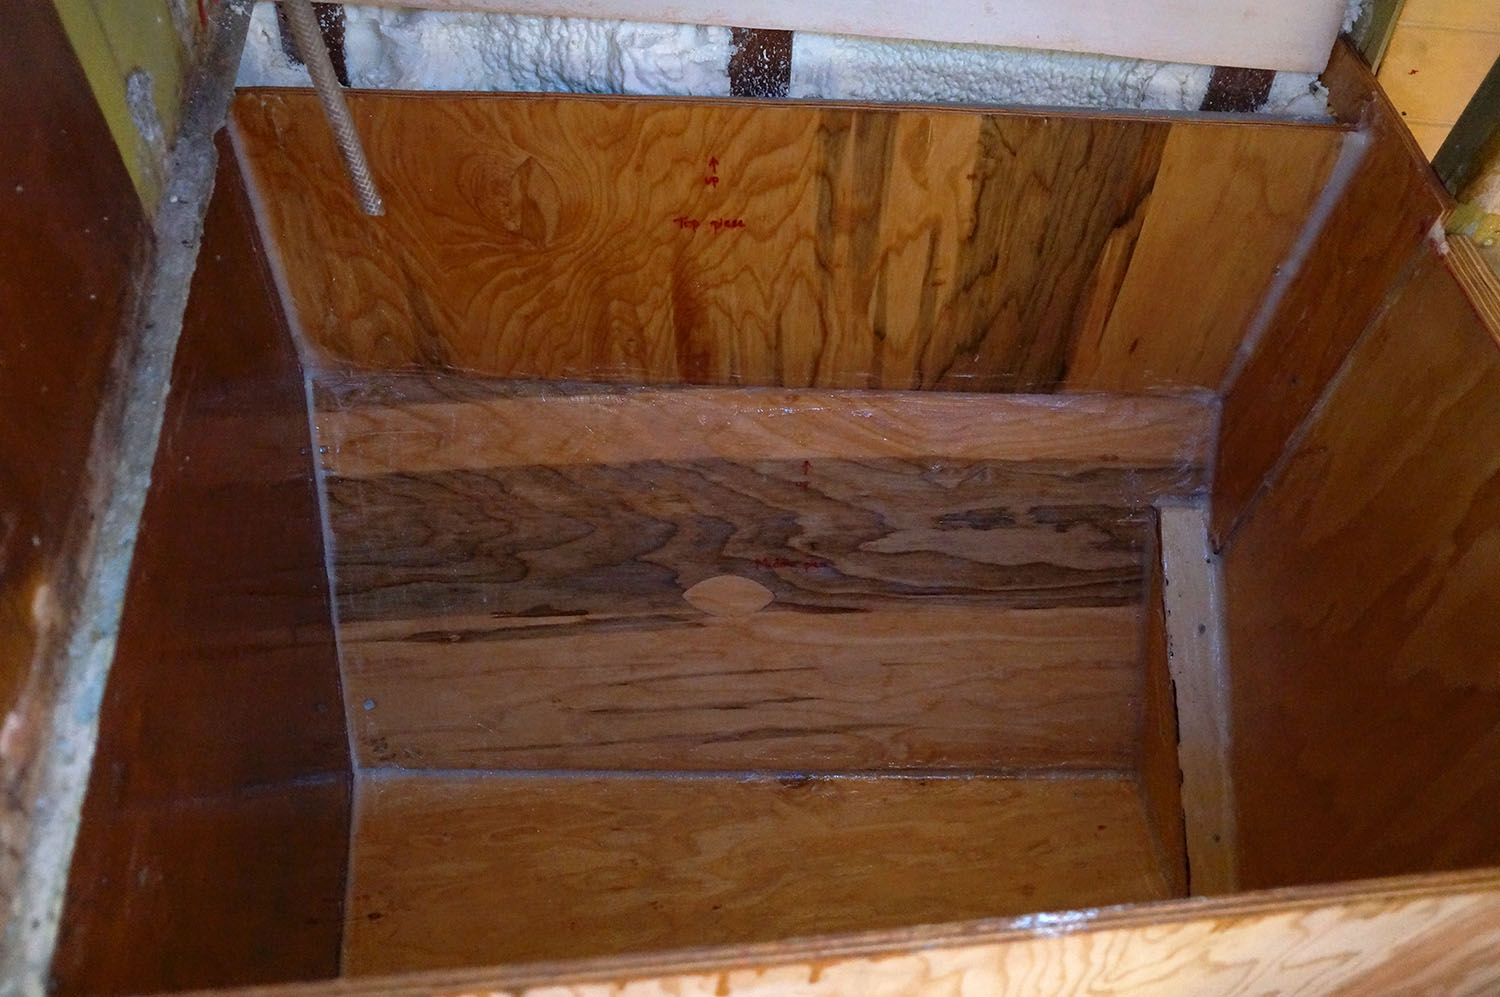
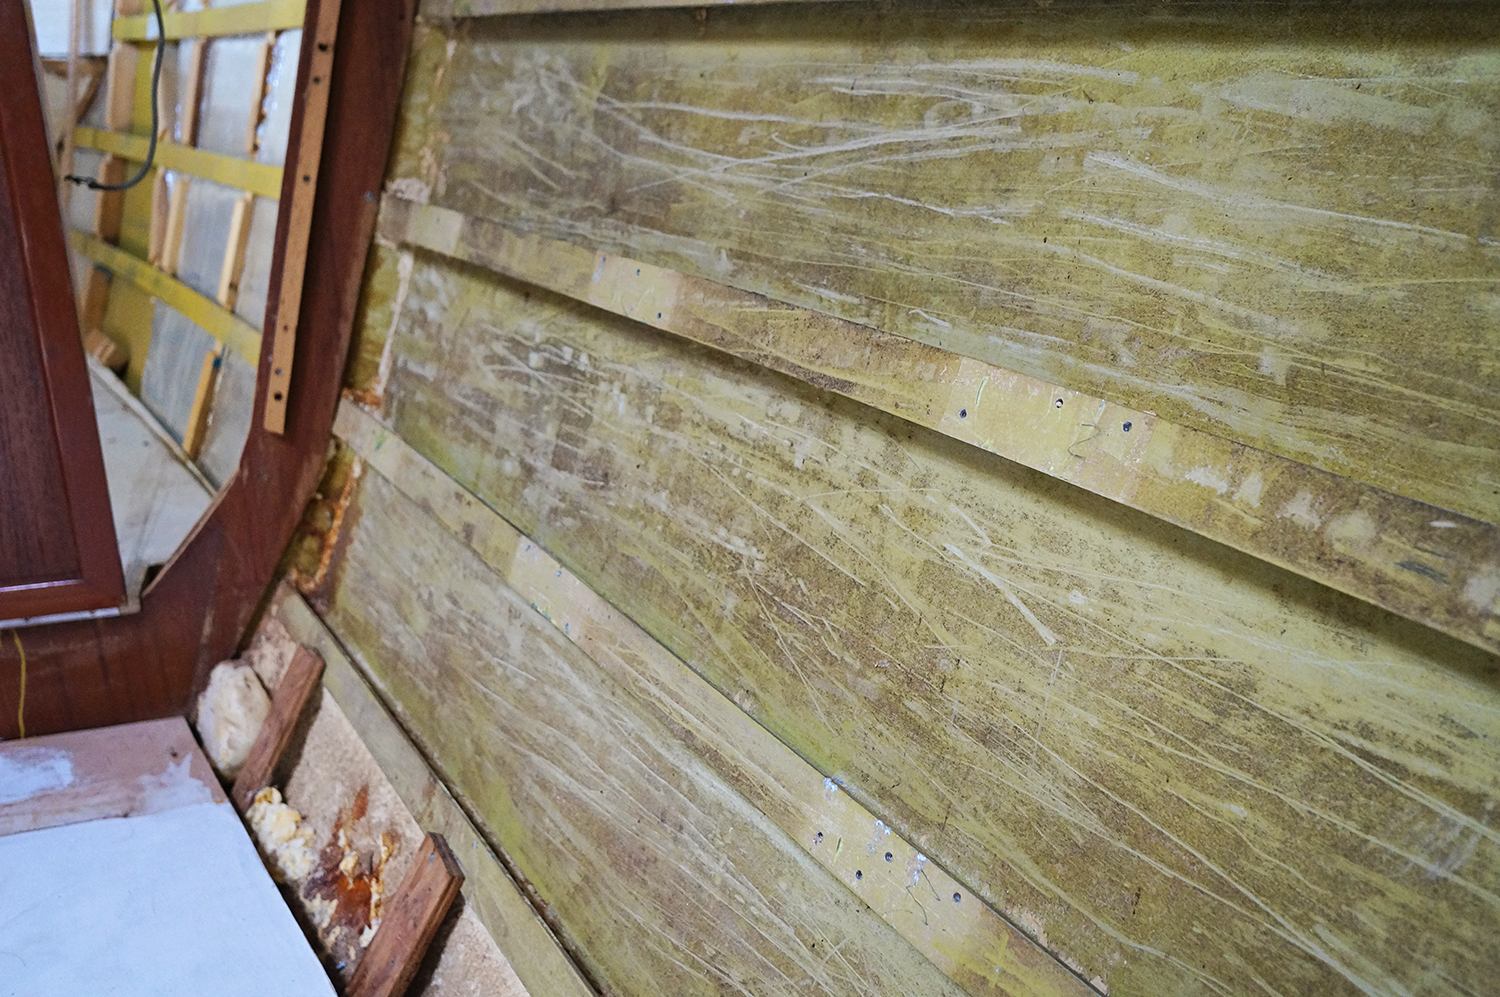
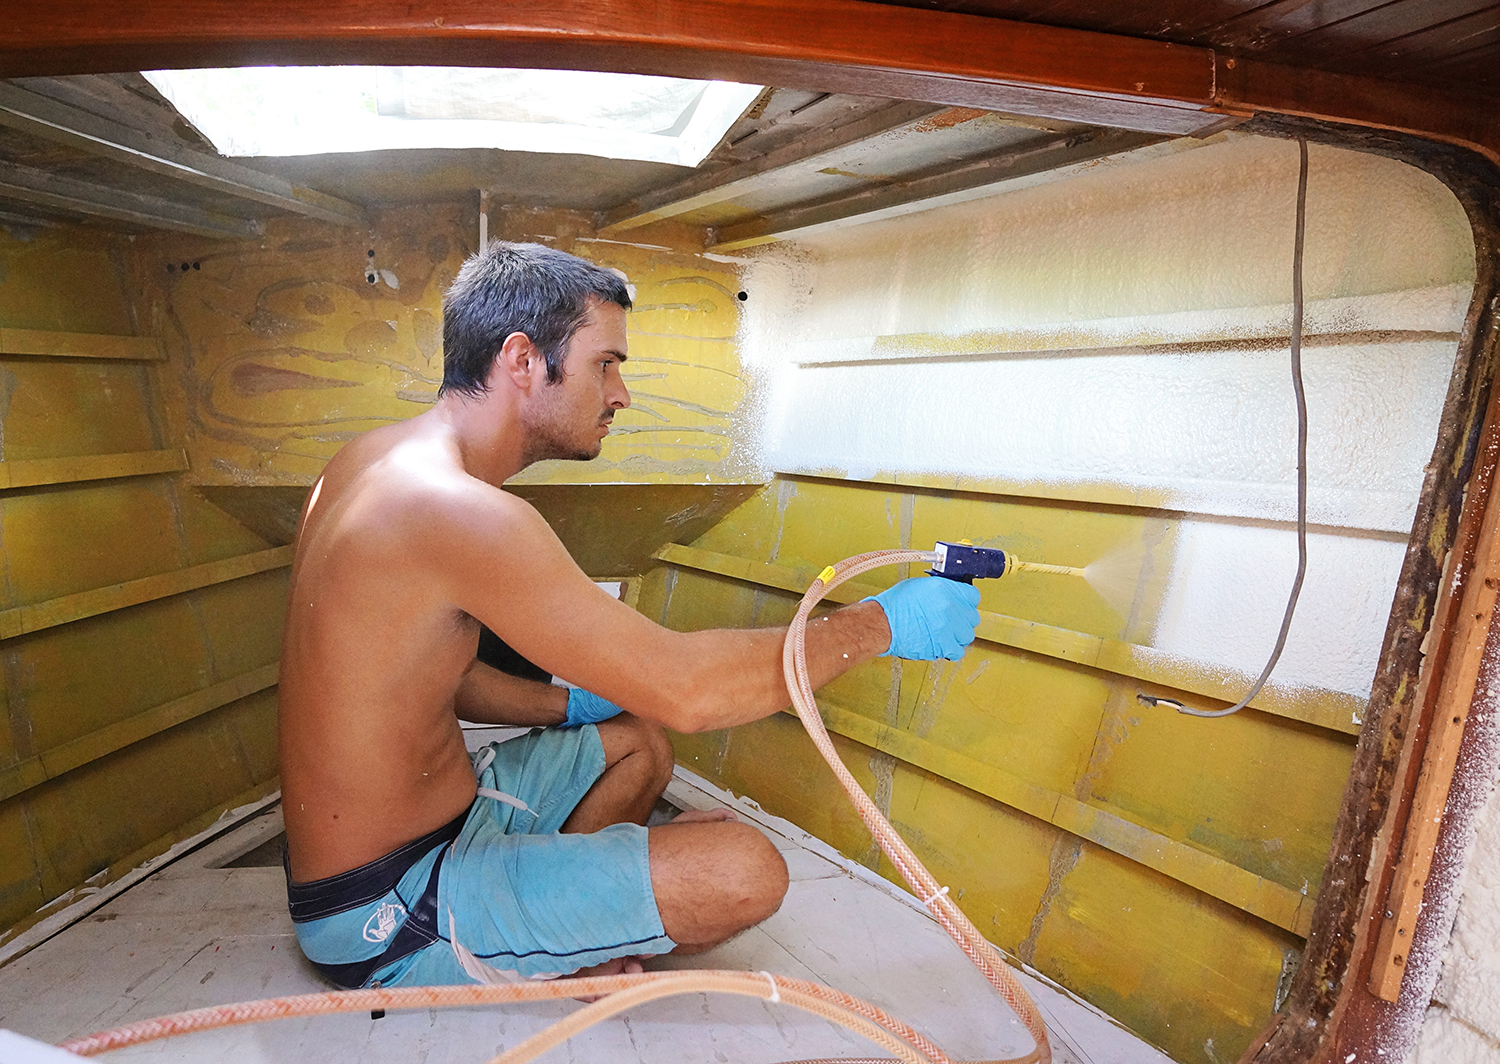
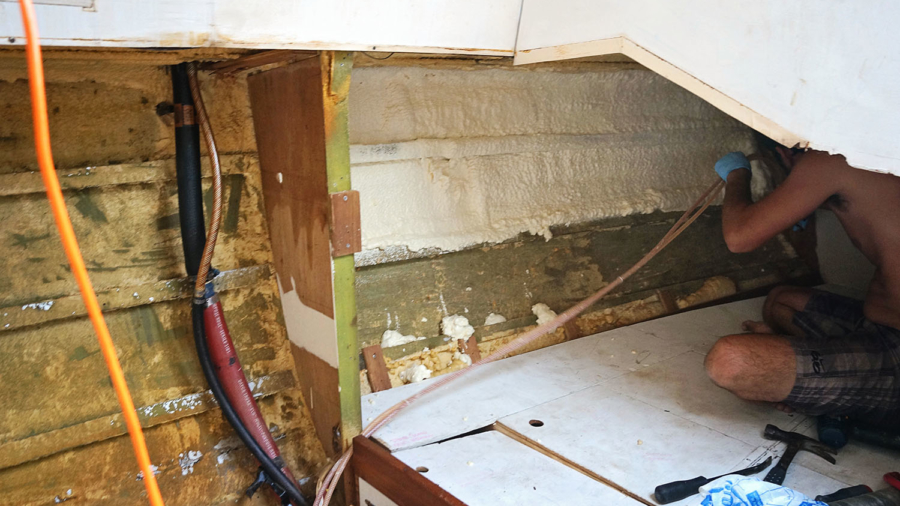
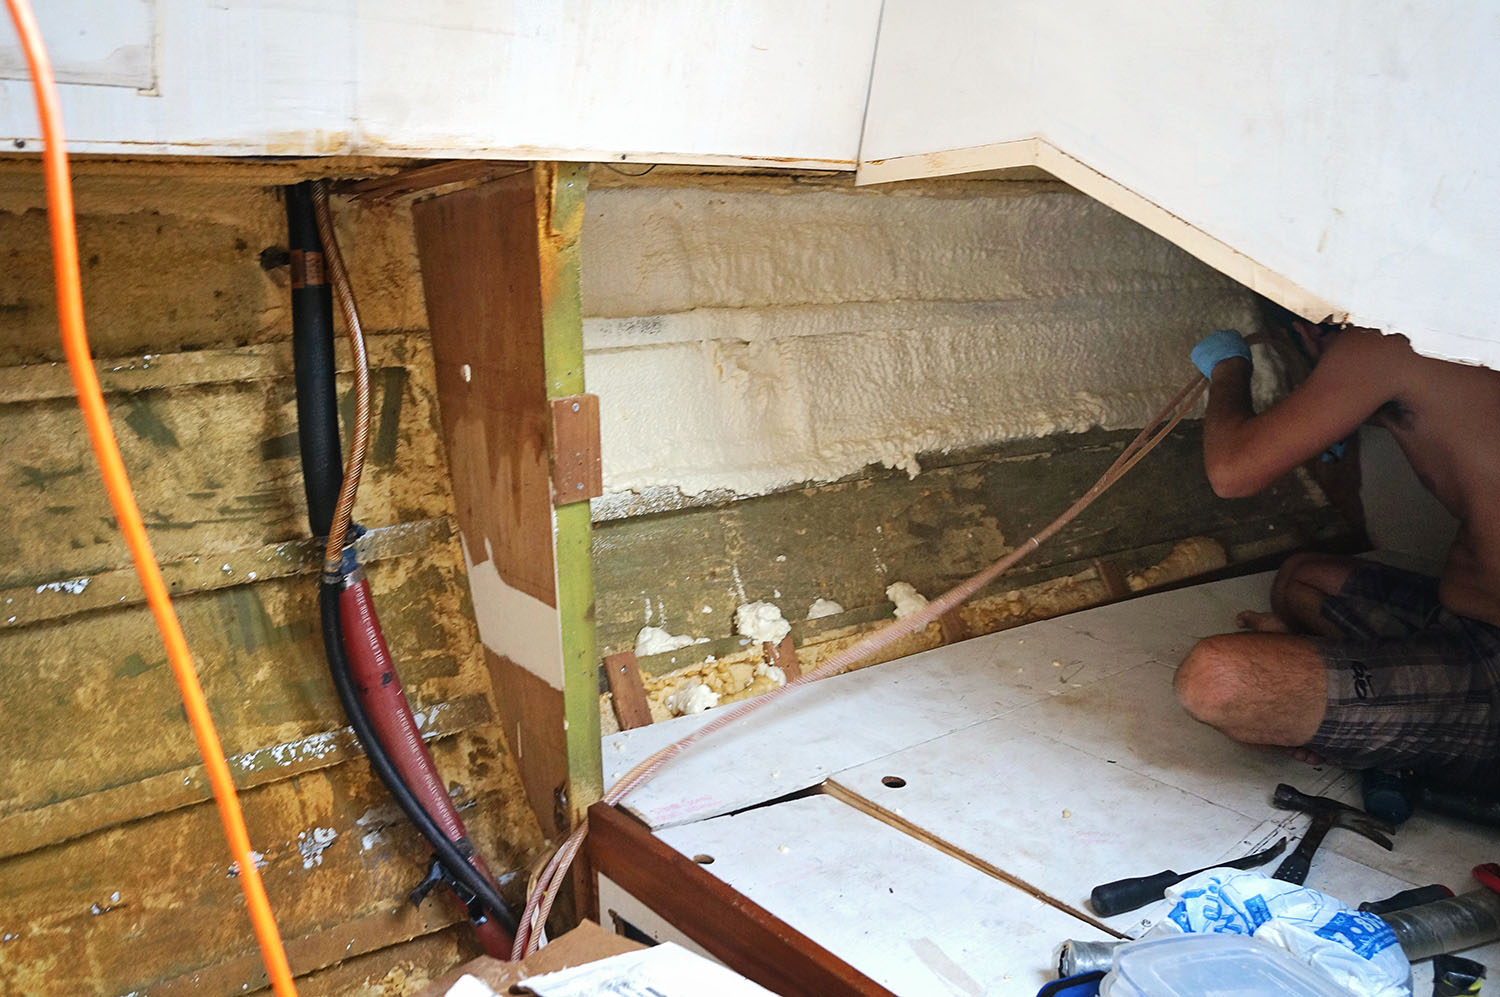
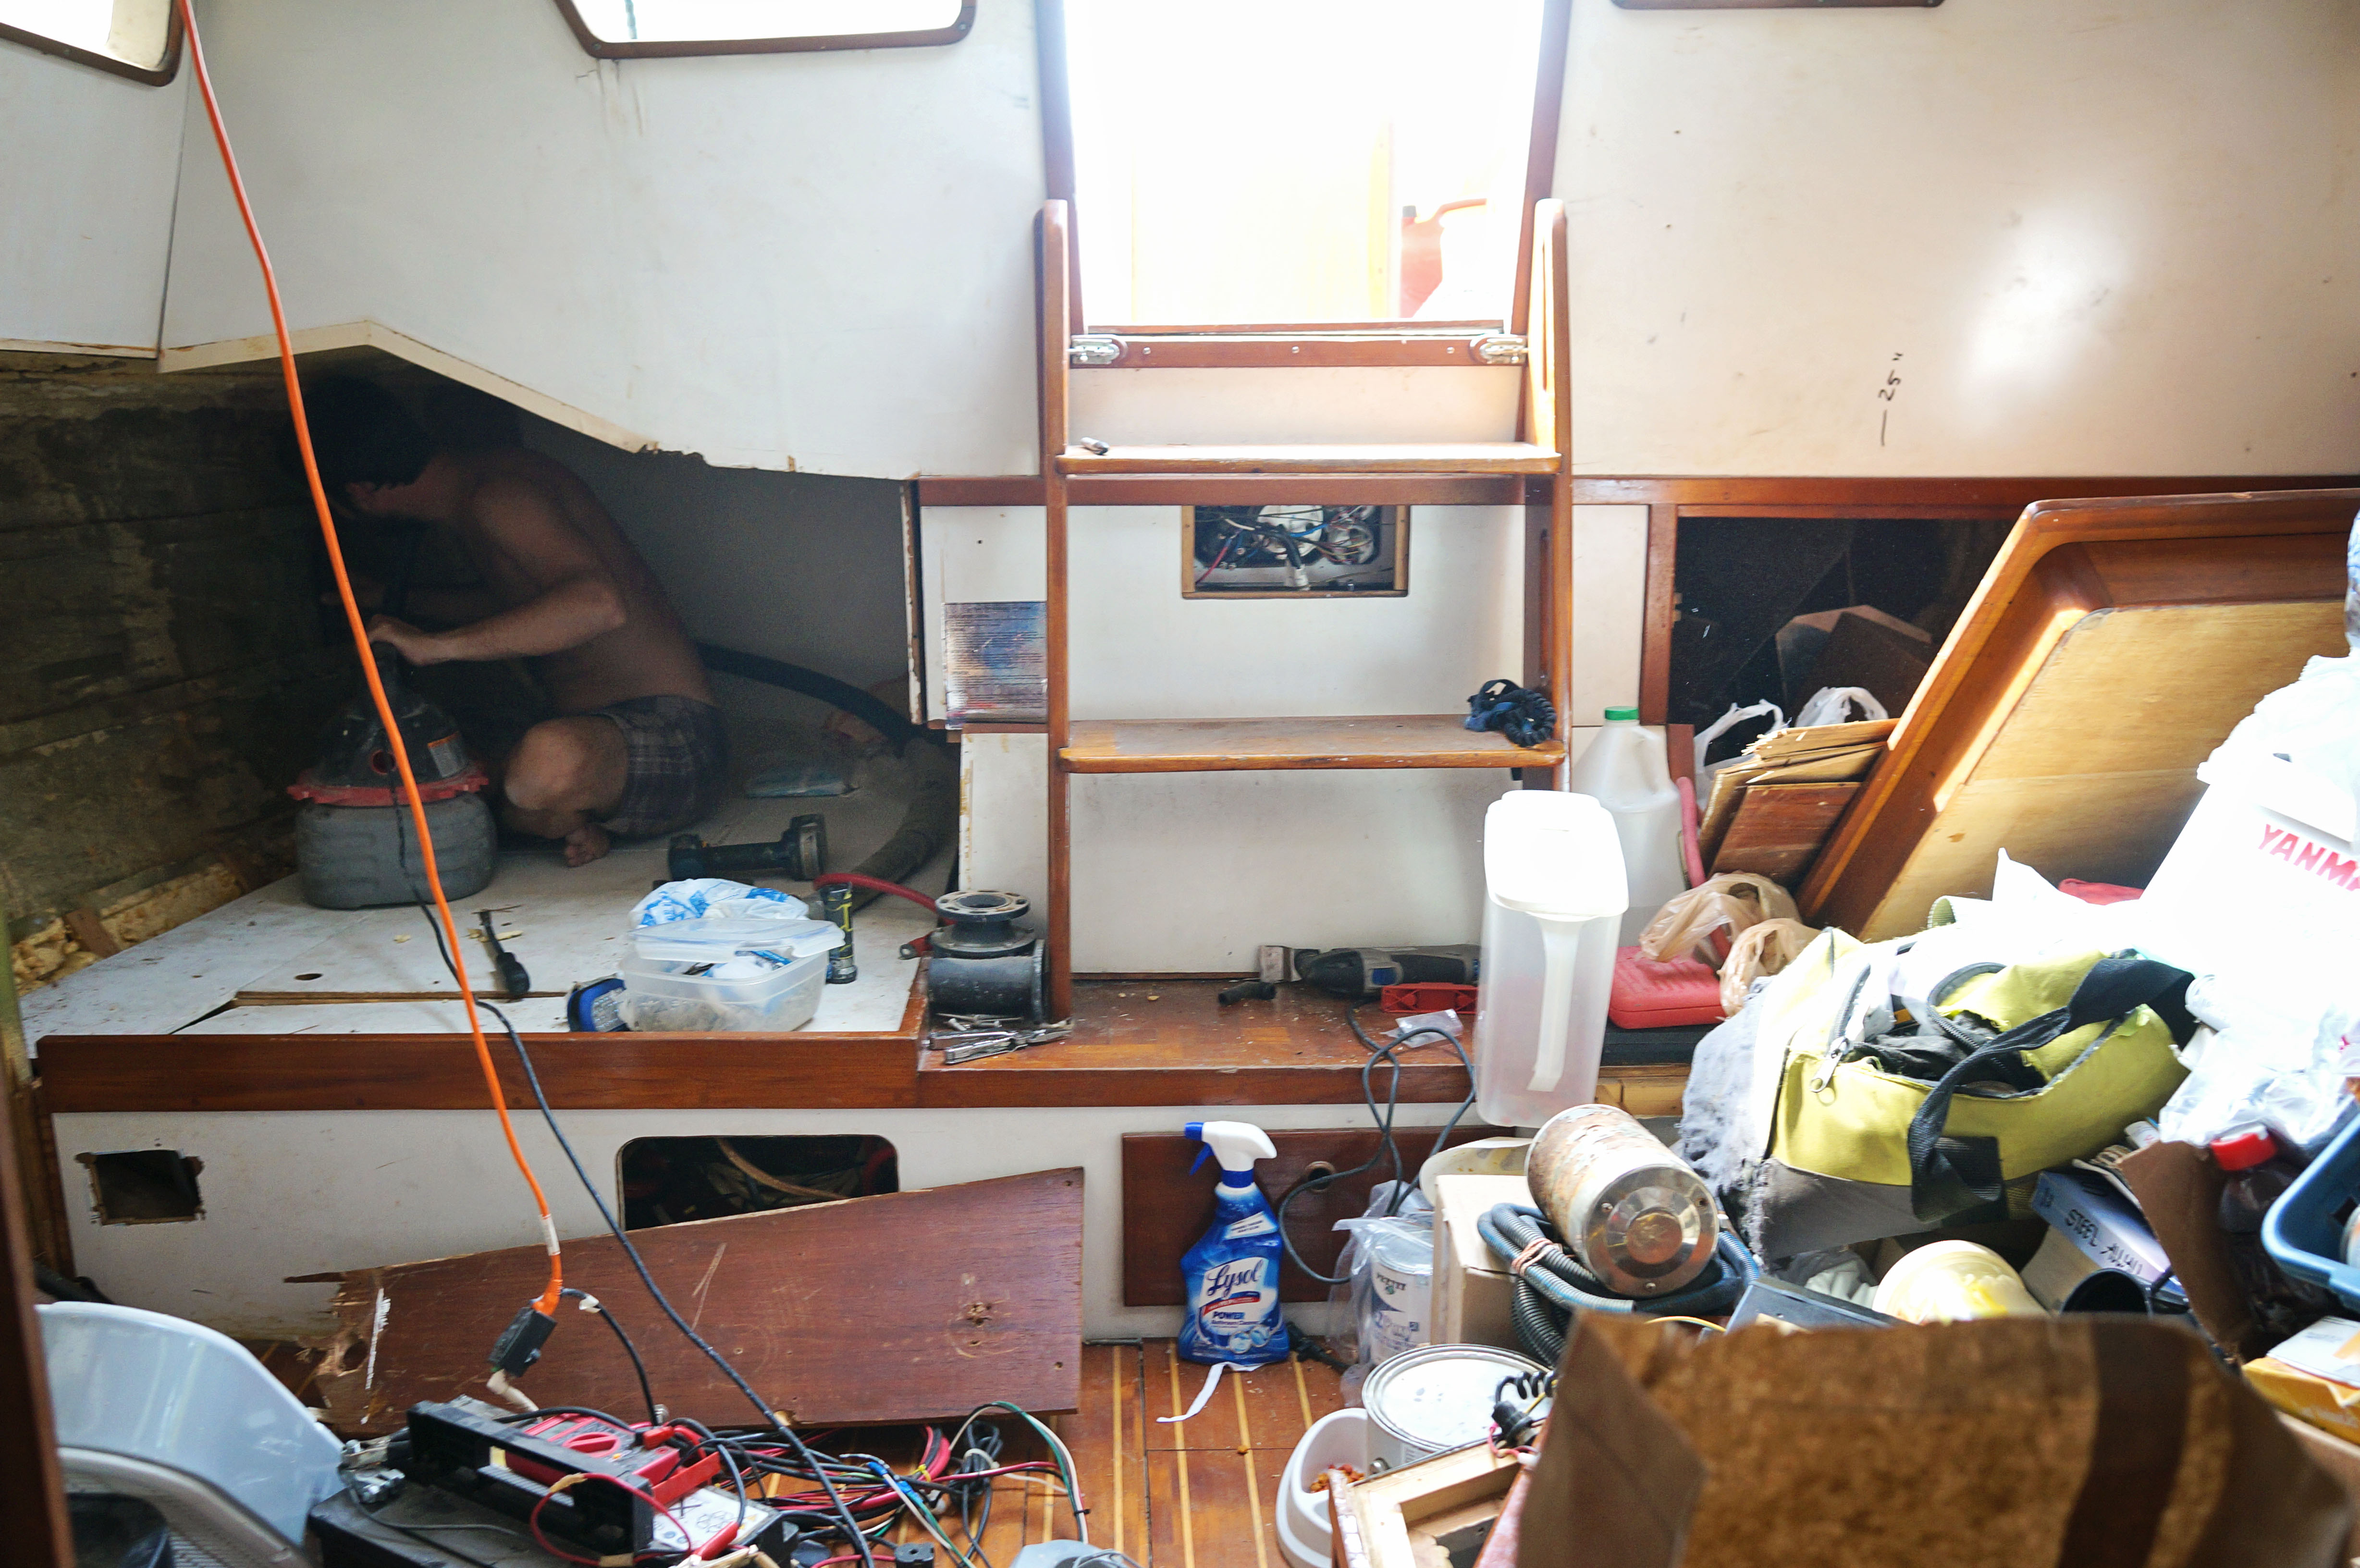
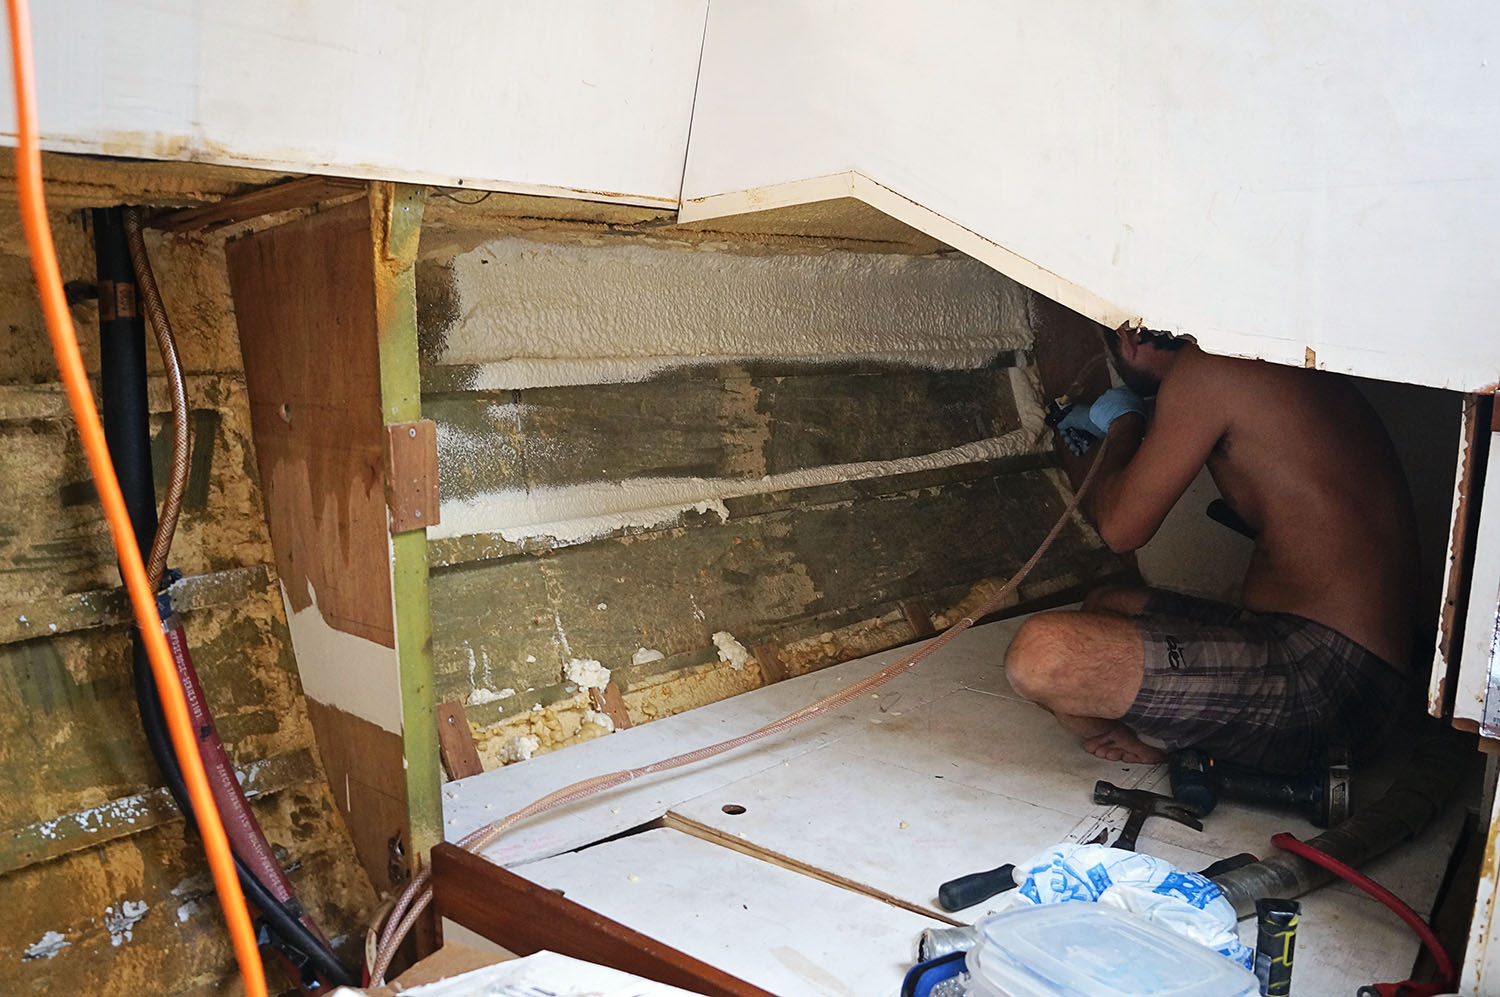
Once everything had been disassembled and moved to the other side of the boat it was time to clean the hull to make sure there was no debris left in the frame to become stuck in the foam once it was sprayed.  I didn’t even get the chance to crawl into any of the tiny spaces with the vacuum before Matt was already in there and getting it prepped.

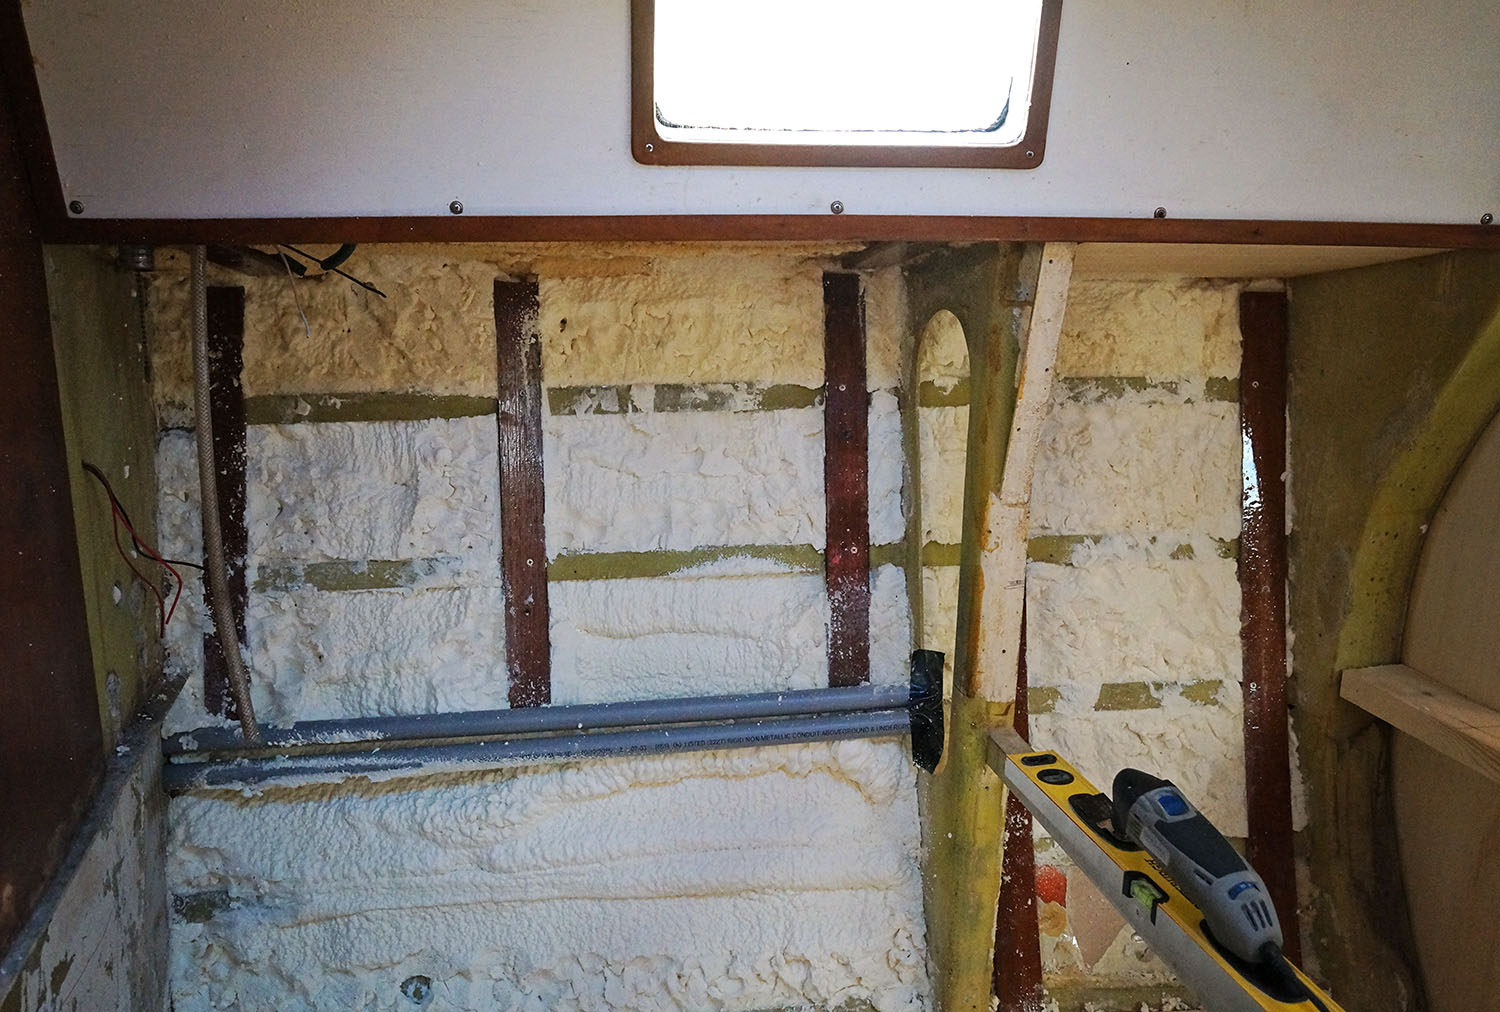
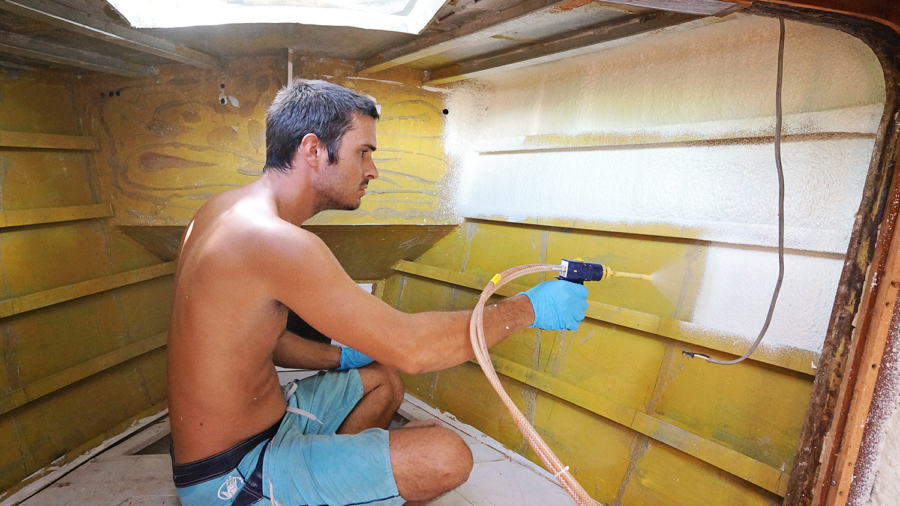
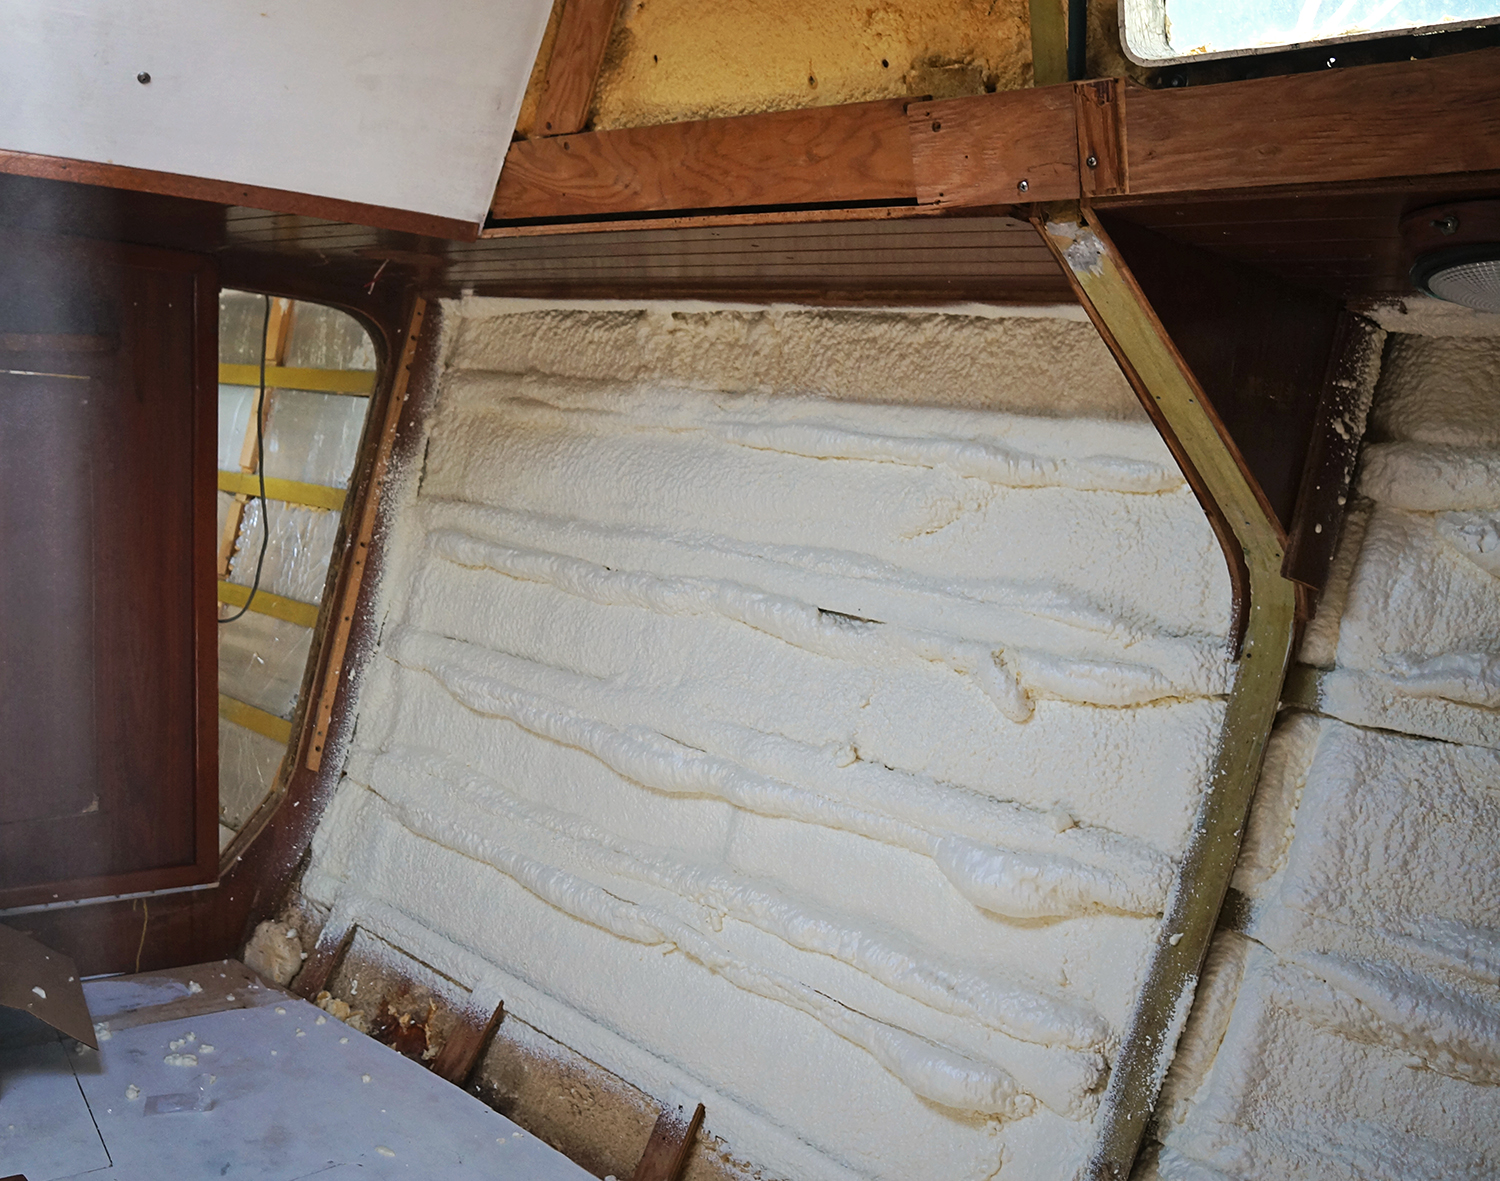
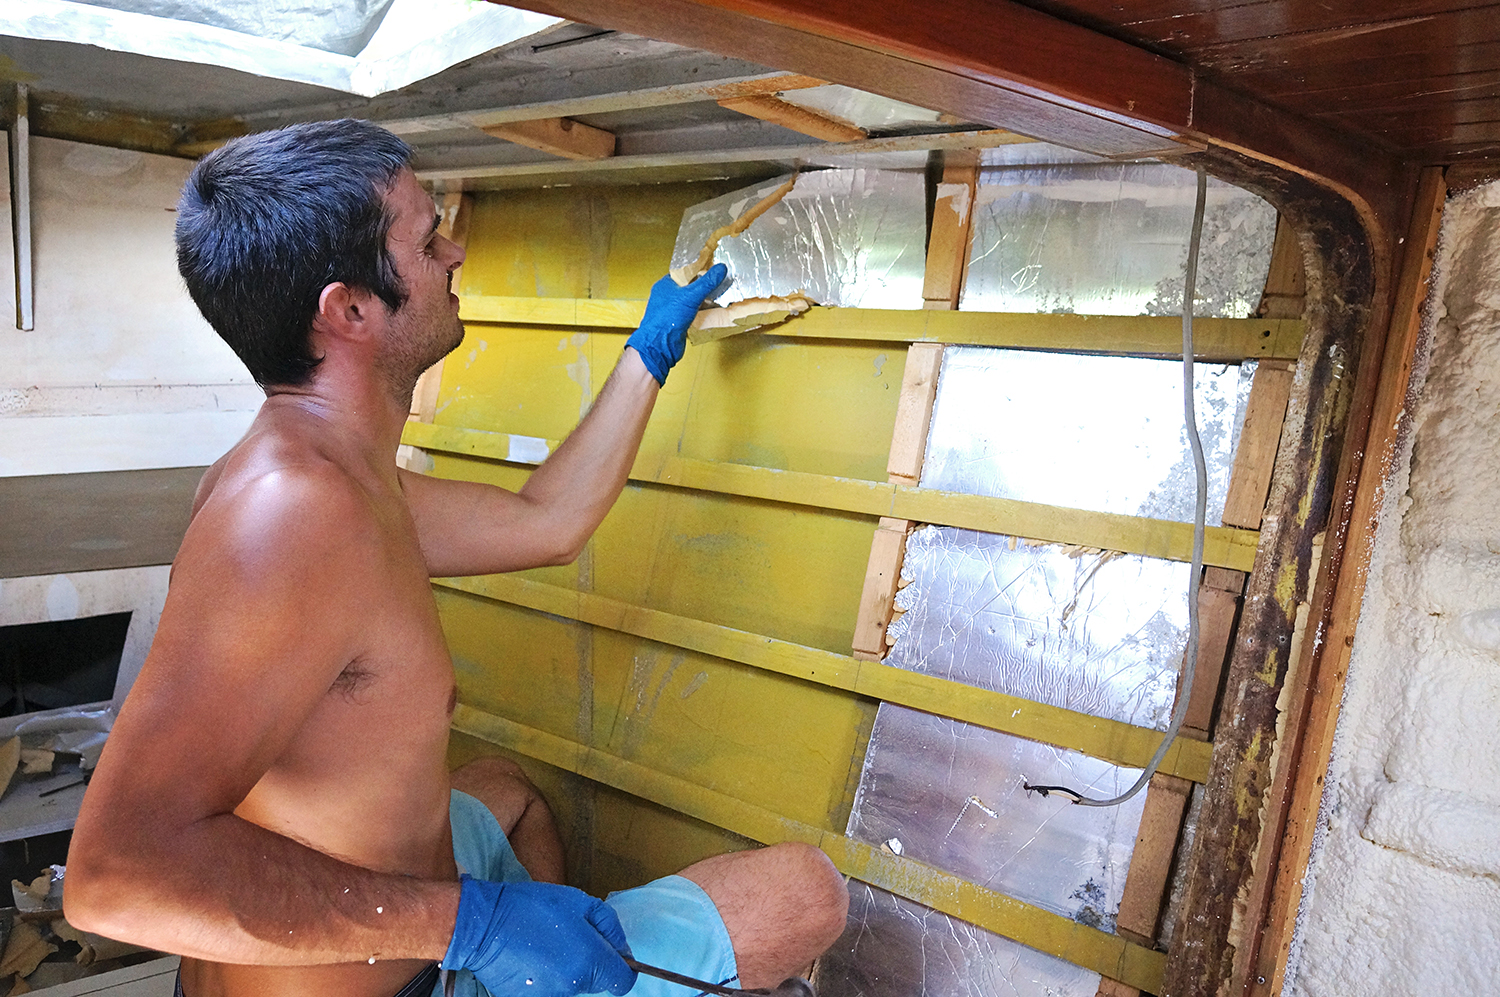
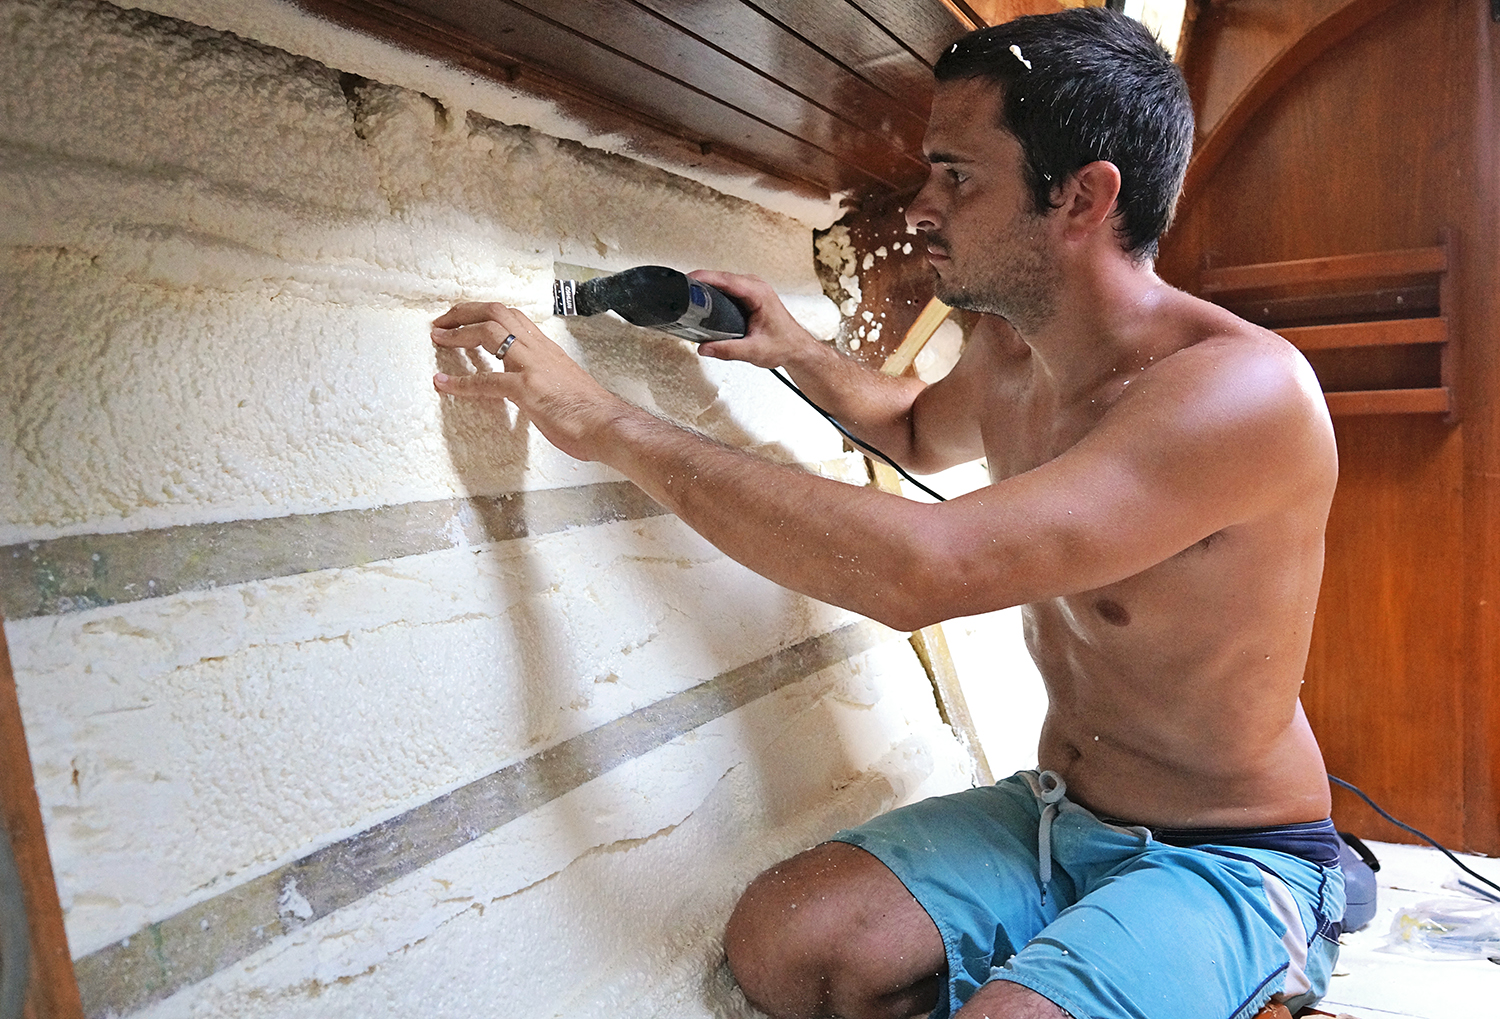
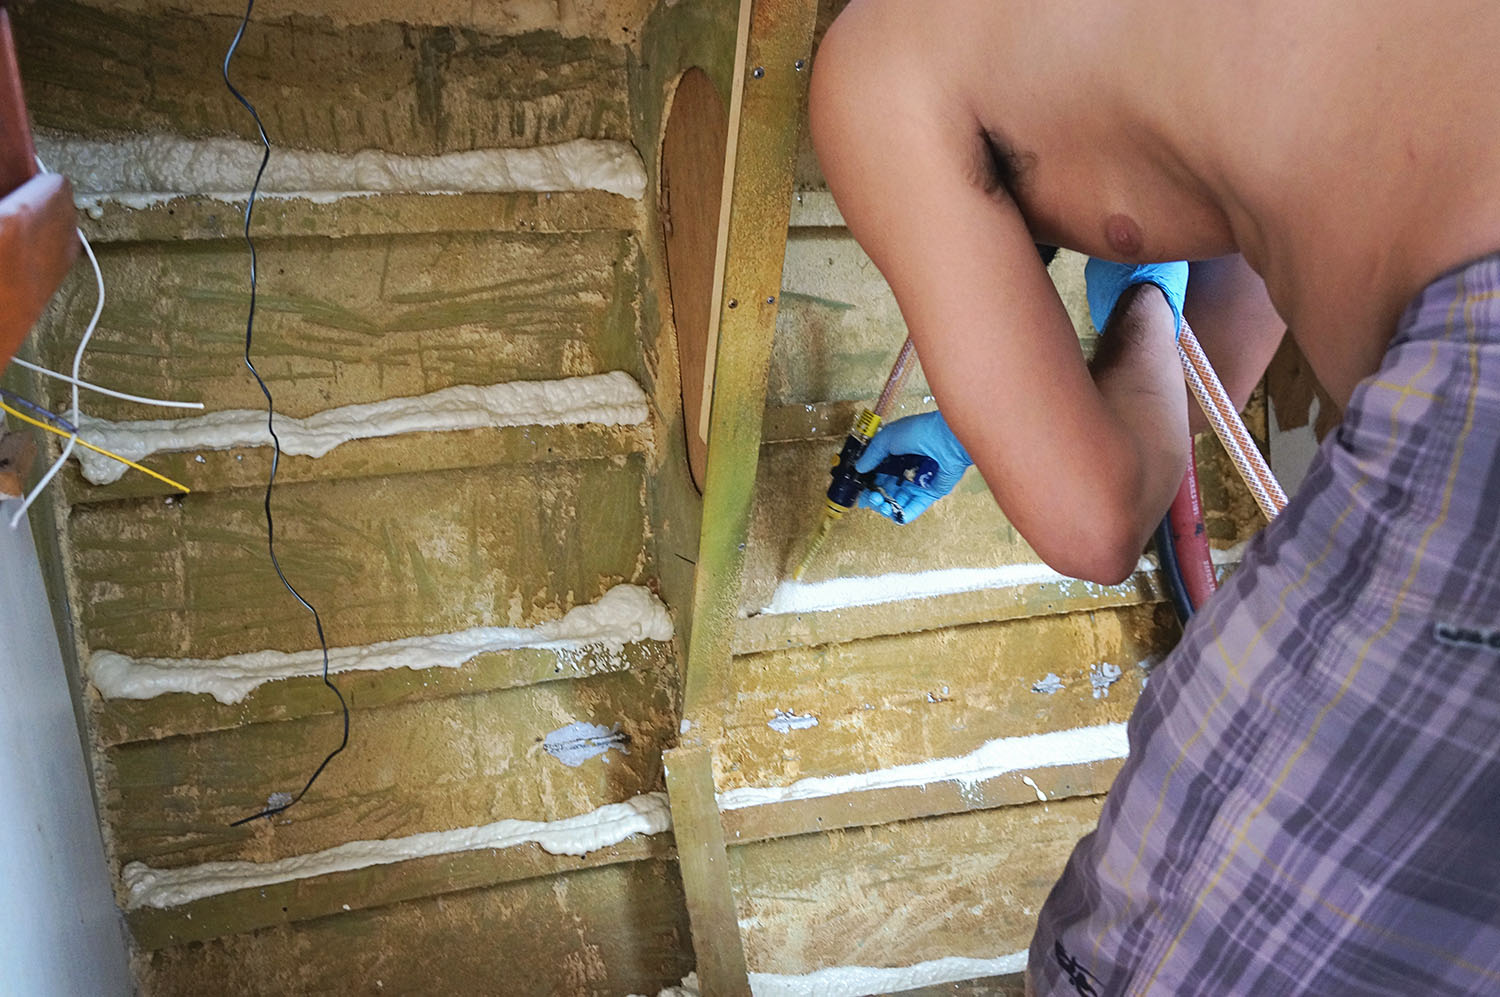
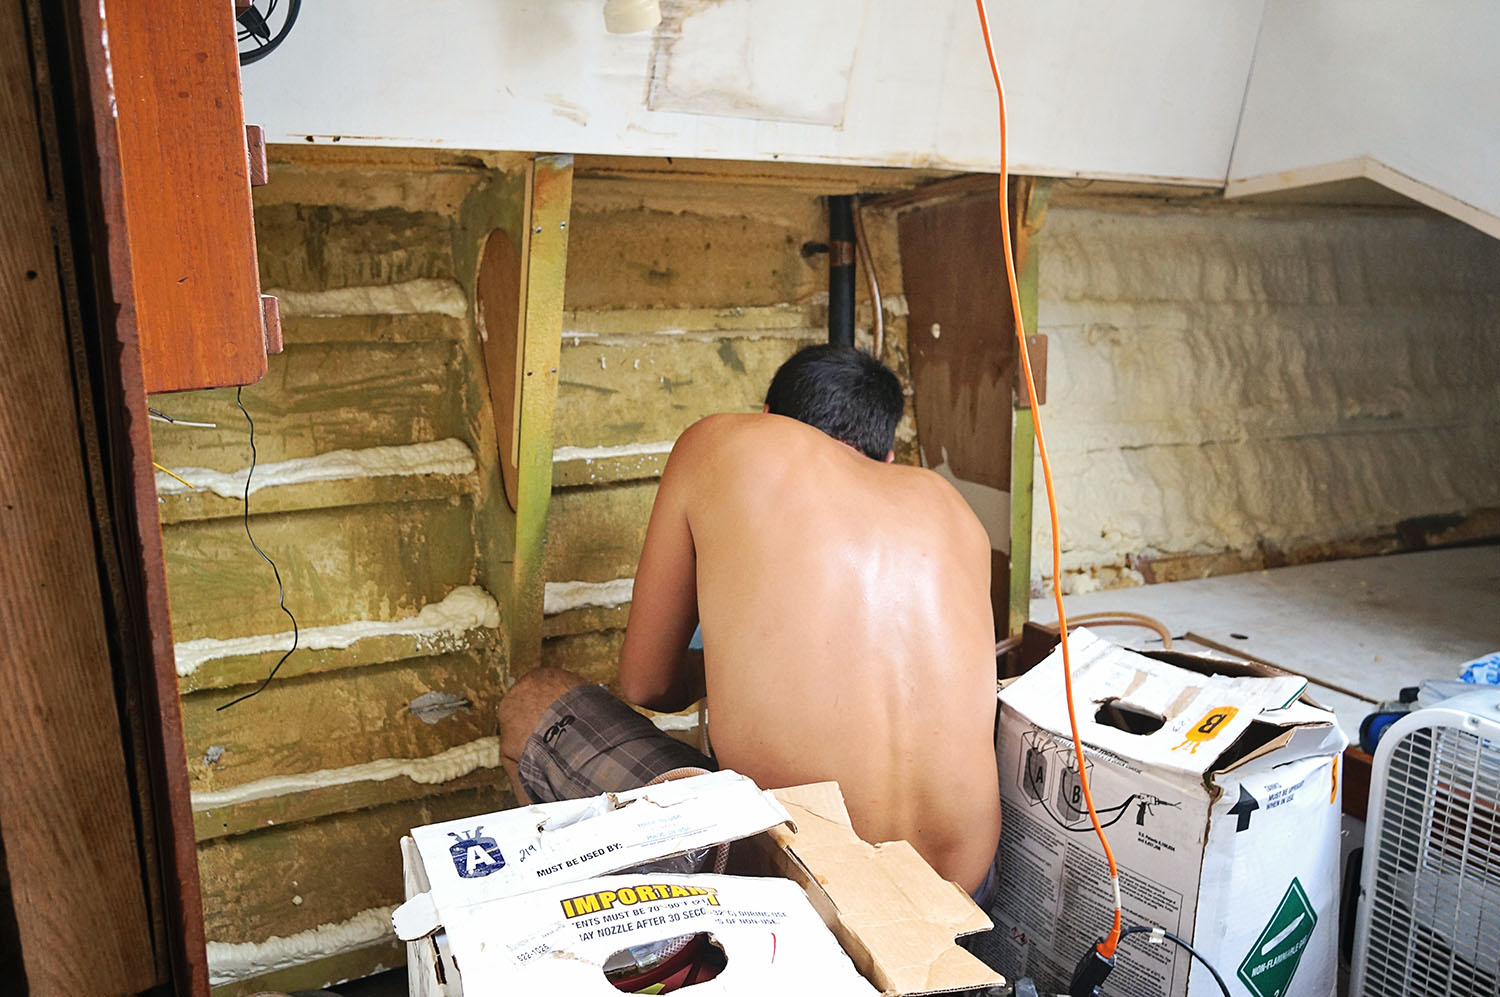
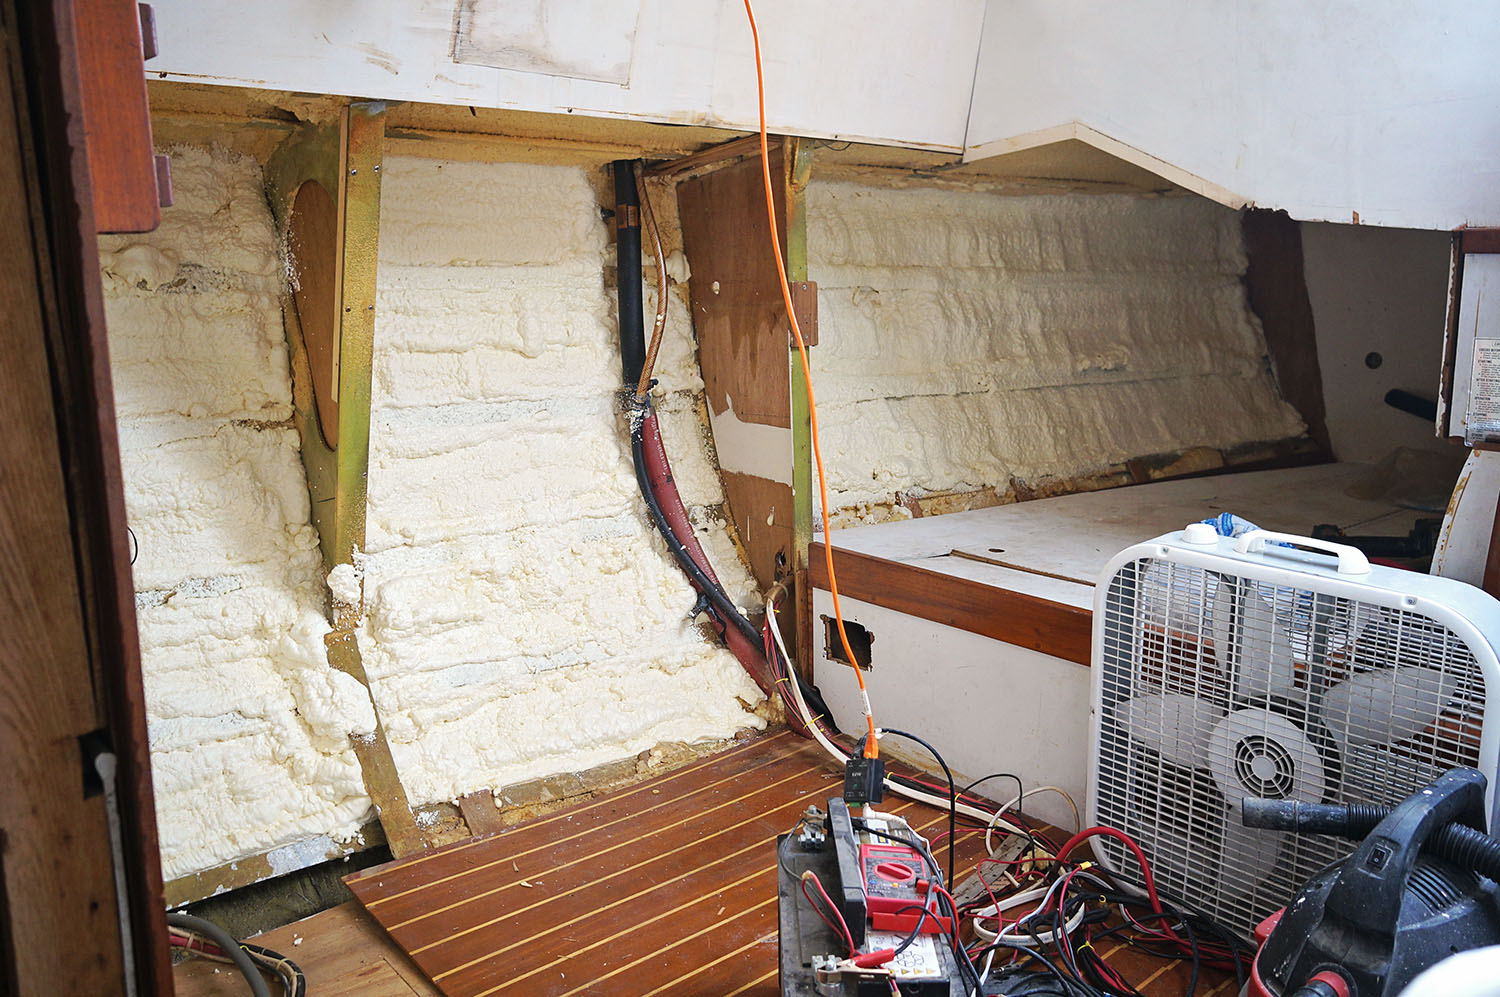
Since we knew there would be no more need for the spray foam insulation after this area was finished, it became a case of use as much as possible.  There was no skimping on cracks and crevices and Matt even made sure to spray deep in the cracks first before going on to the areas between the framing. When one coat had settled in and filled out it was time to begin the second coat, letting the foam expand all the way out to the frame and beyond.  Why not?  It all had to be used up and we could use the dremel to take off any extra that would get in the way of the framing.

All in all it was a very simple project and a fairly productive day.  I had of course initially wanted to put everything back the way it had been so there was no trace of the destruction any place further than the pilot house, but at the same time we figured that we may as well leave it open so we can begin to template and frame at least the starboard side.  With a repaired radiator on our Kia now, we’re able to get back to our storage unit and all of our wood and tools.

No more time off for us.  T-minus one month until my parents come and we’d like to show off as much progress as we can.  A completed head and galley?  Not even close.  But I’d like to get us as close to that point as I can.  Ha, I’m sorry.  I should say Matt will get us as close to that point as he can.  Man does he work so hard on this boat.  He deserves a medal or a cuddle or something.

pulling apart pilot house

Matt insulating hull

Matt installing spray foam

spray insulation on aluminum hull

spray foam insulation

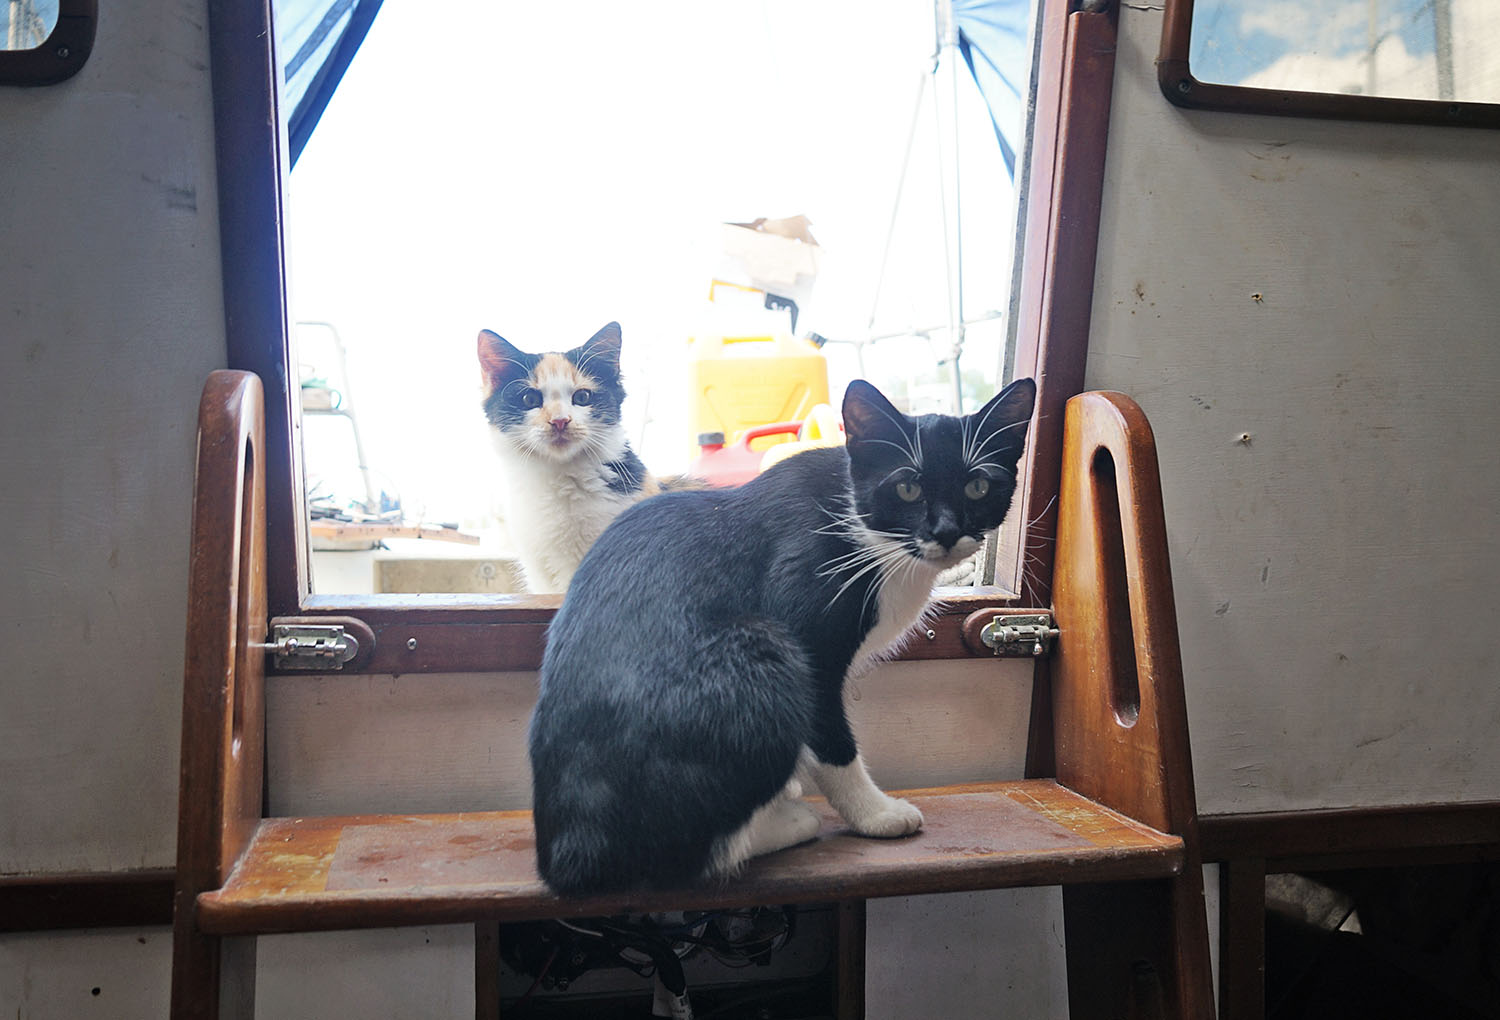
At least to keep me entertained during this process and put a little smile on my face, we had a few visitors in the form of Lynx and Cairo.  They’ve been sneaking up into our cockpit a lot more lately, but this time since we had the doors out they thought they’d peak their heads inside and see what kind of digs we have.  Everyone in the yard tells me I’m in danger of having at least two new pets on our hands soon, but Georgie helps keep that at bay.  She’s very good at letting us know that even though she’ll tolerate living in this mess, she will not tolerate having furry siblings.

Lynx & Cairo

getting right angles

Building our Refrigerator Box: Stage 1

Sunday September 27, 2015

Matt leveling floor

After searching for what seems like months now for the perfect refrigerator for Daze Off, we have come to one conclusion.  Although it would be soooo nice and sooo easy to buy a pre-made one that we just slide into place and plug in, there seems to be two definite problems with that.  1.  Our hull curves in so much that any of the larger sized fridges could not fit into the space we’re looking for, and if we put it against the flat surface in the center of the boat then the depth came out much further than one would like to have remaining foot space in their galley.  And 2.  The ones that would fit either of those areas were too small for our taste.

To go into a little further detail, we would have preferred a pre-fab fridge with drawers, but those all fell in the category of not fitting into the space well.  All the front open fridges we could find that did work with our hull shape and also the layout we have in mind for our galley usually fell in the 4 cu ft range.  We had 9 on Serendipity.  That would be cutting our cold food storage in half.  Not that we always filled Serendipity’s fridge to the top (unless we were headed out on passage or to the Bahamas), but it became a terrible game of ‘I need what’s sitting under 8 other layers’ the times we did.  Plus we could only imagine opening the door only to have all of the items inside topple out on us if there were any kind of motion on the ocean.

The only good solution left was to build our own.

A lot of planning went in to this (on Matt’s part, god I love him for figuring all of this out), and once we had our approximate measurements of the outside of the box it was time to head to the hardware store to buy a sheet of 1/2″ exterior plywood to begin the project.

Our first step was making cleats to add on to a few of the aluminum frames that came out on angles from the hull, allowing us to be able to have a level board sit down when we were finished.  Once the cleats were installed we were ready to cut the bottom board but also had to take into account the frame, slicing a small section out of the plywood’s edge so we could fit the board around it.

The back wall of the box needed to be built in two pieces to allow for the curve of the hull.  We do want to maximize the usable space in this fridge as much as possible which is why we decided not to build it straight up and leave a large gap between the box and the hull. Making sure that everything was level and that we’d be ending at 90° angles, we measured and cut the back two pieces, also having to make an allowance for the frame on the bottom of the two.

I had thought the sides would be much easier to cut but forgot to factor in that they needed to be pentagons to, once again, work with the curve of the hull.  You should have seen the drawings I had in my notebook as Matt was giving me measurements to write down. Top – 23″; front side 19″, top back side – 8″, remaining – 12″.  Eventually I had to make drawings to keep it all straight so we could remember what line connected to what when it was time to mark the lines on our plywood.

The front was by far the easiest, and once we loosely assembled it together it was nice to step back and say “Wow, look at all we were able to complete in one day”.  Except, we were still so far from finishing. I had also forgotten that we needed to cover the metal frame that was running through our refrigerator box. Using sheets of Eurolite for this we cut two pieces that covered the top and side and also cut some sheet foam to slide under that area so that once it was closed off it wouldn’t be sucking cold air into a useless area.

That was enough to fill one whole day, but in the end it still felt like we accomplished a lot more than we have on a normal day lately.  Day two was prepping the wood for final installation and also do all the final prep to that space before the boards were permanently placed, such as insulating and running conduit.

While I was sent outside to ‘epoxy the s#*t’ out of the boards, as Matt put it, he was inside working on more spray foam insulation. It turns out the previous owners of our boat once again had it all wrong.  Where you’re supposed to have insulation from the overhead leading to the waterline, they instead had bare metal all the way down to the waterline and then decided to insulate from there to the bilge.  Oh that’s right.  They needed a place to hide their drugs.

So Matt went through and properly insulated the rest of the hull and made a huge mess in the process when he tried to add a little extra to the existing insulation to the overhead.  But it was also kind of nice knowing that I’m not the only one who makes big mistakes on this project of a boat.  So yeah, a lot of my free time is now going to be spent scraping off bubbles of foam from the walls, cabinets, floors, and even the plexi hatch.

A few days later once the plywood had two coats of epoxy we were ready to screw all the boards in place and fill any gaps.  Working with my new best friend, epoxy, we added some colliodal silica to make a nice thick paste which we then ran along all the cracks and made sure they were thoroughly filled.  This should make sure the frame of the box will be completely water tight.  A very good thing when condensation is a high probability.

So there you have it for stage one of building our own refrigerator box.  Stay tuned for the next step where we get to insulate!

Matt making board level

Matt measuring board

getting right angles

layout of fridge box

spray foam insulation in galley

fridge box

inside of fridge box

spray foam insulation to v-berth

Spray Foam Insulation – V-berth & Forward Salon

Wednesday June 24, 2015

spray foam insulation kit

Over the weekend we were able to knock out the project of insulating the v-berth and the forward salon on Daze Off (you can read The Top 8 Ultimate Benefits Of Spray Foam Insulation, which is what we’d preferred).  When we bought the boat this is a project we were not expecting to do, but as anyone knows, plans to rebuild anything is always full of surprises.

We thought the boat was fully insulated and found out that wasn’t true when we began to rip out the ceiling in the forward salon.  All of the insulation there had been removed for what we’re assuming was a place for previous owners to hide drugs.  I guess that’s just one of the things you have to deal with when you buy an ex drug running boat.  The v-berth did have insulation…but it was only sheet insulation which we don’t quite trust because we wanted to prevent condensation from forming behind the foam and causing eventual corrosion. The overhead has spray foam insulation and we’d like to continue that throughout the boat. To find a good salon that suits your personal style and caters to your needs, one can view more here.

Serendipity didn’t have insulation, but after a quick look at this site we wanted to make sure this new boat does. Not only will it help keep us cool in the Caribbean while we have a blazing sun beating down on the shiny metal surface that is our boat, but once we get to the high latitudes we’ll need it to keep all heat possible inside the boat. Even when we were traveling down the ICW on Serendipity, the ambient air and water temperatures would sometime bring the inside temperatures into the low 50’s overnight. Getting ourselves into ice fields? I don’t even want to think about what it would be like inside the boat without insulation. (Although we will have a heater to keep us warm as well) When it comes to insulation you can contact for crawl space encapsulation here.

Having had a little experience with doing spray foam insulation ourselves from adding a little extra thickness to the existing insulation of Serendipity’s fridge (which you can read about here), Matt felt confident that he could cover the easily accessible areas of Daze Off himself.

Getting down to the primed aluminum hull, all Matt had to do was keep the nozzle 6 inches away from the surface he was covering and squeeze the trigger.  We had purchased a two part kit that had everything else ready to go for us.  The hoses that were bought from the local industrial hose suppliers were already attached to the canisters which means all you have to do is point and shoot.

He made sure to go slowly and also went lightly the first time because we didn’t know how much it would expand. We made the mistake with the fridge on Serendipity of spraying too much at first and it expanded so far that we were left with days of chiseling extra out.  This foam kit dries in one minute so it was easy to tell right away how much he needed to spray in one area.

v-berth with sheet insulation
primer on the aluminum hull
spray foam insulation to forward salon
spray foam in forward salon

When the salon was finished and we liked the results we removed the sheet insulation from the v-berth to be able to cover that area as well.  Covering the ceiling first we saved the overhead for last and ended up running out of foam.  Everything was covered but it wasn’t as thick on the overhead as the other areas.  It didn’t quite come out as far as the frames hung down.  Even though we’d bought enough foam to cover 200 board feet we ran just short.  Since we know we’ll eventually have to purchase another kit to cover the head, galley, and probably pilot house, we’ll come back and touch up the overhead of the v-berth.

Once the foam had fully dried we had to go back and uncover the frames so we’d still have a place to attach the furring strips to.  At first we were dreading the part since we remembered how miserable it was to chip out the extra foam on Serendipity, and then Matt had an idea.  Grabbing his Dremmel out he put on a long blade and ran it along the frame.  It worked perfectly!  With barely any work we were able to cut the foam off cleanly down to the aluminum frame.

Switching out this project back and forth since it can get a little tiring on the arms after awhile, we were able to do all the frames in just over an hour.  Now we are all set to start putting up furring strips and then the new ceiling!  She’s going to look so different with walls in again, I can’t wait to see the progress!

*You can spare us the lectures on how Matt wasn’t wearing a mask in this process.  We already had a stern talking to after posting a few photos on Facebook.  I will say that the kit we ordered is non-toxic and we also had all hatches open and a fan blowing.  It didn’t smell the best, but I don’t think we took any years off our lives.

tearing out sheet insulation
spray foam insulation to v-berth
cutting insulation from frame

The 22nd was Matt’s 33rd birthday, and even though he does not like to celebrate them we kind of forced a small party on him anyway.  Mark and Hanna had just gotten back from visiting family and when they found out it was his birthday they said we should all gather at the patio that night for a few drinks.  Not that hard since we’re there every night anyway for our dinner.  Hanna promised us a new mango drink she’d just invented made using fresh mangoes and an energy drink, and Mark said he’d have all the ingredients handy to make a few mojitos as well.  Having a plan of making a big pot of white chicken chili anyway, I invited them to eat with us too.

Since Matt still made us put in a full work day, we got down to the patio to shower just after 6 and just in time to watch a very large yacht pulling in the marina. It turns out it was a sunset cruise boat on it’s way down from the Great Lakes to the Gulf Coast and was pulling in for a spot to stay on their transit.  When they found out it was Matt’s birthday they invited him on board to snap a few photos behind the bar so we could pretend we had rented it out for his special night, but apparently that didn’t sound as fun to him as it did to me.  Finishing up the chili instead we gathered on the patio for dinner and drinks.

It was a fun and relaxing evening and I think Matt did get to enjoy some birthday antics when one of the yard guys, Alex, came and kidnapped him and Mark for a few hours where they went to a friends house and enjoyed some Coronas and billiards.  Hanna and I stayed back and mixed a few more mango/vodka/Monster drinks and enjoyed some girl time.

Our friends at the marina, Ellen and Scott, had also didn’t know about Matt’s birthday until the day of, so the next afternoon when we came down to the kitchen for lunch we found a bottle of Coca-Cola with a note that said ‘On your birthday you deserve to enjoy the real thing’.  A joke since we only buy the cheap $0.84 store brand soda at Walmart.  How sweet of them.  And funny.  I think overall it was a good birthday for Matt, considering we’re in a boat yard.  But when my birthday comes…I am getting out.

Princess of Naples
Matt, Hanna & Mark
Mango/Monster drink