Wednesday October 7, 2015
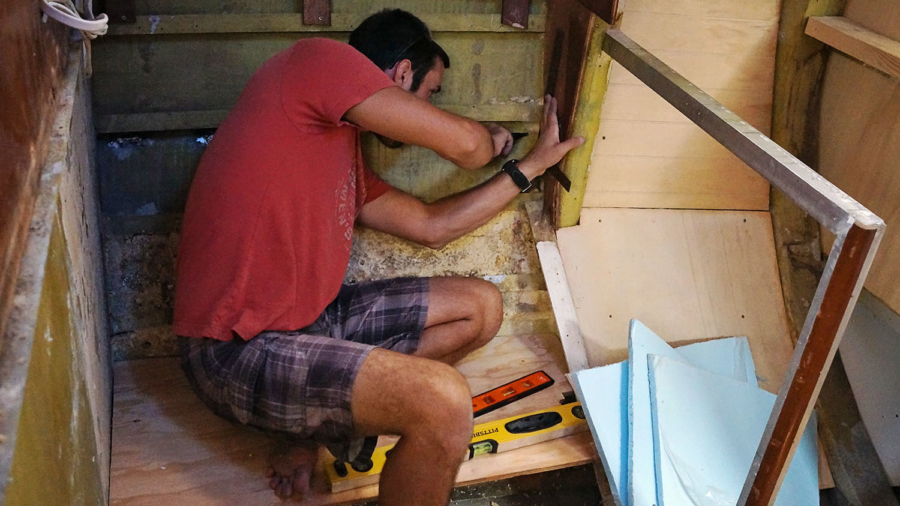
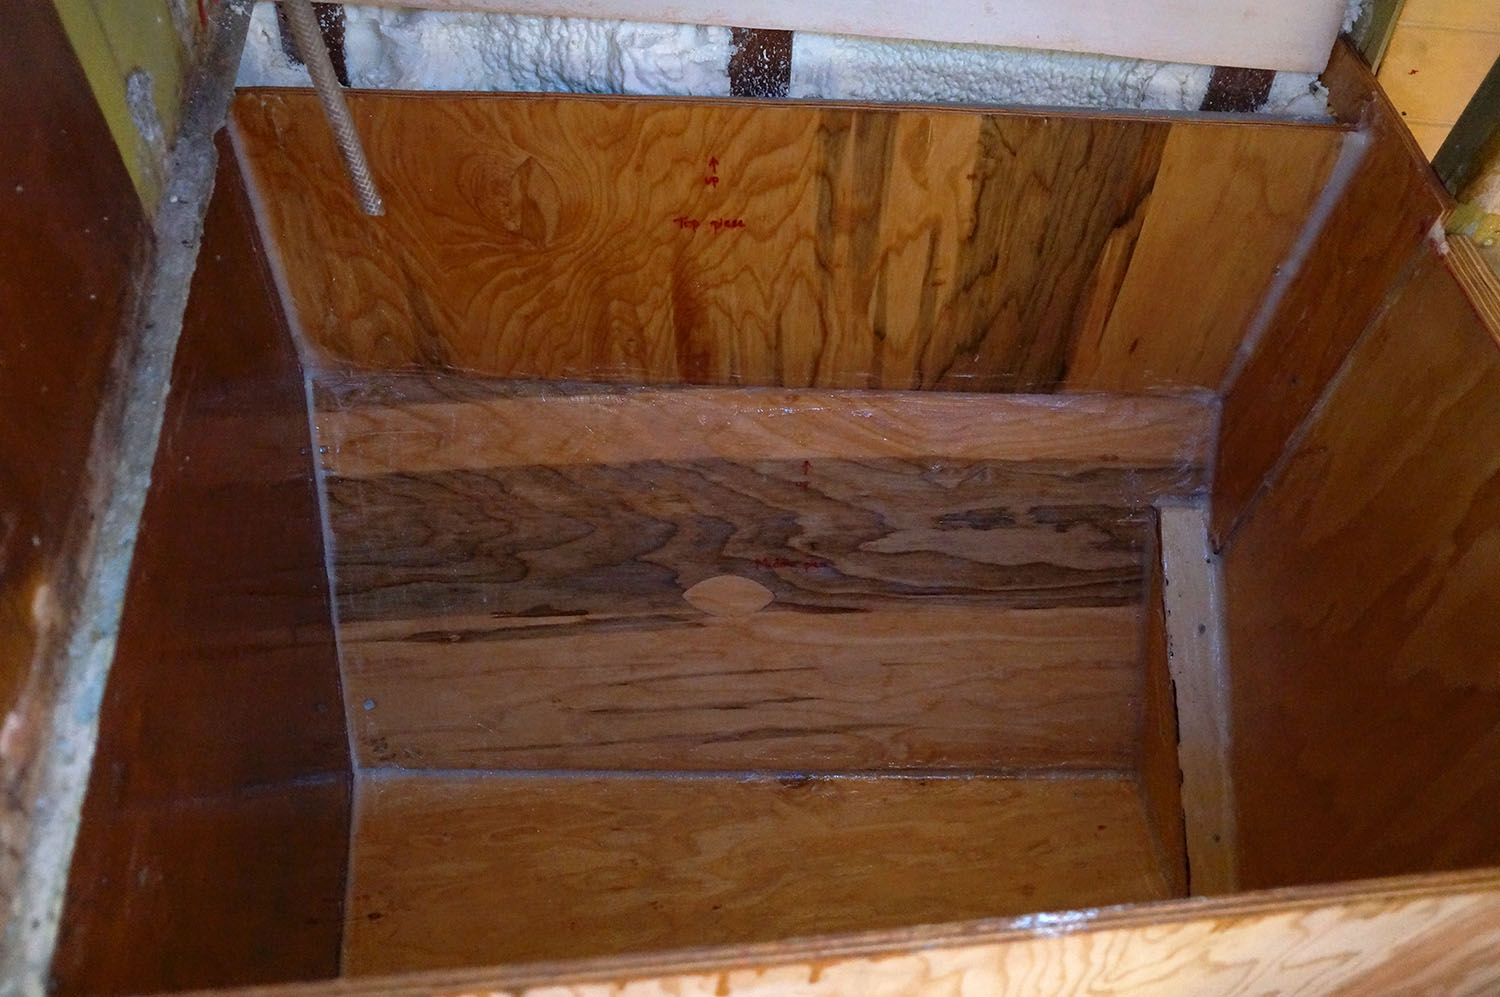
The last I had left you with stage one progress on our refrigeration box is that we’d measured and cut all the pieces of marine plywood, nailed them into place, and then filled the cracks with colloidal silica. Â Doesn’t sound like too much work but did take us the better part of a few days. Â Things still felt like they were flying along though since having large items constructed and taking up space in your galley is a constant reminder you’ve finished something.
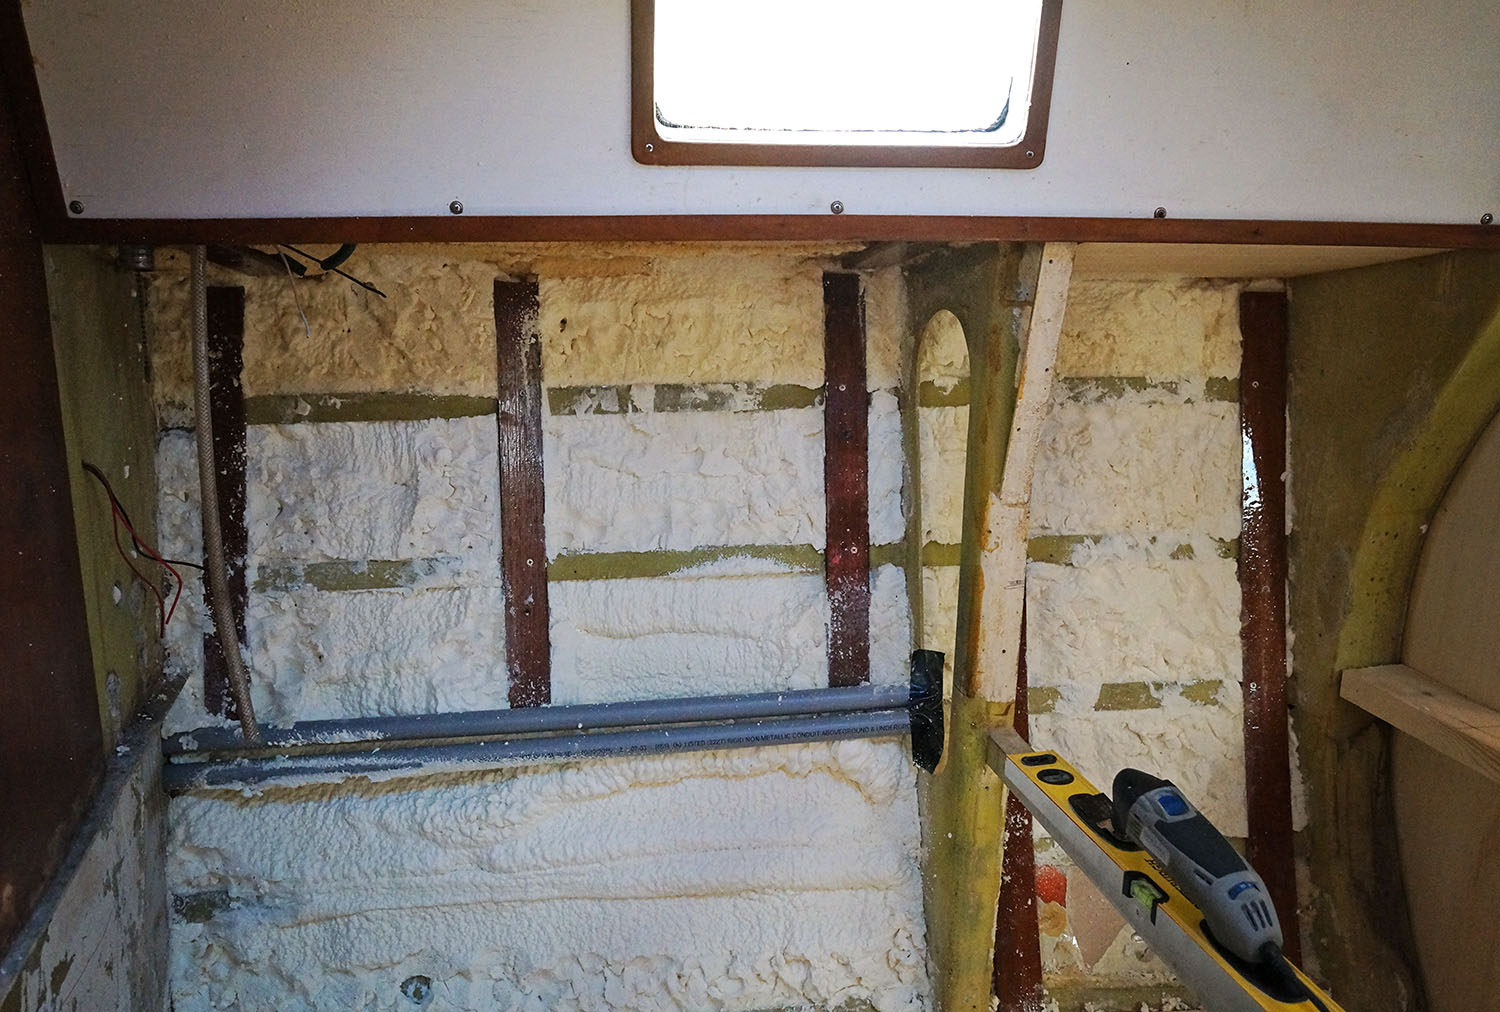
The next step after the box itself was set up and water tight was to insulate it.  Instead of using the same spray foam we’ve been lining our hull with, or the same kind of stuff we spent hours chipping out of the old fridge, we used polyisocyanurate foam.  Which is a fancy way of saying that we bought the big sheets of foam insulation from Home Depot.  Overall we’re looking for a depth of 3″ of foam insulating our refrigerator.  This made it an easy choice to get the 3/4″ sheets instead of 1/2″, ensuring we’d only have to do 4 layers vs 6.  Less work for the same job = much better in my book.
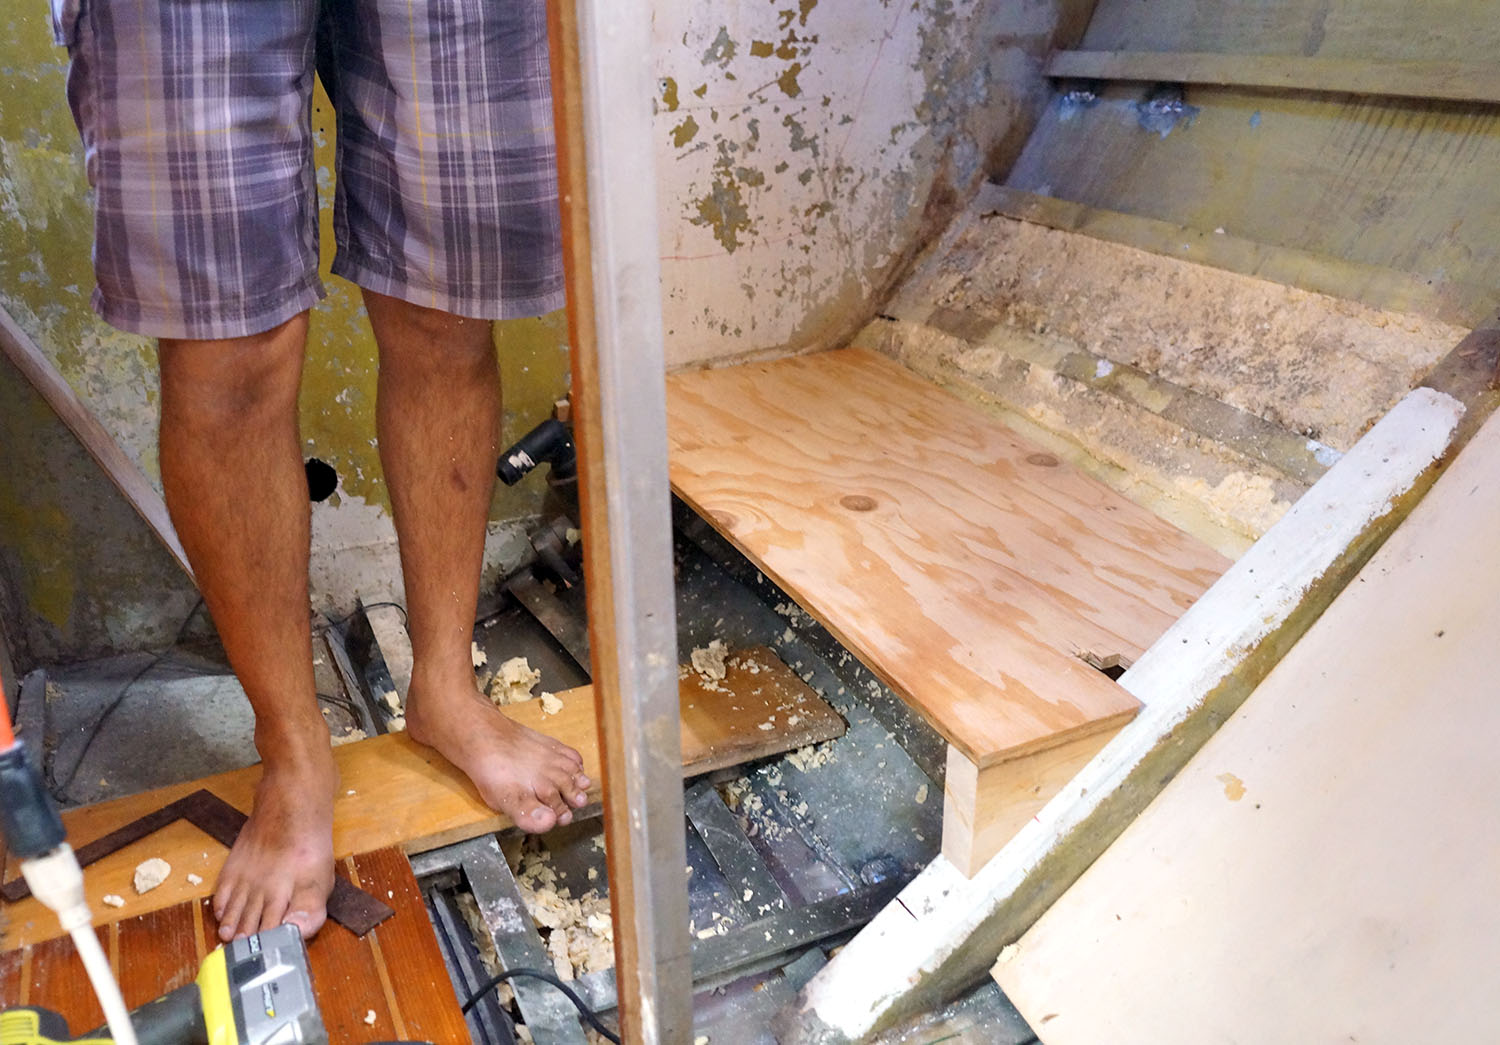
Once the huge 4×8 sheets were dragged back to the boat we needed to cut them to size to fit in the box we’d just built. Â After Matt had done a little research on the subject he’d found out that staggering the joints is the best way. Â This means that instead of cutting 4 sheets of insulation the same exact size for the bottom and then measuring for one side, cutting 4 sheets the exact size, and moving to the next; you do one full layer around before starting the next. Â So each layer for the bottom should be 3/4″ smaller on each side than the previous one.
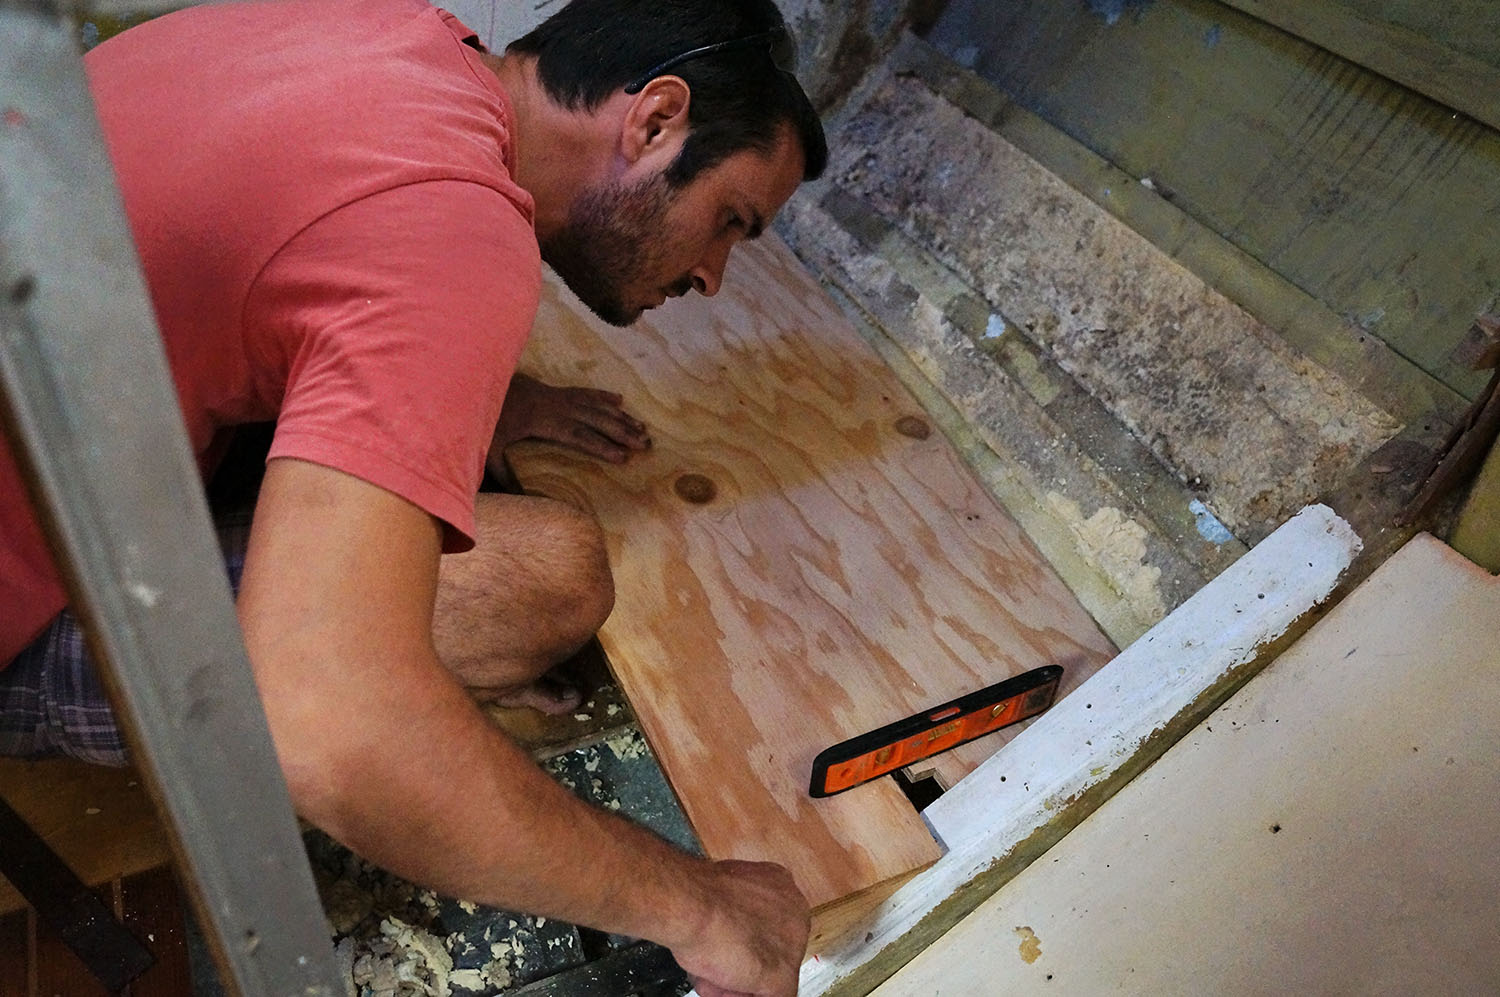
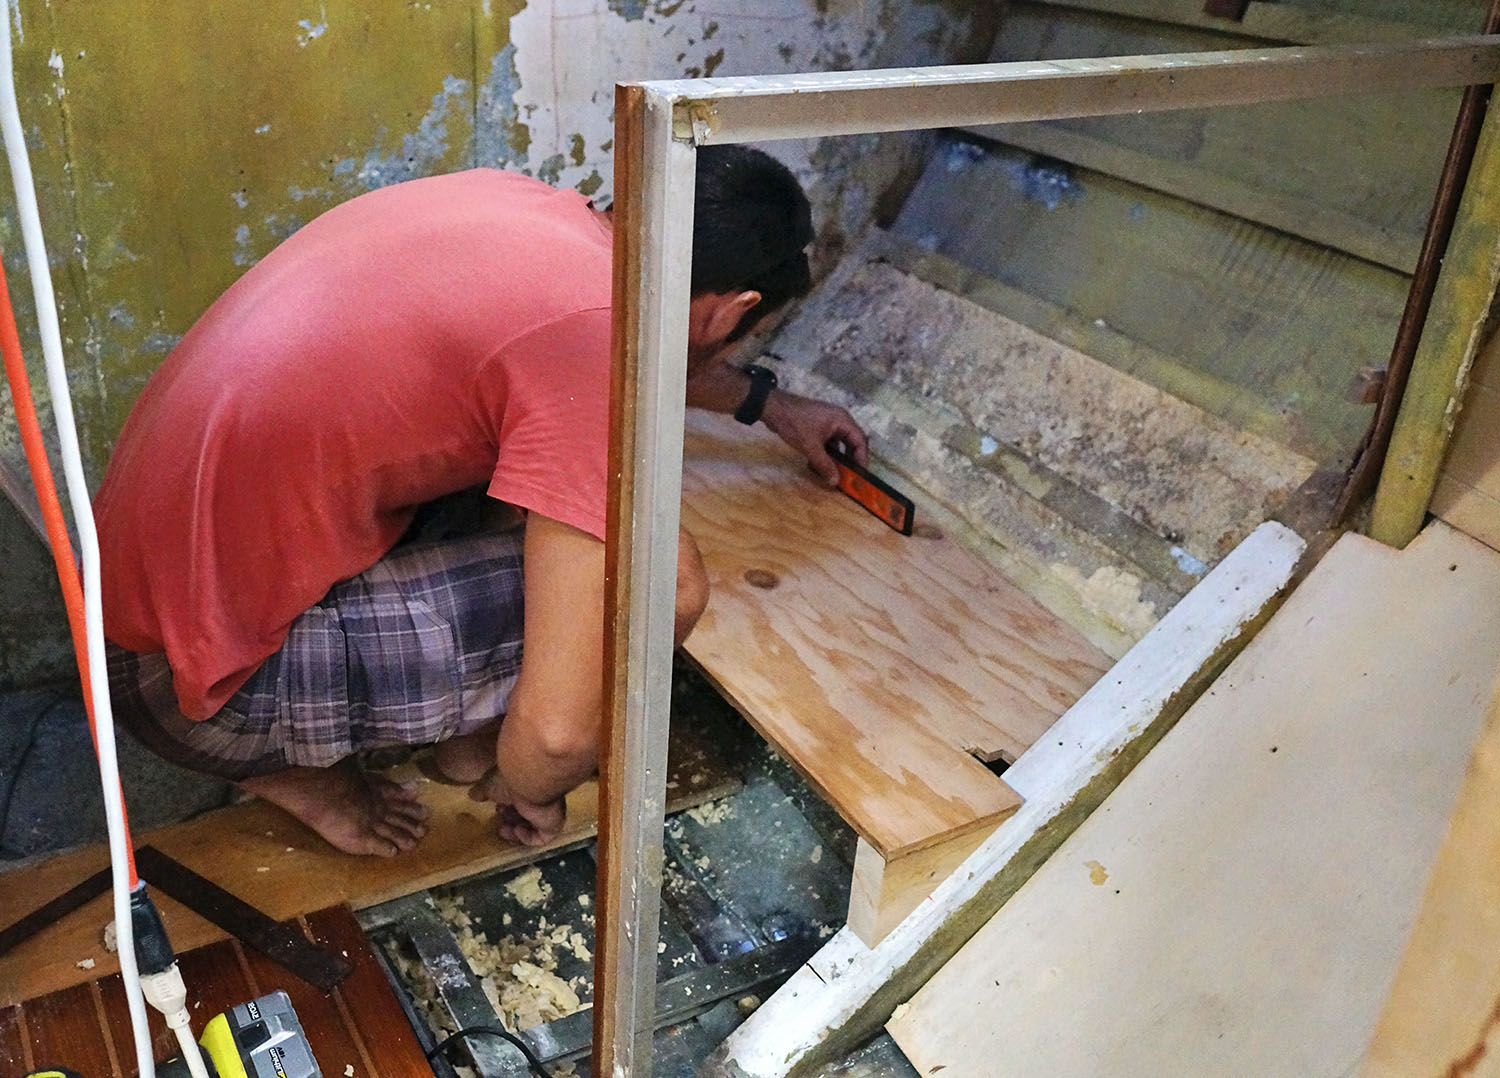
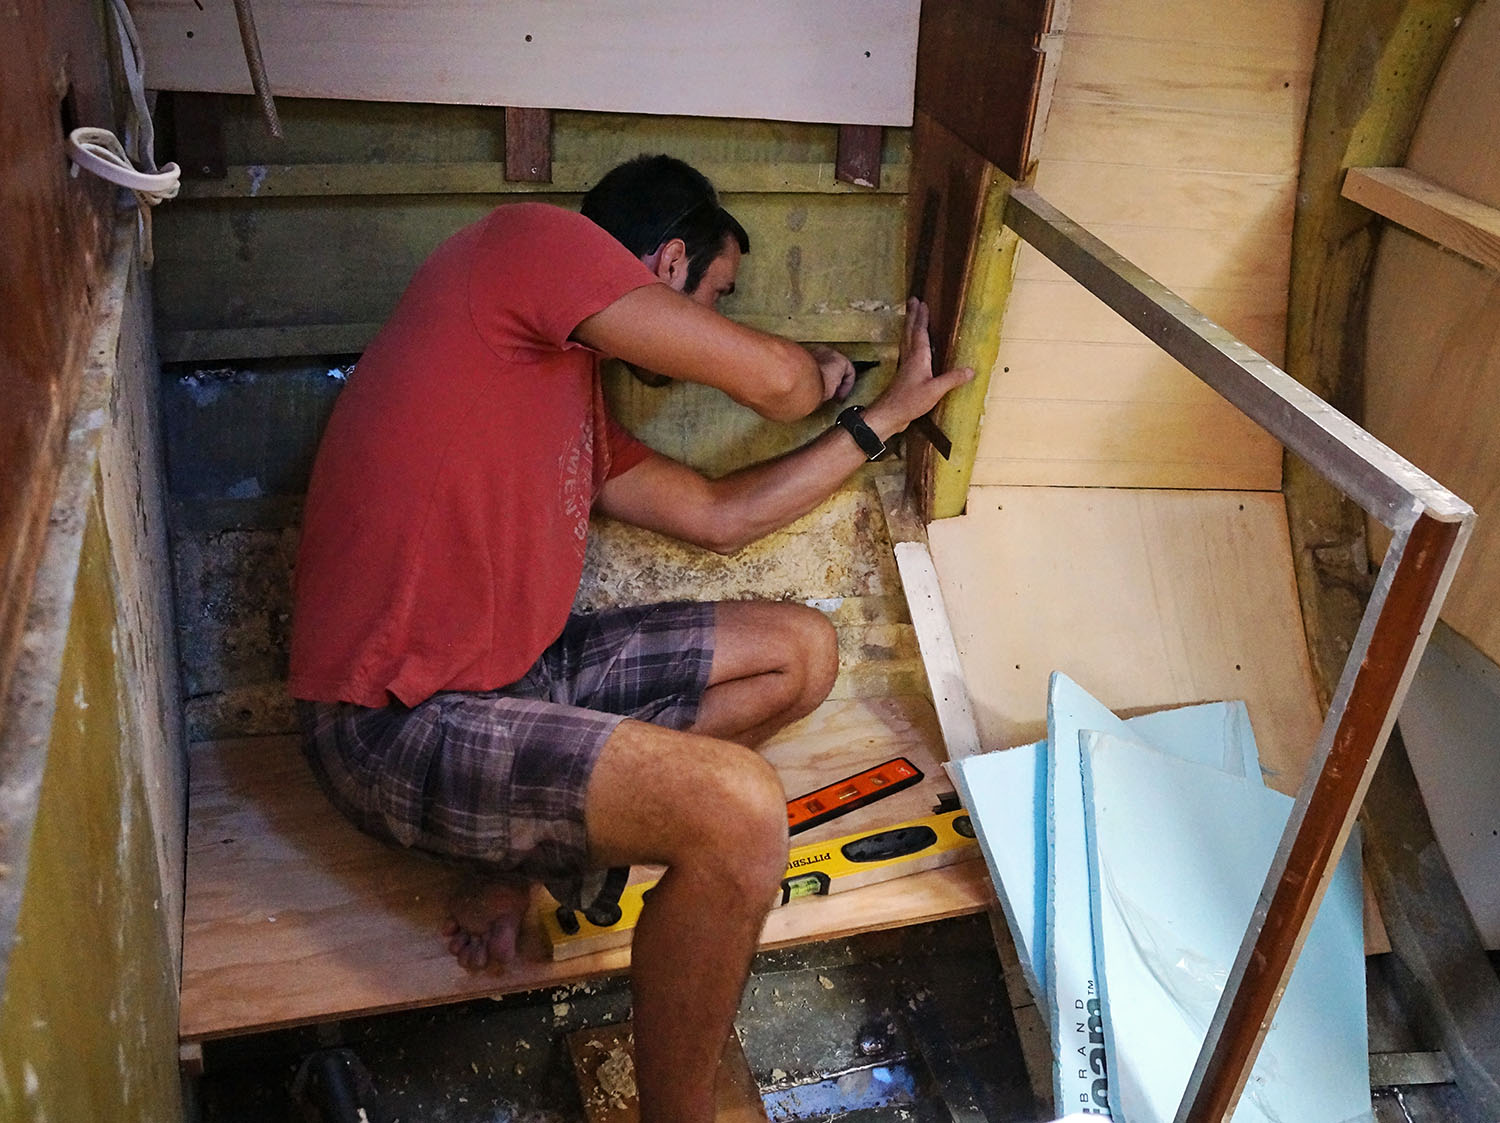
Although it sounds like this should be one of the easiest steps in the process it was actually one of the hardest and most time consuming. Â For each layer and each side in that layer we needed to take measurements (with two sides being odd shaped pentagons), mark and trace those measurements onto a sheet of the insulation, try and cut as straight of a line as possible with the knife on our Leatherman, and then squeeze it into it’s new spot in the box. Â Usually with a few adjustments to be made. Â Sometimes with the whole thing needing to be redone if we didn’t get the angle of the pentagon right. Â It was a pain in the butt.
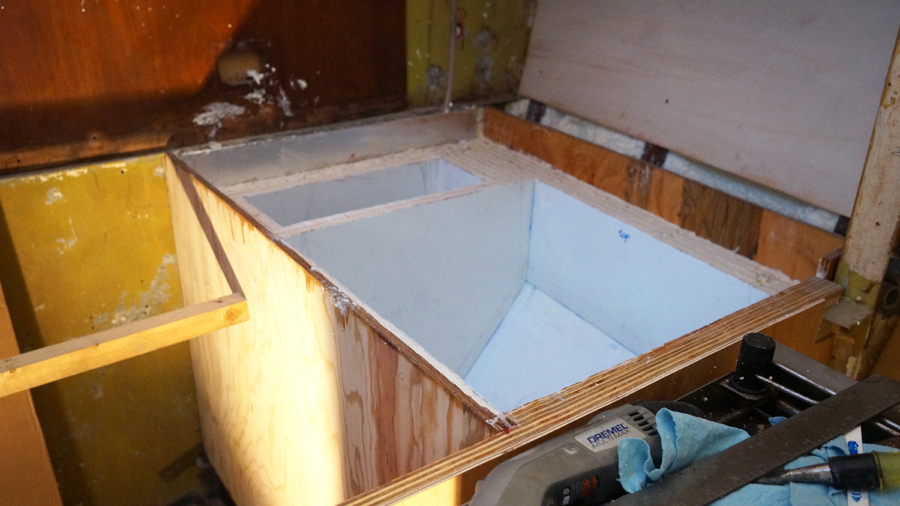
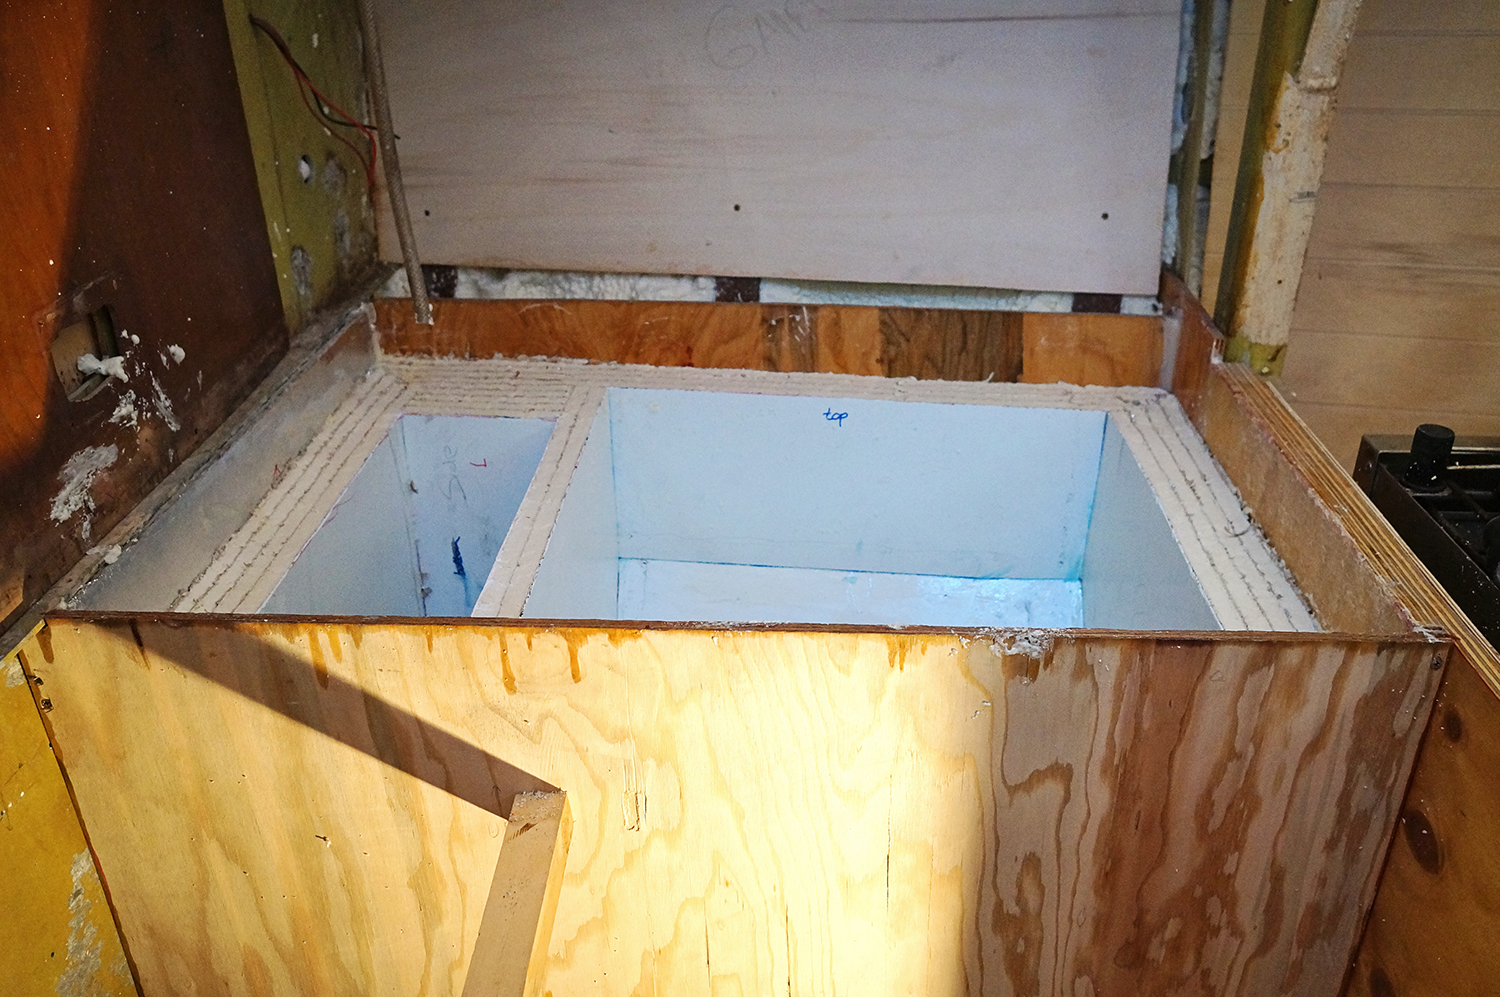
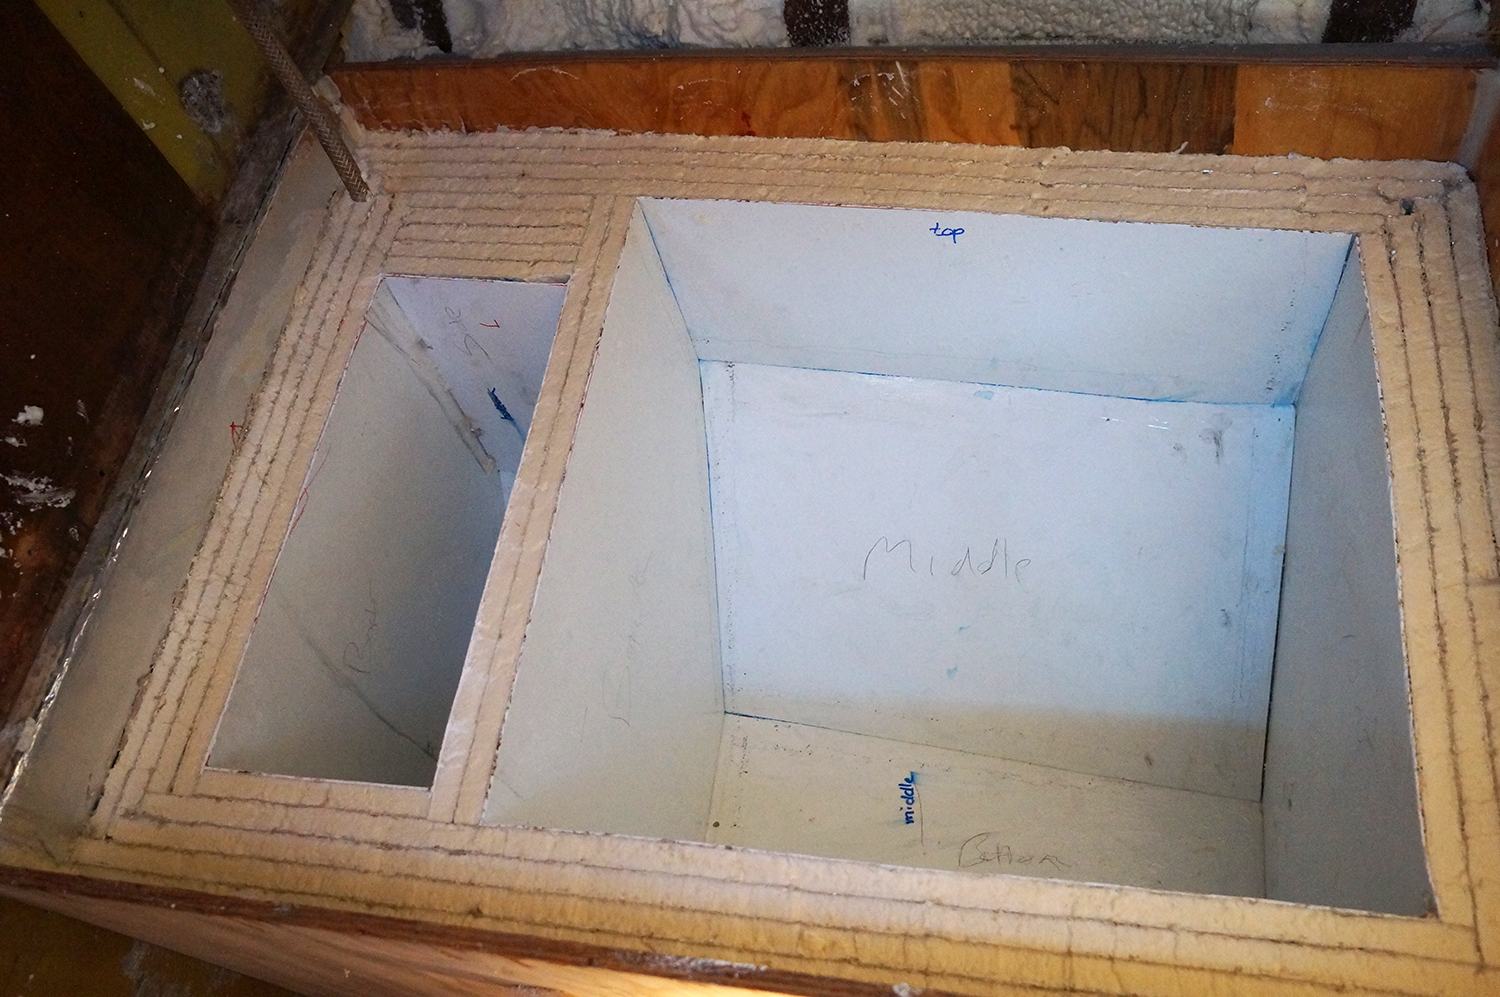
When we had 3″ of insulation all the way around we had to begin to shape the freezer as it’s own separate part of the box. Cutting two sheets to make a divider, we then built up the freezer space from the bottom and sides to make it smaller but with double the insulation. Â In the end the space was bigger than we thought, bigger than we had in Serendipity, and something we should easily be able to fit a half gallon of ice cream in. With the help of the best hand tools for sale, we were able to do our work faster and with far lesser problems than expected.
After that we ran foil tape around all the edges to seal off all the porous foam and making sure no water could get inside. Â Another pain in the butt project but mostly just because it was so time consuming. Â At one point we decided to save it for an after dinner activity where we worked on this tedious task while sipping Miller High Life and watching Archer on Matt’s tablet.
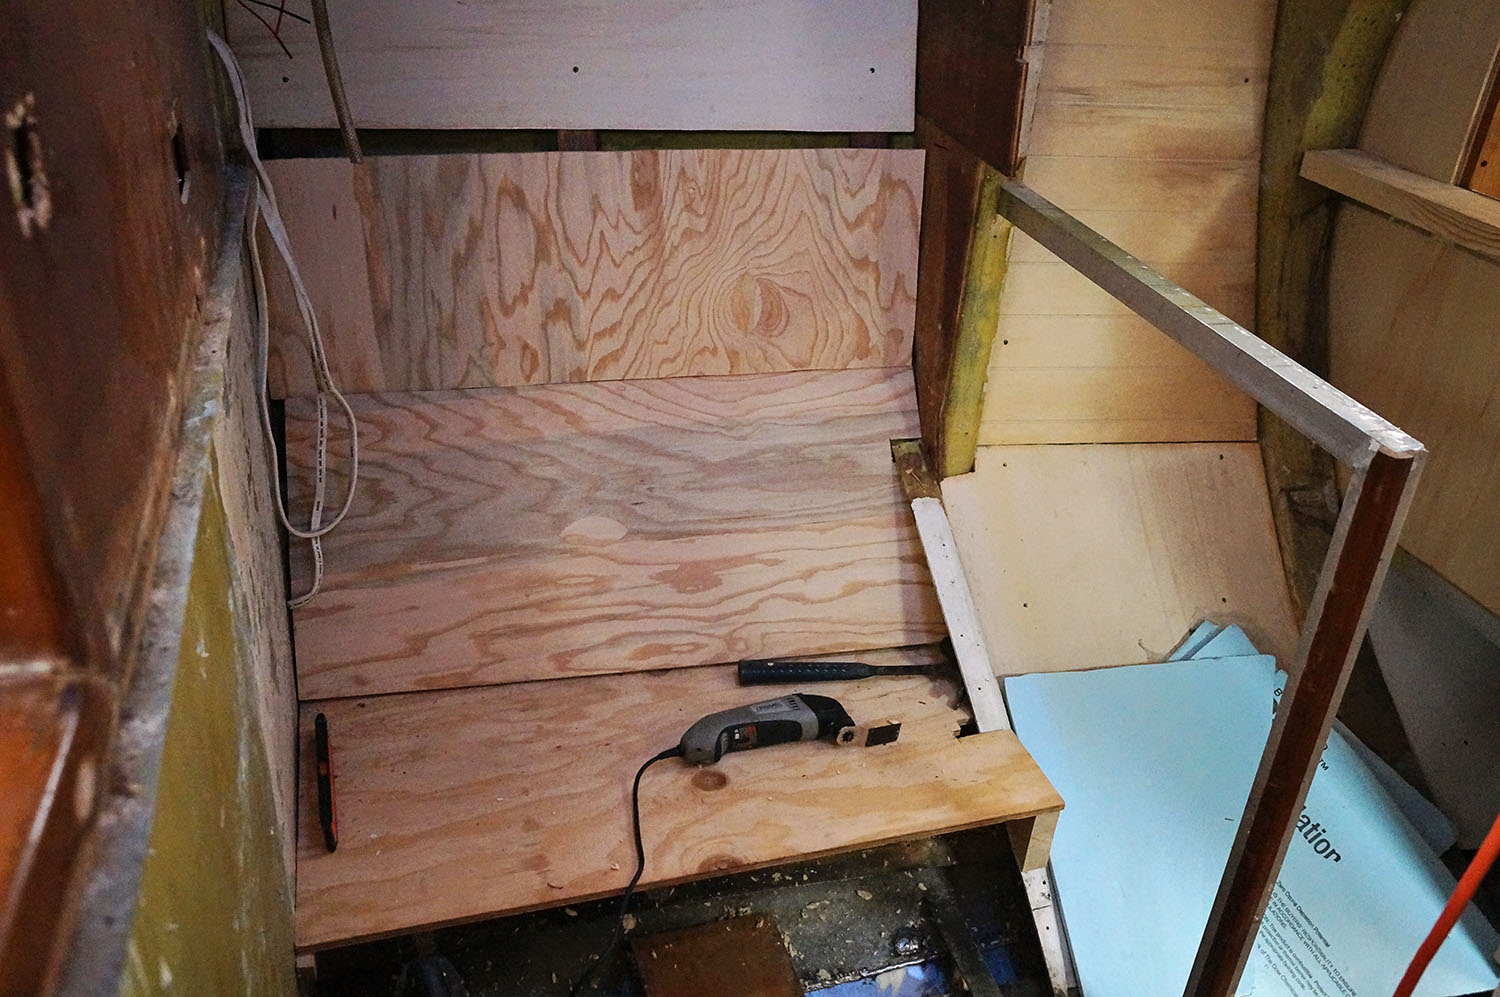
The next day was the fun step of putting all of the 24 pieces in to make sure they fit. Â Which they did! Â Bad part though was we forgot that we were supposed to stop 3″ from the top to make allowances for the lid. Â Ooops! Â Luckily the Dremel was on hand and ready for the project.
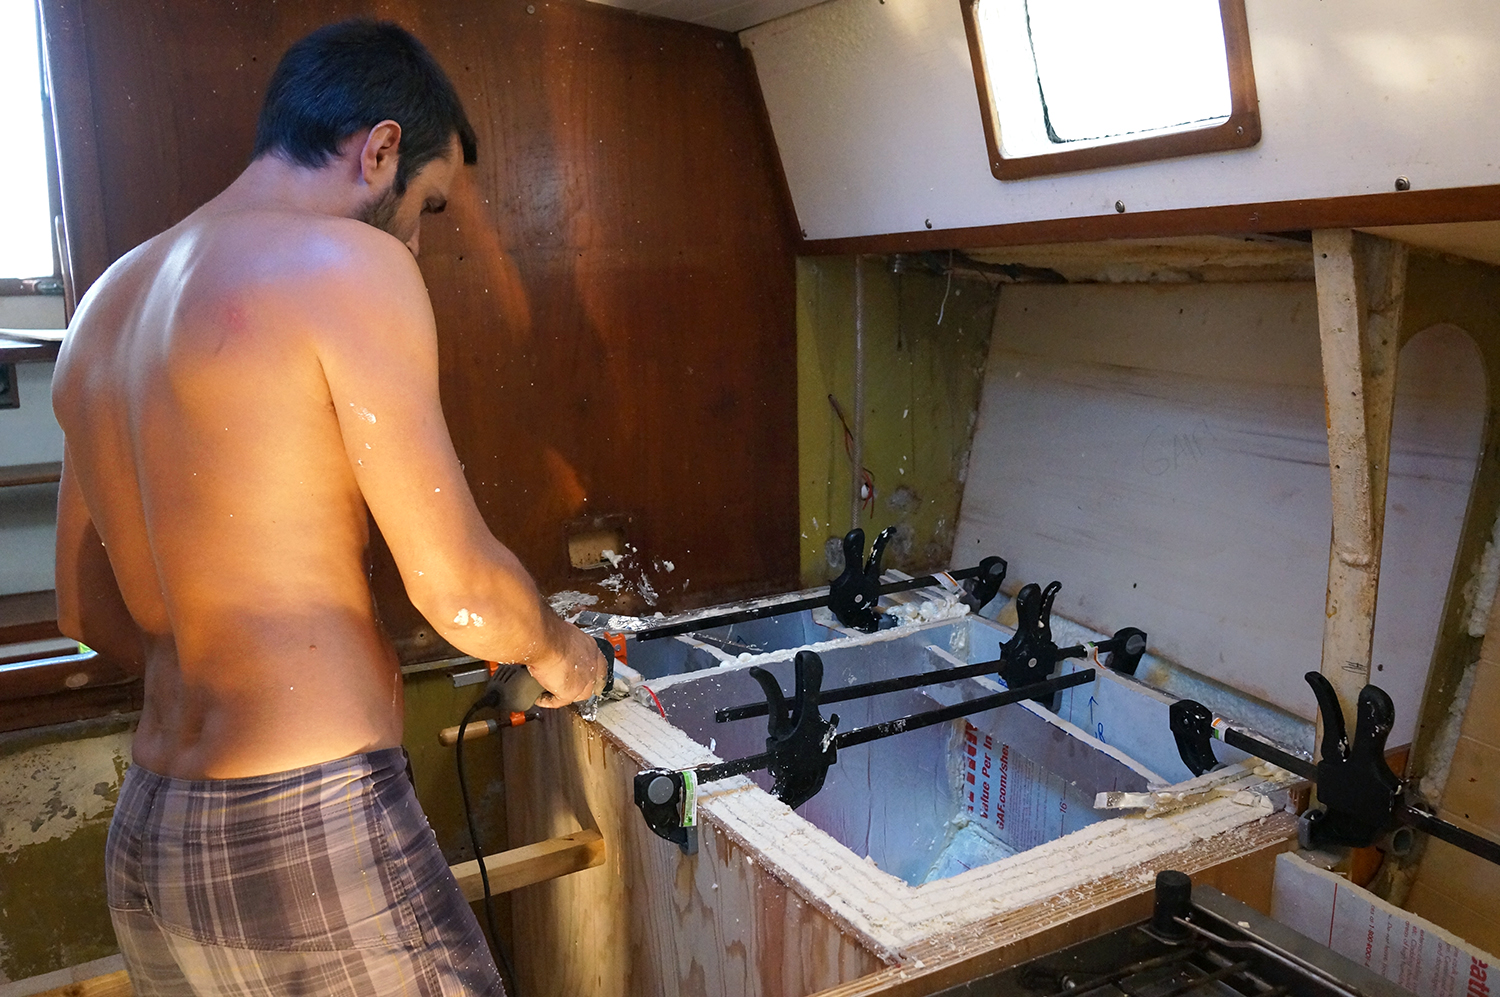
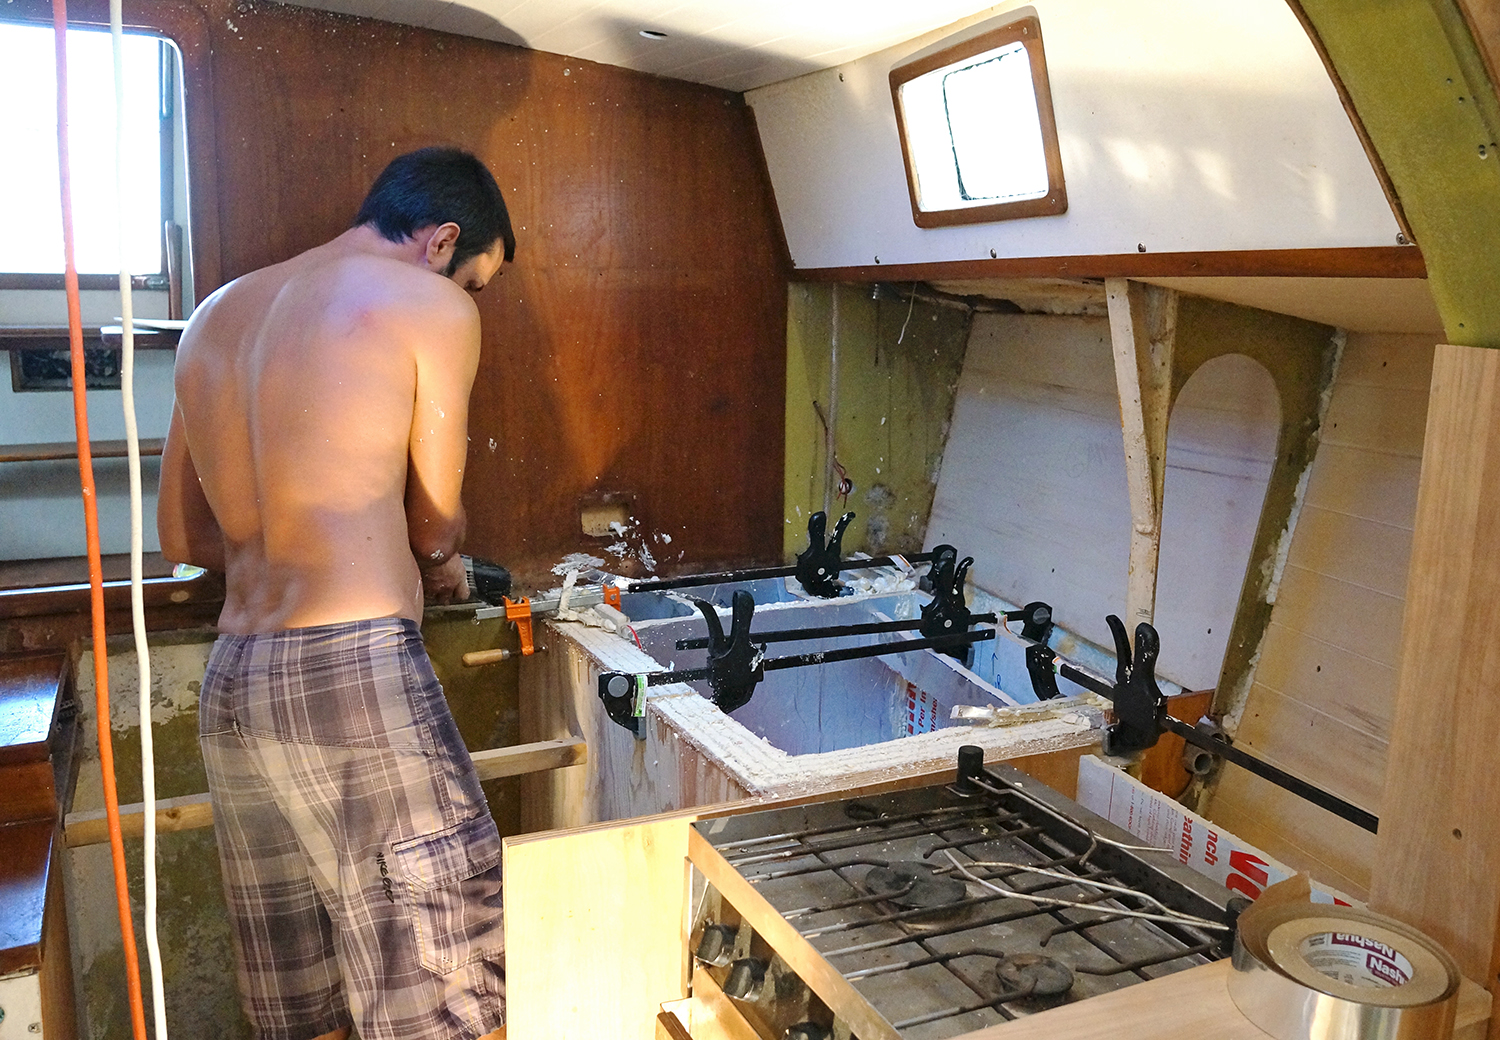
To permanently attach the sheets together we used two methods. Â The very first layer which was being attached to the epoxied wood was stuck in place with a thick batch of colloidal silica. Â We clamped the insulation to the wood, placed other long sheets of foam inside as a bracing system that would push the two together from the inside and left it overnight to dry. Â The next day we finished adding the remaining layers with a gap filling insulation foam. Â Once again it was left overnight to dry and the next day we filled all the remaining cracks with another thick layer of colloidal silica.

Whew. Â I’m tired just reliving those steps. Â But we’re not done yet for stage 2!
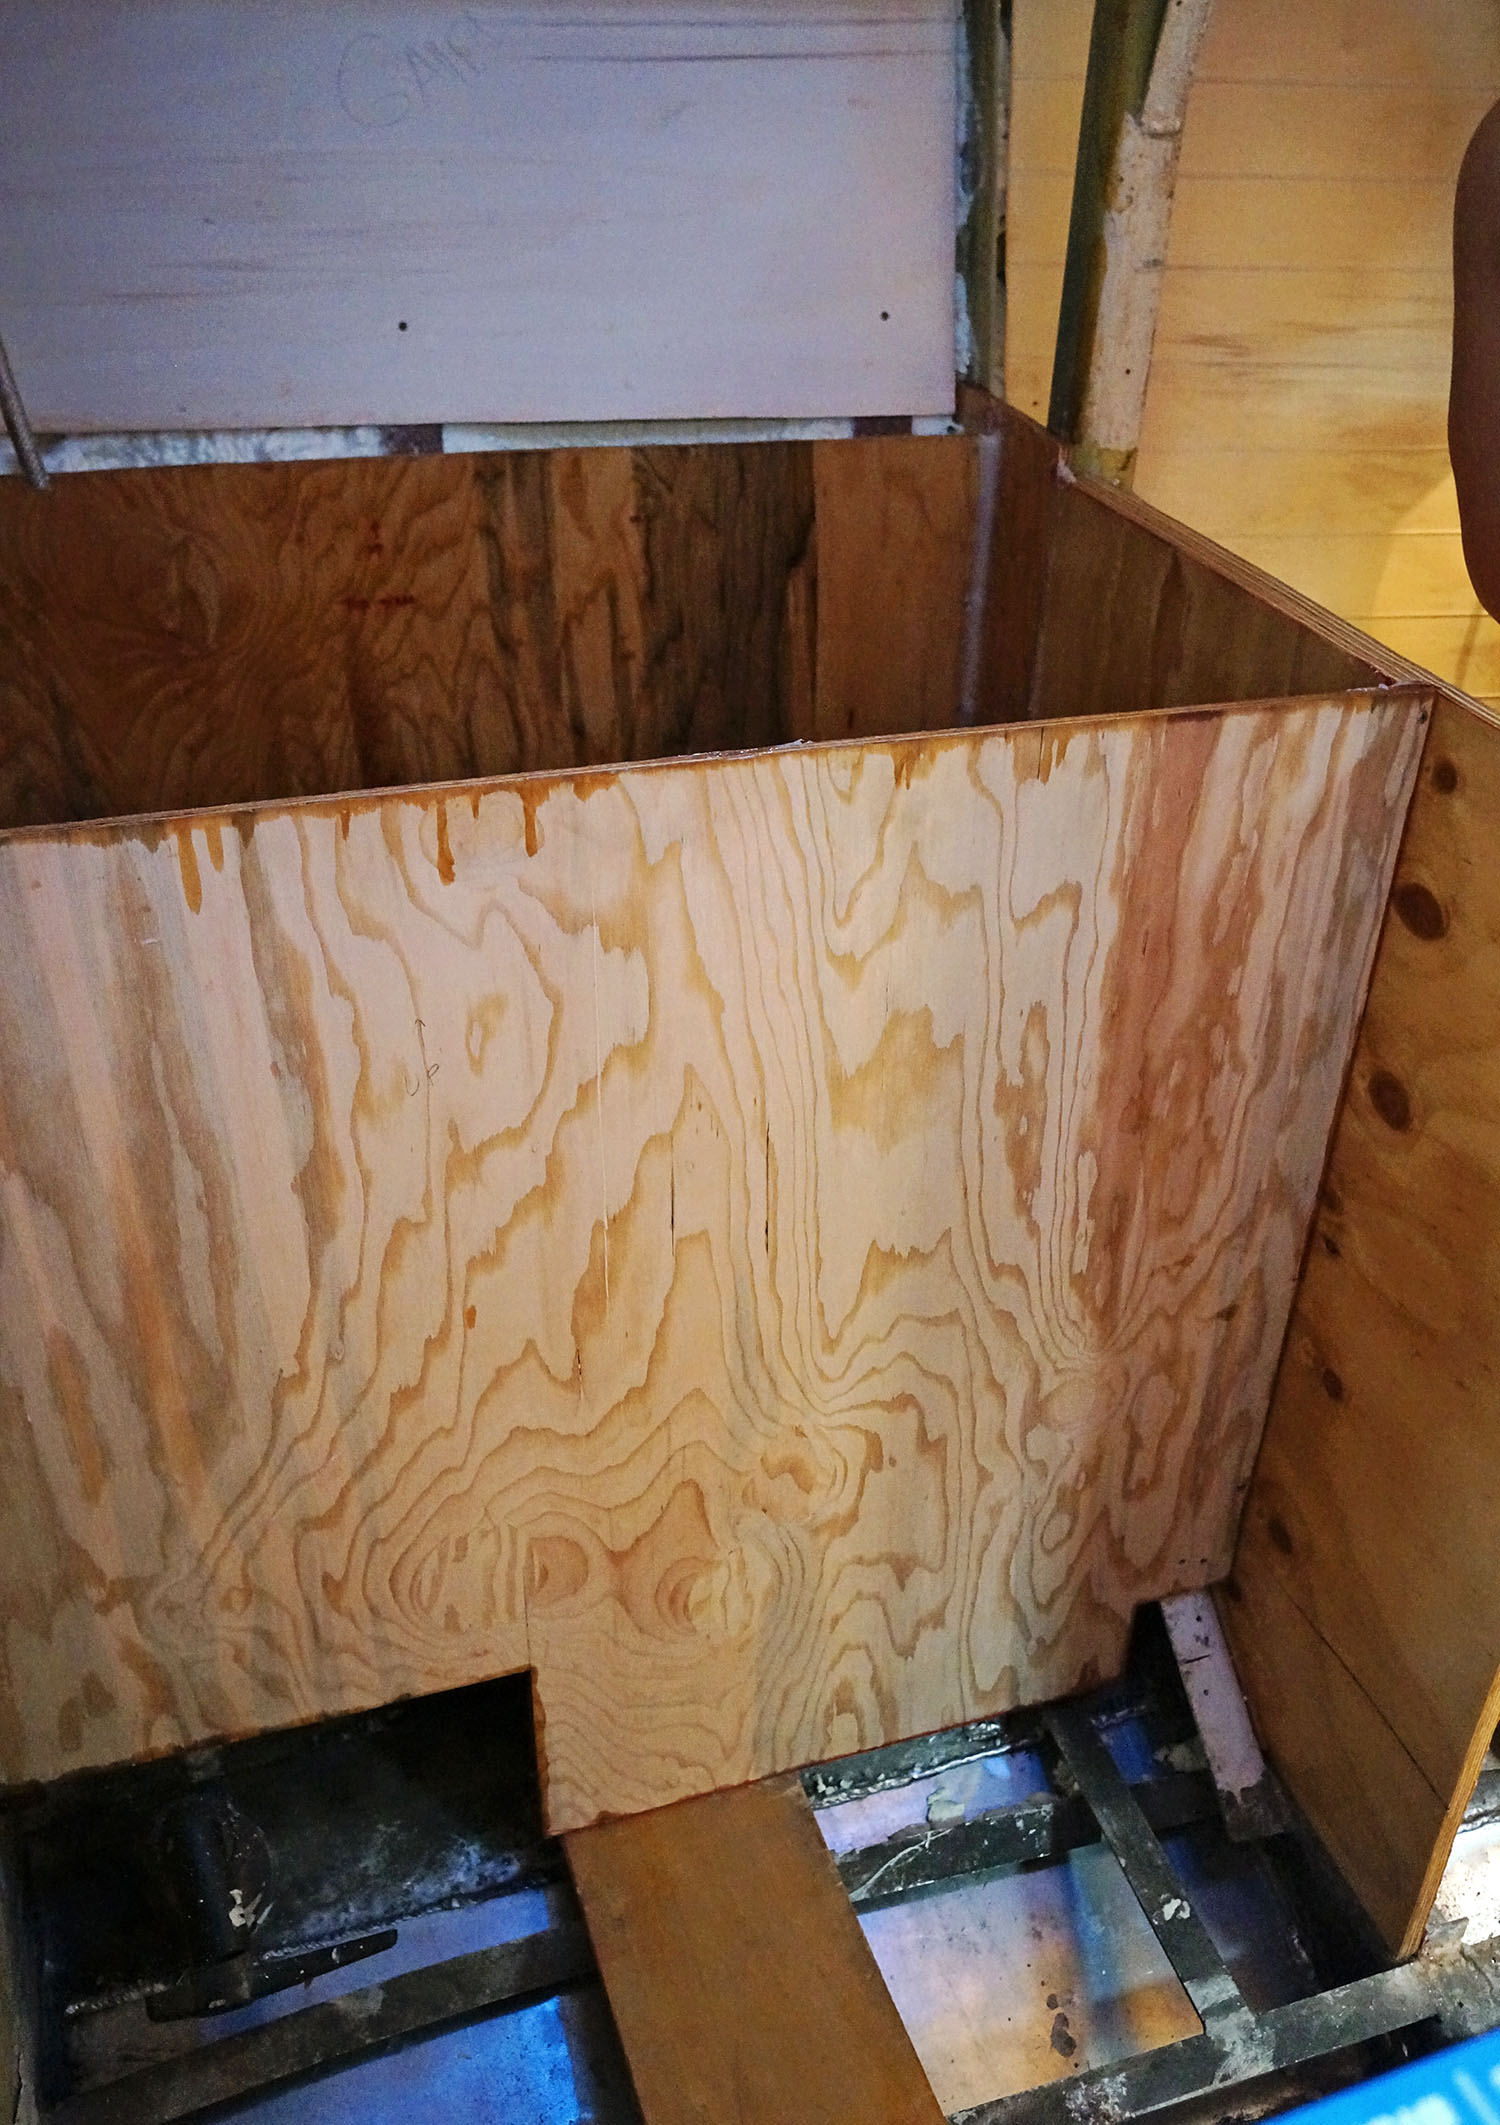
Since we couldn’t just paint the inside layer of sheet foam and call it good (although by this time I wish we could have) we needed a solid surface in there. Â We decided to use fiberglass bathroom paneling. Turning it around we made sure the bubbly side was facing the insulation and the smooth side was out. Â This was attached with colloidal silica and also had all the seams filled with a thick layer. Â Another overnight of drying and then everything was ready to sand down and be given a coat of primer.

Seriously, I’m getting exhausted here reliving all these steps. Â And to think we’re still near nowhere near being done! Â Those of you who have written stating that you’re about to start your own project like this are lucky you told me or I probably would end the post here, just attached a few more photos and call it good. Â Sheesh. Â If we were smart we would have purchased multiple dorm fridges instead and added more solar to cover the charge. Â I’m sure it would have been cheaper and much less heartache in the end.
Buuuut, we’re stubborn. Â And so are you people that want to do this yourself. Â Don’t say I didn’t warn you.
Ok, onto the lid. Â This also required four layers of sheet insulation to equal the 3″ total we need for the top layer of insulation. Â The *easiest* way to do this would have been just a simple rectangle to open and close over the areas, but it would not have made it very easy to open and shut in the end. Â We needed three of the four sides to be at an angle. So, a little extra work now will save us a lot of hassle in the future. Â We had been so proud of ourselves when we whipped together the lid for the fridge area in just a matter of a few hours, all measured, glued, and angles cut. Â Only to find we cut the angle the opposite direction we were supposed to.
Another oops. Â And other trip in to Home Depot to get an extra sheet of insulation so we could try again. One attempt later and we had it right. Â From there it was set aside so Matt could begin multiple layers of fiberglass on it.
The very last step in this stage two of building our refrigerator box was to create the holes that will allow the cold air to flow from the freezer where the evaporator will sit and into the fridge. Â In theory, once we have everything hooked up there will be a thermostat in the fridge area that reads the temperature. Â Once it gets above a certain point a fan will kick on in the freezer and begin flowing cold air from the freezer to the fridge via the tube in the bottom. Â Any warm air will circulate from the tube in the top of the fridge back into the freezer to be cooled down once again.
We also placed two shims inside the freezer for the evaporator to attach to which will then keep a 1/2″ distance between it and the wall of the freezer.

There you have all the work that went into stage 2. Â Really, really should have bought those dorm fridges instead. Â Stay tuned for stage 3 where we hopefully get this up and running!