
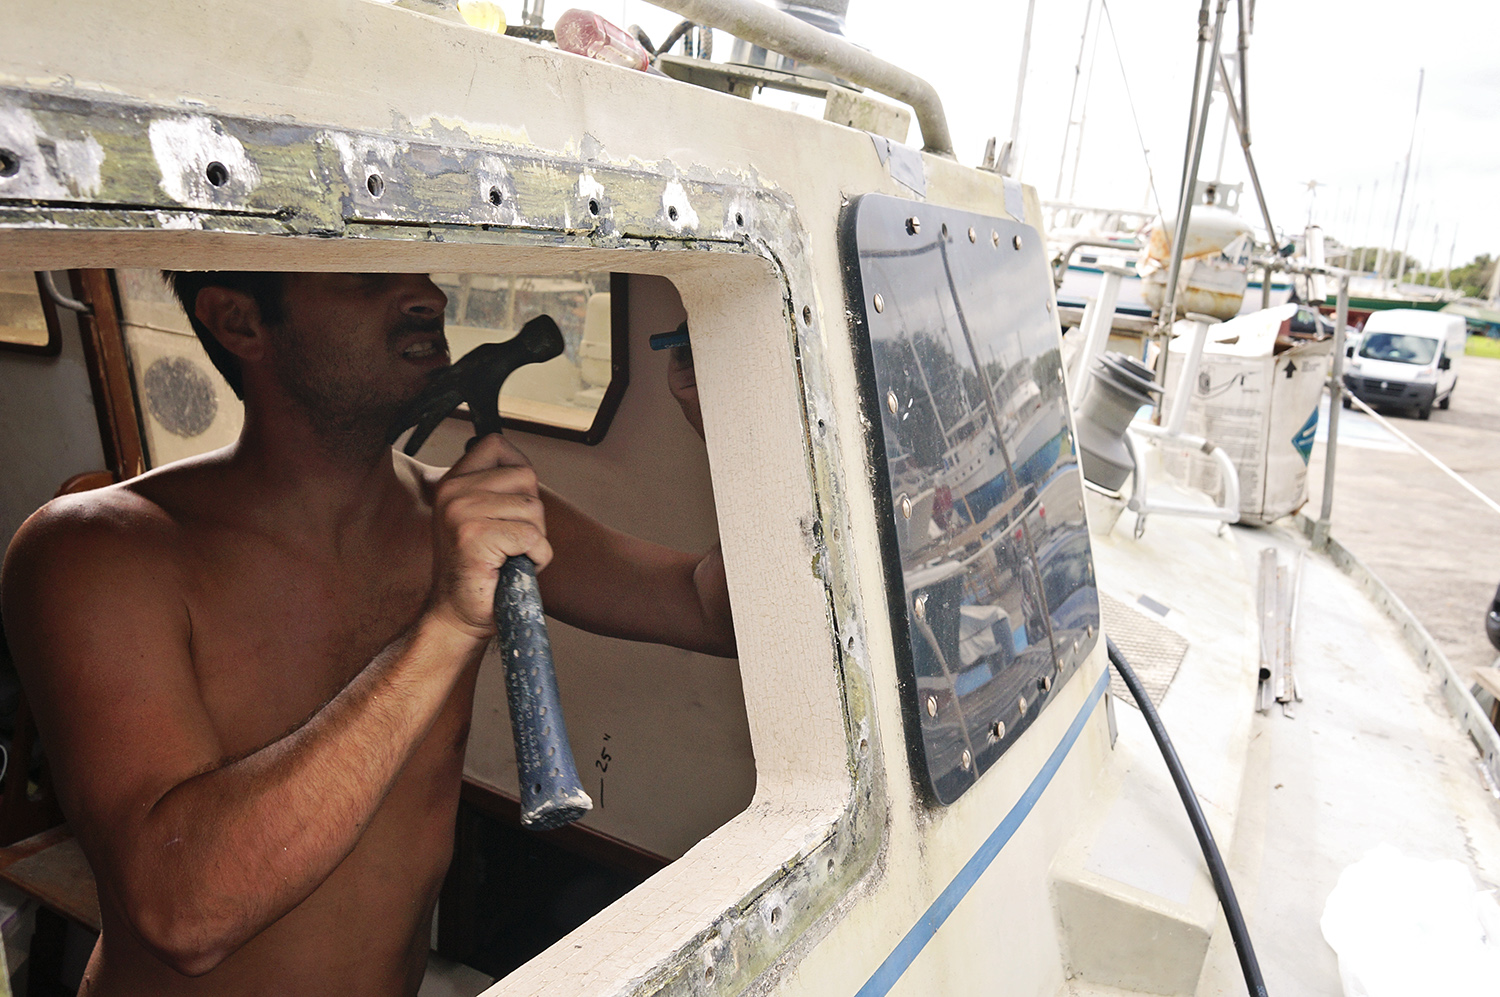
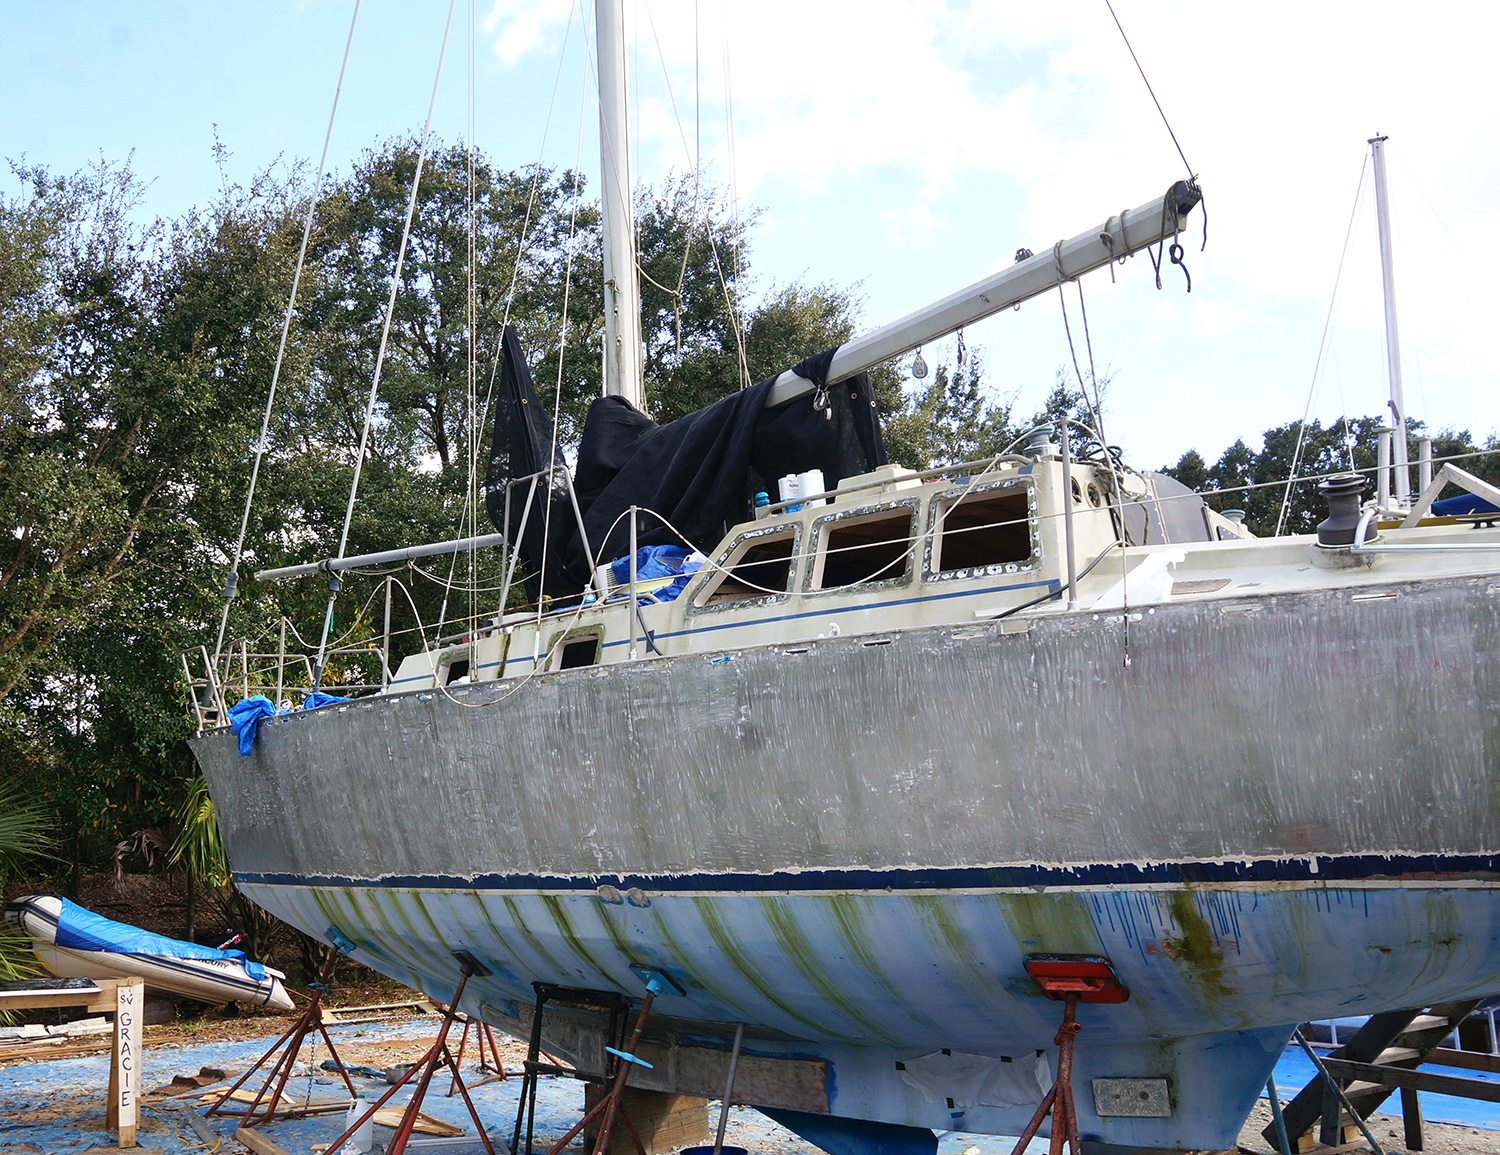
When I was told we were going to replace the ports (deadlights) on the new boat, I thought ‘Sure, no problem’. Â We’d just replaced the hatches, we knew the weather was now right for this kind of undertaking, and the fact that we’d already done it on Serendipity. The thing I was not thinking about, is this project would be infinitely harder on Daze Off. Â Not only were we starting with blank sheets of plexiglass where we were expected to trace, cut, and polish the new glass instead of ordering pre-sized and cut pieces, but we also had to first paint the areas that the new glass would be adhering to. Â And that was going to be the extremely difficult part.
I’ll go over one of the stages today, but overall they’ll include: removing the old plexiglass; cleaning the surface of the existing adhesive, sanding and grinding off the existing paint until we were down to bare metal; filling unnecessary holes with epoxy (I’ll get further into that); starting with a zinc chromate primer, adding barrier coats; primer coats; top coats, and then we can start the process of actually putting the new plexiglass in.
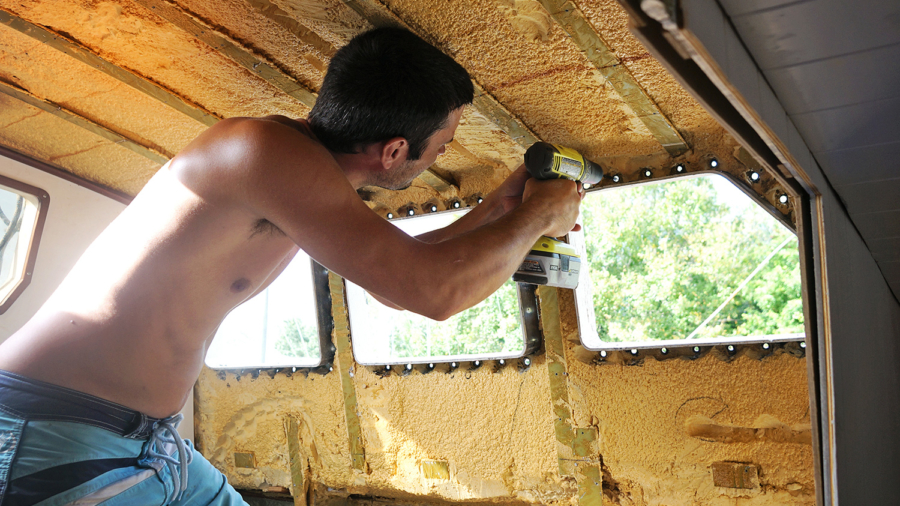
The part that we tackled today was removing the existing windows on the port side of the boat and cleaning the area. Â Since the windows currently have umpteen bolts screwing them into the hull, we worked with one person inside loosening the nuts while the other one sat outside keeping the bolt from spinning. Â I feel a little bad for Matt as he was the inside guy, and once he got to the pilot house he found himself in the area where we’re storing not only all the templates we removed from that area when we needed to add foam insulation a few months ago, but also our extra clothes, toiletries, and even non perishable goods we can’t fit in the galley. Â Basically its a heaping mess in that area, and trying to move things around to get decent foot space in there is almost a project in itself.
That first step didn’t actually take all that long, but the next one was a doozy. Â Removing the caulk on the outside where the windows had been adhered. Â Unlike when we cleaned the ports to get the new glass in, this caulk did not stay rubbery and scrape off easily. Â It was gooey and messy and was taking up all my patience to clean off an area of 2 square inches. Â Using a combination of small chisels and other scraping tools, it felt like I was only moving the substance around instead of actually removing it. Â Even with the added help of acetone I was barely able to wipe it off. Â Then I thought of trying mineral spirits. Â Bingo. Â It basically dissolved the old caulk, moving it around a bit, yes, but then the acetone did take up the rest of it.
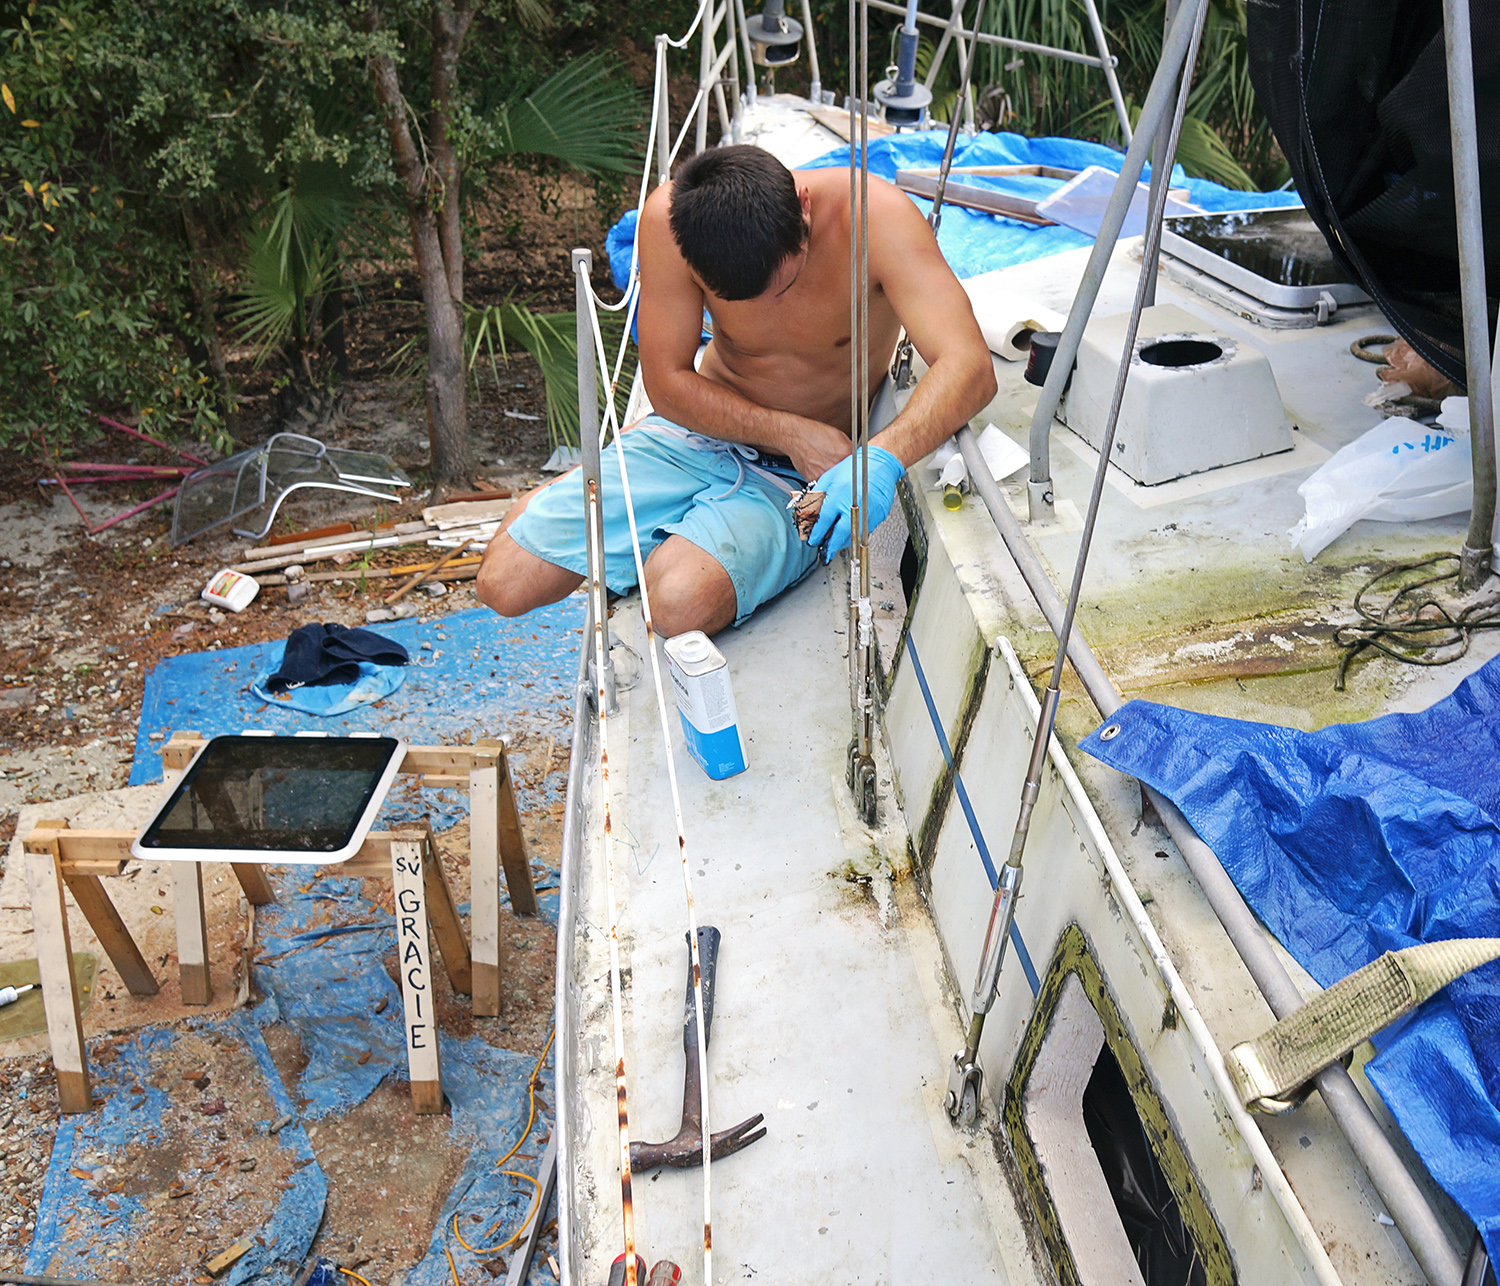
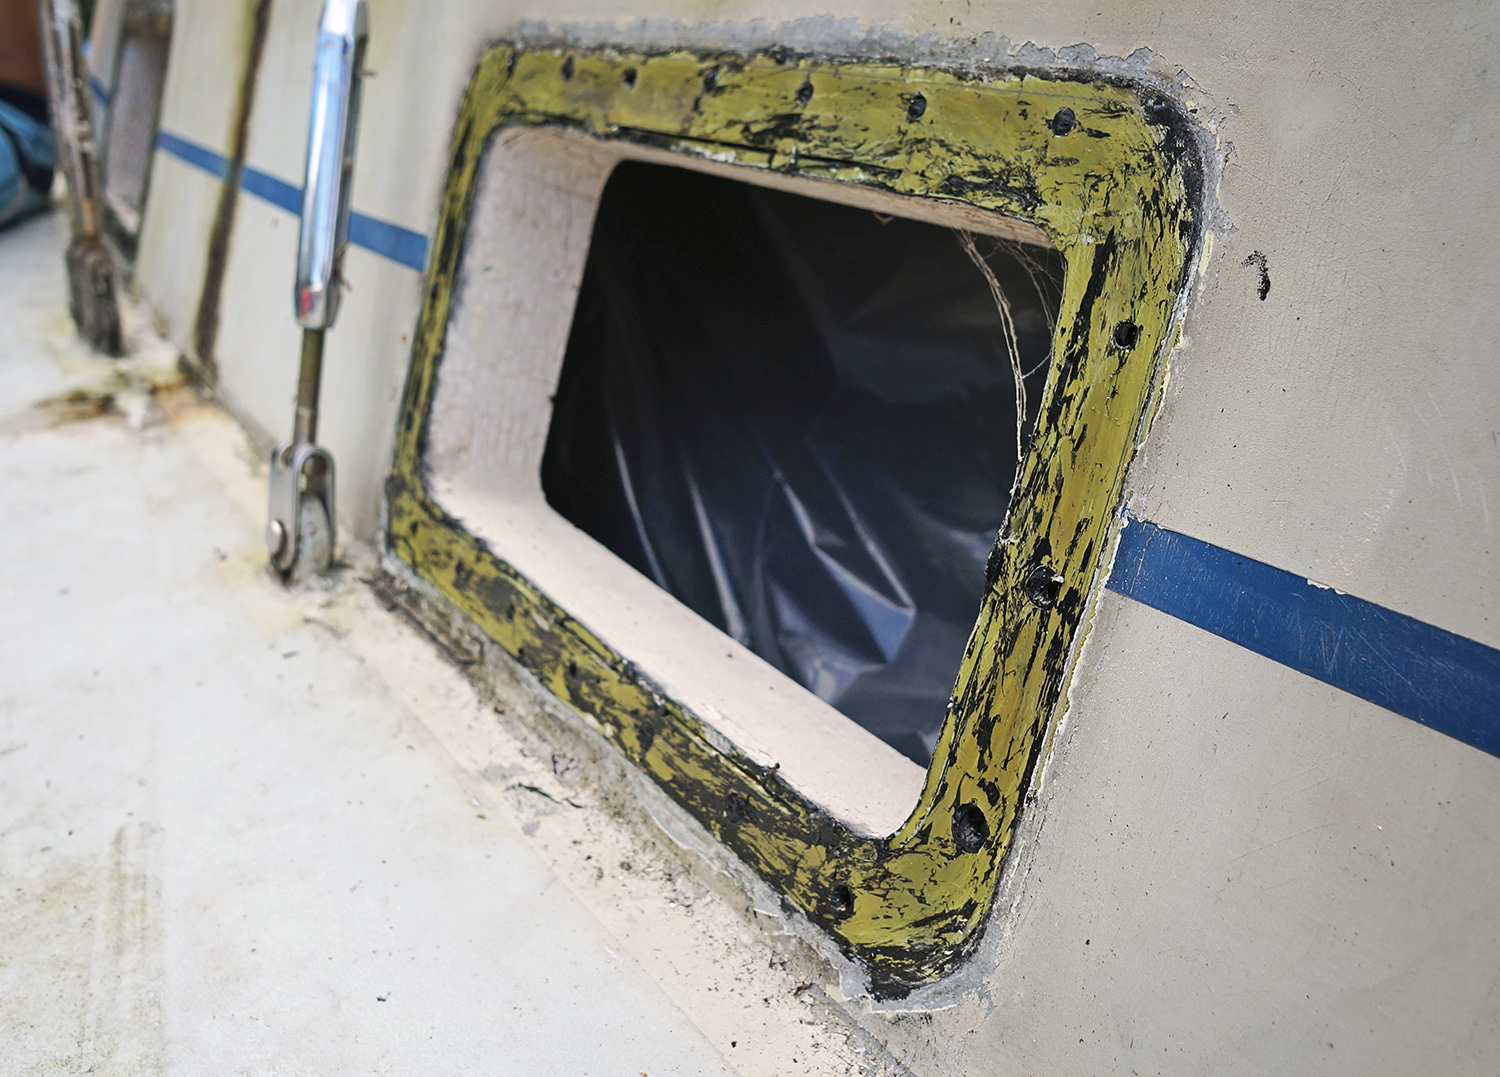
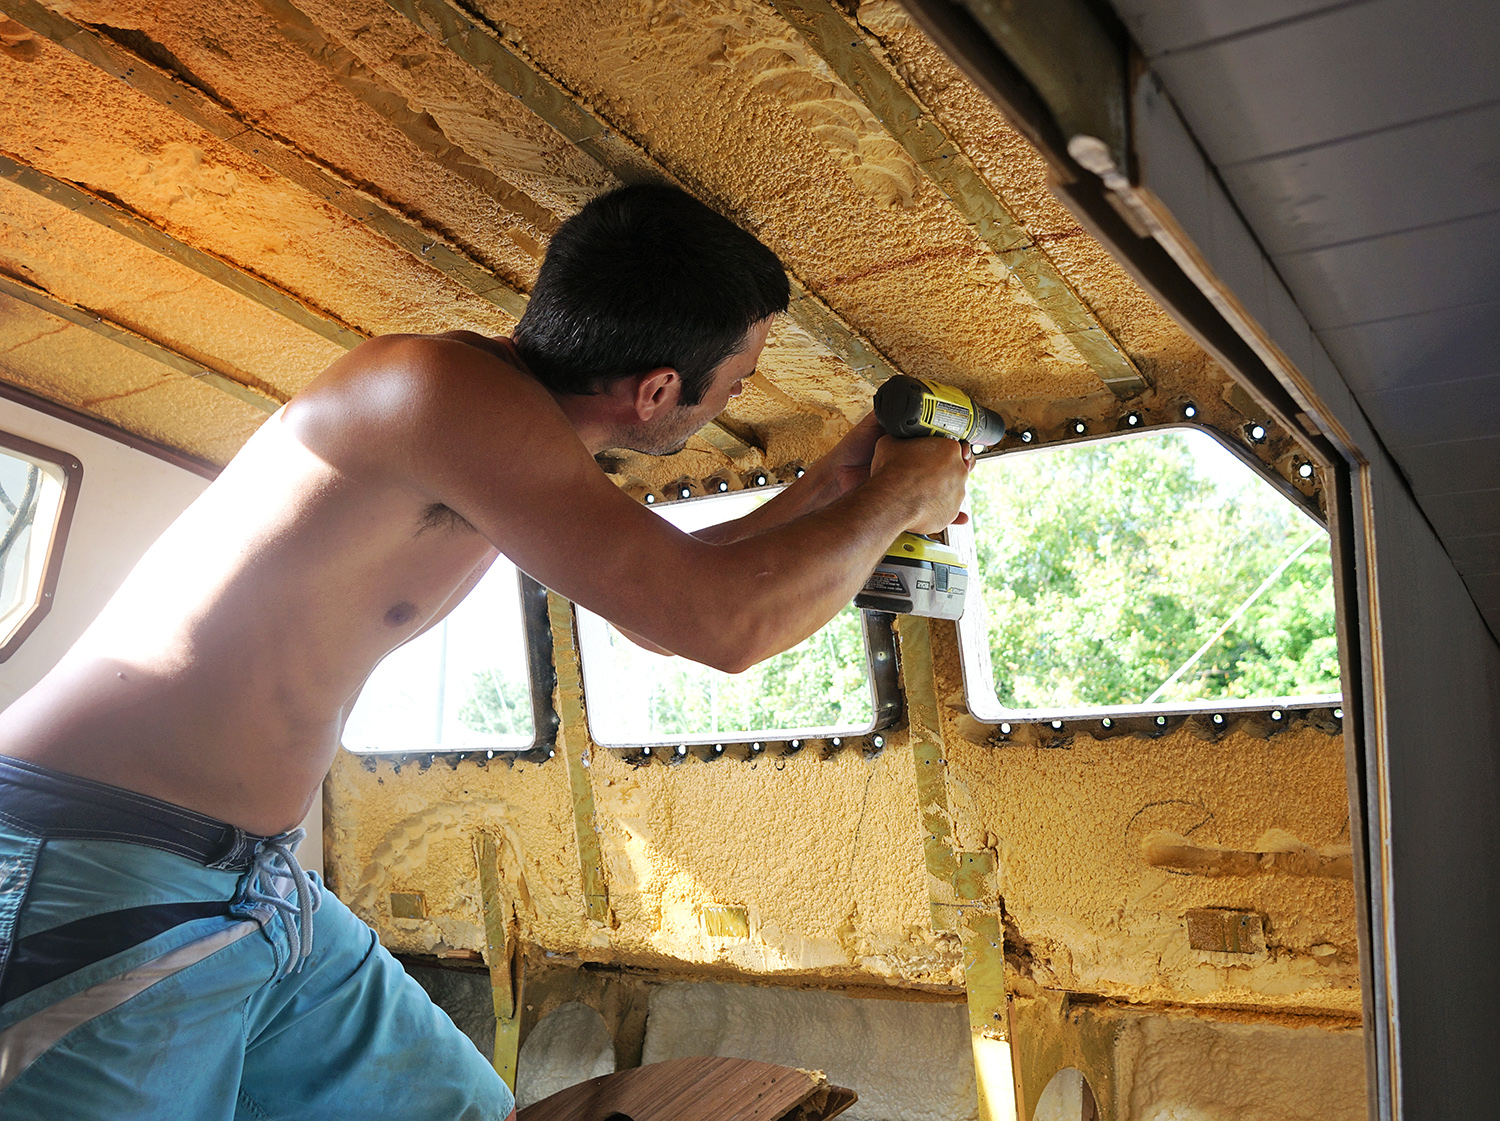
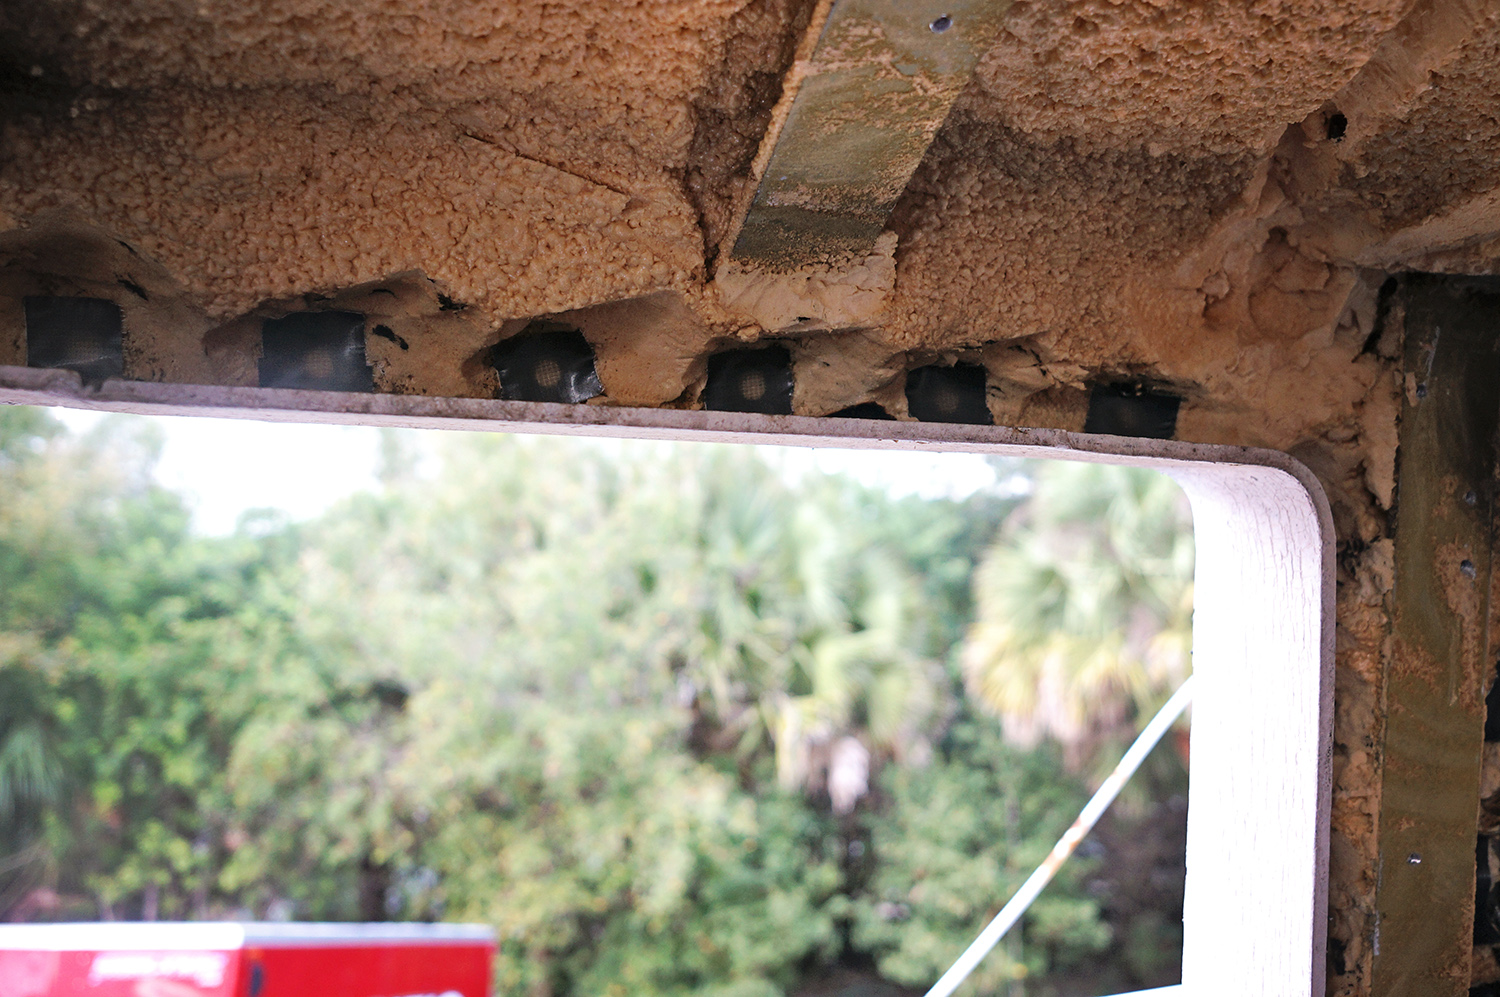
That job took foreeever, and by the time we were finished my hands were covered in black goop and I was very glad we still had a little Orange Goop around so I could somewhat clean myself up. It wasn’t me who still had the dirty jobs coming up. Â Matt now had the fun task of grinding off the paint around the frame so we could then fill all the holes from the bolts with epoxy. Â We had both decided that all the extra metal seemed like a little much since with new technology, the bolts aren’t responsible for keeping the port in (we’ll be using a strong tape and caulk), so we’ll go down to only one in each corner for just a little bit of added security.
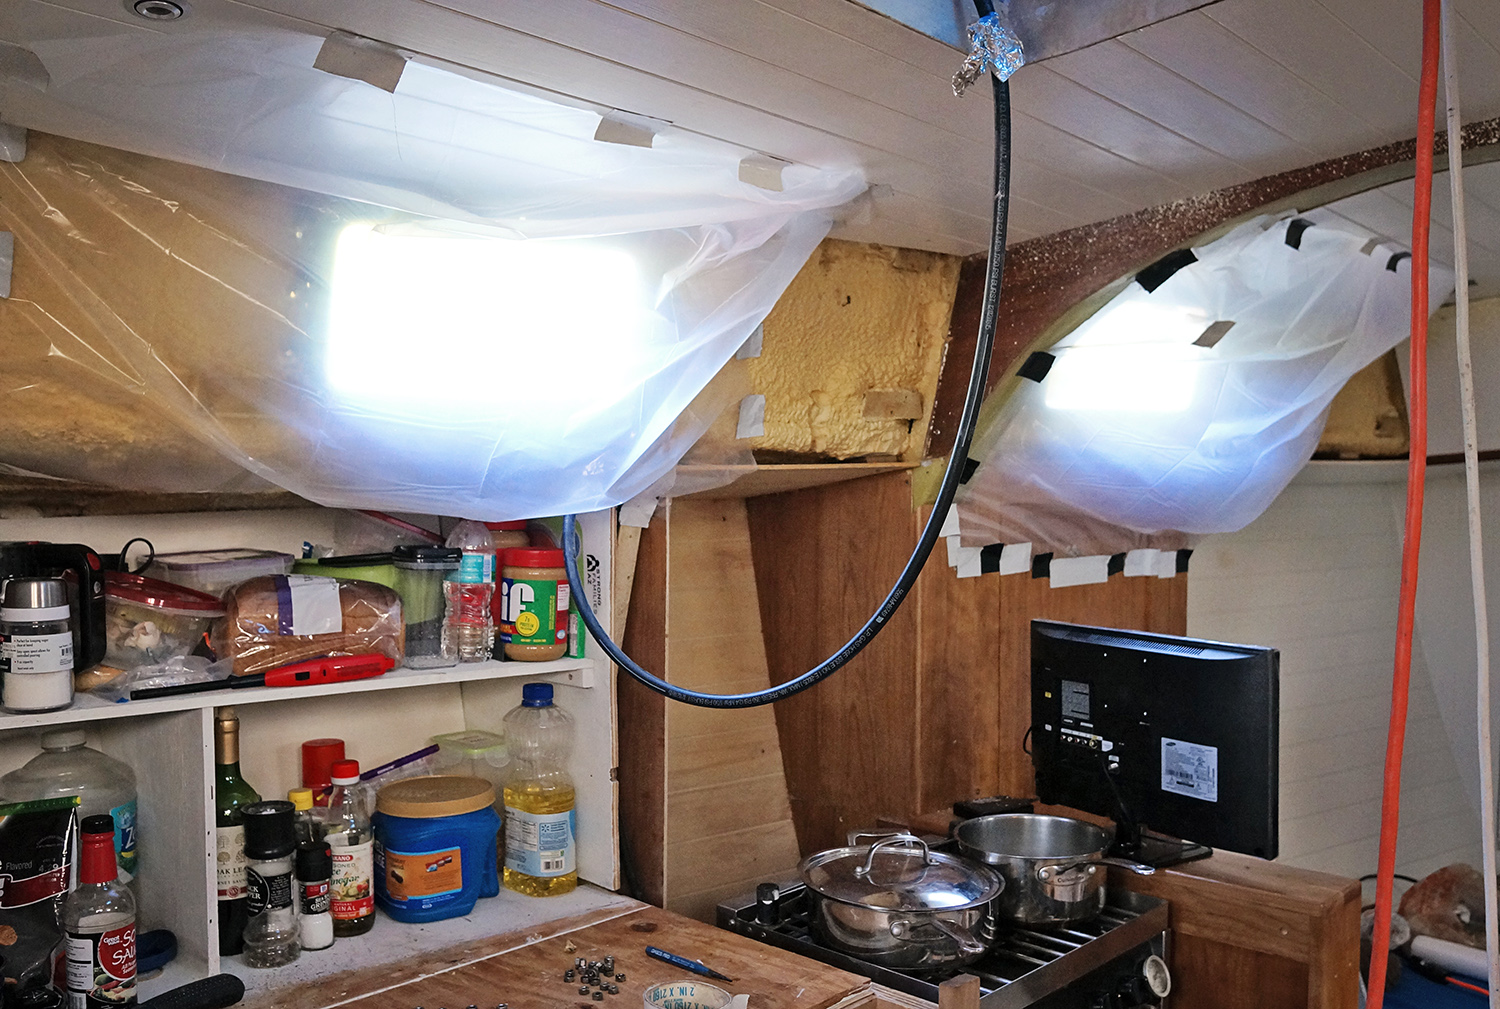
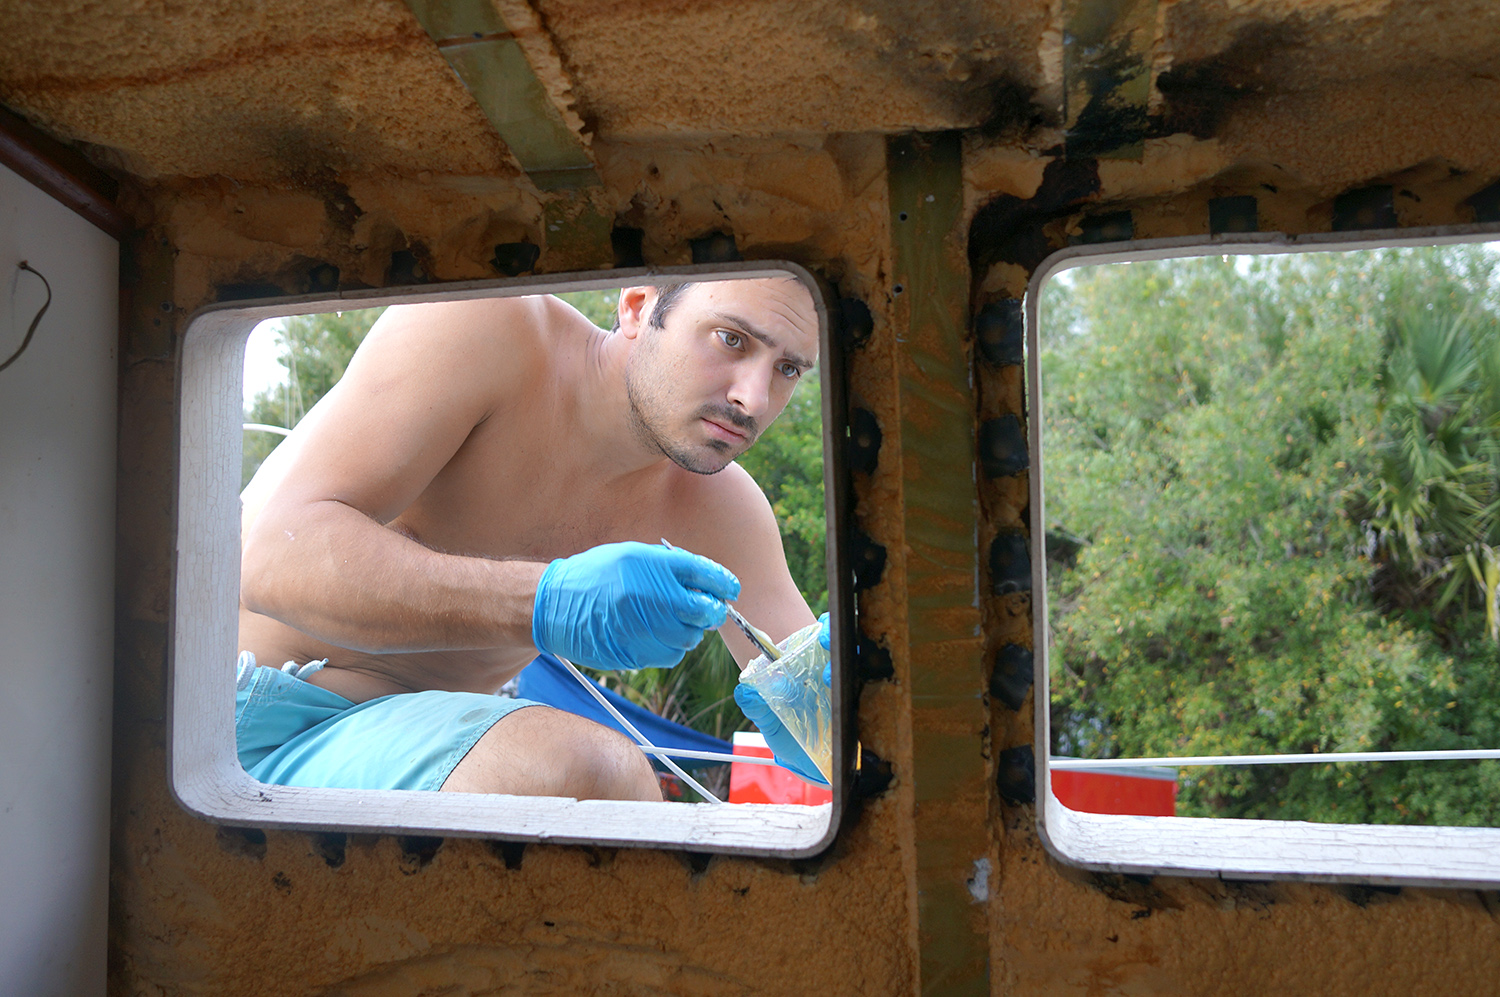
To make sure that all the dust and debris that was getting scraped off didn’t make it’s way into our immaculate living quarters (ha), I made sure the windows were taped up from the inside. Once the area around the holes were cleaned, Matt made sure to clean the holes out even more, using a drill to grind each one of them and expose fresh aluminum that the epoxy would then adhere to. Â I taped up the back of each hole to make sure nothing would leak all the way through once it was applied.
Using a 2 part G Flex epoxy through West Systems, Matt mixed up equal parts and carefully filled each hole. Â We weren’t worried about scraping the outside smooth since it will all be sanded flat once its hardened. Â And with that, we wait. Â Next step will be to take off all the paint from that side and begin priming! But….we also move on to the downside of this whole projects. Â No windows. Â Looks like there will be lots of tarps, plastic sheets, and tape in our future.
Toward the task of removing anything stuck to metal; two words. Heat gun.
Oh, by the way, a heat gun works just the same on the paint on the hull. Dump the chemicals. Use heat (NO FLAME). Use caution to never breathe smoke from anything with Urethane in it, it contains cyanide gas.