
Progress on the pilot house continues!  As I mentioned in my previous post, I’ve currently lost misplaced my memory card that has the photos of us building up the seats for the area on the port side, so we’ll have to skip forward about a week and a half on progress in that area.  Just picture in your head a lot of cutting  of plywood and attaching it to 1×2″ cleats.
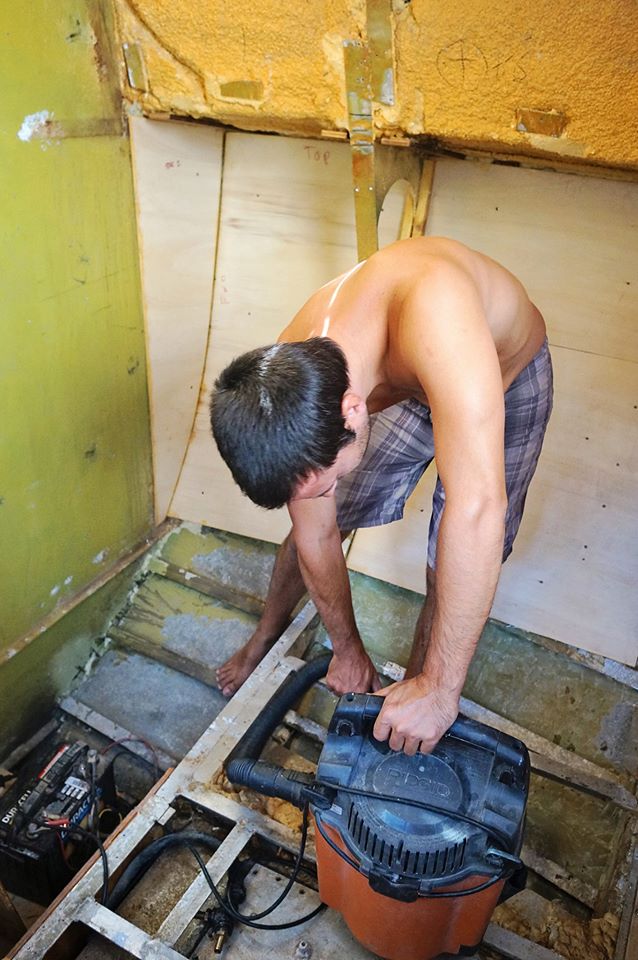
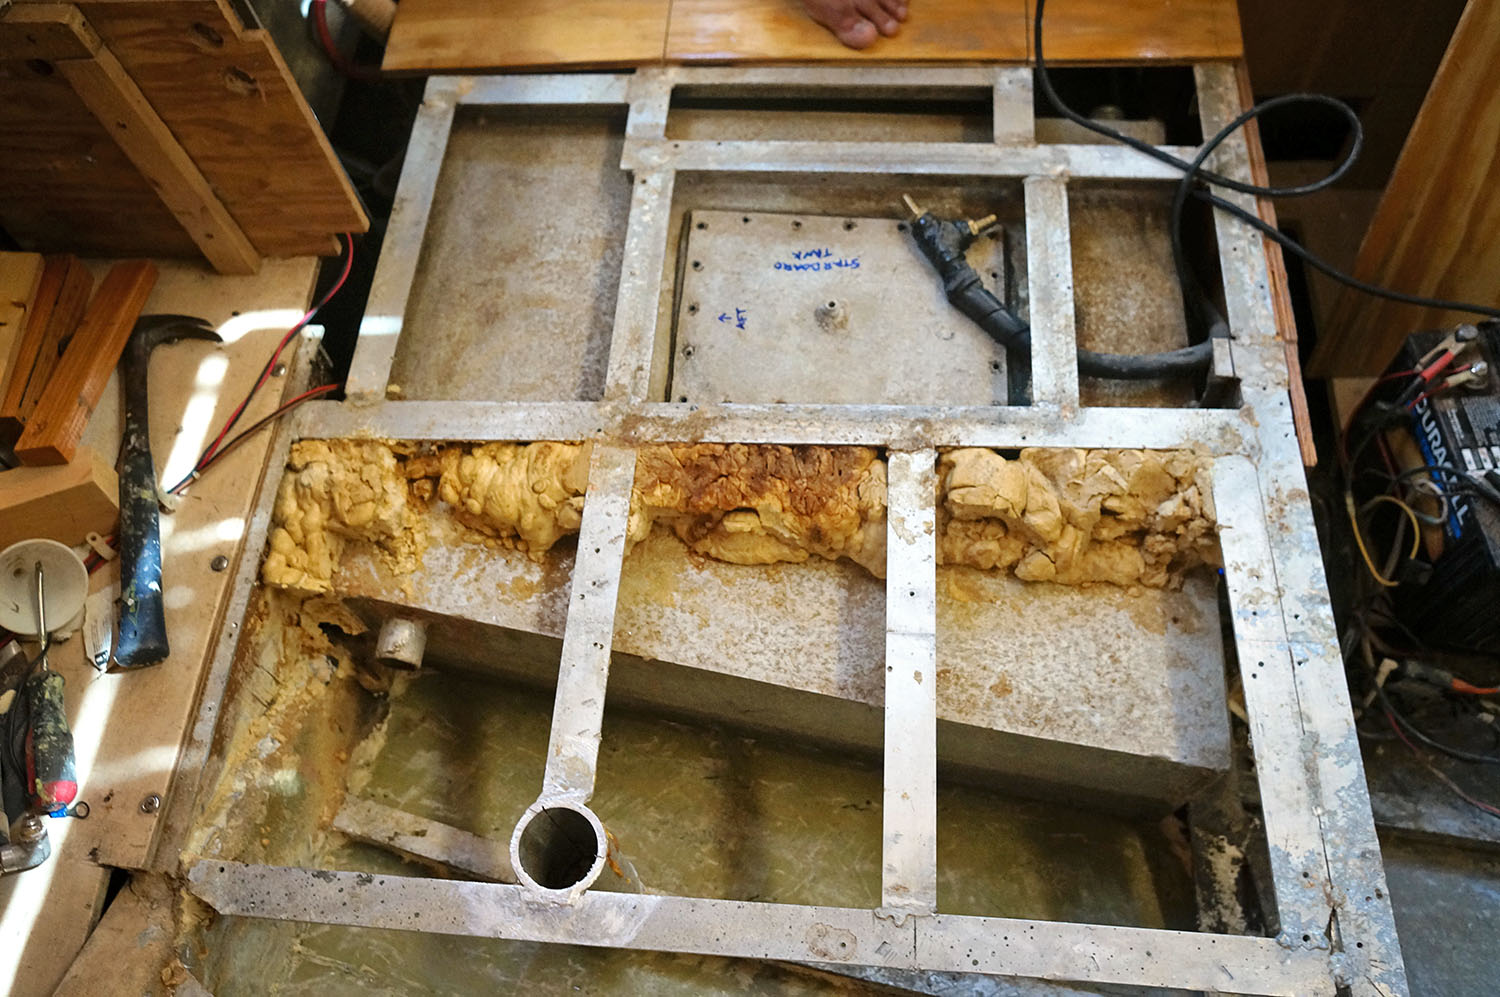
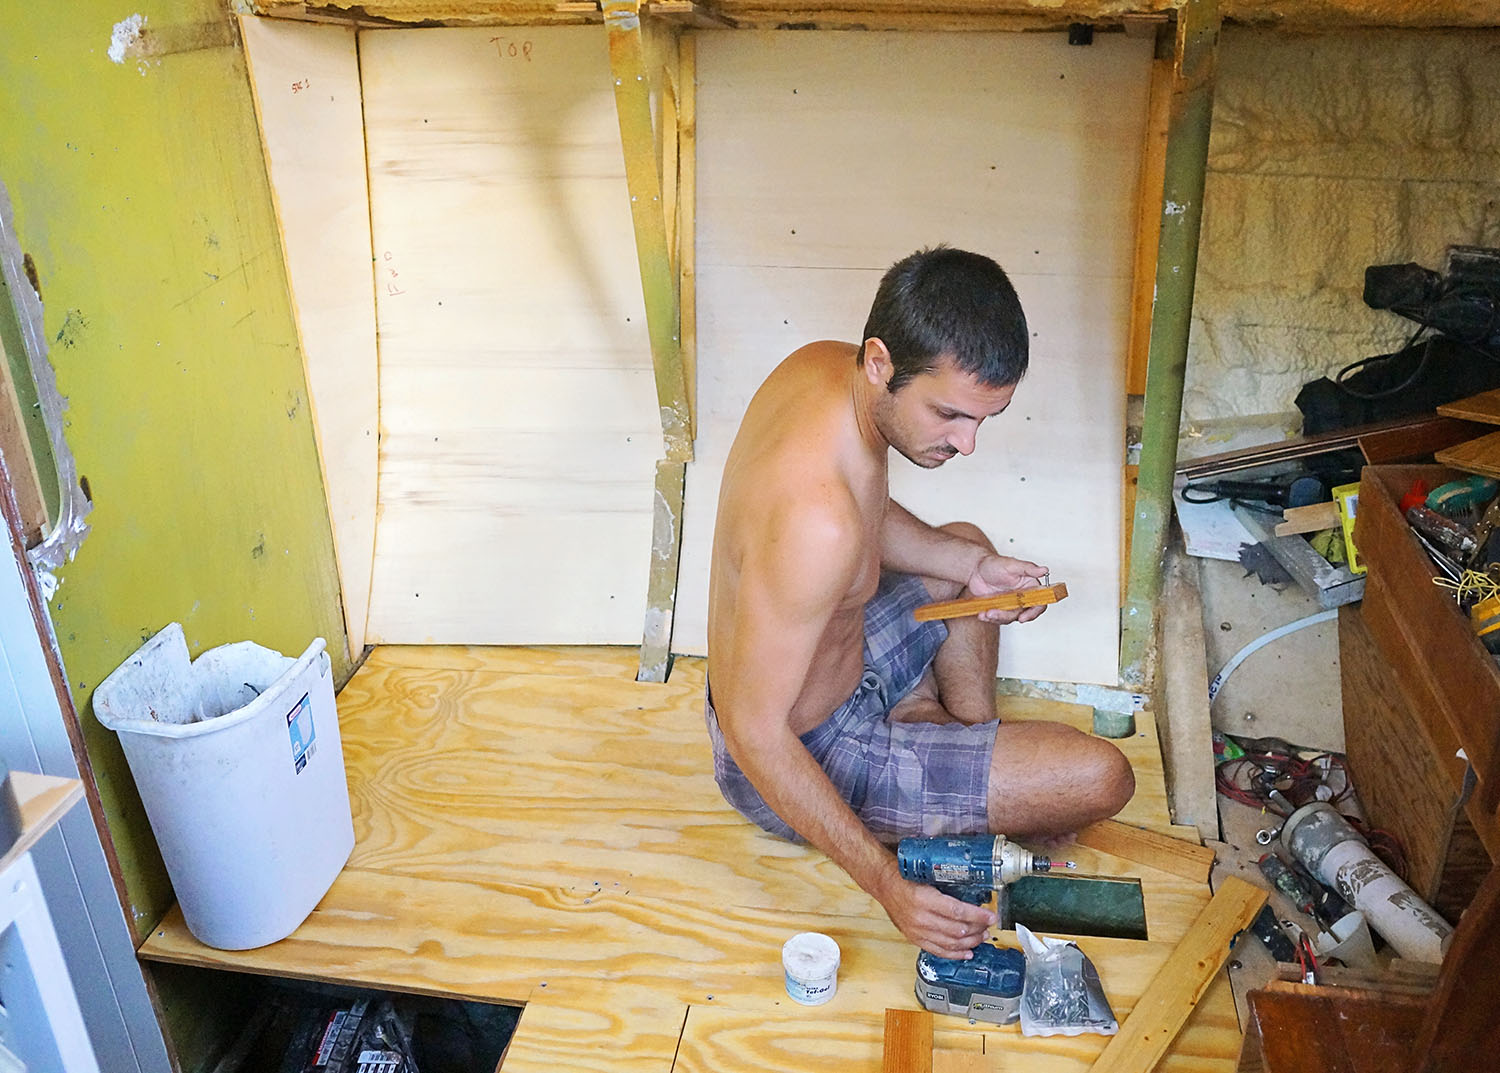
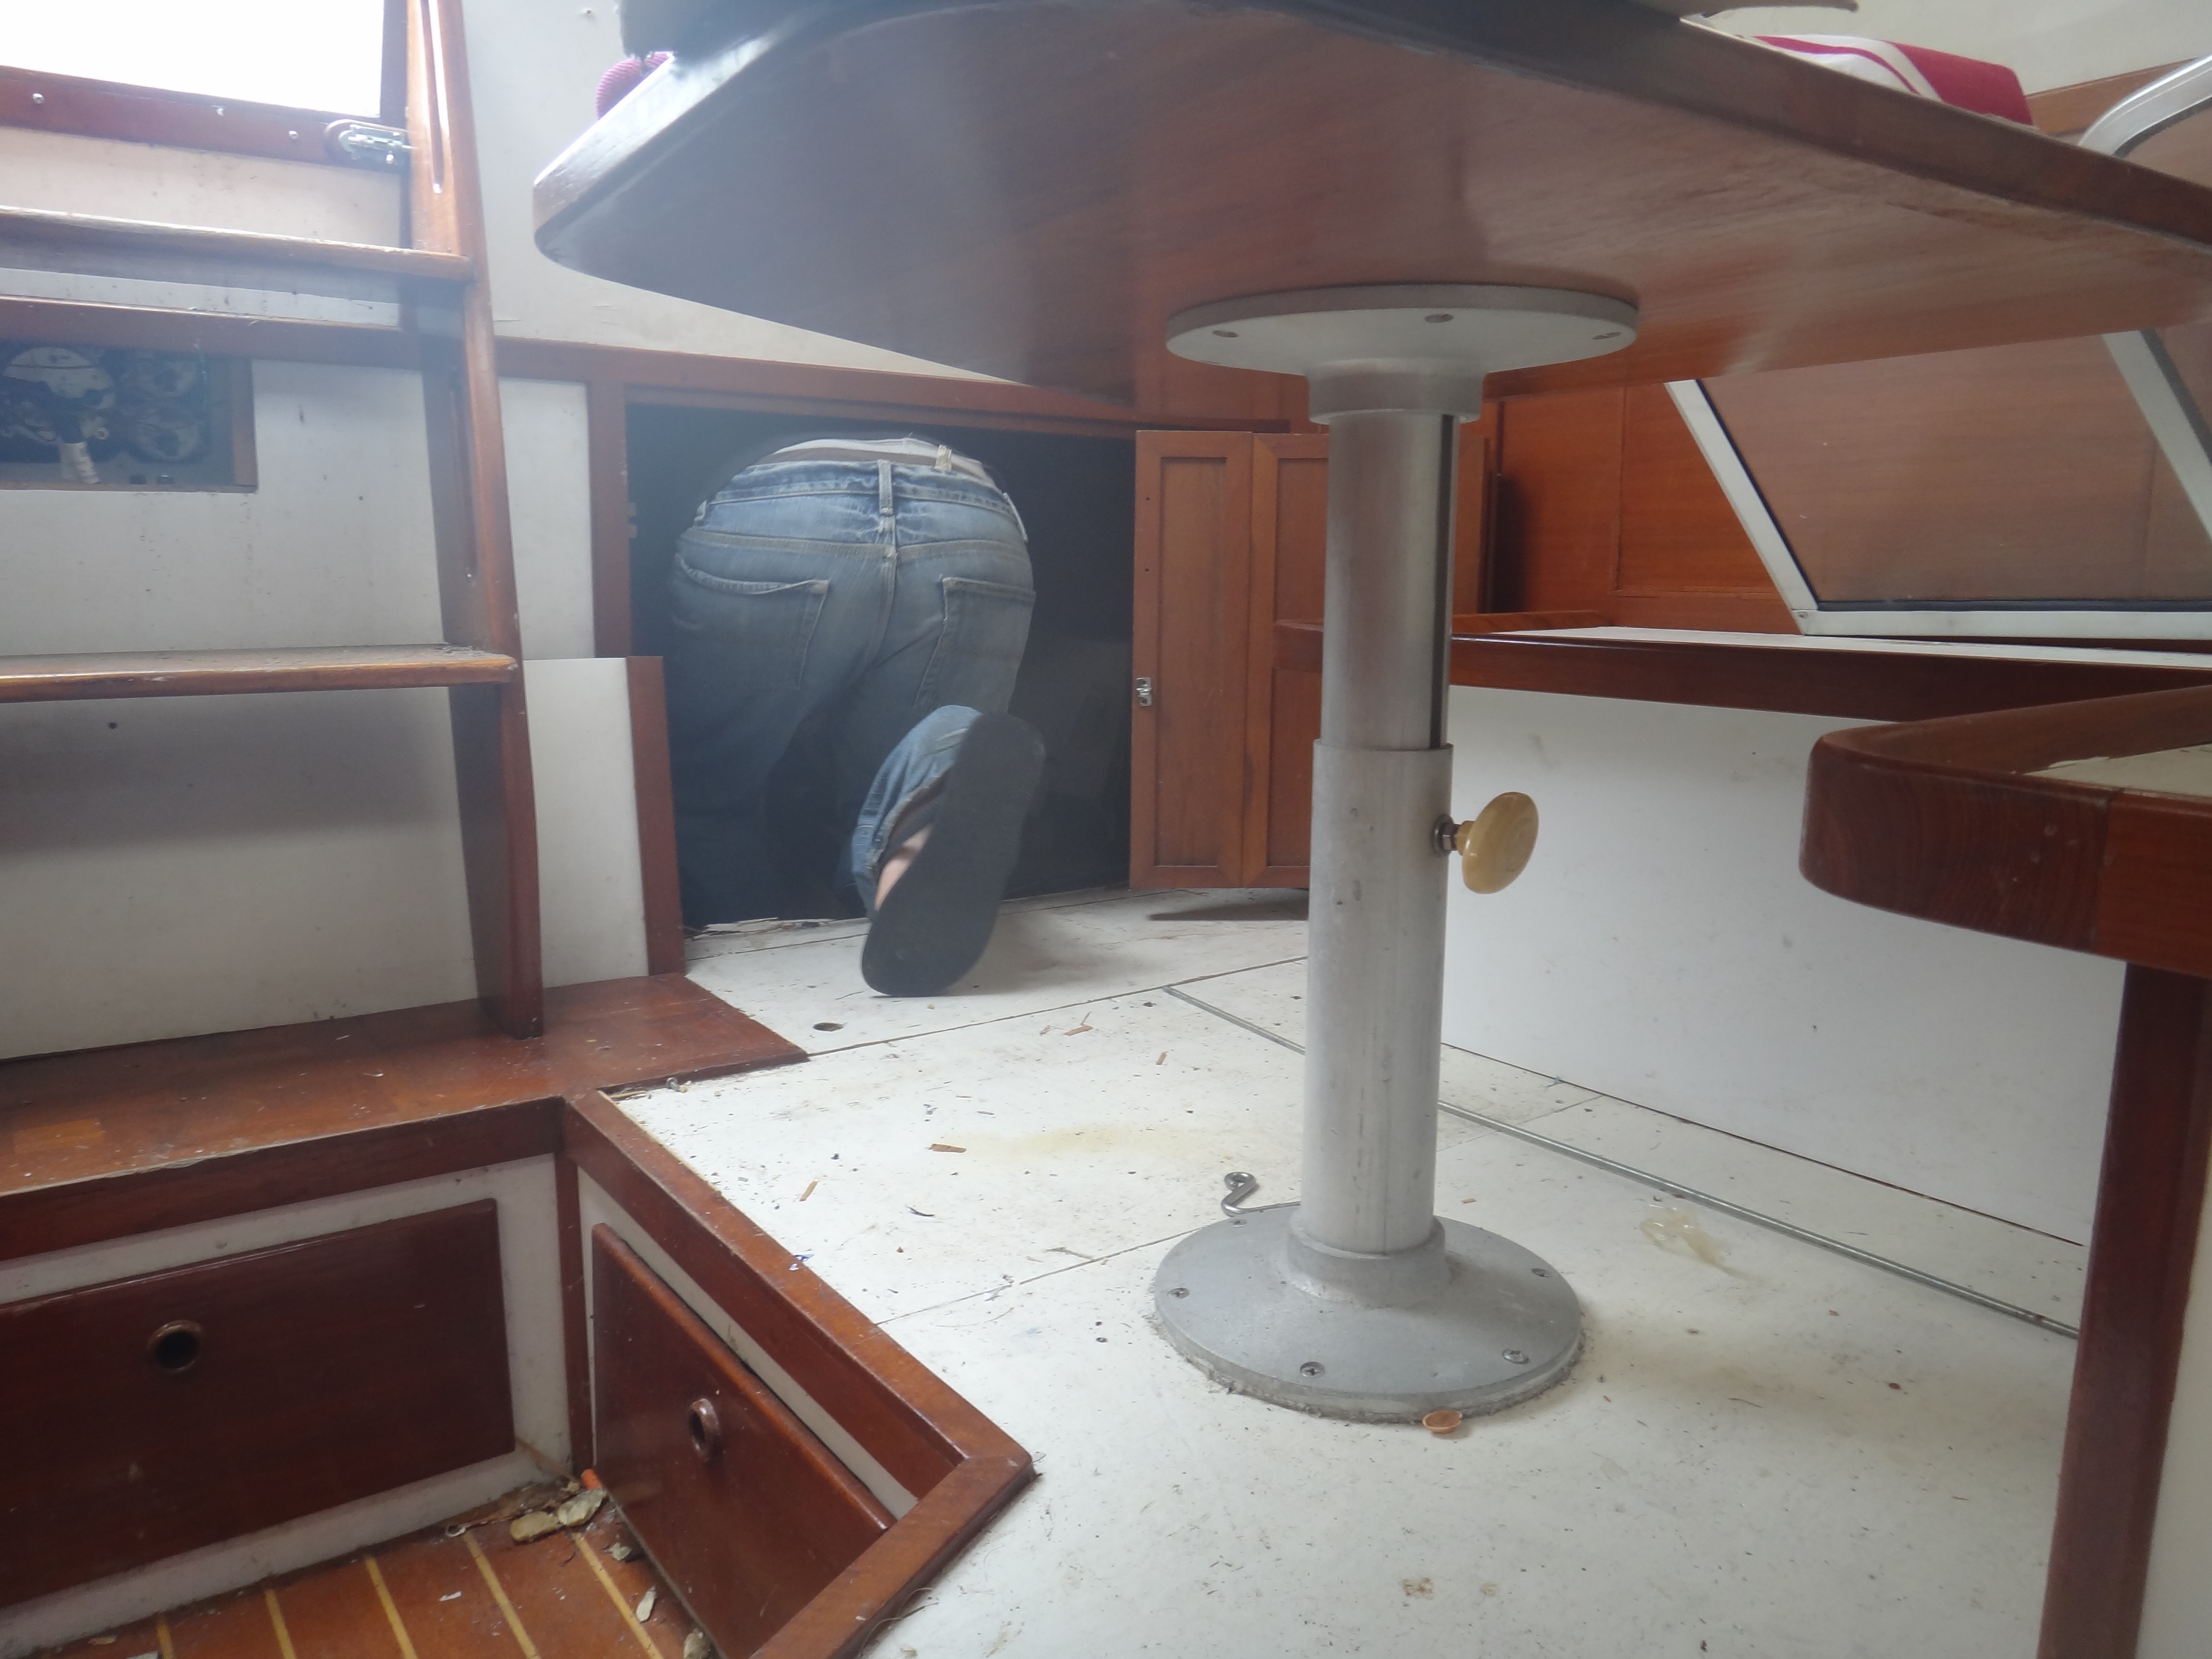
Before that was even possible though, we needed to replace the old floors with new 1/2″ plywood (epoxied on both sides and later to have 1/4″ maple placed on top), but before we could even do that, we needed to clean out our bilges and our metal tanks as best we could. Â Mostly this job fell on to be because of my little hands and arms along with my ability to get into the small nooks and crannies that were hiding old dirt and other kinds of buildup. Â For the most part I was able to scrape away any excess dirt and old oil from the engine with a combination of a chisel and a wire brush.
Not one of my favorite projects and I could have really done with those gloves that go up past for elbows for the amount of rubbing my arms faced on our metal frames. Â Sometimes there was also the project of removing old insulation that fell below the waterline and is not necessary for us, but that was usually a much easier job. Â As big of a pain in the butt that project was, it should keep any new corrosion from building in our bilges and give us much better peace of mind.
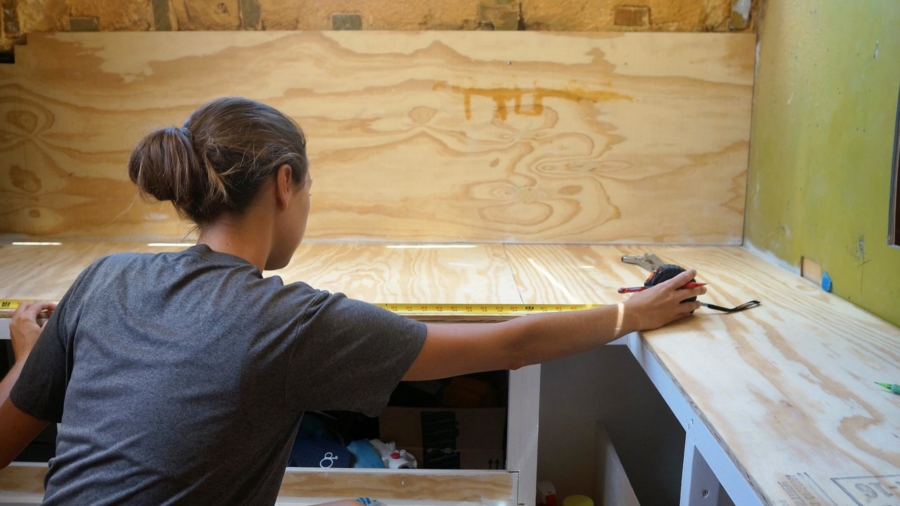
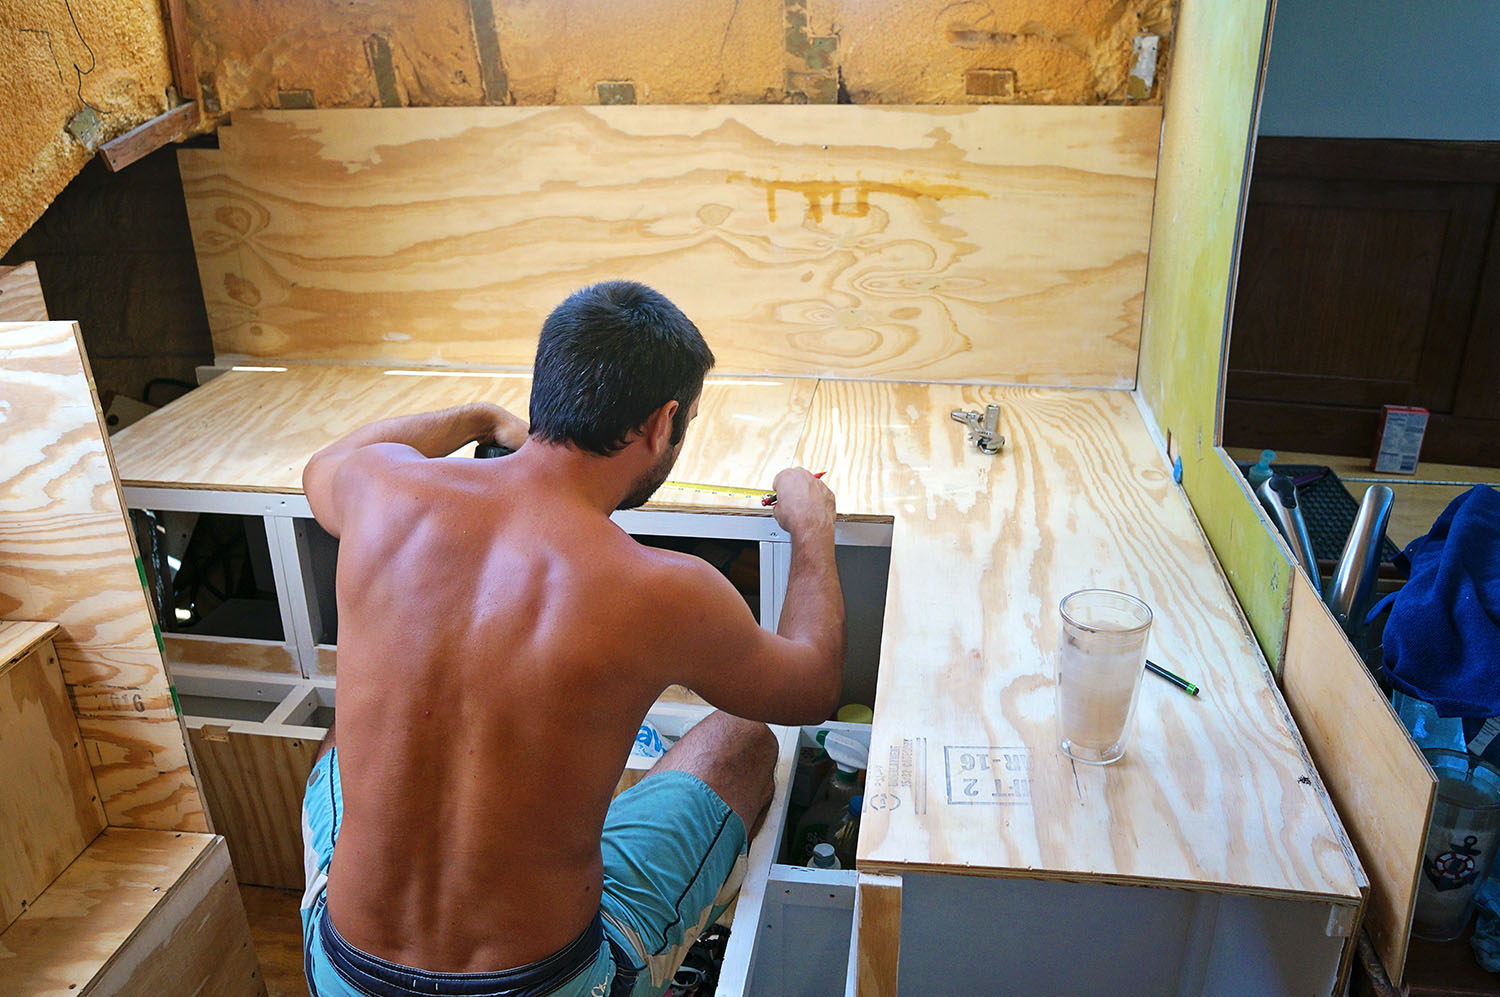
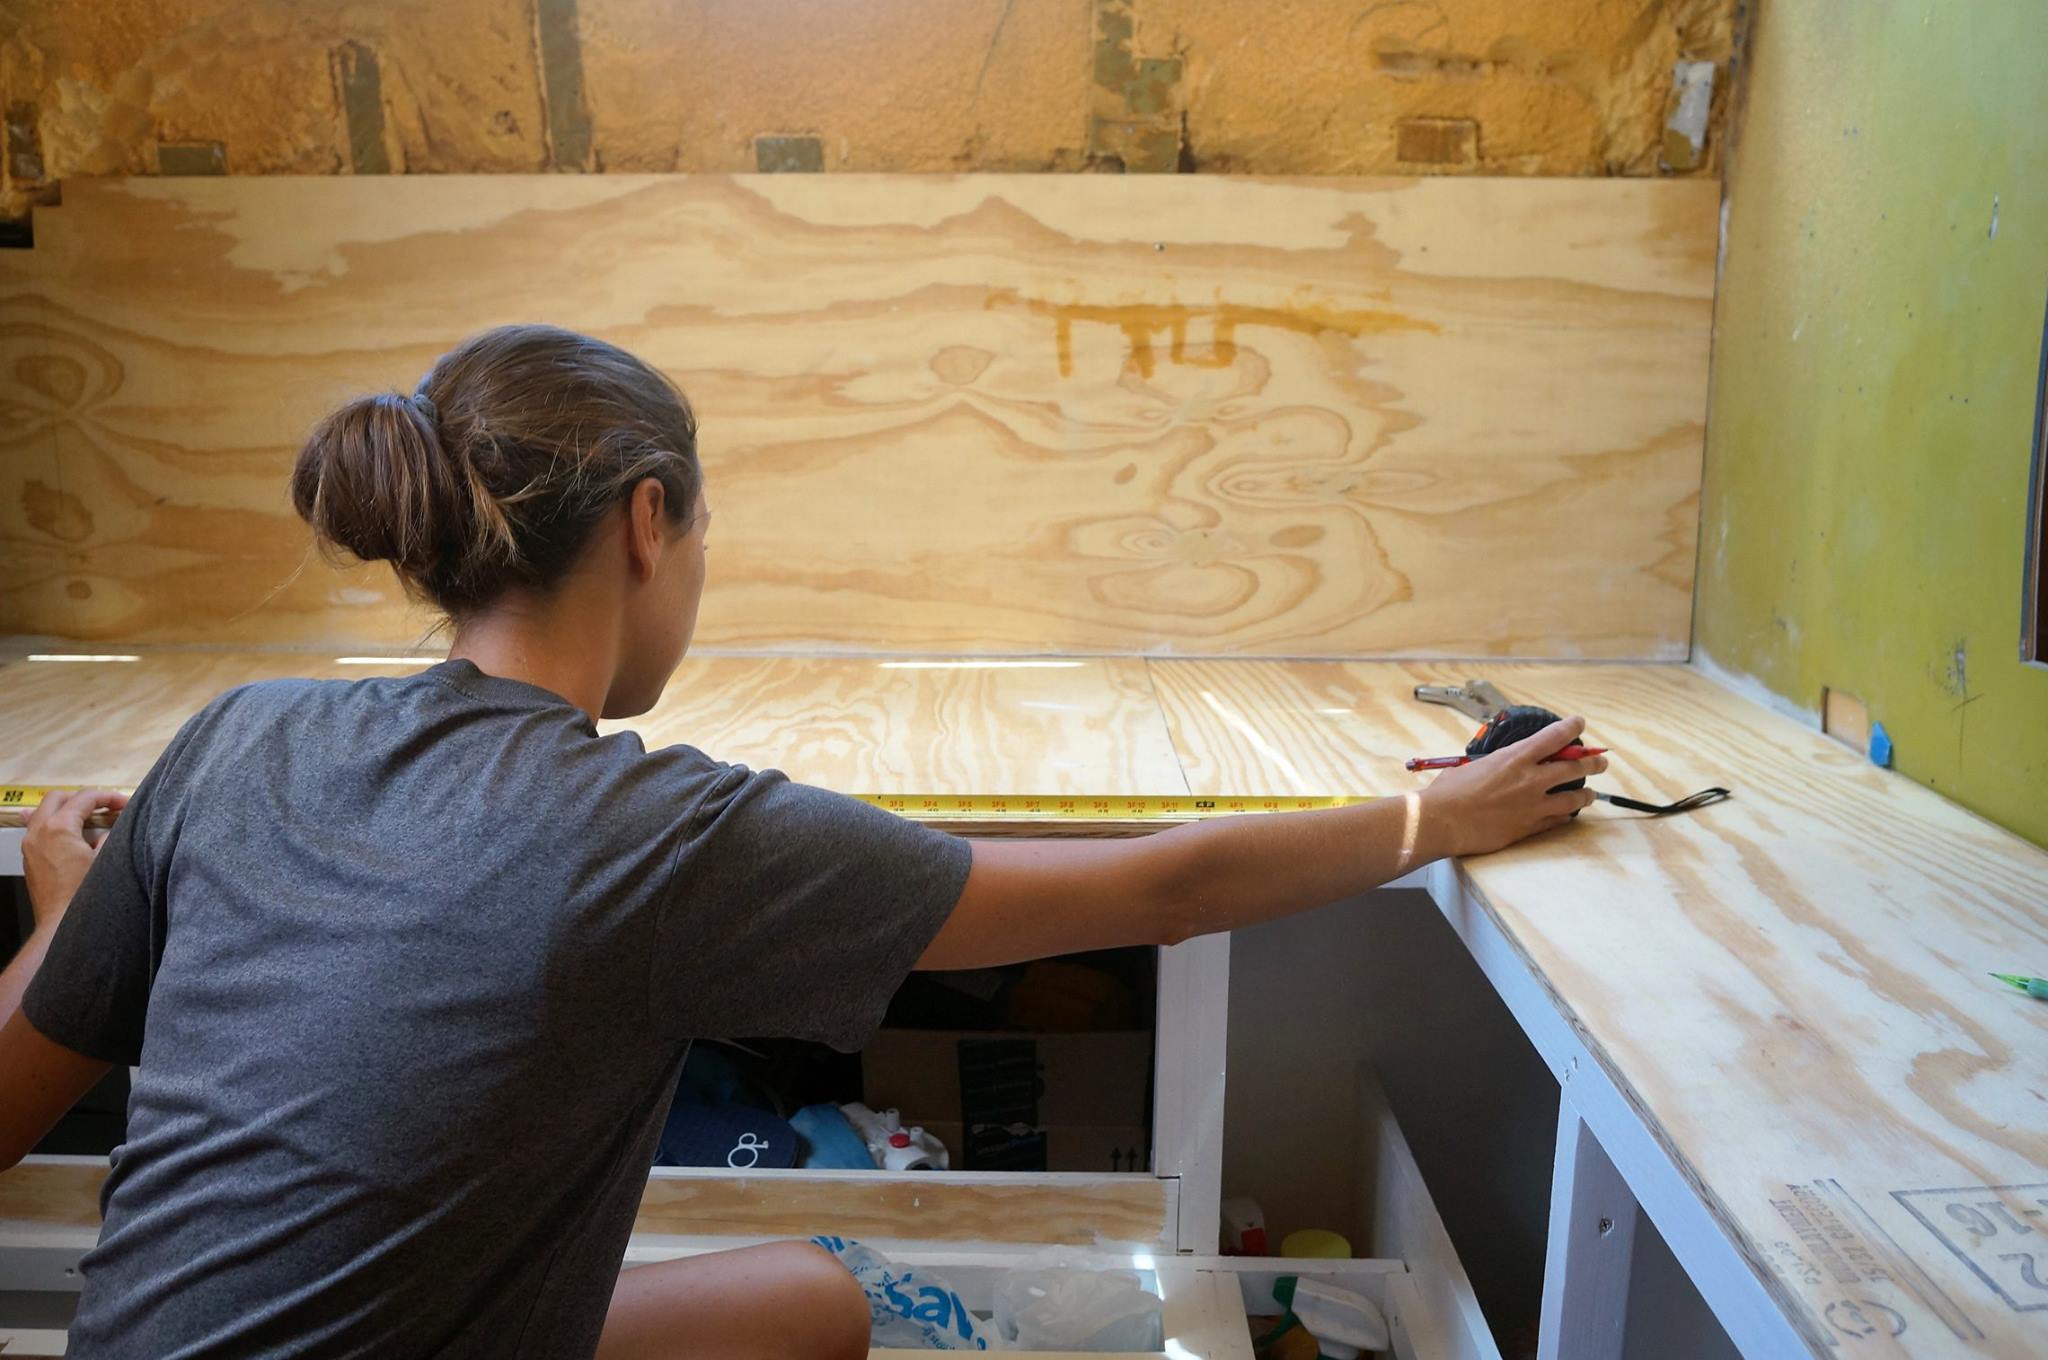
 On to the seats!  The port side of our pilot house will have a L shaped settee, and since we’re building them ourselves, we’re going to make sure they’re as comfortable as possible for when one or both of us sits there.  Because we assume that will mostly be Matt’s sitting area, he wanted to make sure he wasn’t forced down into the forward salon because the seats weren’t big enough for him to be comfortable on.  What’s the point of having a pilot house if you never use it?  Based on a few measurements he took from Serendipity, we found out that a seat width of 26″ inches would be the most enjoyable for relaxing.  Since the previous seats in this area were only 14″ wide, there was no way we could copy that set up again and have enough room to easily sit there.
Because the new design for the seats comes out so much further than the old plan, we didn’t want to lose all floor room in this area as well. Â So instead of having a 12″ platform that begins as soon as you come to the bottom of the companionway, we’ve decided to push it back so it only sticks out 6″ from the seats, as an extra step up to them. Â This does cause us to lose a little more storage space in this area, but we do gain some of it back with the extra width of the seats since the entire area underneath them is reserved for that purpose.
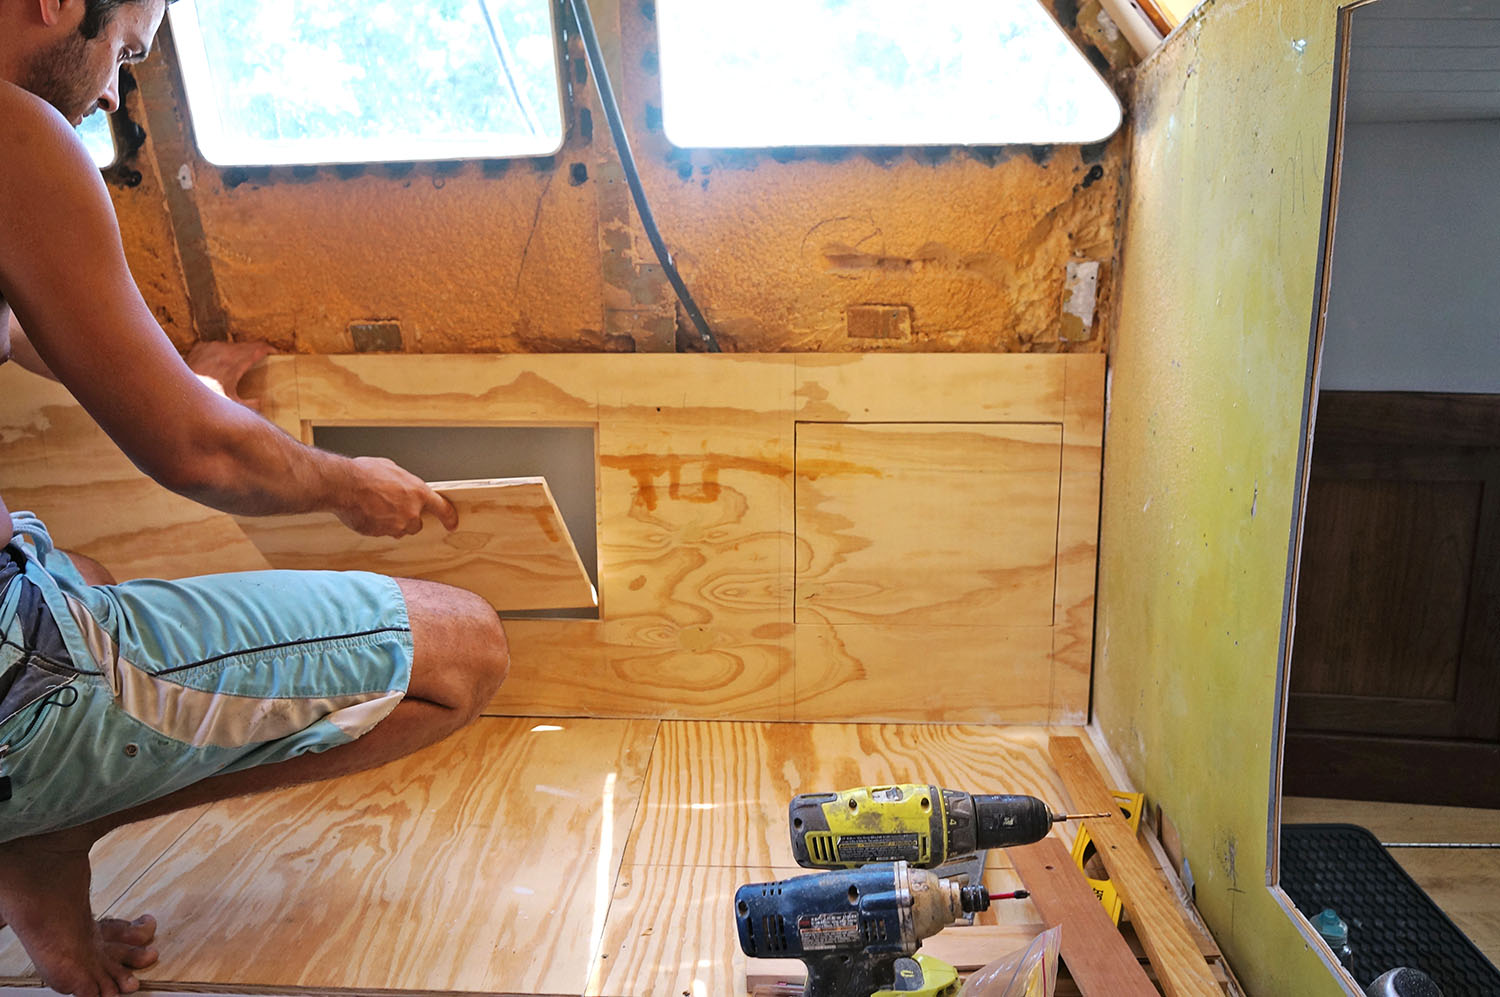
Once we had the base built up as well as painted, it was time to work on the seats and back.  Using 1/2″ plywood for this as well, we used two sheets of plywood.  Overall we’ll have three access points to storage below, and on access point to an area that will house our batteries.  The very end area toward the center of the boat will be our wet locker, but access to that will be a swinging door from the side.  We’re also making opening doors to a storage area that will sit behind our backs, opening  up the area that curves along the hull.
After having put one shelf in here we decided that the lower area which gets thinner the closer you get to the floor will be a perfect place to store charts, since we have so many but use so few at one time. Â Because they are so thin and can mold into that spot, and now we don’t have to worry about what other odd shaped items might fit in that spot. Â The upper area for storage, I’m really looking forward to using for tupperware. Â Silly, I know, but since we didn’t have a great spot for them on our last boat I’m so happy to finally have an easy access area for them. Â I’m loving all this extra storage on our new boat!
Our old floors.
♪♪Happy Birthday to you,♪♪
♪♪Happy Birthday to you,♪♪
♪♪Happy Birthday Dear Jessica,♪♪
♪♪Happy Birthday to you.♪♪
Hi Guys! Followed you here from Bumfuzzle and am looking forward to reading through from the start 🙂 Great work! I envy your nice, straight, clean cuts on this pilothouse project. Quick question (I searched but didn’t see it mentioned), what type of plywood are you using? I’m working on a similar project now but second guessing my use of materials.
Hi Evan! Hope you enjoy going through our blog and reading about our previous cruising adventures before we started work on this new boat! For the plywood in the pilot house we used 1/2″ A/B fir, which is also what we used for most other parts of the boat, some of these just being painted, and others being covered with a cheery veneer. Let us know if you have any more questions, we’d be happy to answer! 🙂