Wednesday August 12, 2015
So we go through all the work of ripping apart the galley, ready to get ourselves started on it so in a month or two we’re able to cook meals on our own boat instead of the marina’s grill, and it turns out we can’t do a d&^n thing in that area. Â What we couldn’t see behind the cabinets and wall was that there is a large area of pitting in the aluminum that is going to have to be replaced by our welder. Â And until that gets done, this area is basically untouchable.
In the meantime we’re now looking around to other little things that can be done. Â The good news is the welder has started this week, but we know it won’t be any time soon before he can get to the area in the galley. Â Just like us, he’s starting forward and working back. We’re thinking it will be a few weeks before that area gets touched.
Trying to do what we can, we’ve thought about making the Eurolite pieces for the wall and then removing them once the welding gets done, but there’s only a few areas we can because wherever we decide to put the new fridge (we’re debating leaving it where it was or moving it to the back corner) we’ll be using foam instead. Unfortunately the whole galley area is turning into ‘We can’t do this until this gets done, and that can’t be done until the floor is installed, and we can’t install the floor until the welding is done’. Â Which is why I’m still in the frame of mind that we should have scrapped August in the boat yard and went back to Michigan. Â Not that it would have helped with the welding though, because we still need to be here for that.
So now we’re scratching our heads and coming to the realization that what we can do at the moment are a lot of the finishing touches we had been hoping to put off until we could either A.) Do a larger area at one time, or B.) Hopefully won’t make a mess of while we’re still using the area as a construction zone. Â We still don’t want to do the final coat of paint to the walls since based on what’s happening to the primer that’s already been applied, it will become extremely dirty and have to be done again. This has now left us with varnishing and working on a small area of the floors.
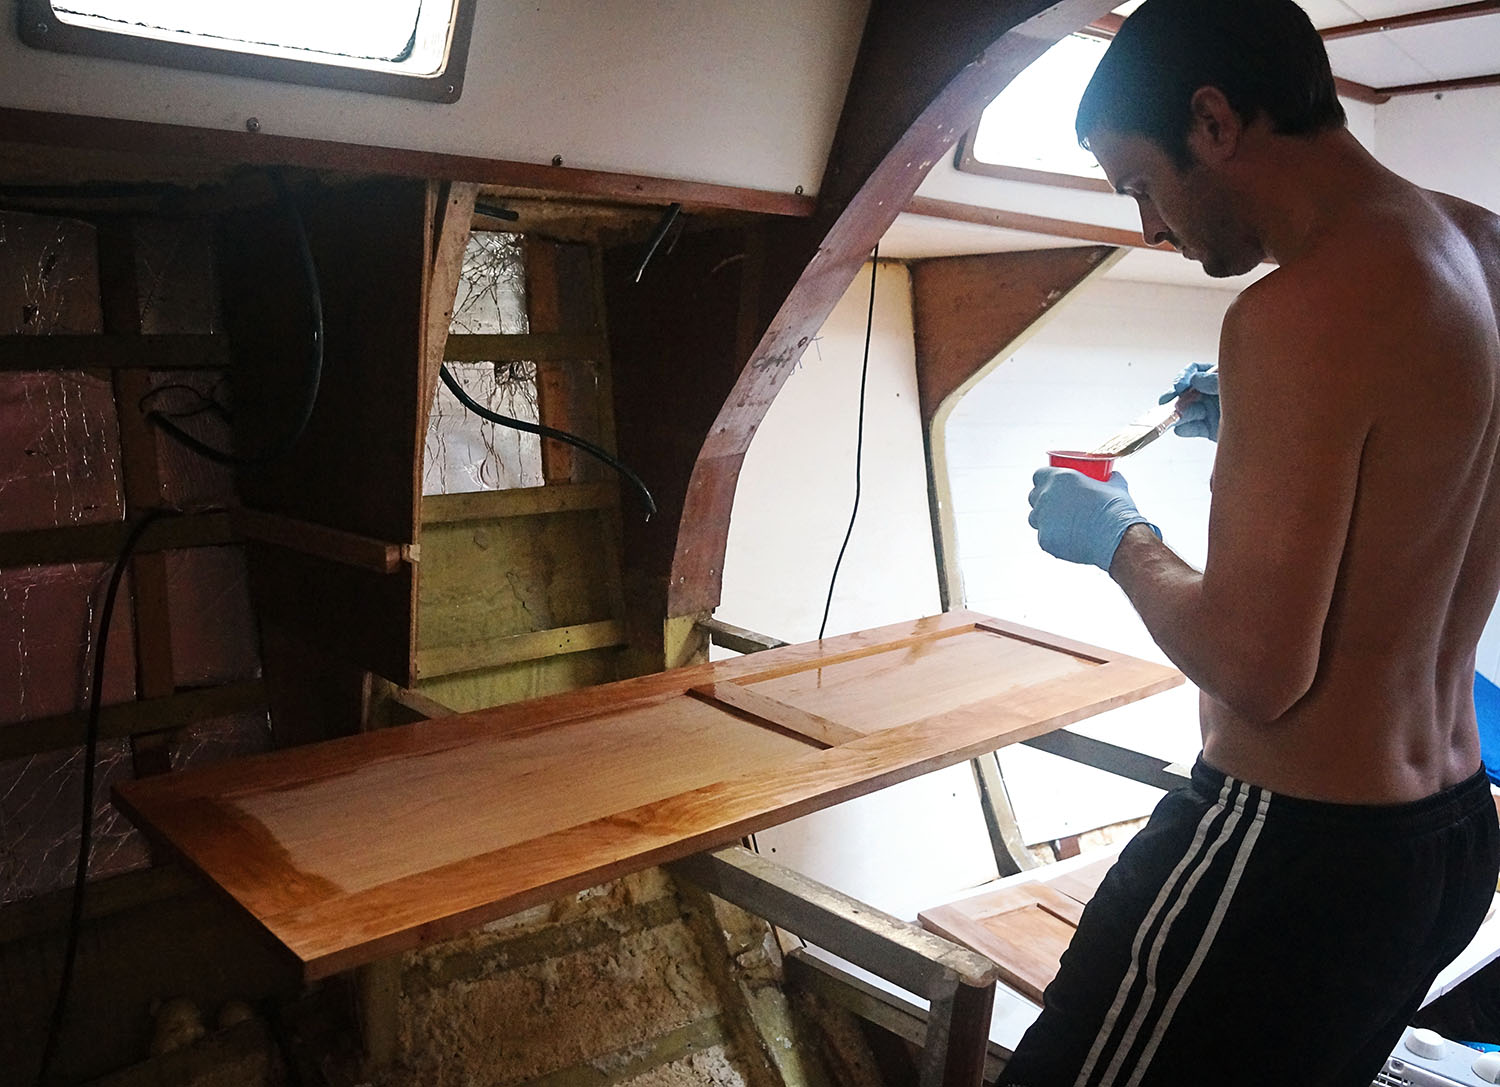
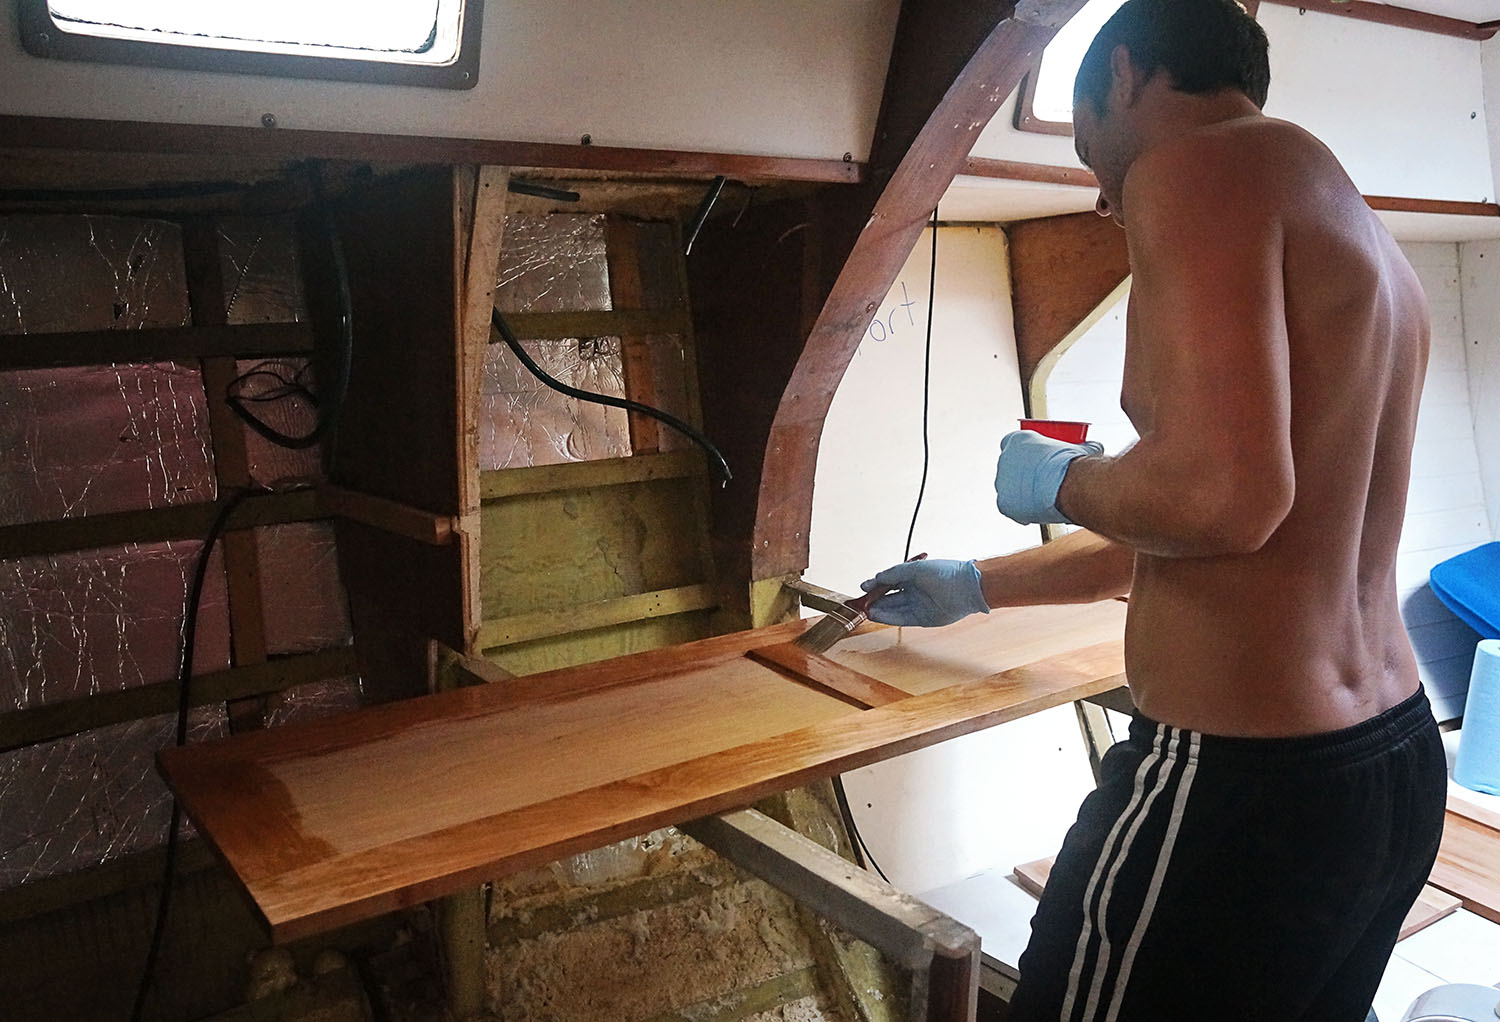
First job was the varnish. Â We haven’t done incredibly much yet with the cherry, although with the hours we’ve (Matt has) put into it by now you’d think that there would be piles and piles of wood to be varnished instead of only the cabinet doors in the v-berth and the fronts to the settee in the forward salon. The debate is still on for if we want them to have a gloss or a matte finish in the end, but we know that it will be a total of about six coats and we needed to get something on it soon to protect it.
After hours and hours of research on Matt’s part we landed on Epifanes Clear Varnish with an ultra UV filter to get ourselves started. Â If we decide to go glossy we’ll stay with that and if we want to go matte we can change it for the last few coats. From what we have seen, the varnish is taking the cherry and almost turning it into a honey color. Â Not what I was expecting it to look like at all, and honestly not exactly what I’m hoping it will stay like. Â To me it looks a little too much like oak. Â But Matt tells me that with time the wood will darken and maintain more of a cherry color.
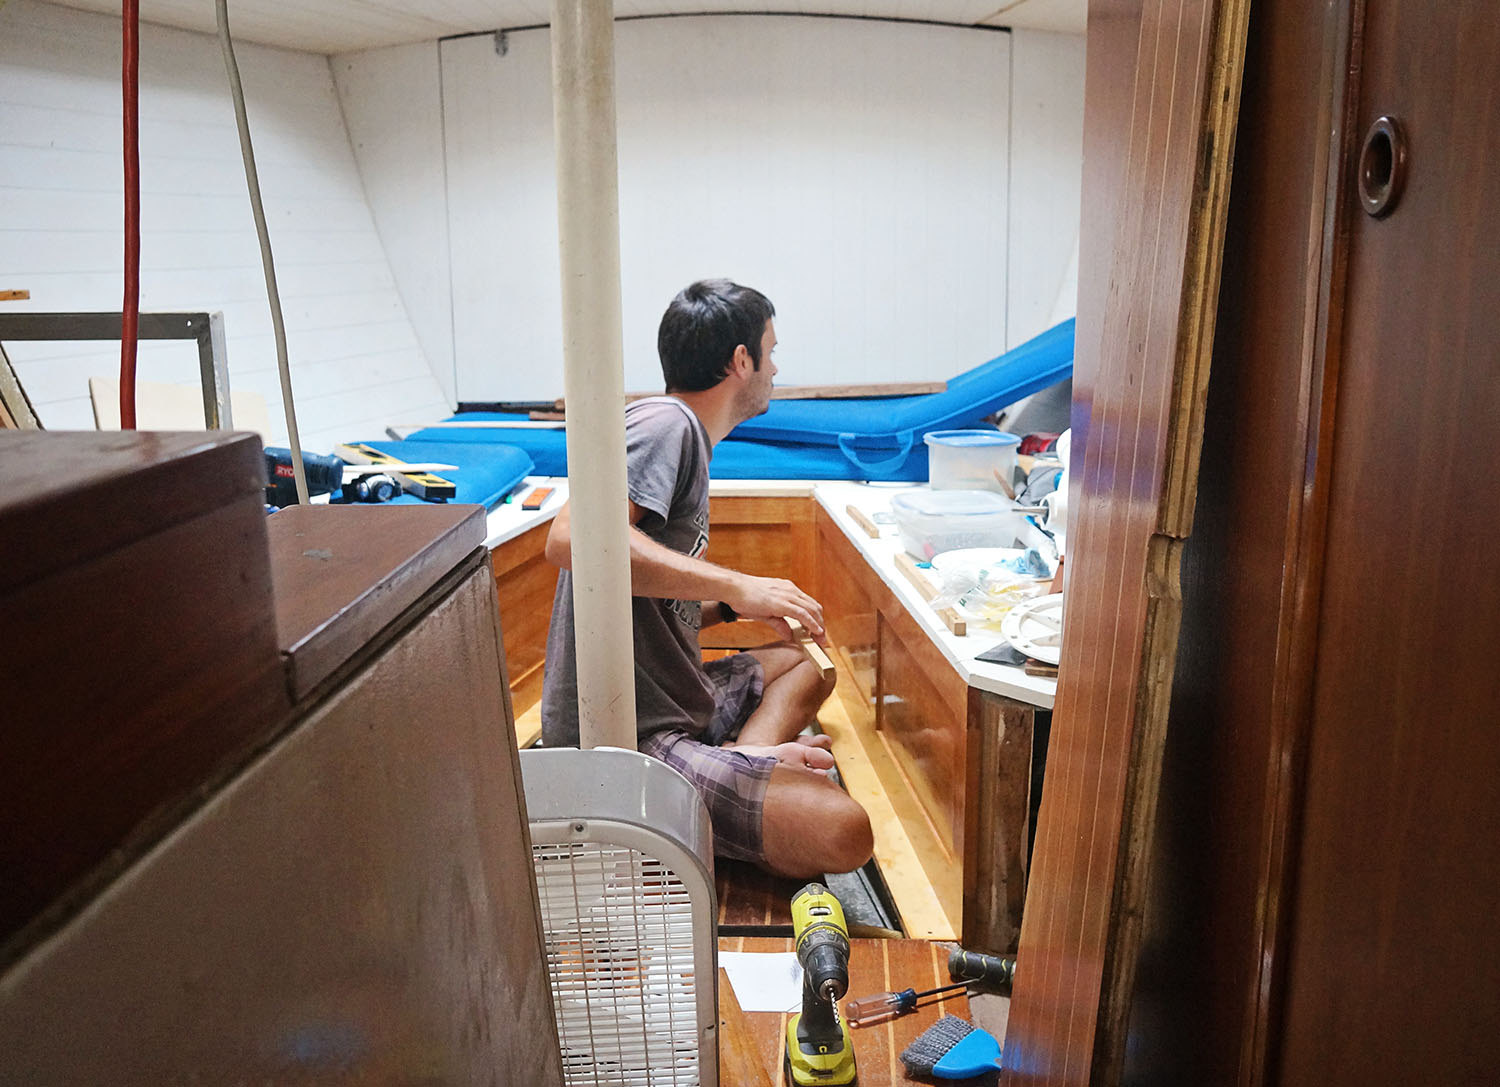
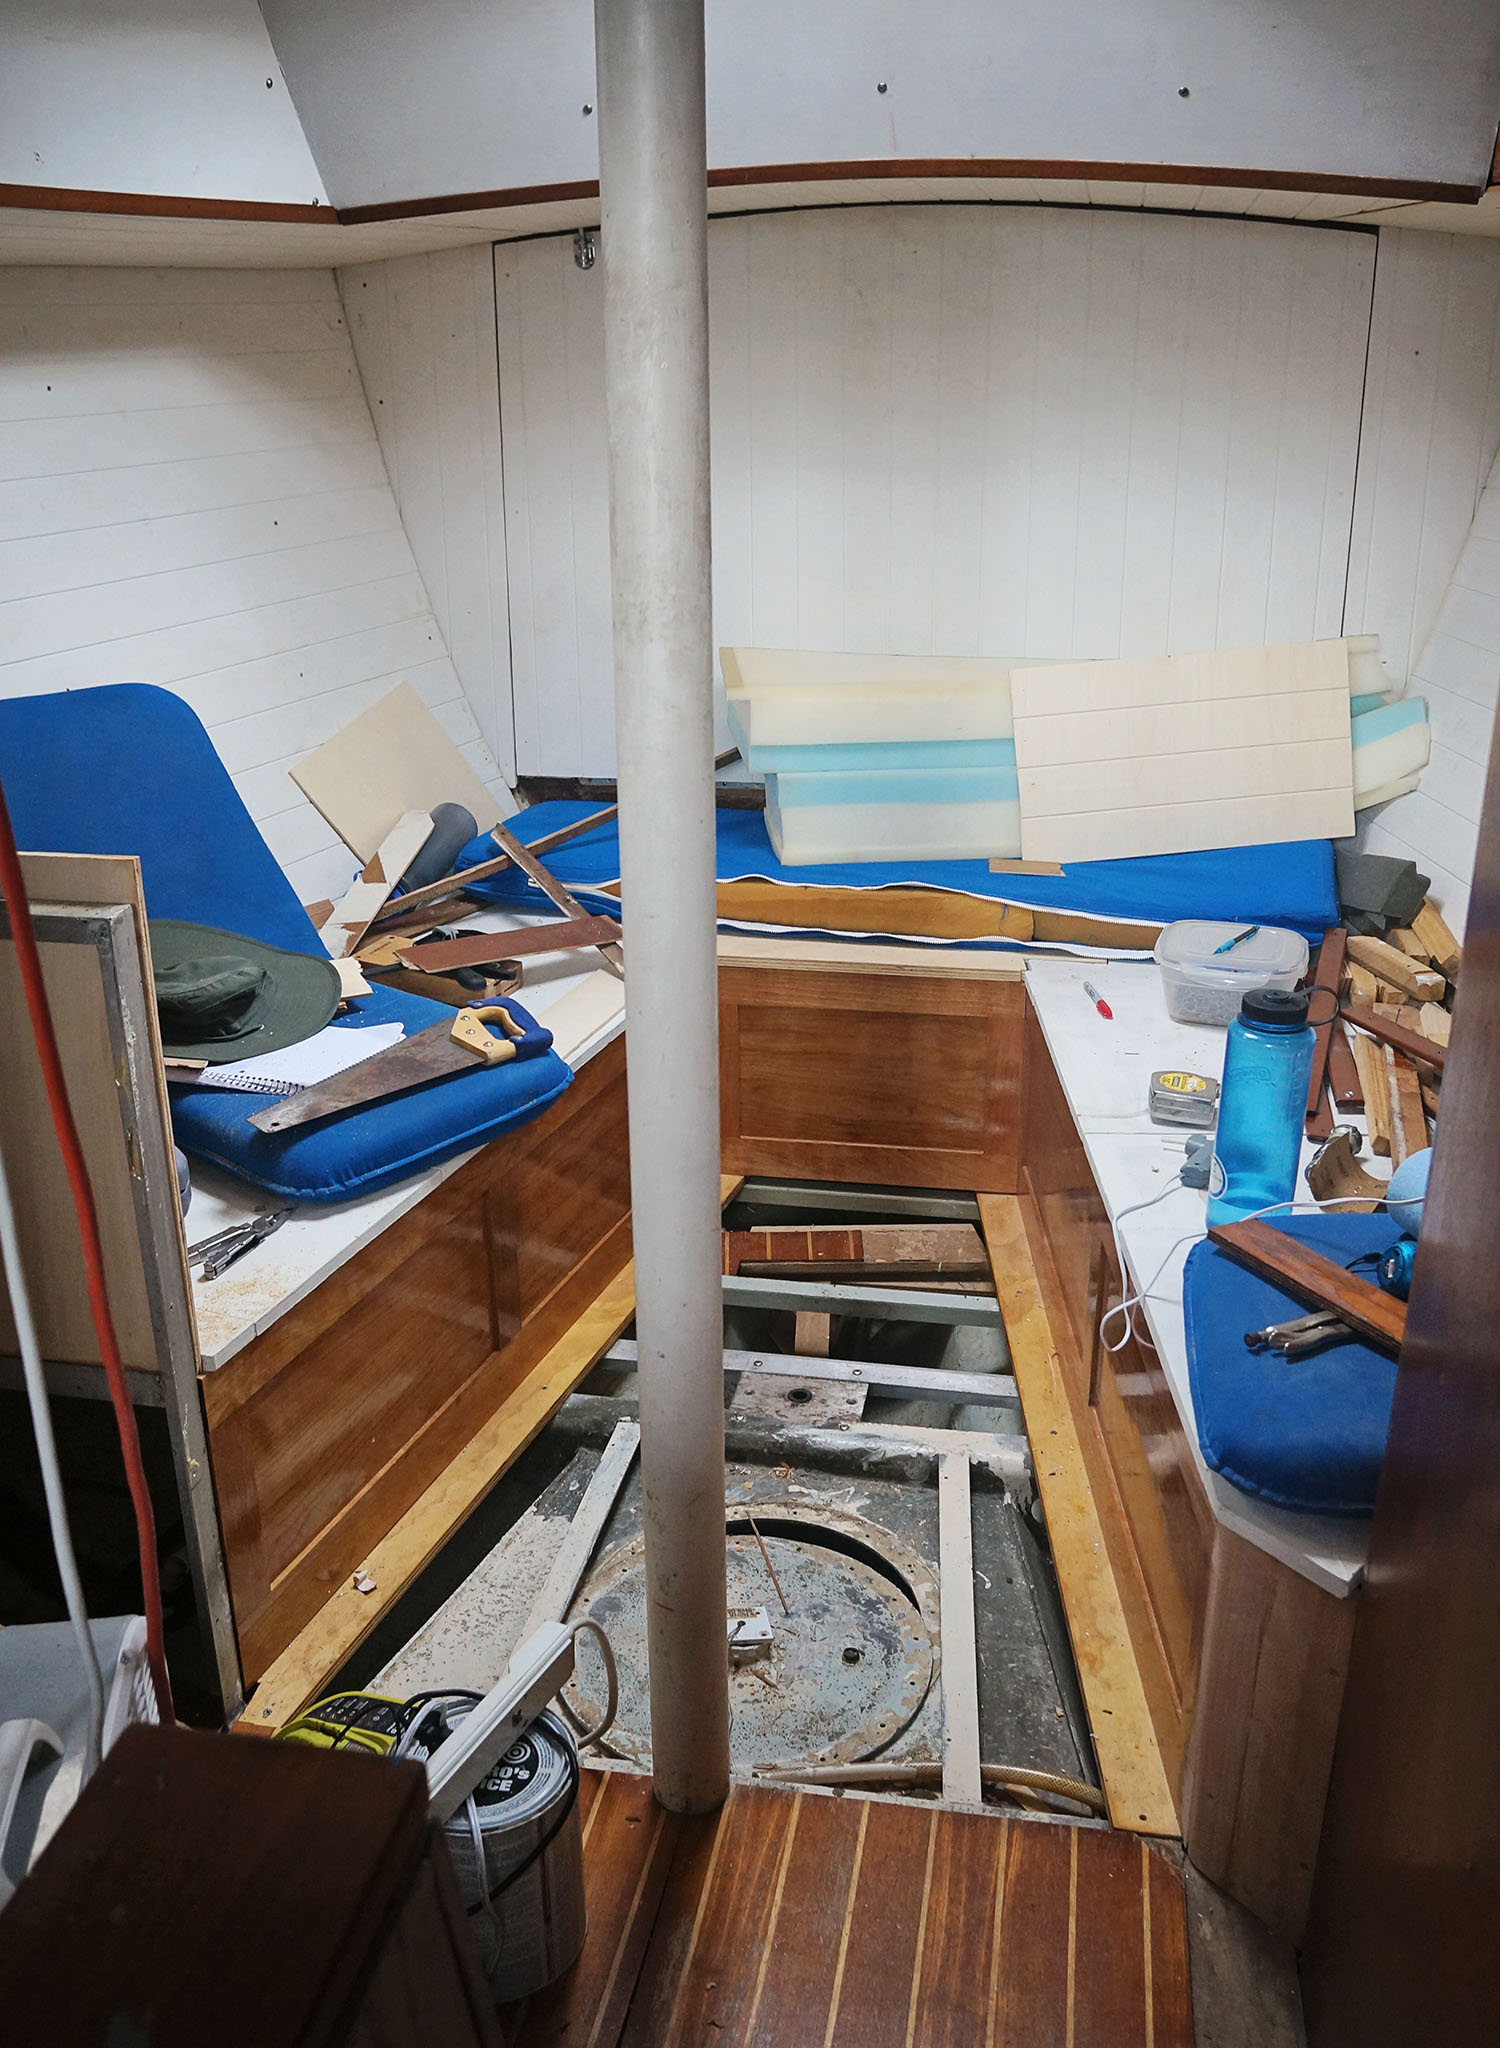
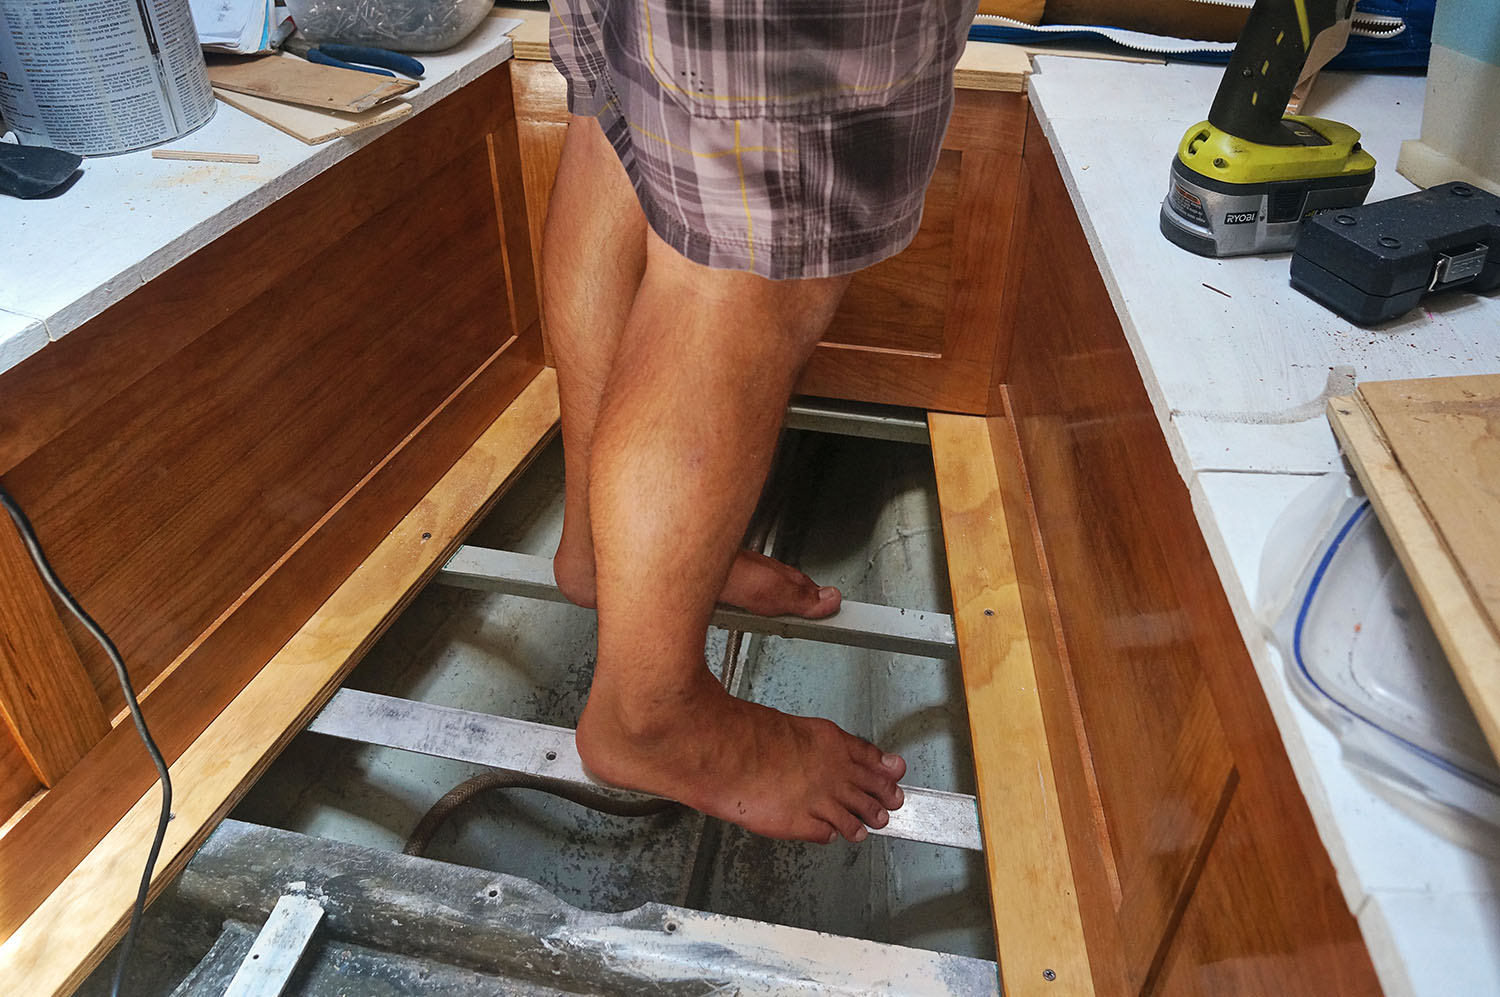
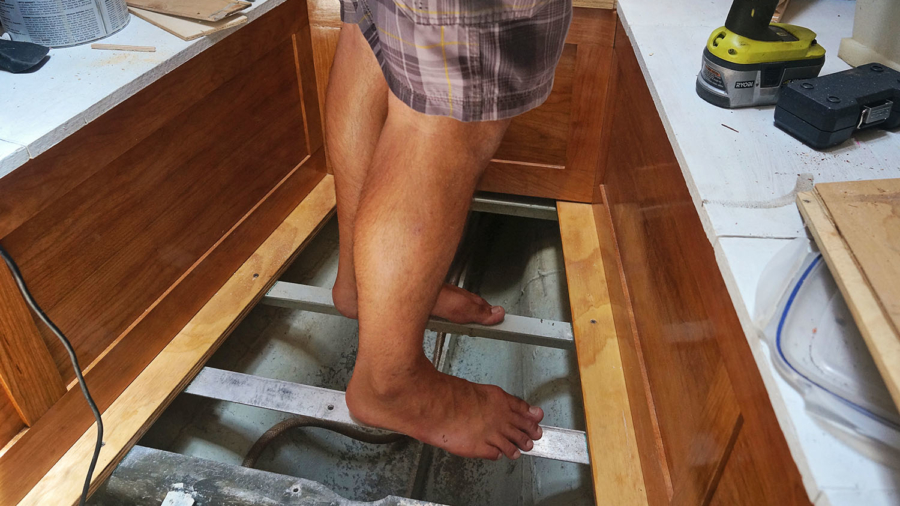
The floor has been another fun project and something we know won’t be finished until the interior of the boat is 95% done. Â When everything is finished we hope to have a 1/4″ maple wood laying on top of 3/4″ marine plywood, but we won’t be adding the maple until the very end. For the moment though, we can go ahead and lay down the 3/4″ plywood. Â Originally to me this seemed like the easiest project we’ll have taken on yet because I thought we could take the existing pieces, trace them on to the new board, cut it out, and voila!, new floor.
Turns out things aren’t exactly level on our frame though and there was one good day Matt spent on his hands and knees, measuring, leveling, moving around the fronts for the settee, and basically getting everything to perfectly match up. Â I felt so bad as this part was a one person project and all I could do was sit on the ledge for the centerboard and watch, while singing along to Pandora. Â Which I’m sure really helped his concentration. Have I mentioned lately what a great husband I have and how much work he’s putting into this boat as I usually sit on the sidelines? Â There’s no way anything would get done around here without his knowledge and focus, that’s for sure.
What did end up happening is he found out how to take the original floor boards that weren’t fitting perfectly, where to add a little extra oomph on some sides, and where we might have to add a few wedges below to level things out. Â Then we did trace the existing boards onto the new ones, added the extra where it was needed, cut a little big just in case, and then fit them into place, sometimes shaving off an 1/8″ here or there.
While they may not still fit perfectly until we can work with all the surrounding boards, but it is a huge improvement from where they were and it no longer sounds like a 300 pound man is lumbering toward us when Georgie walks across them. Â No joke. It scared the hell out of us the first few nights on the boat. Â Cheers to small improvements!