
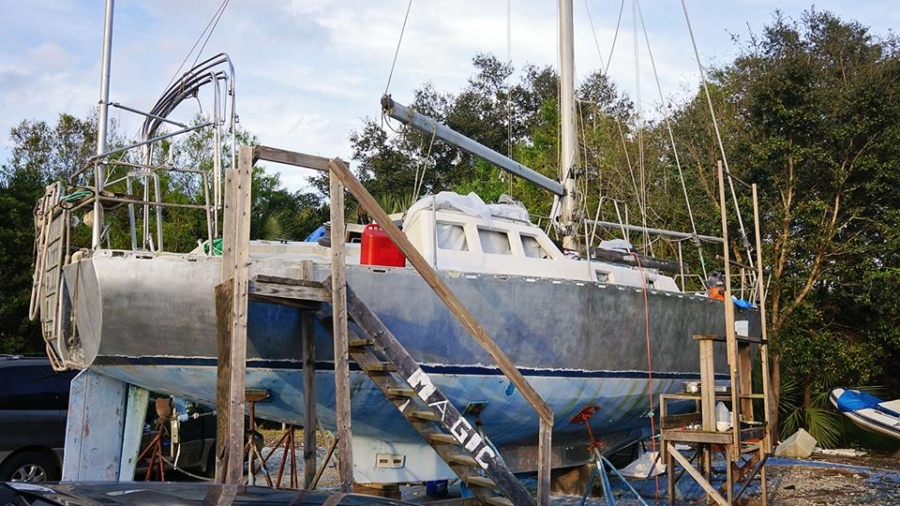
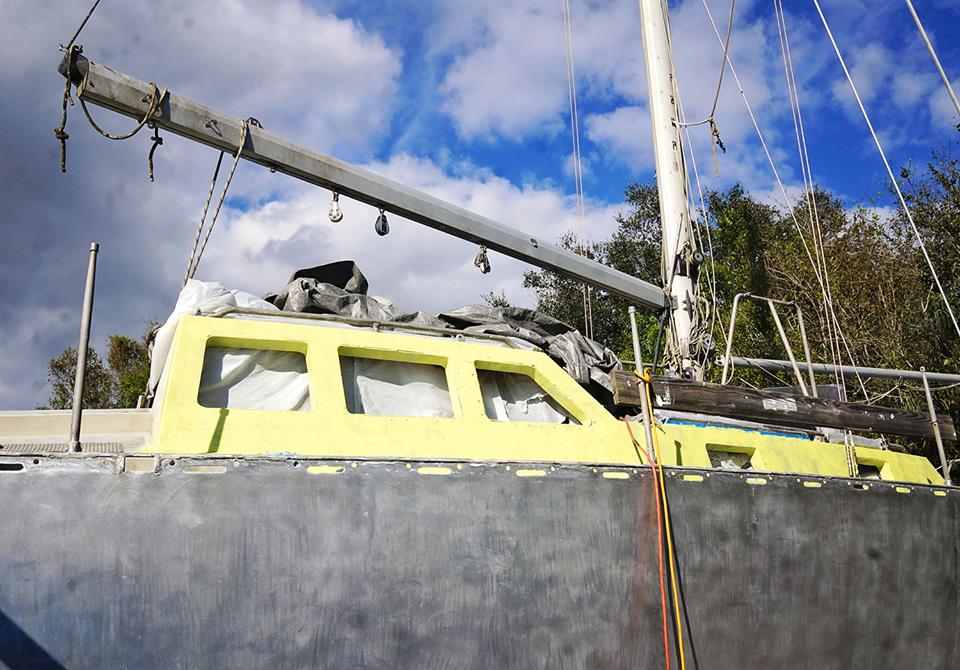
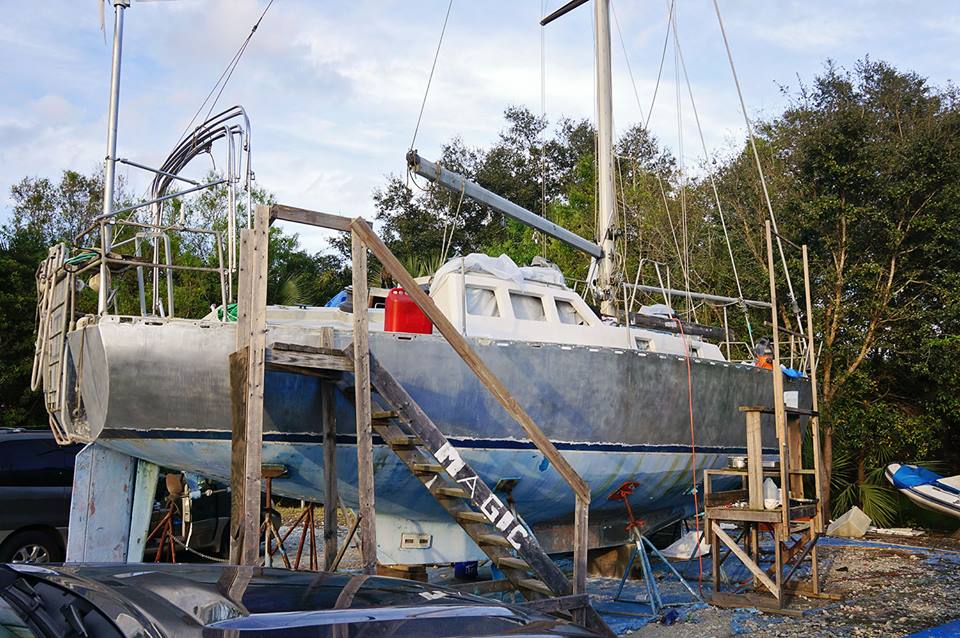
There is a final coat of paint on our boat! Â It may only be the pilot house and it may only be on one side, but it still feels like a huge success. Â This also means that we can now put windows in on that side. Â No more trashy tarps for this couple. Â At least on that side. Â Although we do have to wait 7 days for the paint to fully cure before we apply those windows, so maybe I shouldn’t speak too soon.
After the whole debacle of trying to find the right paint, things began to go much smoother. Â Starting the process all over again, we ground the old barrier coat off and once again got all the way down to metal. Â Still starting out with a coat of Petit Aluma Protect , this time we used Interlux Interprotect as our barrier coat. Â This applied much easier and once it dried, we found it sanded down the way we wanted. Plus this time we correctly purchased the white (instead of gray) which not only looked much better when applied, but helped the blend in with the next coats.
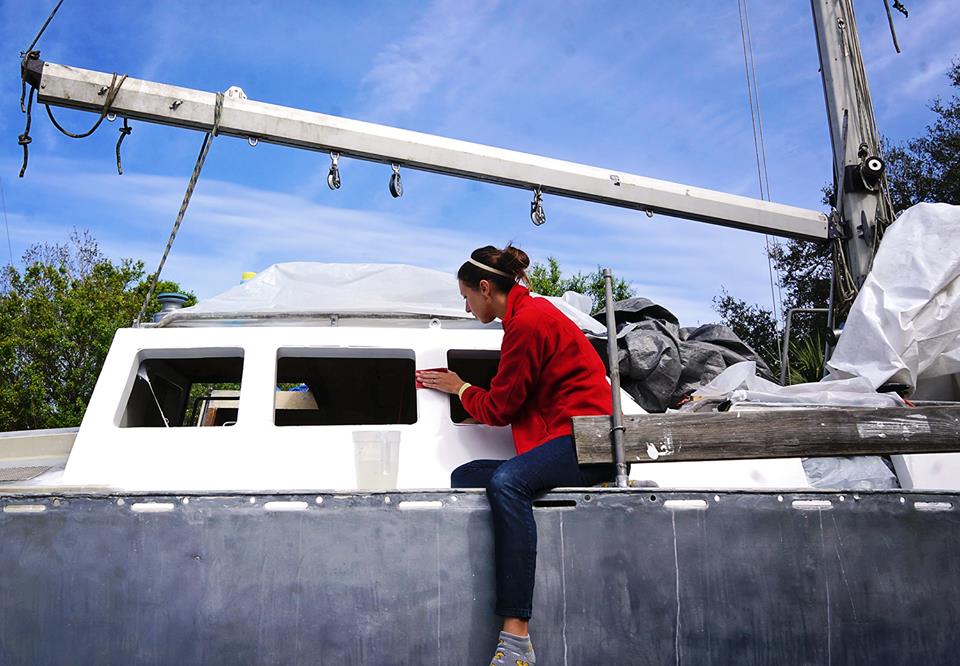
To be on the safe side we applied two coats of the Interprotect and after each coat I sanded the area down to a smooth surface using 100 grit sandpaper. Â I won’t lie, that part was a pain in my butt. Â For some reason it would take me a full day just to do one round of sanding, but we’re both kind of being perfectionist about this whole thing. Â Every time I think I’d be finished I run my fingers along the side of the boat and find that one area was still a little bumpy, and then I’d have to go back and smooth it down. Â By the time I’d actually finish, I swear it felt as smooth as silk.
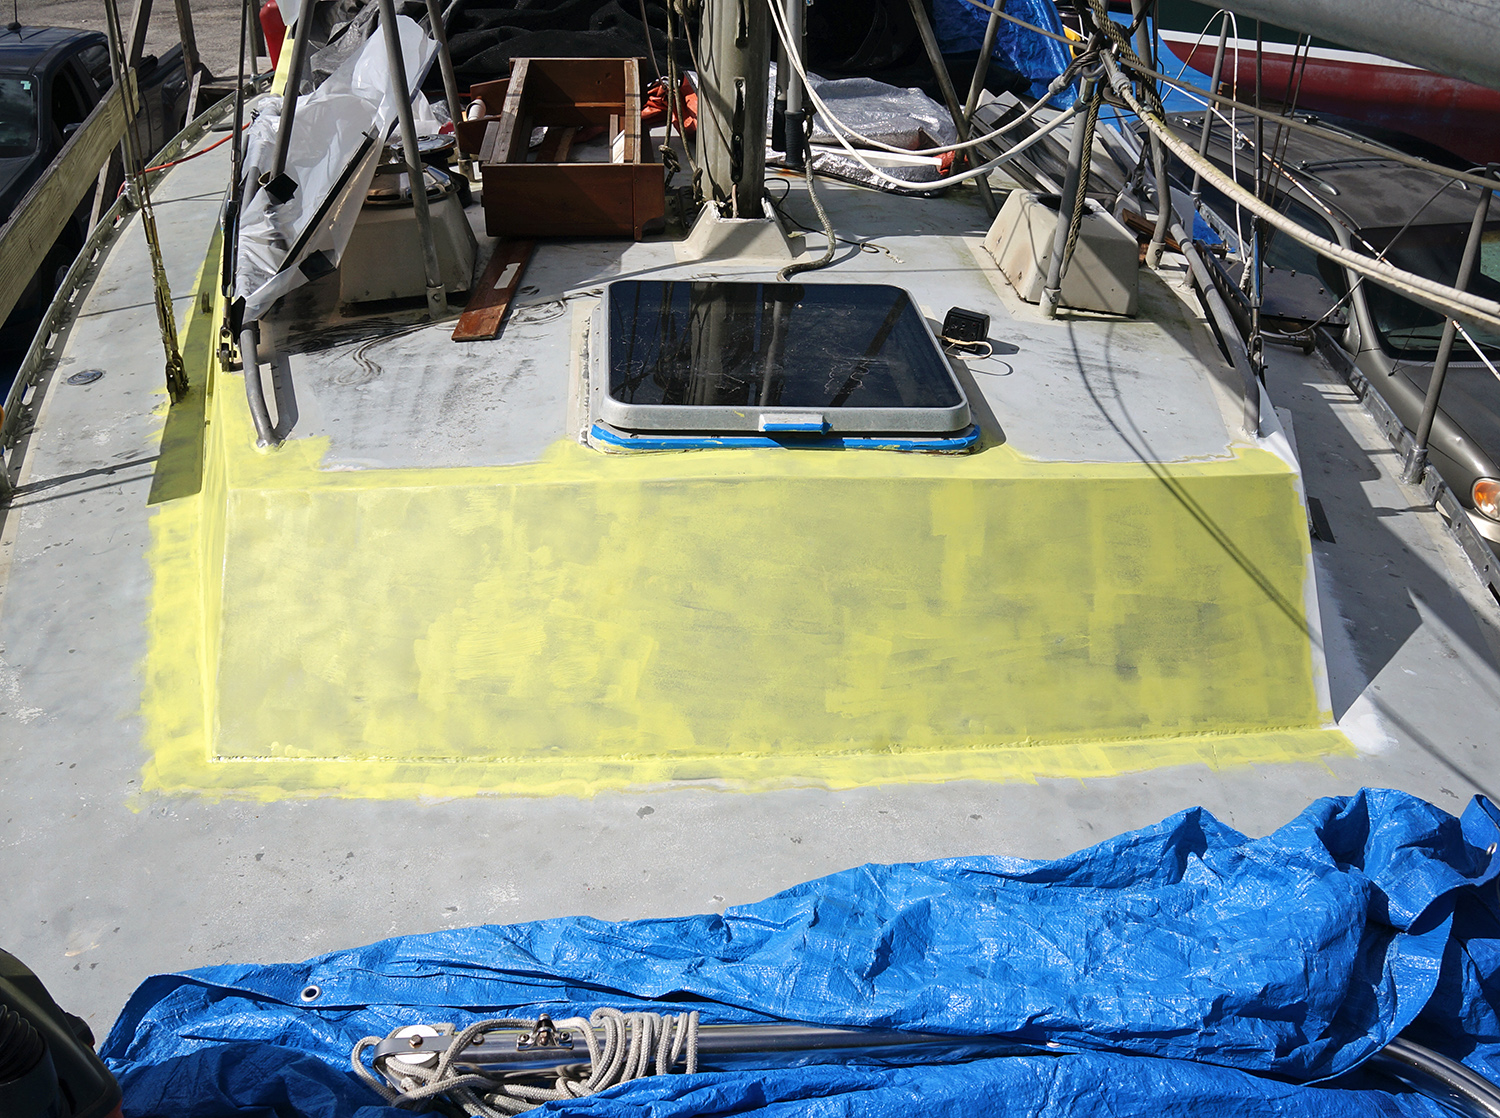
After the barrier coat was applied and smoothed, the same exact process would follow with the primer. Â For this step we used Interprotect Epoxy Primekote. Â Once the epoxy primer was on I would switch to a 220 grit sandpaper and also do a wet sand instead of a dry. Â The sanding on this round wasn’t quite as labor intensive to my arms, this coat went on a little smoother, ans we also switched to foam rollers which I think helped to create a smoother surface to start with. Â The time to sand was still the same though, because the next thing to come was the topcoat and no mistakes would be hidden under that paint.
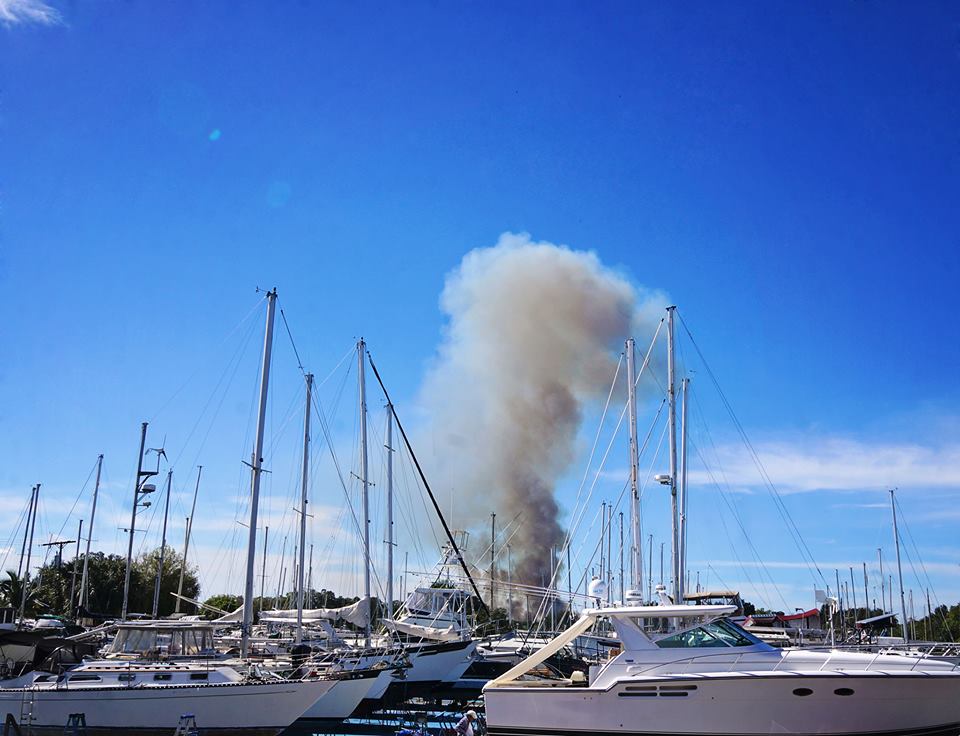
It was surprising just how long all of these steps took before we were even at the point where we could put on the first coat of top paint. Â Between the grinding, aluminum primer, barrier coats, and primer coats (4-5 all together), and the days of sanding in between, it had already taken us just over a week to get to this point. Â Then just when you think you’re ready to roll and begin with the topcoat, it begins raining ash on your boat. Â No, I’m not joking. Â All around the marina are sugarcane fields and lately they’ve been burning huge sections almost every day. Â Sometimes we see nothing more than a big smoke cloud in the distance, and other times, like when we were trying to paint, the wind would be coming just the right direction and delivering all the airborne ash to our boat. Â Grrrr. Â So the painting had to be put off for another day.
When we did begin that project it was time for Matt to join me again to work as this was a two person project. Â Doing lots of research online and talking to other boaters in the yard, we’d found the consensus to be that the best application came from a roller, and with another person dry rolling behind. Â We had originally planned on rolling and tipping, but we thought we’d give this a try and it seemed to work pretty well for us.
Using Pettit EZ-Poxy 2 part polyurethane marine paint, we spent a few minutes making sure we’d measured the 4:1 ratio correctly into the coffee tin we were using as our mixing container, and then added enough Pettit brushing thinner to get it to a point where it was dripping as soon as the mixing spoon was taken out of the mixture, instead of having a thick stream.  We’ve heard this makes for a smoother coat, although it did make us worry about how thick that coat would be.
With Matt going first, he would roll on a decent amount of paint, trying to spread it out enough so there were no runs. Â As quickly as I could behind him, I would ever so lightly roll over what he had just completed to rid the surface of any air bubbles the original roller may have caused. Â The first few minutes were full of cussing and deficient complaints toward each other that the other was not doing the process correctly, but after a few minutes we got in our groove and worked very well together.
We knew one coat would not be enough, so the next day I went back at it with another round of light wet sanding with 220 grit. Â It seemed as if even my light sanding was taking off more than we liked, and when the second coat was applied we still weren’t satisfied with the finish. Â It looked from certain angles as if we could still see the slightly darker primer coat underneath, and because we were new at it, the finish still wasn’t as nice as we were hoping for. Â So once more I went back to lightly sand and we went through and applied a third topcoat the day after.
3 topcoats seemed to do the trick, and honestly, I just didn’t have it in me to go another round. Â All I wanted was to get the new windows in and start on the next section of deck so we could keep things moving along. Â Overall we’re happy enough with the job we did. Â Again, we don’t know how much had to do with the product or the workers, but it wasn’t exactly what we’d hoped for. Â From afar it looked pretty good, but up close you could see small ripples in the paint left from the rollers. Â Because we started with the side of the boat that’s mostly shaded from the sun, it wasn’t until we did the next side we noticed how those ripples are more visible in sunlight.
Initially we had chosen the 2 part topcoat because it gives a harder topcoat and is less likely to chip. Â The bad news with it, as we know now, it that it is a fricking pain in the ass to apply and goes on much thinner than a 1 part would have. Â Also, because you need to mix the two parts together to make it….we’re less likely to go back and touch up chips until there’s a number of them that need addressing. Â Oh well. Â Live and learn. Â I guess we’ll know for the next boat.
*Ummm…I forgot to take photos of the finished paint before we put the windows in. Â And since I don’t want to ruin that surprise for you, you’ll have to wait for the next boat work post to see how it came out. Â 🙂