Sunday October 13, 2013

If I’ve been waiting a long time to complete the shade curtains in the cockpit, I’ve been waiting just as long to do the project of making jerrycan covers. Probably longer. In fact, I think this was supposed to have been completed back in Michigan, before we even left on this trip. As much as I had been putting it off though, I knew that it needed to get finished now. Aside from the constant nagging from Matt, there were other reasons. First, is that our jerrycans look terrible sitting on the side of the boat. They were a visual abomination on an otherwise clean slate as they clashed with the colors and lines of Serendipity, and also making us look as if we were giving a lesson in primary colors. Do you know how many times I’d have to Photoshop those red and yellow cans away for a decent photo? Ok, so maybe it was only for our boat card photo (where I also edited out Rode Trip, ha!), but still.
The second reason I knew I needed to complete this project now is because one of our diesel jerrycans actually received so much sun damage that it cracked and began leaking fuel. Yes, this project could no longer wait. I should say though, that I tried to start making one in Florida, but I failed horribly at that first attempt and didn’t have the energy, or desire, to go back and do it correctly at that time. For 10 months, that sorry excuse for a jerrycan cover sat folded up in the aft cabin with wishes to never see it again.
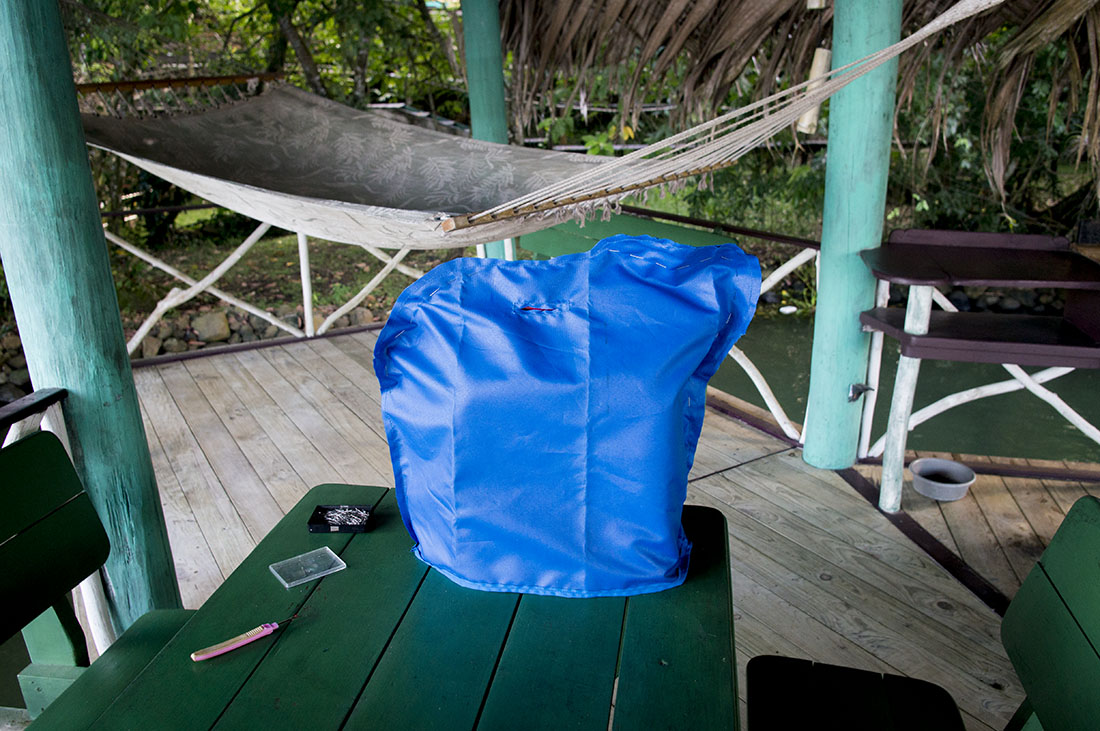
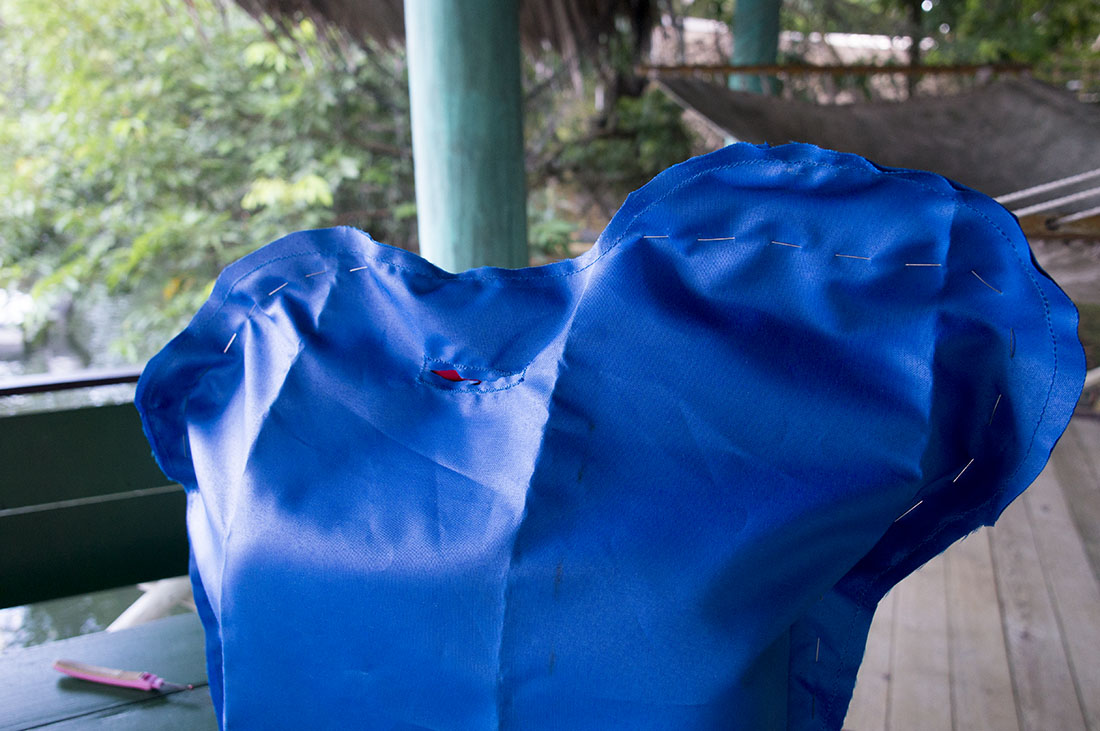
Now that I really needed to finish what I started, I was happy to have some kind of template to work with. This one was made for our squarish shaped diesel can, and having Matt lug the full five gallons of it’s content to the picnic table in the ranchito, I slipped the cover over it to see it once more swimming in a sea of blue Sunbrella. Doing a bit of tugging and gathering here and there, I realized the four panel design was not necessary and I could take the back one off. After this was done I flipped the fabric inside out, placed it back over the jerrycan, and pinned the loose fabric together in the back. I realized that the original cover was way too long and I needed to take a few inches off from the bottom. Pinning these up as well, I kept making adjustments to the extra fabric in the back, trying to keep the lines as straight as possible. I spent a full day on this one jerrycan, pinning, un-pinning, repositioning, and then pinning again. The next day I went back to sew and ended up with something that wasn’t the prettiest jerrycan cover in the world, but it fit.
The other two jerrycans needed to be made from scratch and I seemed to be at a loss for this. Let me just mention right now that sometimes logistics are not my high suit and I miss very easy solutions that are right in front of my face. I’m sure there was a simple and logical solution on how to make good looking jerrycan covers without a predetermined template, but that’s not the route I took. Oh, I did go for simple, but good looking was left way back in the dust. For the next set of covers I took one of the jerrycans and laid it on it’s side on the Sunbrella fabric. From there I pulled the fabric up to meet the middle of the jerrycan and marked it. I traced the pattern all the way around and then marked another line a half inch further out to allow for the seam. Cutting the fabric I traced this outline once more on the Sunbrella so I could cut the other side.
Once I had both sides cut I pinned the fabric at the edges and placed it over the jerrycan to check it’s fit. I found that the sides were mostly accurate but there was extra fabric gathering at the top. Removing those pins, I positioned them lower for a tighter fit. Then it was on to the sewing machine. With my Brother, I sewed the exact line of the pins, pausing the machine every few moments to take out the next few pins before they were hit with the needle and thread. I was kind of surprised at what ease this project was turning itself out to be. Once I had the two pieces sewn together I once more threw the cover over the can to check it’s fit. There was still a bit of loose fabric at the top, so I once more pinned it closer to the body of the jerrycan. Another run through the sewing machine and a cut of the extra fabric later, I had a simple but snug cover that fit over the jerrycan but still easily lifted off.
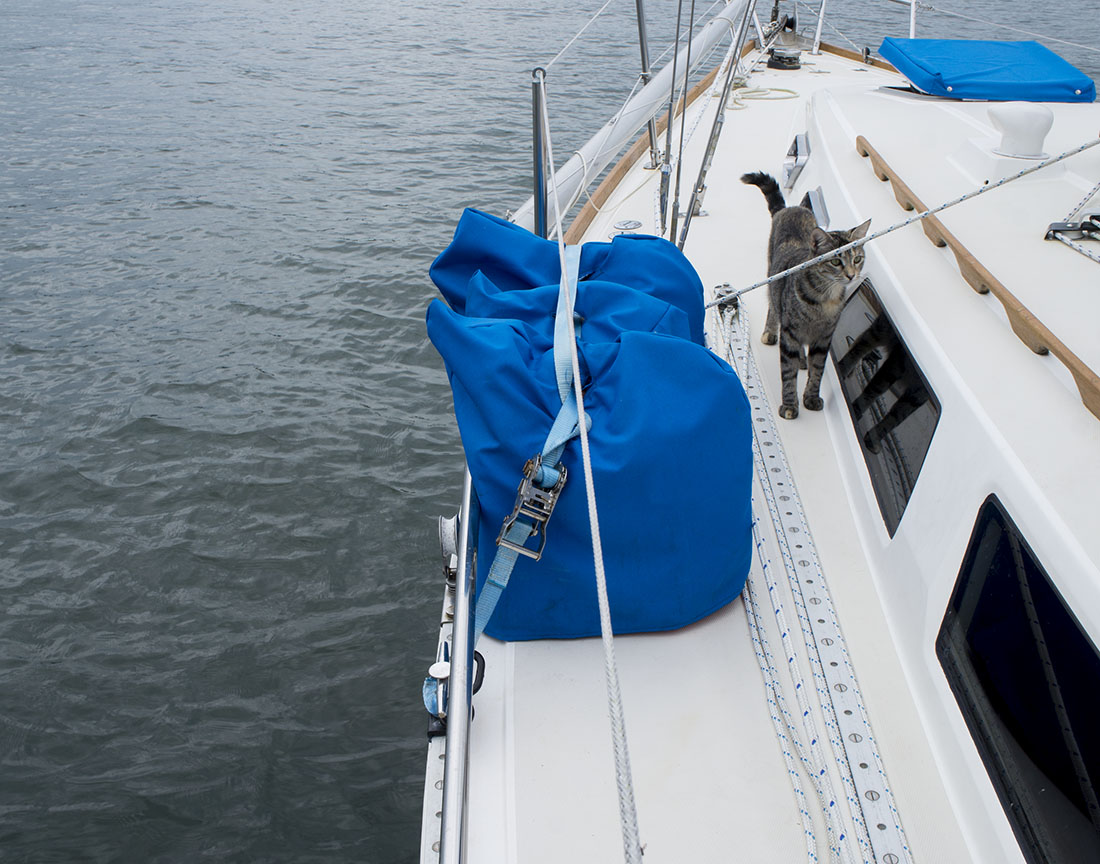
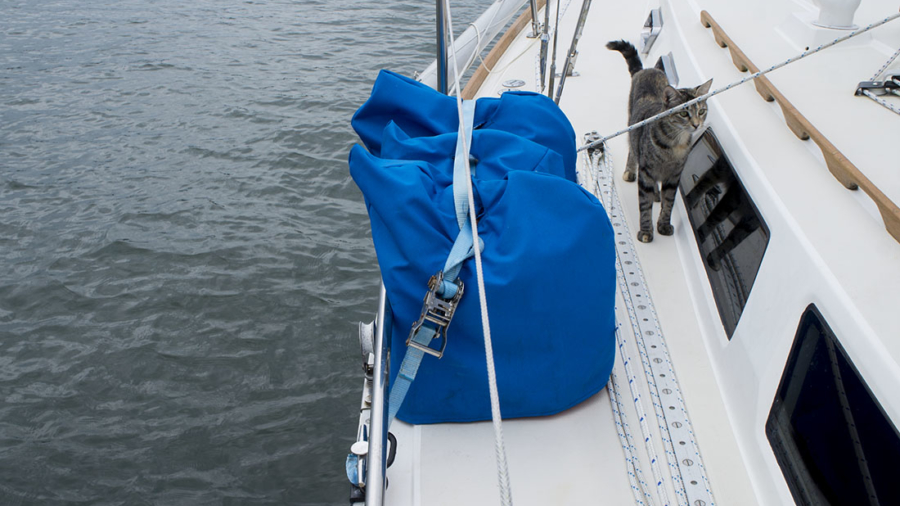
I followed these same steps for the last jerrycan (at least I was logistically smart enough to trace and cut the fabric for the second cover from the first one), and I was almost finished. At the top of each cover I sewed a very tight rectangle of thread which I then cut a sliver in the center of to allow for the strap of the wrachet to slide through so we could continue to secure them to the deck. They sure don’t look like much from up close, and had I done a little more researching I probably could have found a better design (although all that sewing lingo completely throws me off and always leaves me utterly confused), I’m happy to have them done. Besides, at they sit strapped to the side of the boat now, they actually look pretty decent from far away.
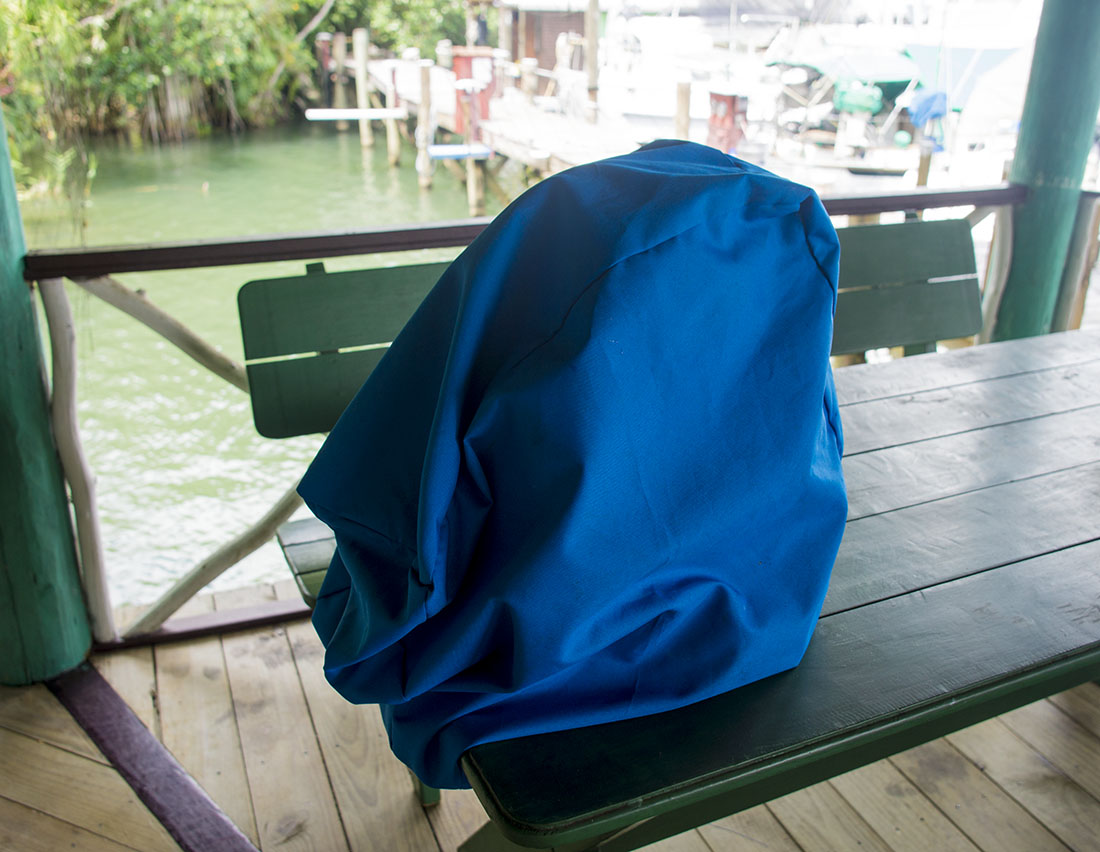
First attempt, ……. not even close.
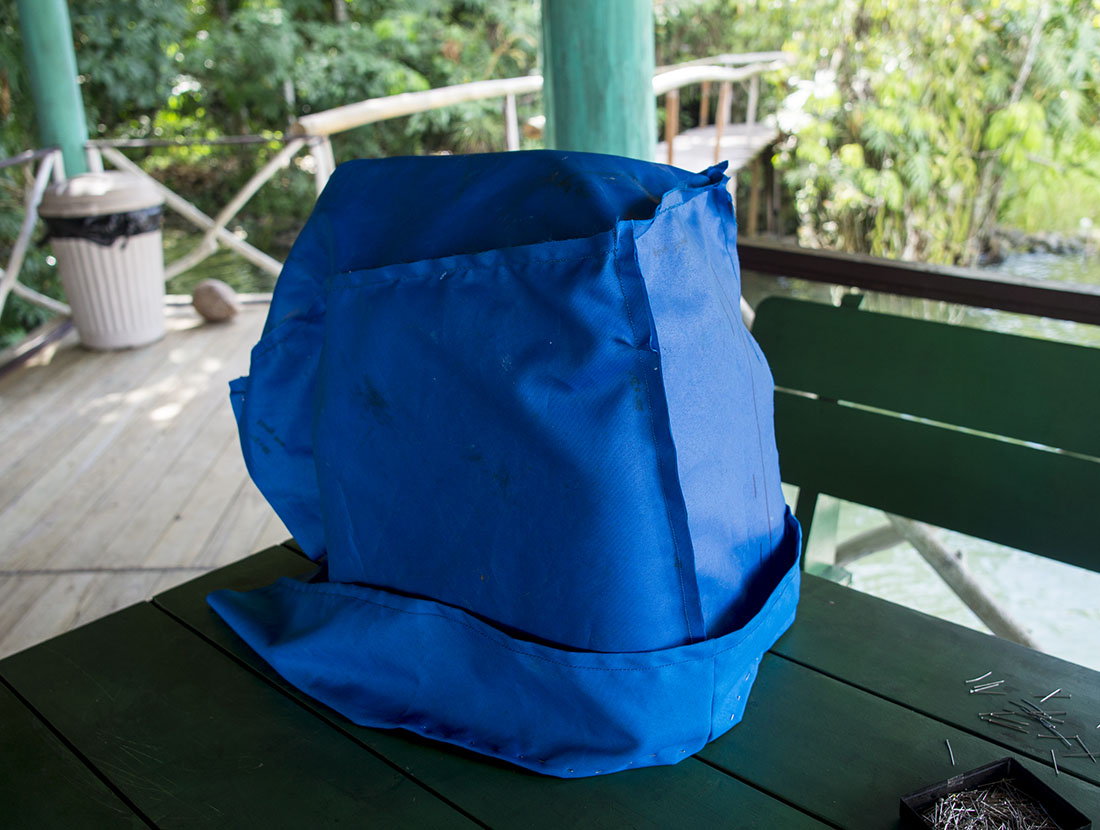
It starting to take shape!
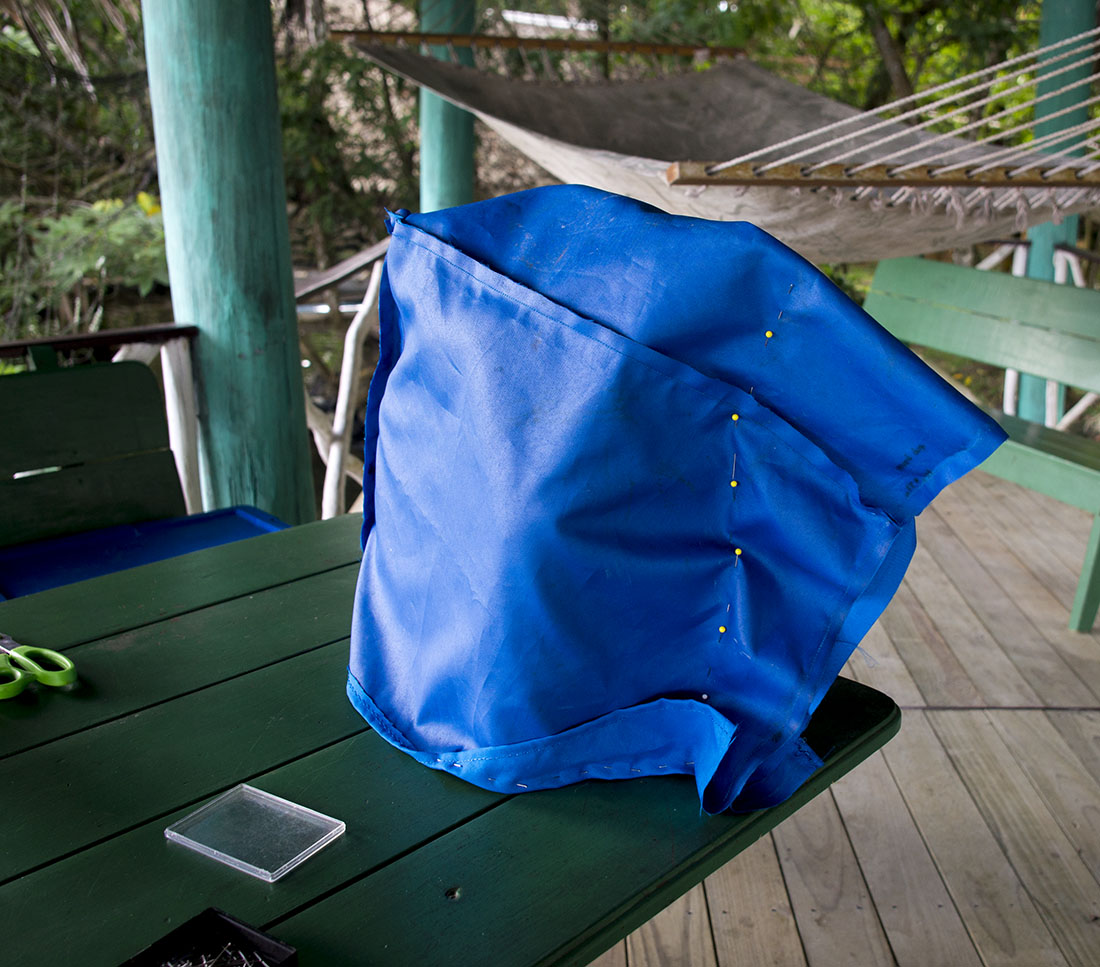
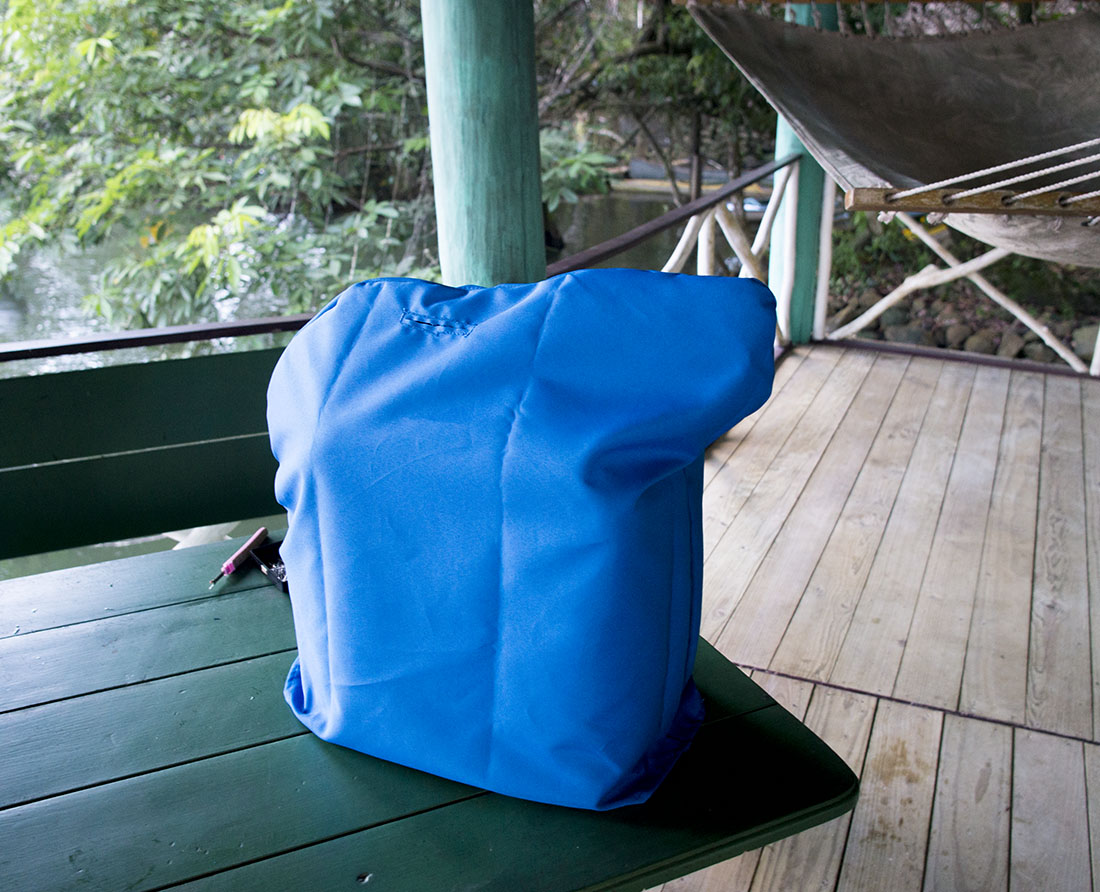
A couple more stitches, and the first one is done!