
Monday September 7, 2015

Last week was our first real vacation since we arrived in Florida in March, and our welder’s first vacation from working on our boat since he started just over a month ago. Â Between 3-4 days a week for least 4 hours a day he’s been under Daze Off, sweating in the August heat in his jeans and long shirts. Â I’m sure he was just as ready from some time away from our boat as we were.
Real Feel outside, 105°.
If you’ll remember back to the beginning of June when Daze Off was first moved into the work yard, we had our favorite surveyor, Dylan Bailey, come take a look at her and do a 1,000 point ultrasound across her hull. Â With all of his pinpoints we were able to map out areas of the hull and keel where corrossion had effected the thickness of the aluminum to the point where it would be safer to replace those areas with new sheets. Asking a welding services expert as to what is the safest option when it comes to such processes.
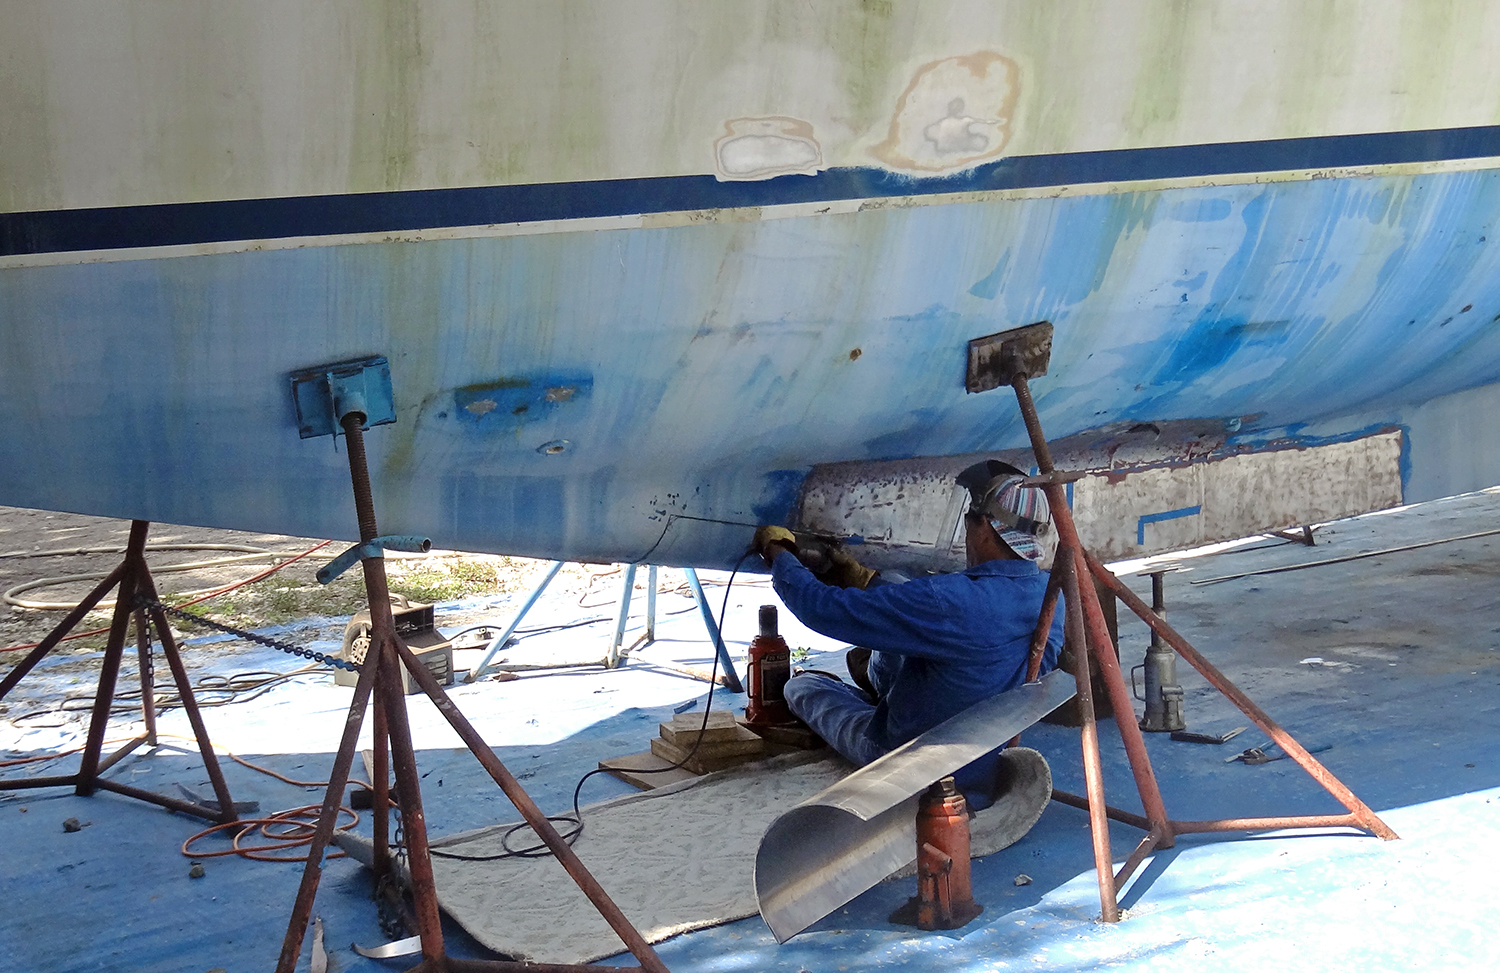
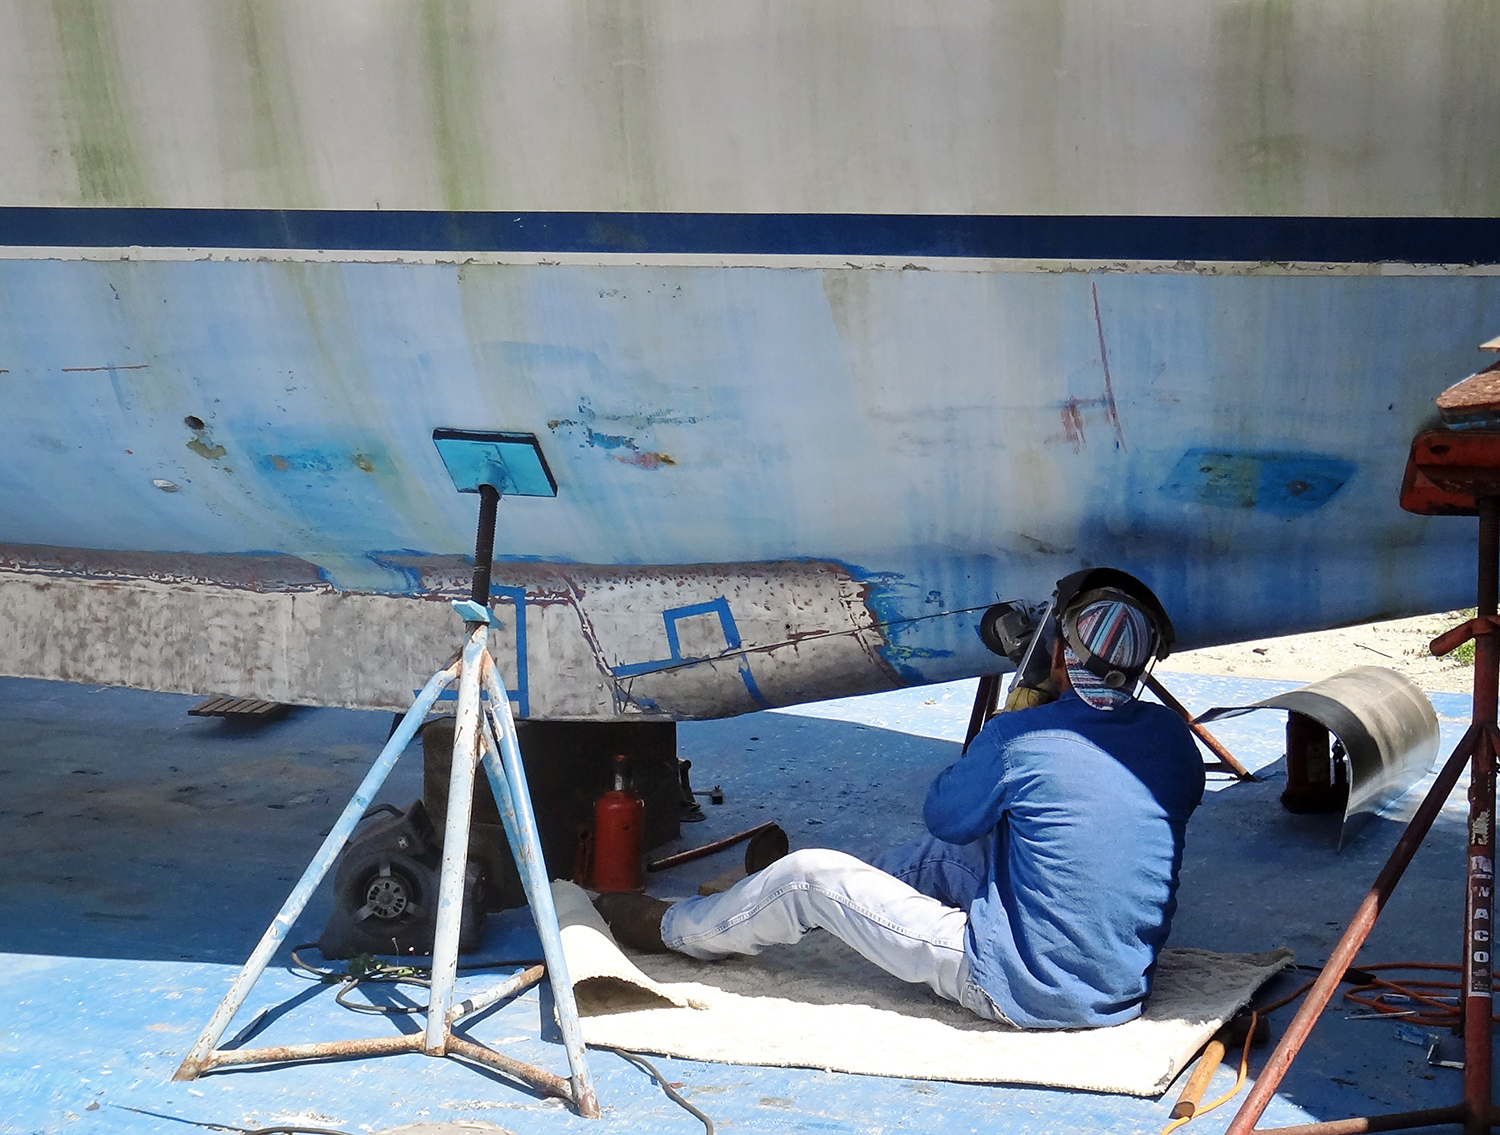
Just like us, our welder has decided to start forward and work aft, meaning the first area to be touched would be the very front of our keel. Â A section of about 24″ wide by 36″ long that wraps around from one side to the other. Â Basically, what would be one of the more difficult and most time consuming areas of our welding process. Mapping out the exact area we wanted to replace the first thing to be done was taking the replacement sheet of aluminum and shaping it to the hull.
Again, this was the part that was going to take the longest as it’s an odd shape and we obviously want it to fit perfectly when it’s time to go in. Â Before we even cut out the piece to be replaced there were a few days of bending and forming to get ourselves as close as possible before we cut out the existing piece. Â Literally leaving a gaping hole in the bottom of the boat once it comes out, we want to make sure that it won’t take very long before the new piece is able to be attached. Â Mosquitoes are in prime season here and the last thing we need is and open invitation for them to come and join us in our bed every night.
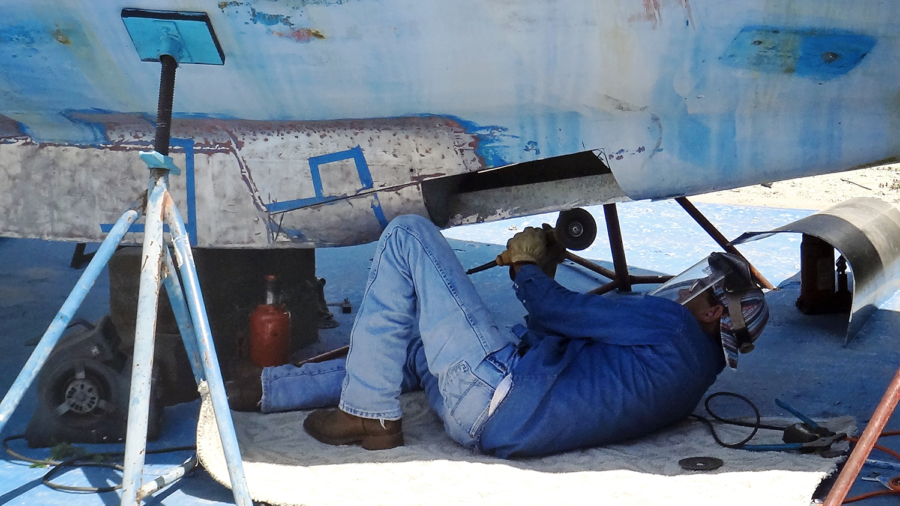
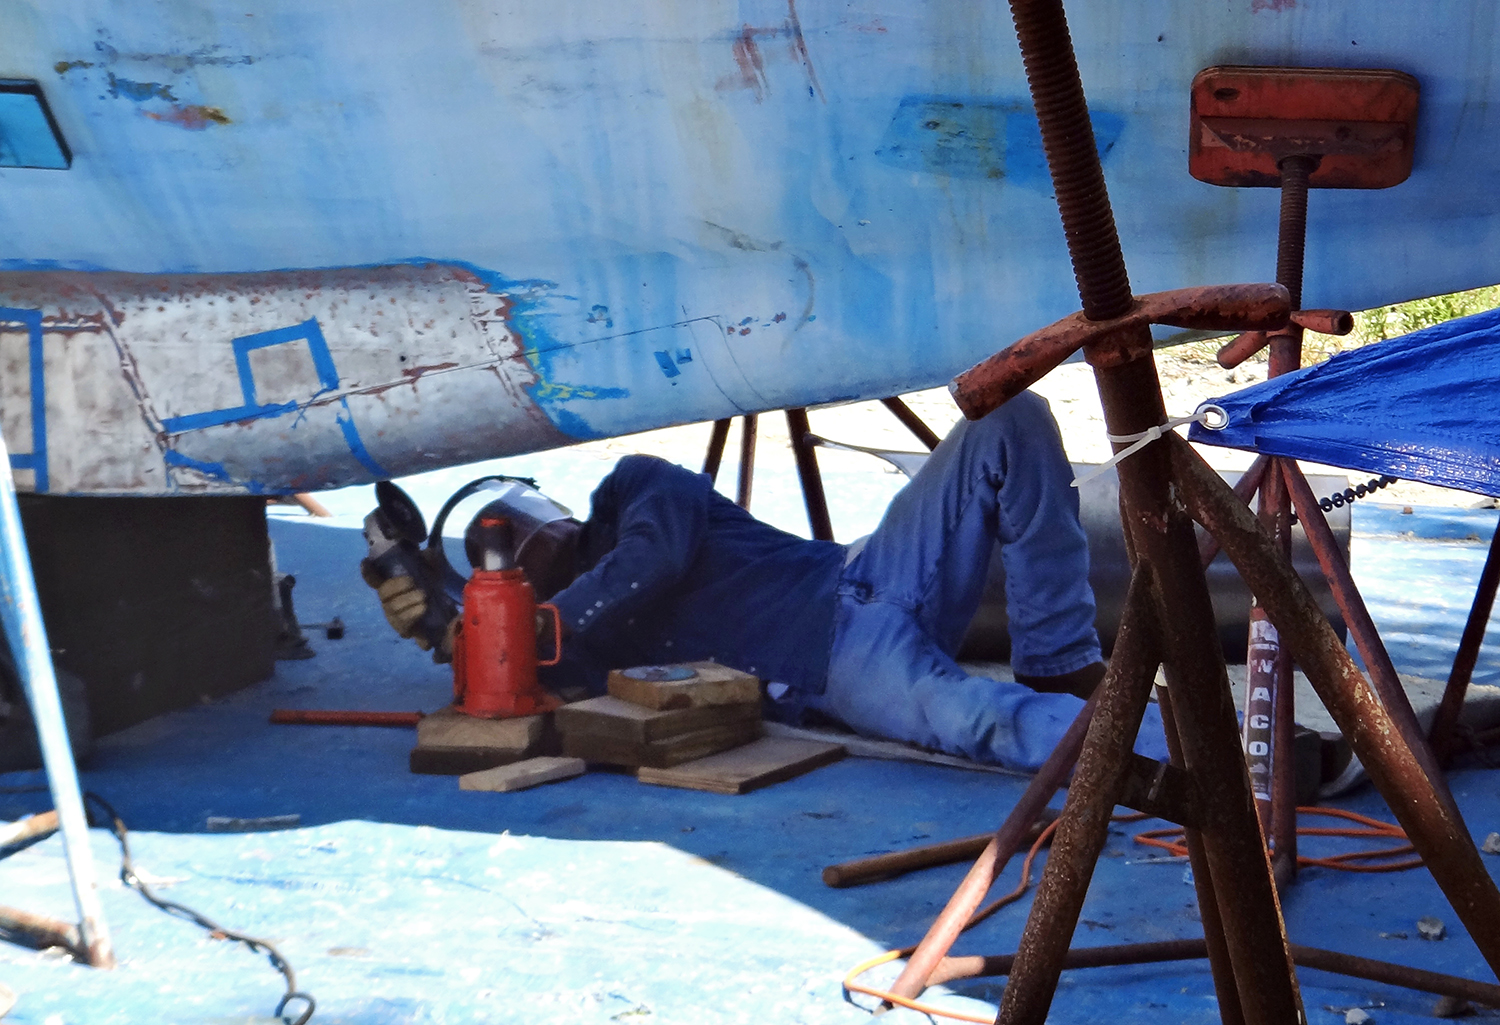
Finally we were ready to go and set our welder to work with his circular saw, carefully extracting the old sheet of aluminum.
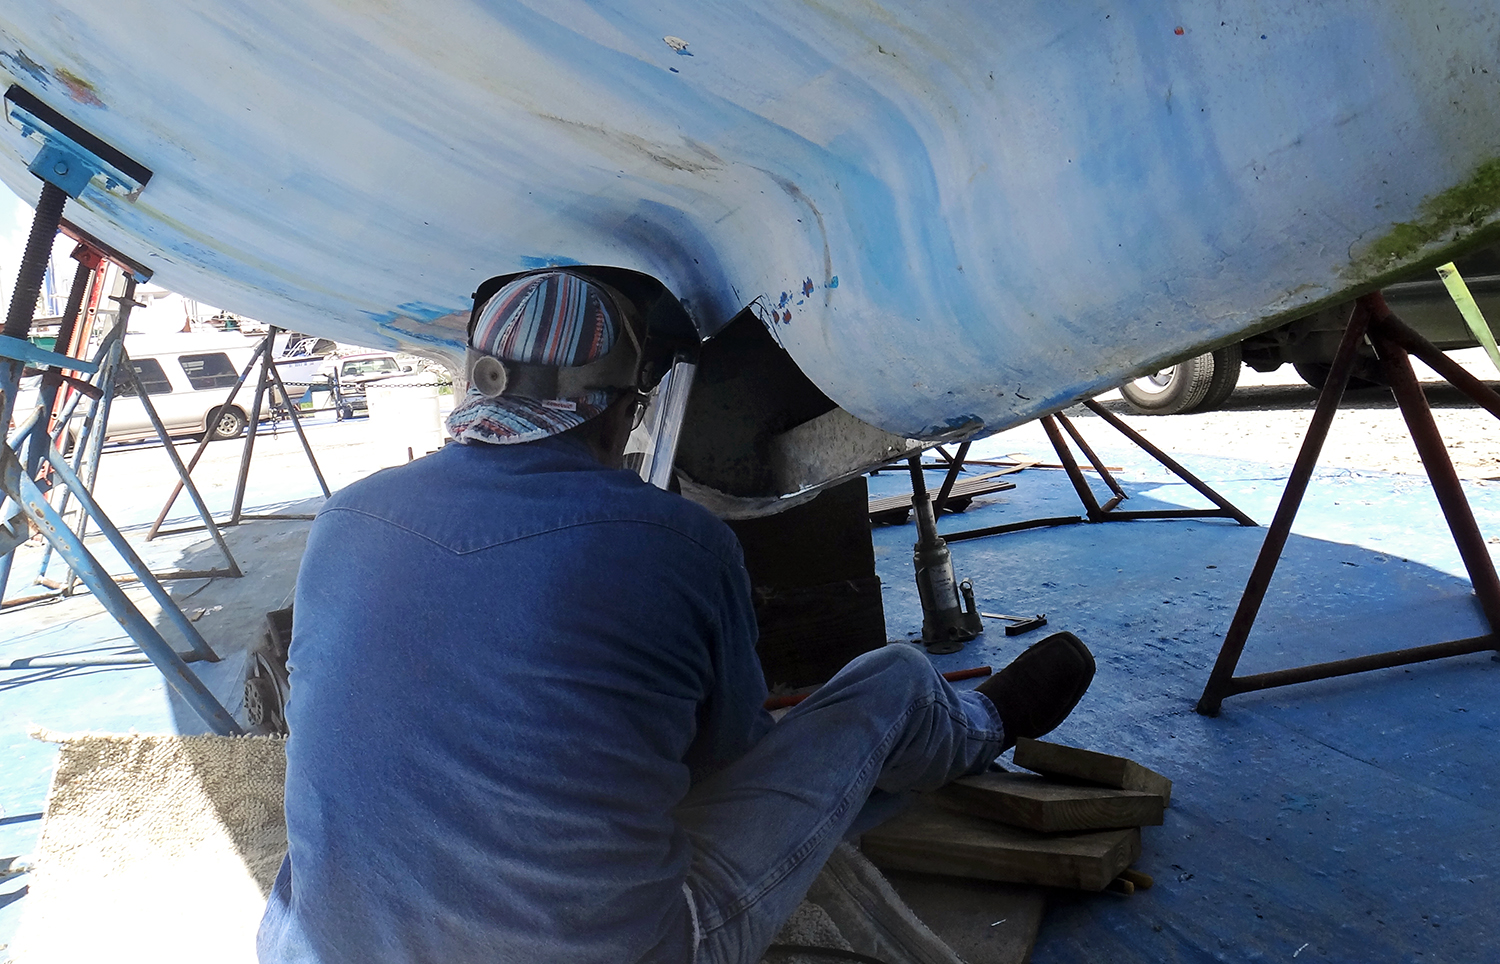
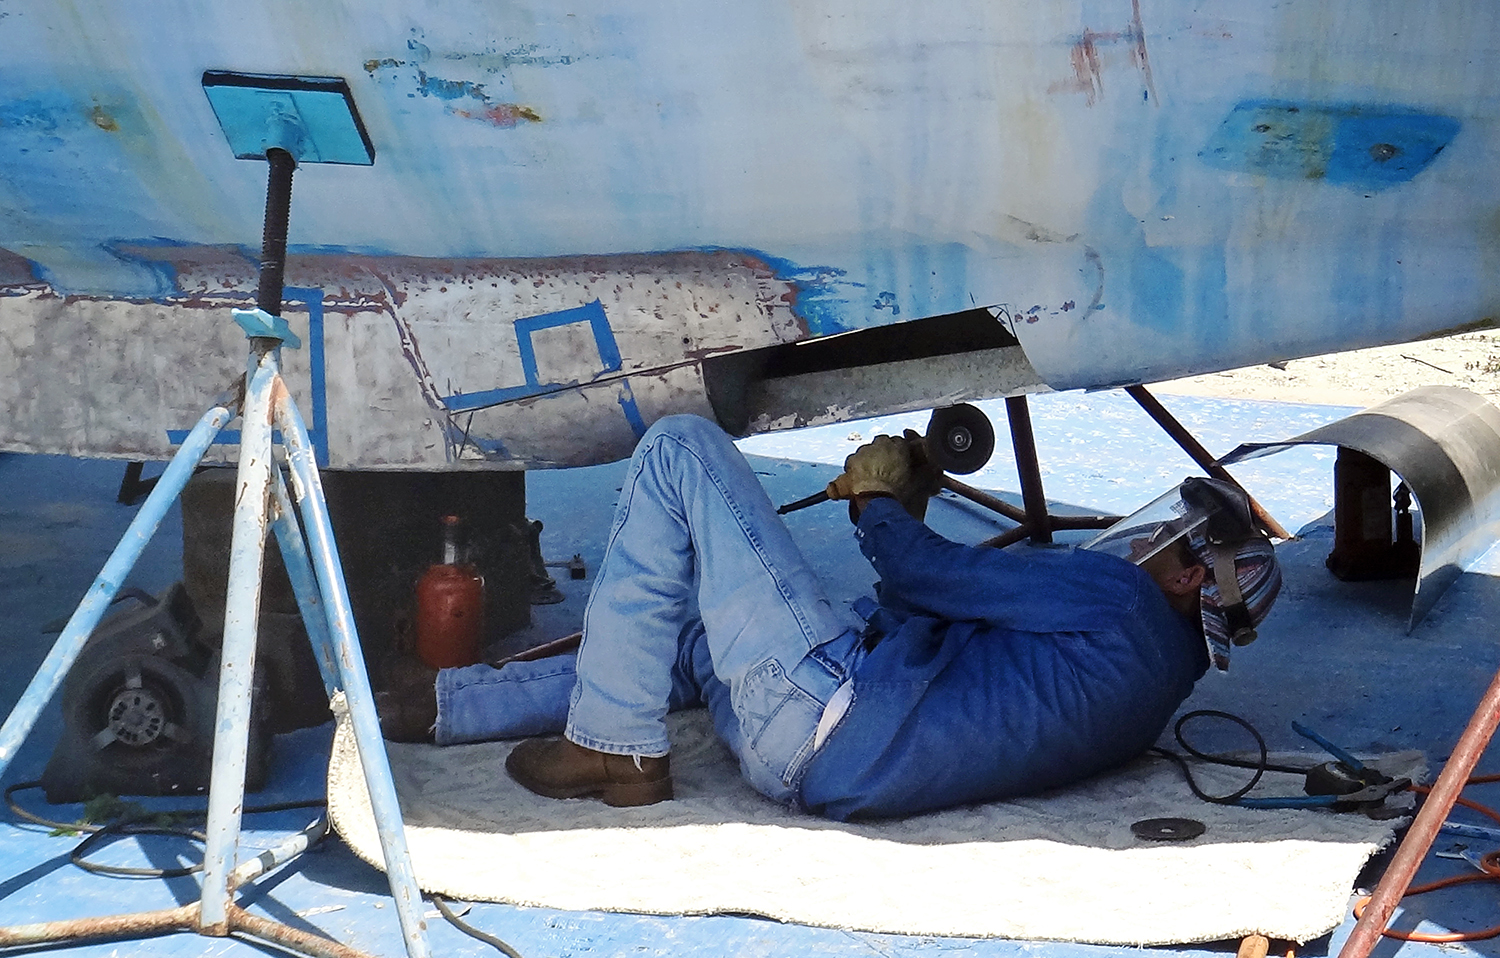
Using a circular saw to take out the old aluminum.
Let me say that while we haven’t exactly been back and forth on the necessary welding to the bottom of our boat, we were never sure the extent it was going to need. Â Paying our welder by the hour, we of course don’t want to spend any more time or money than we have to, but on the other hand we always prefer ‘safe over sorry’. Â It’s been a fun little dance between what is essential to replace and what we can leave alone.
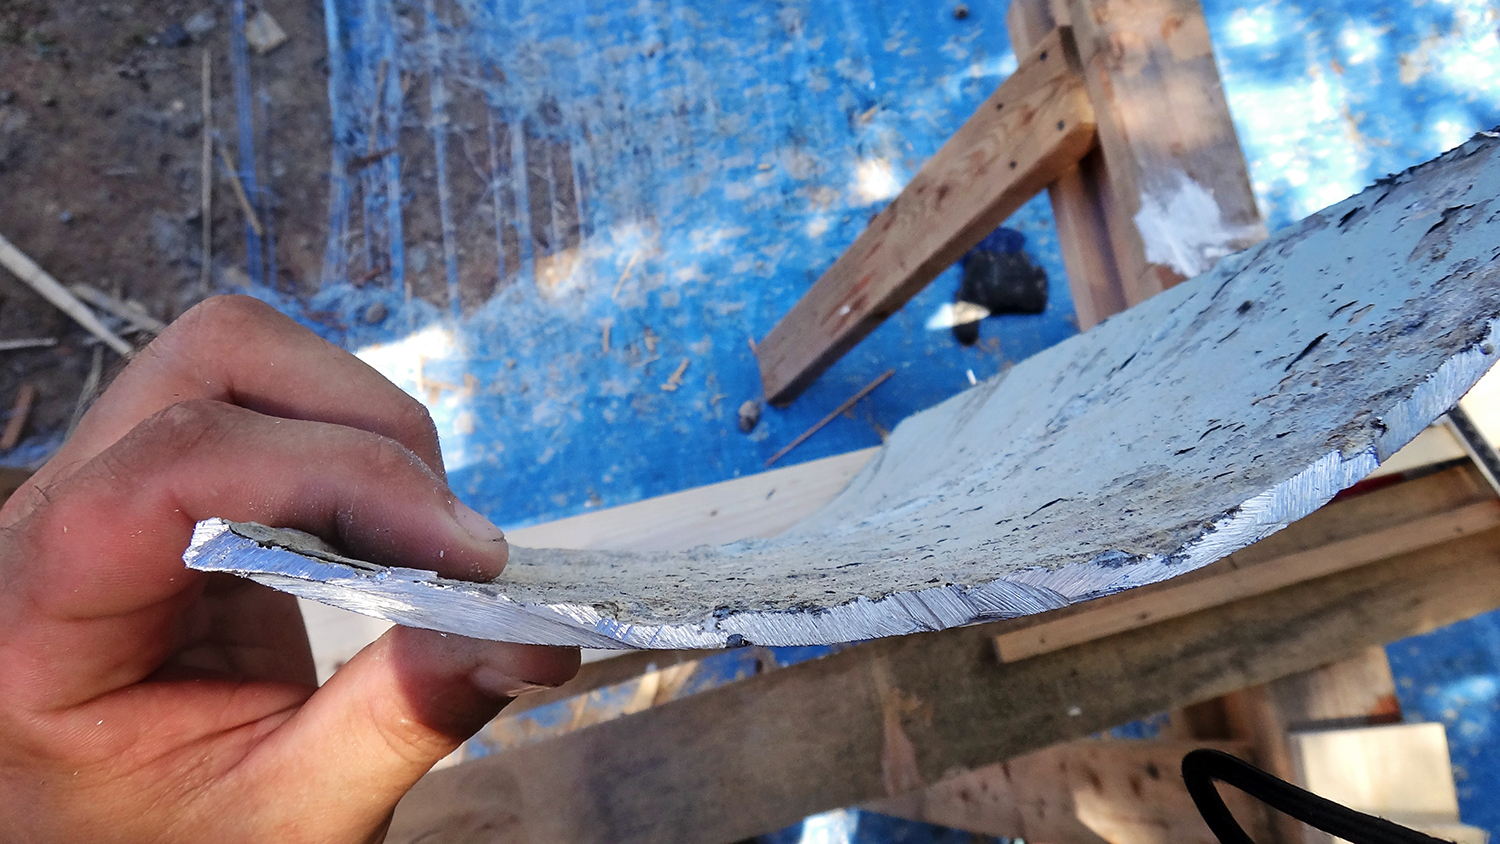
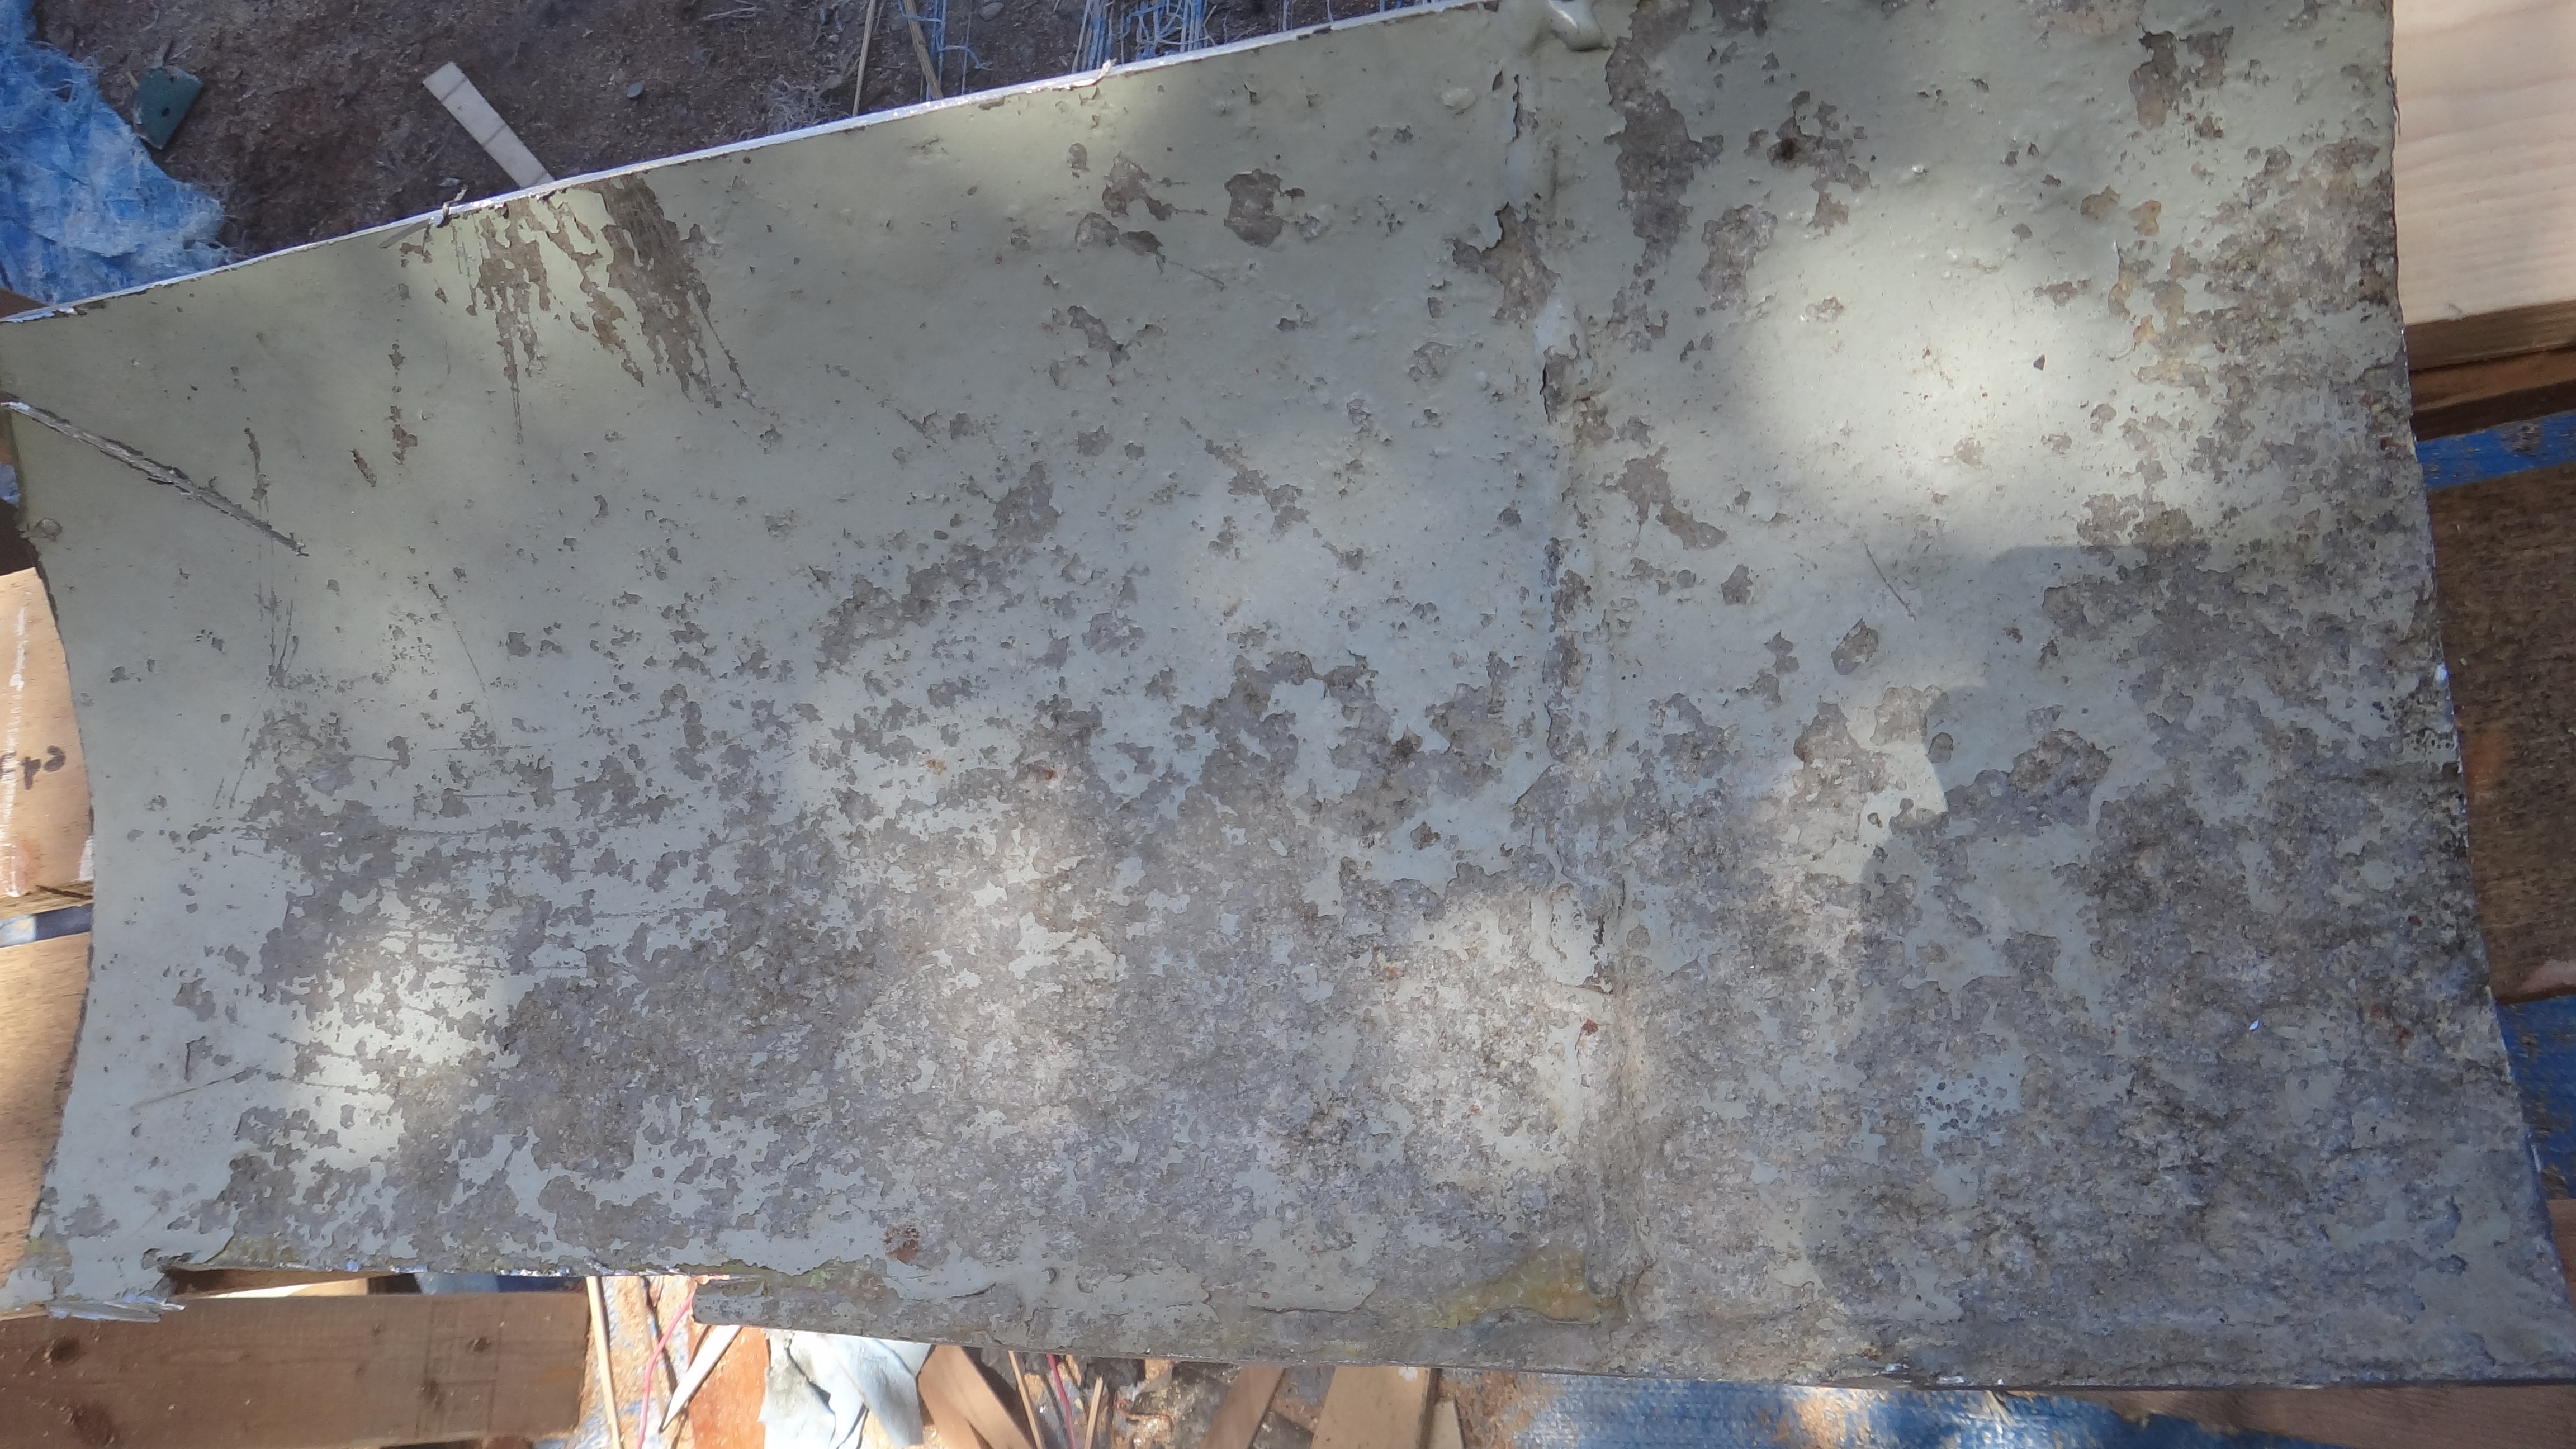
At first we had been a bit unsure of replacing such a large section but once it was out and we were able to look at the amount of corrosion from the inside, we knew we’d done the right thing. Â The panel was absolutely of deep pitting on the inside and in some place, worn down to half of the original thickness. Â Our ultrasound of the boat had really paid off since we would have originally done a much smaller area due to what looked bad on the outside alone.
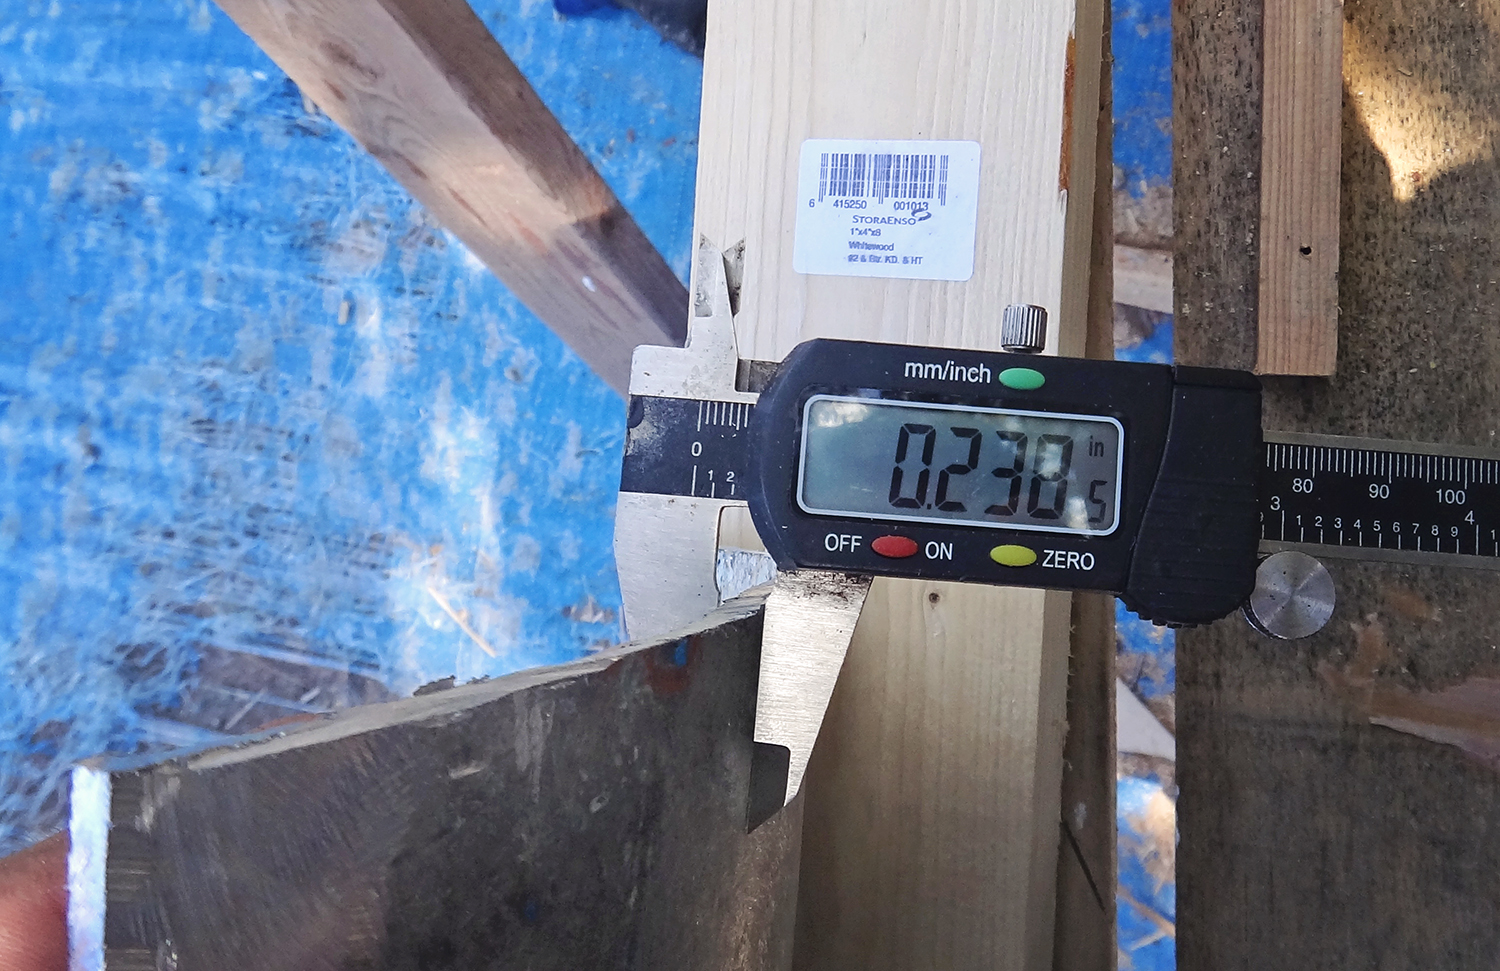
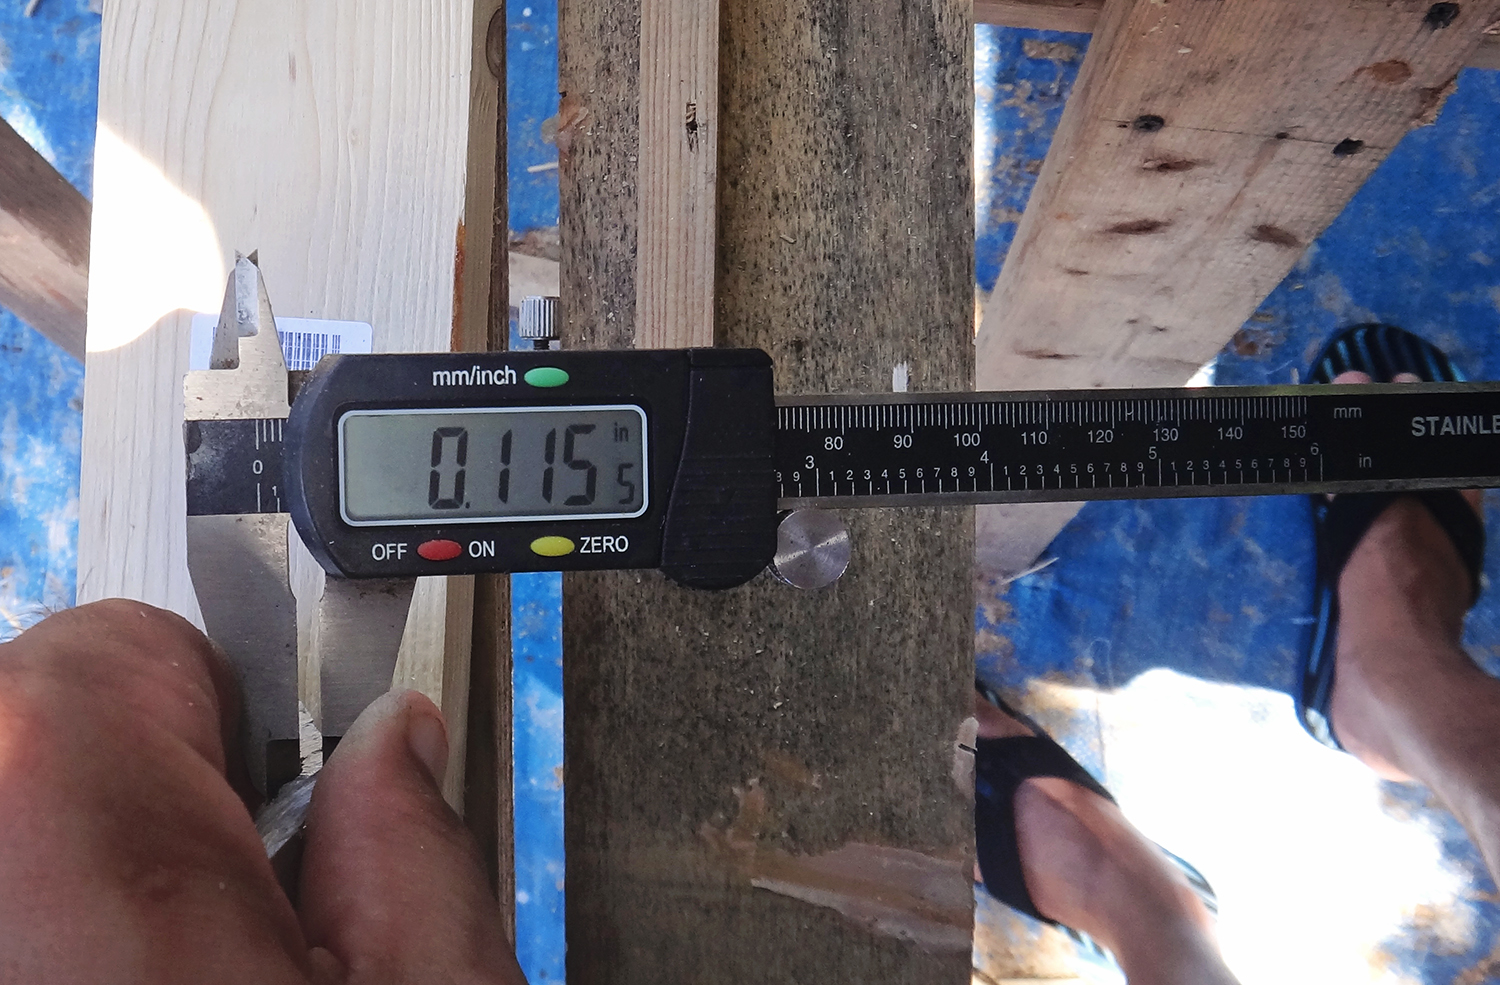
From the photos below you can see that where the aluminum was in premium condition, the thickness was measuring approximately 1/4″, and in areas where the corrosion and pitting was worst the thickness had gone down to 1/8″. Â Half of the thickness! Â And right in the front of our keel where we need the most protection. Â If Matt actually succeeds in bringing me up to icebergs in this boat, I do not want to be bumping into any of them with only 1/8″ of aluminum underneath me.
 We’ve gotten much further since this point, but since I’ve been terrible at pulling out my camera for boat projects lately, combined with the fact that I always feel a little bit strange photographing our welder while he’s working, these are the only photos I have of the project up to this point.  Since this area was cut out we’ve now fully welded on the new piece as well as continued down the starboard side of the boat.  Things are really starting to come along and now the work is going much smoother and faster as the welder becomes more familiar with our boat.
Hopefully only another week or two now until all the main areas are completed and we can dive into work on the galley and head. Â I feel a little bit useless as Matt spends his days acting as an assistance to the welding process and I sit there twiddling my thumbs, but I can’t say I mind the times I’ve been sent to the cool air conditioning of the kitchen with my laptop and an iced coffee in front of me since I can be more productive in front of a glowing screen at the moment instead of sitting on the shredded tarp next to our boat.